As it turns out, I will likely leave the bottom end of the motor alone. I’ve had a chance to examine things more fully and discussed the engine with the owner of a local machine shop.
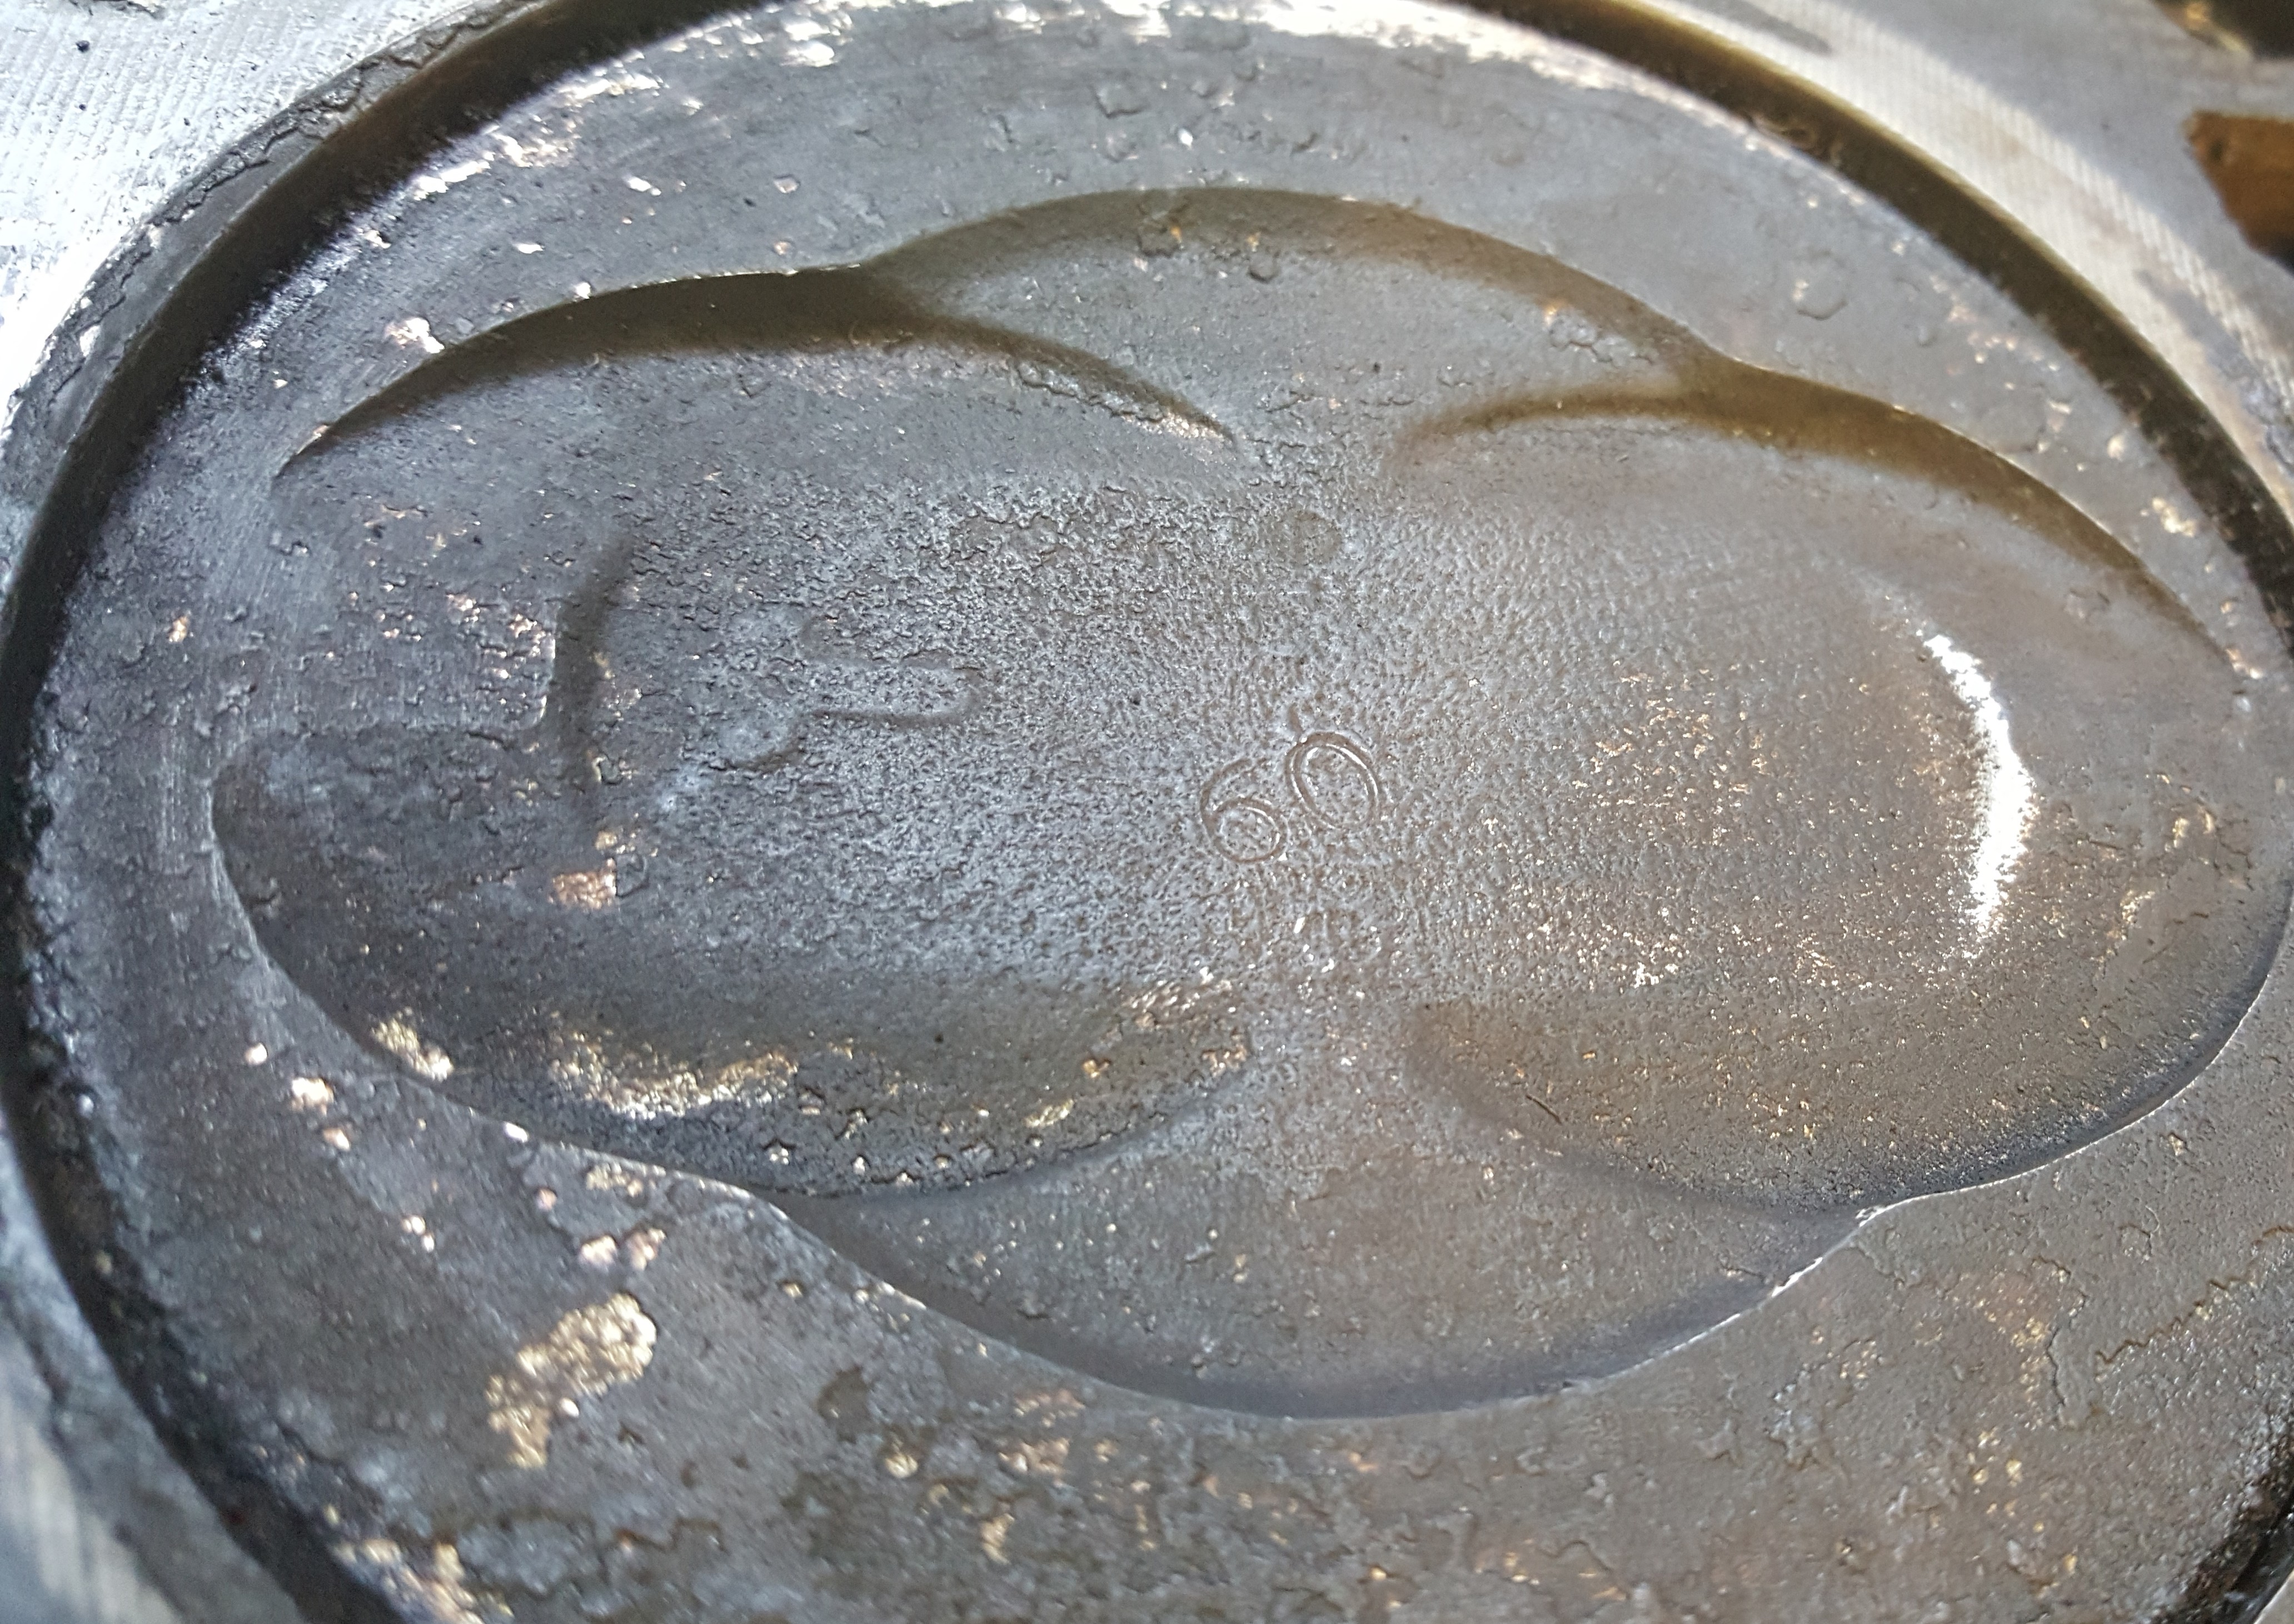
The 60-over piston
First, I saw that the pistons are marked “60over”, so the cylinders have been bored .060 inches oversized—as far as they can be taken. Likewise, the valve guides were simply bored out and replacement valves with oversized stems (now long since discontinued) were used. I have no doubt that the crank was turned down as far as it could go as well.
I took apart the valves on the suspect #8 cylinder and was happy to see that hardened seats had been installed.
I doubt that a valve job is absolutely necessary, since the engine was not using oil, but if it is, it will require new guides and new valves—pretty pricey. Likewise, once the cylinder walls are too far worn, sleeving and new pistons will be required. I think the only option for the crank, when the time comes, would be to find a new one.
What this adds up to, sadly, is an engine nearing the end of its service life It’s not there yet, though. With reconditioned heads, a new cam and proper maintenance, I can still get a number of good years out of this motor. However, there’s certainly no reason to pull it apart further right now.
I’ve spent some time this week pulling the 390 apart, a task that was not as easy as I expected.
Lifting the intake manifold.
I think the intake manifold is actually heavier than the heads. I had to use my hoist to break it free and lower it to the ground. The head bolts came free easily using a breaker bar. I also used the hoist to separate them from the block and lower them to the floor. (I know from my younger days that it’s a terrible feeling to drop one of these.)
Pulling the heads
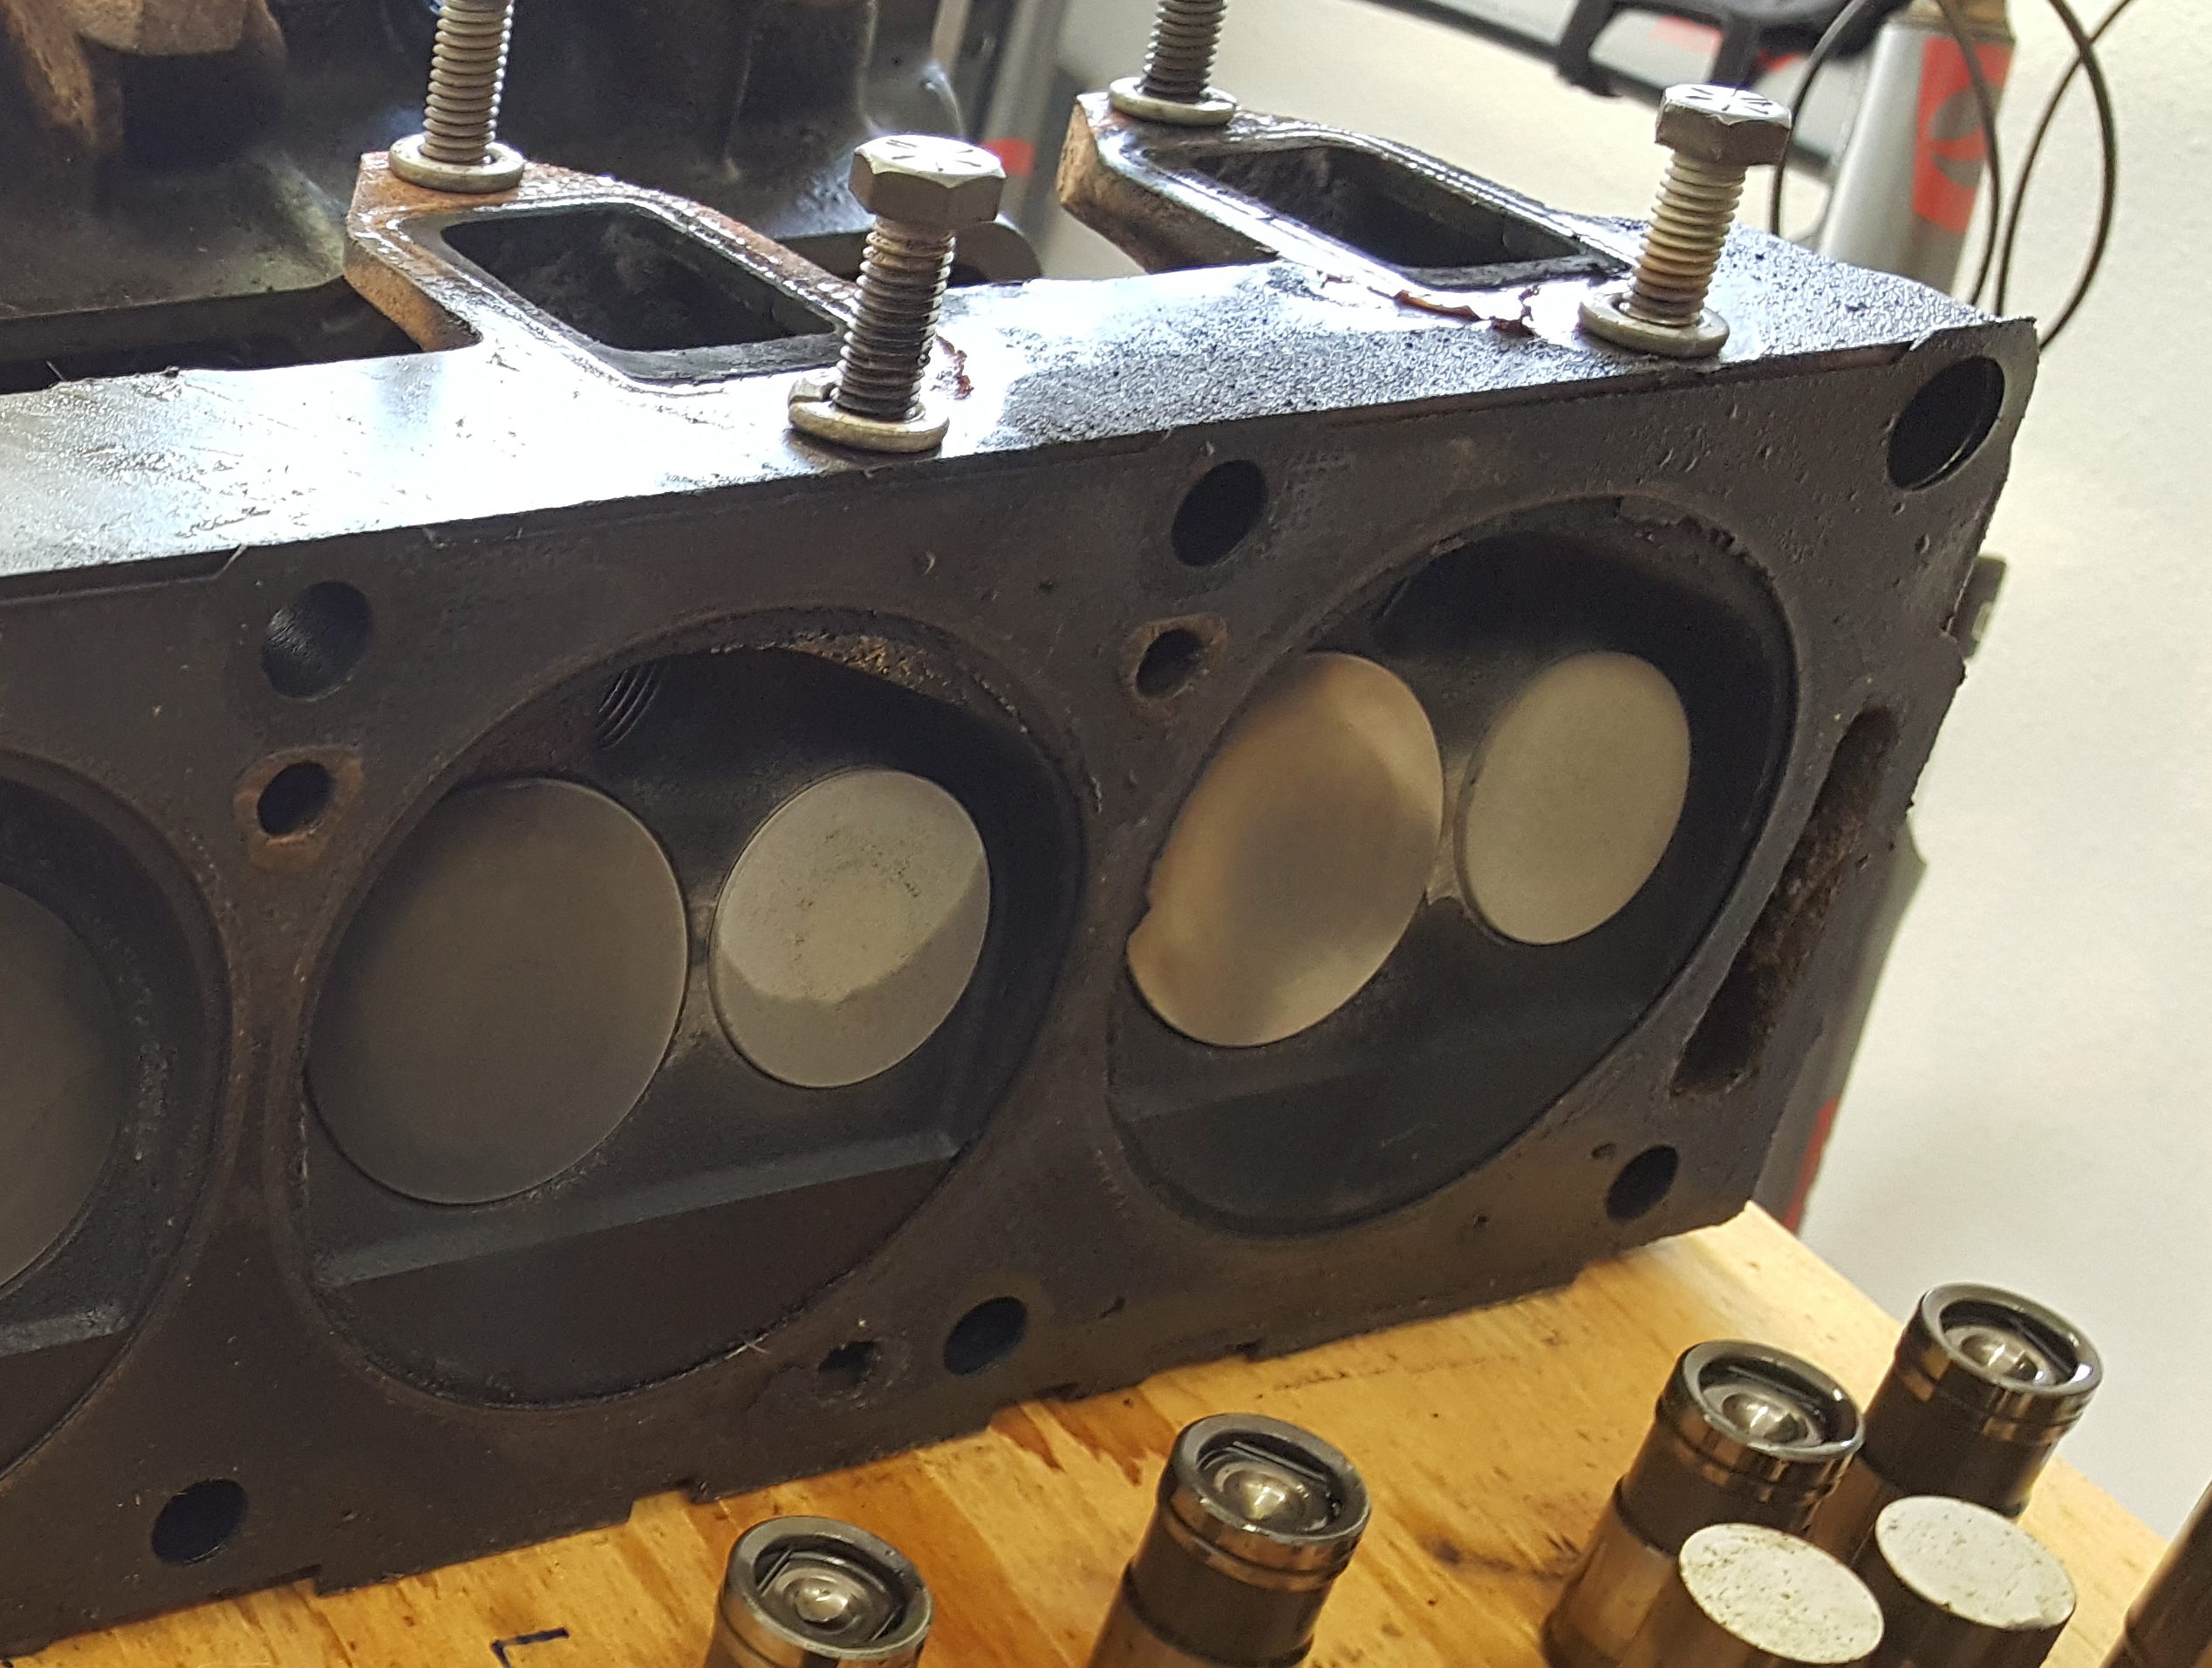
I discovered that the water jacket openings at the back of heads, by the #8 and #5 cylinders, were full of debris and completely blocked. Also, the intake valve in the #8 cylinder is discolored like an exhaust valve—yet another reason to suspect that it’s the source of the misfire.
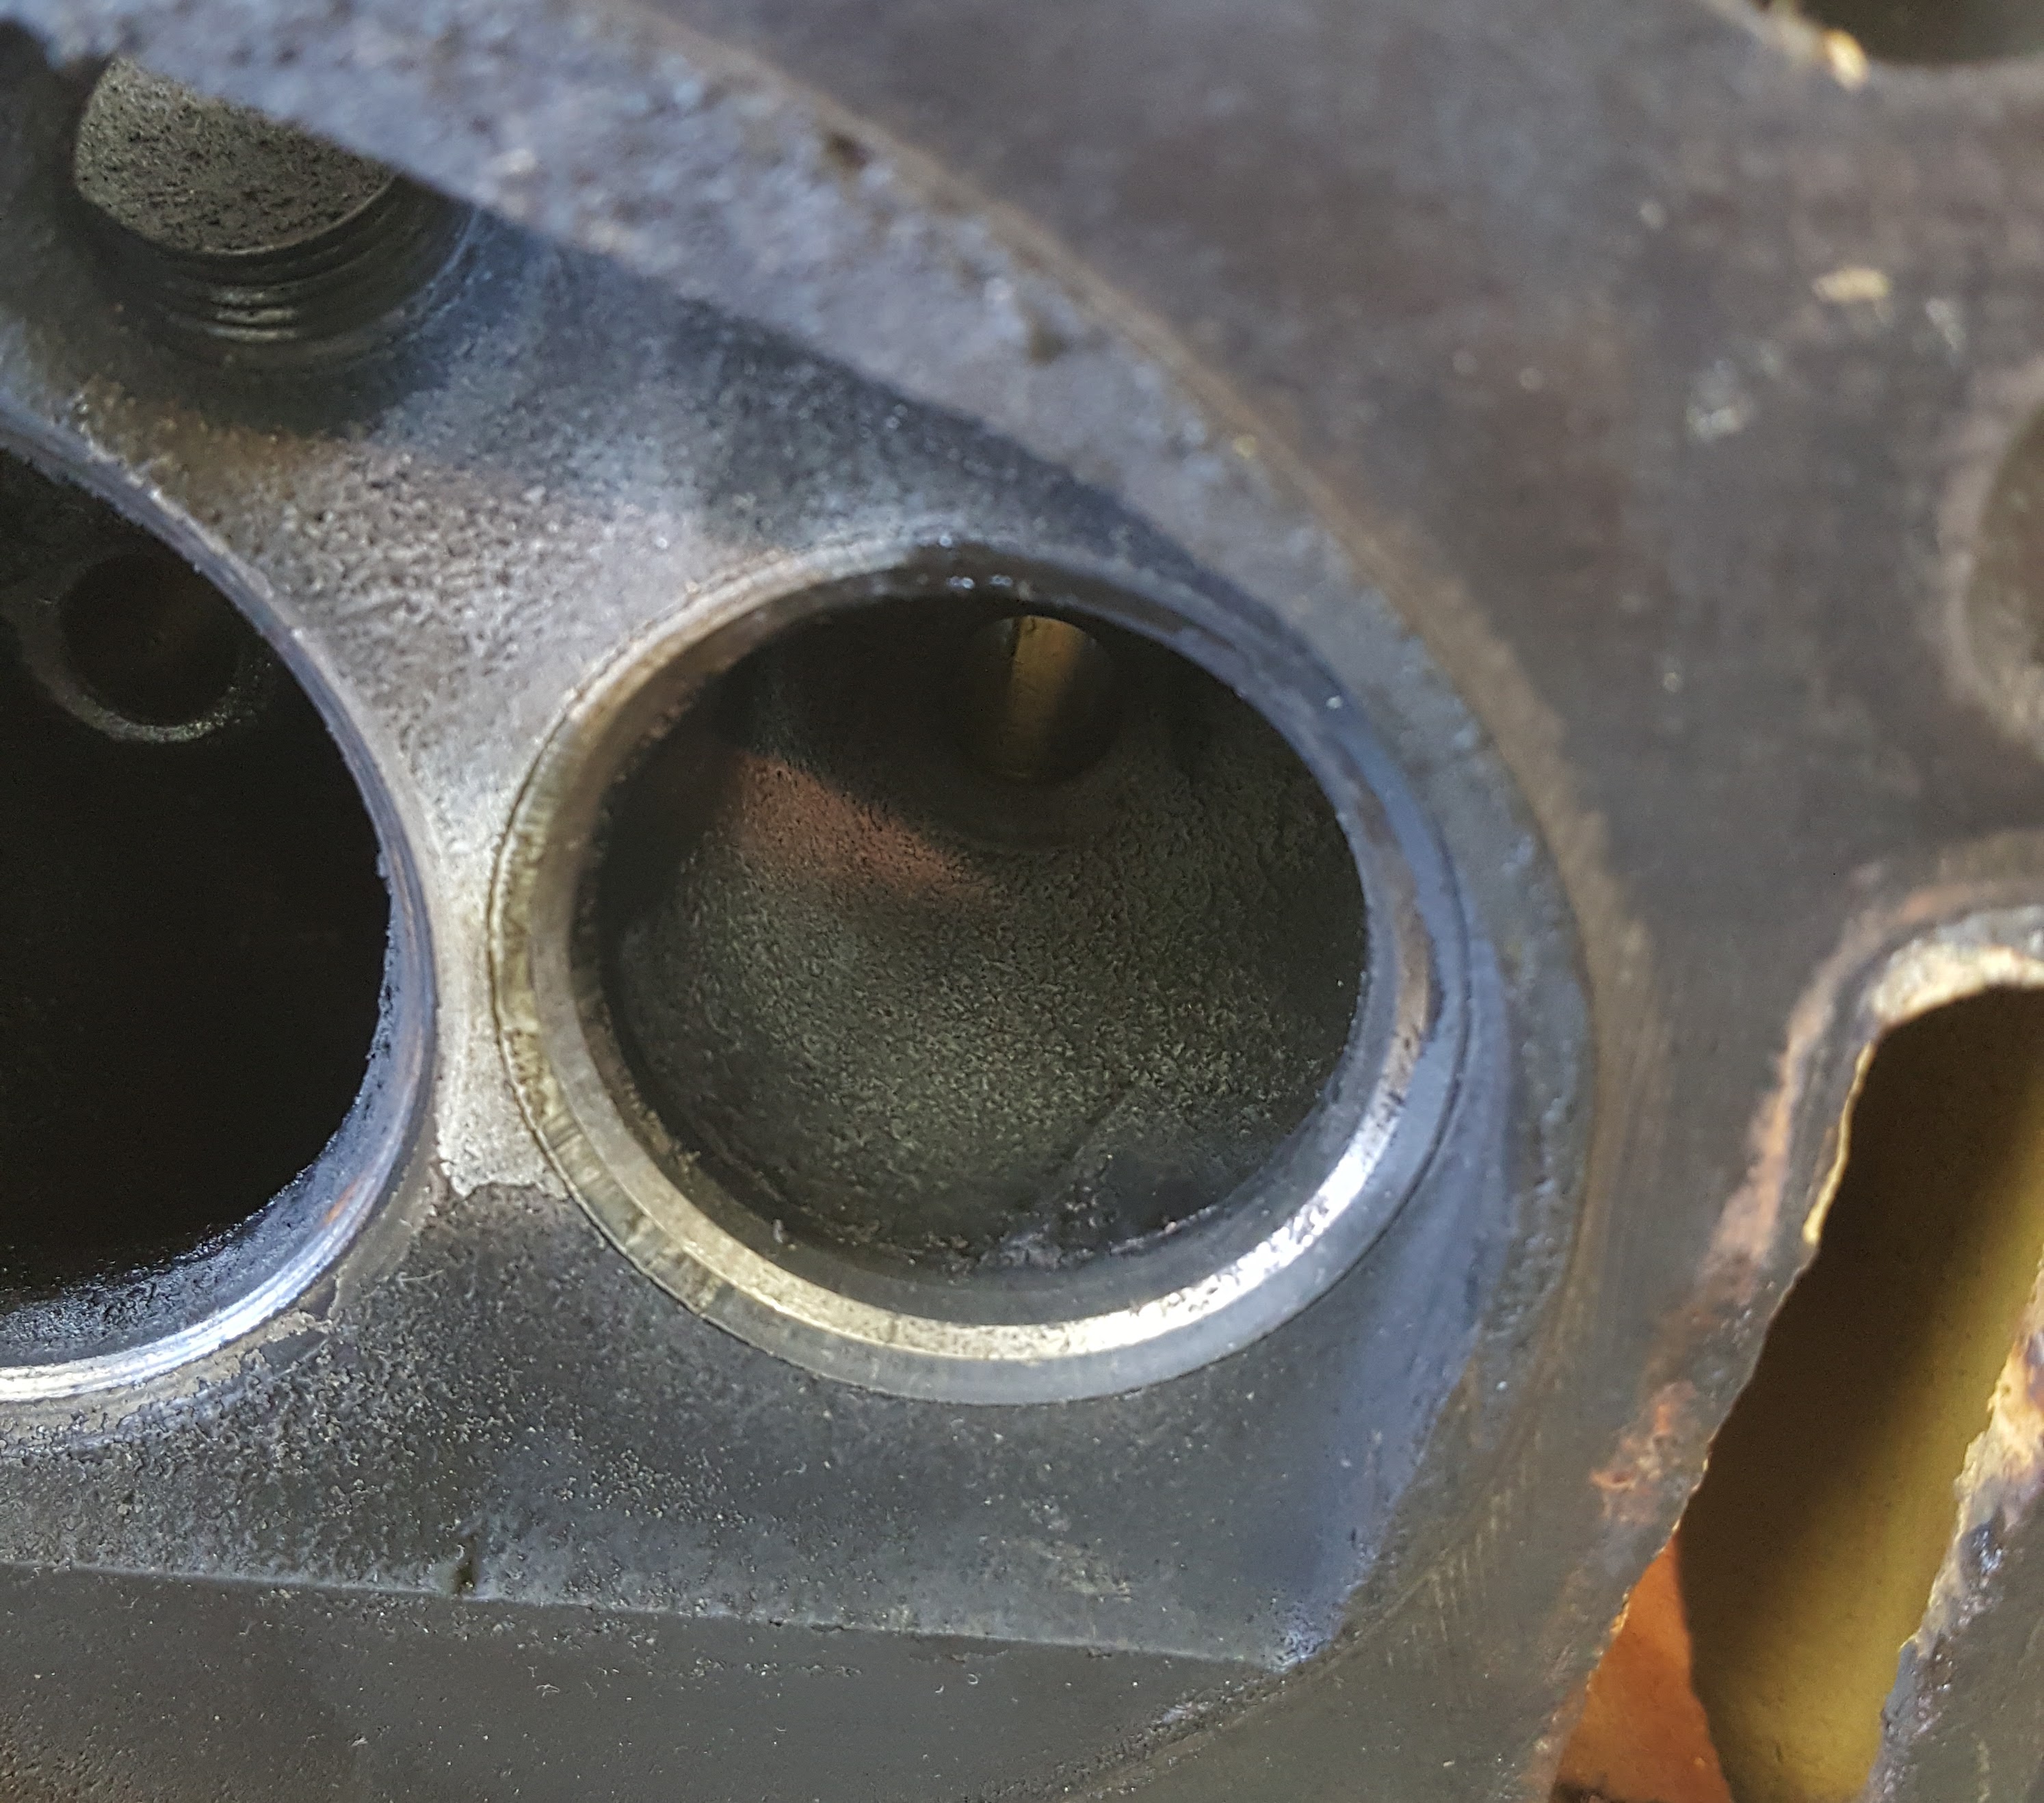
All the cylinders look like the one on the left here, except #8, on the right. The large intake valve has the carbon burned off like the exhaust valve next to it.
It took a few days to get the harmonic balancer off. I couldn’t budge the bolt with just a breaker bar. I finally found time to pick up a piece of pipe I could slip over the bar to get more leverage. This is normally a terrible idea, since breaking the bolt or the tool is a strong possibility. In this case, I got lucky and the bolt groaned free.
Not sure why they decided to use screws to hold this on.
After that, it was pretty simple to get down to the thrust plate, which is held on with big phillips-head screws. I had to give these a tap with a hammer before I could turn them.
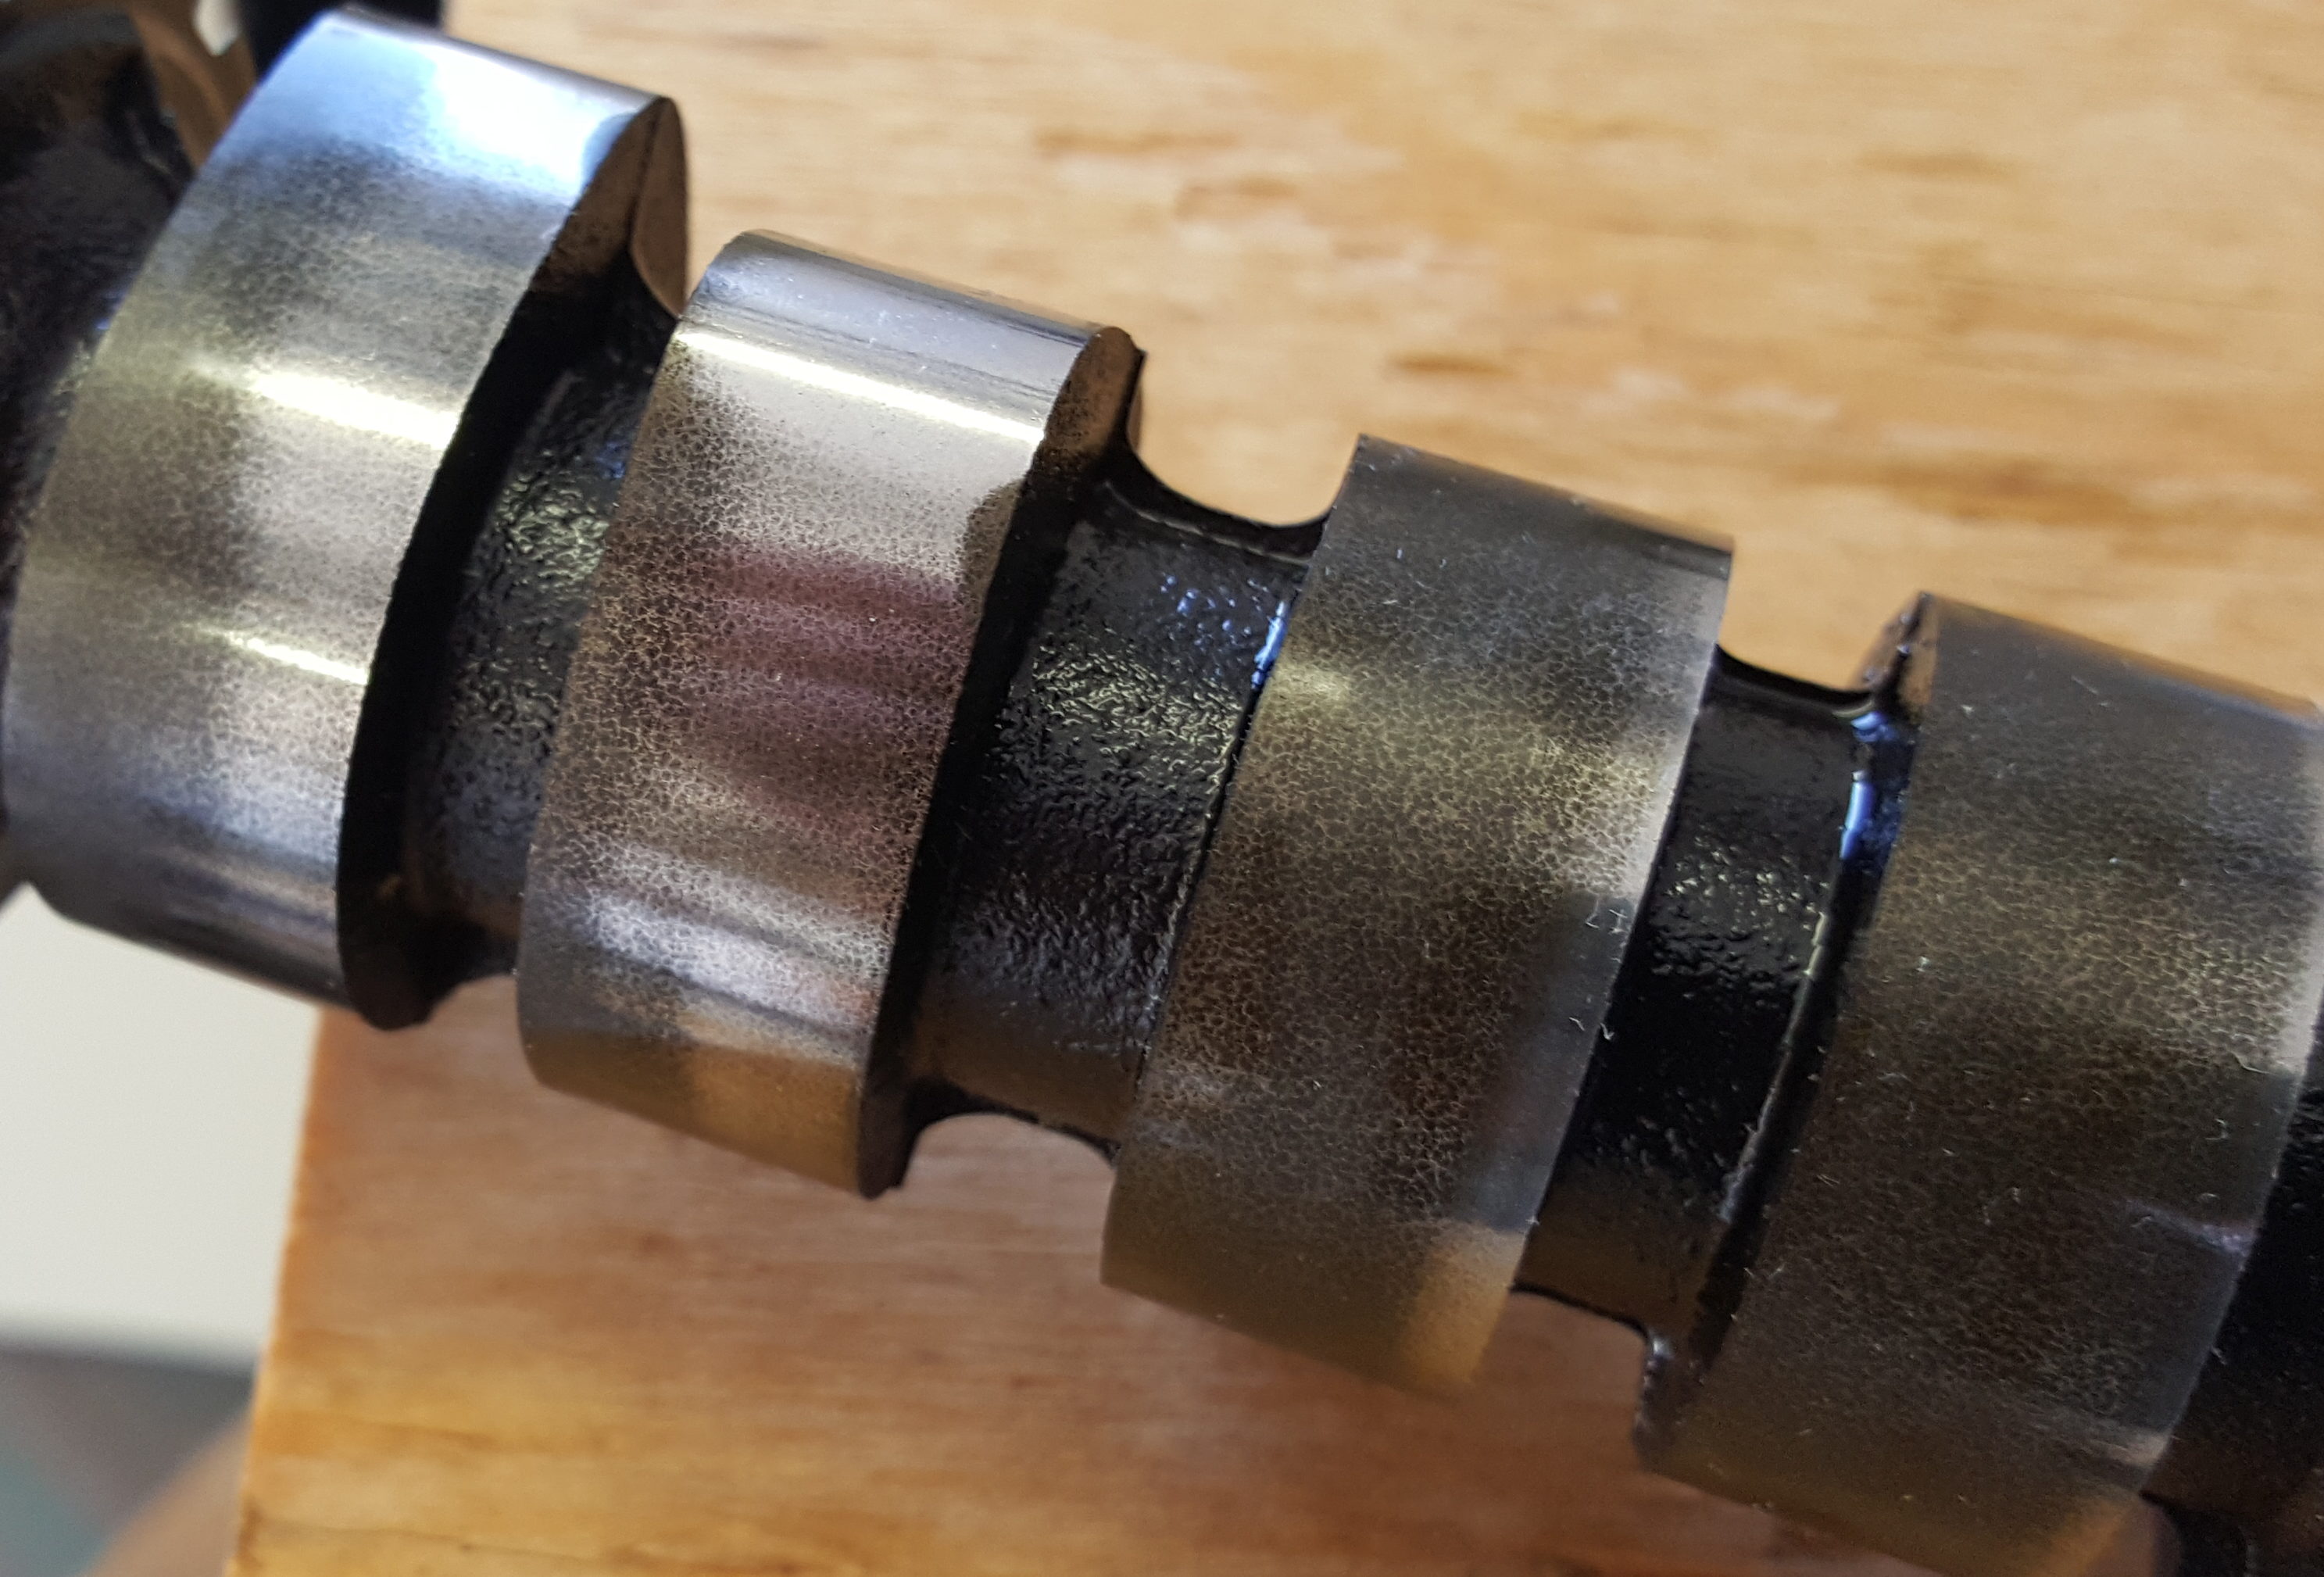
The discolored sections are corrosion and pitting.
Thrust plate off, I was able to remove the camshaft. I expected it to have some problems, especially down on the end where #8 lives, but it was pretty horrible along the whole length. There was corrosion, pitting, flat spots and uneven wear on every lobe.
Close up of the corrosion on the front of the cam.
I don’t exactly know how the condition of the cam relates to the misfire I was experiencing, but I do know that it needs to be replaced. It also looks like a lot of debris (rust?) has worn off the cam and has been circulating in the oil, so I’ll tear down the rest of the block so it can be thoroughly cleaned and inspected.
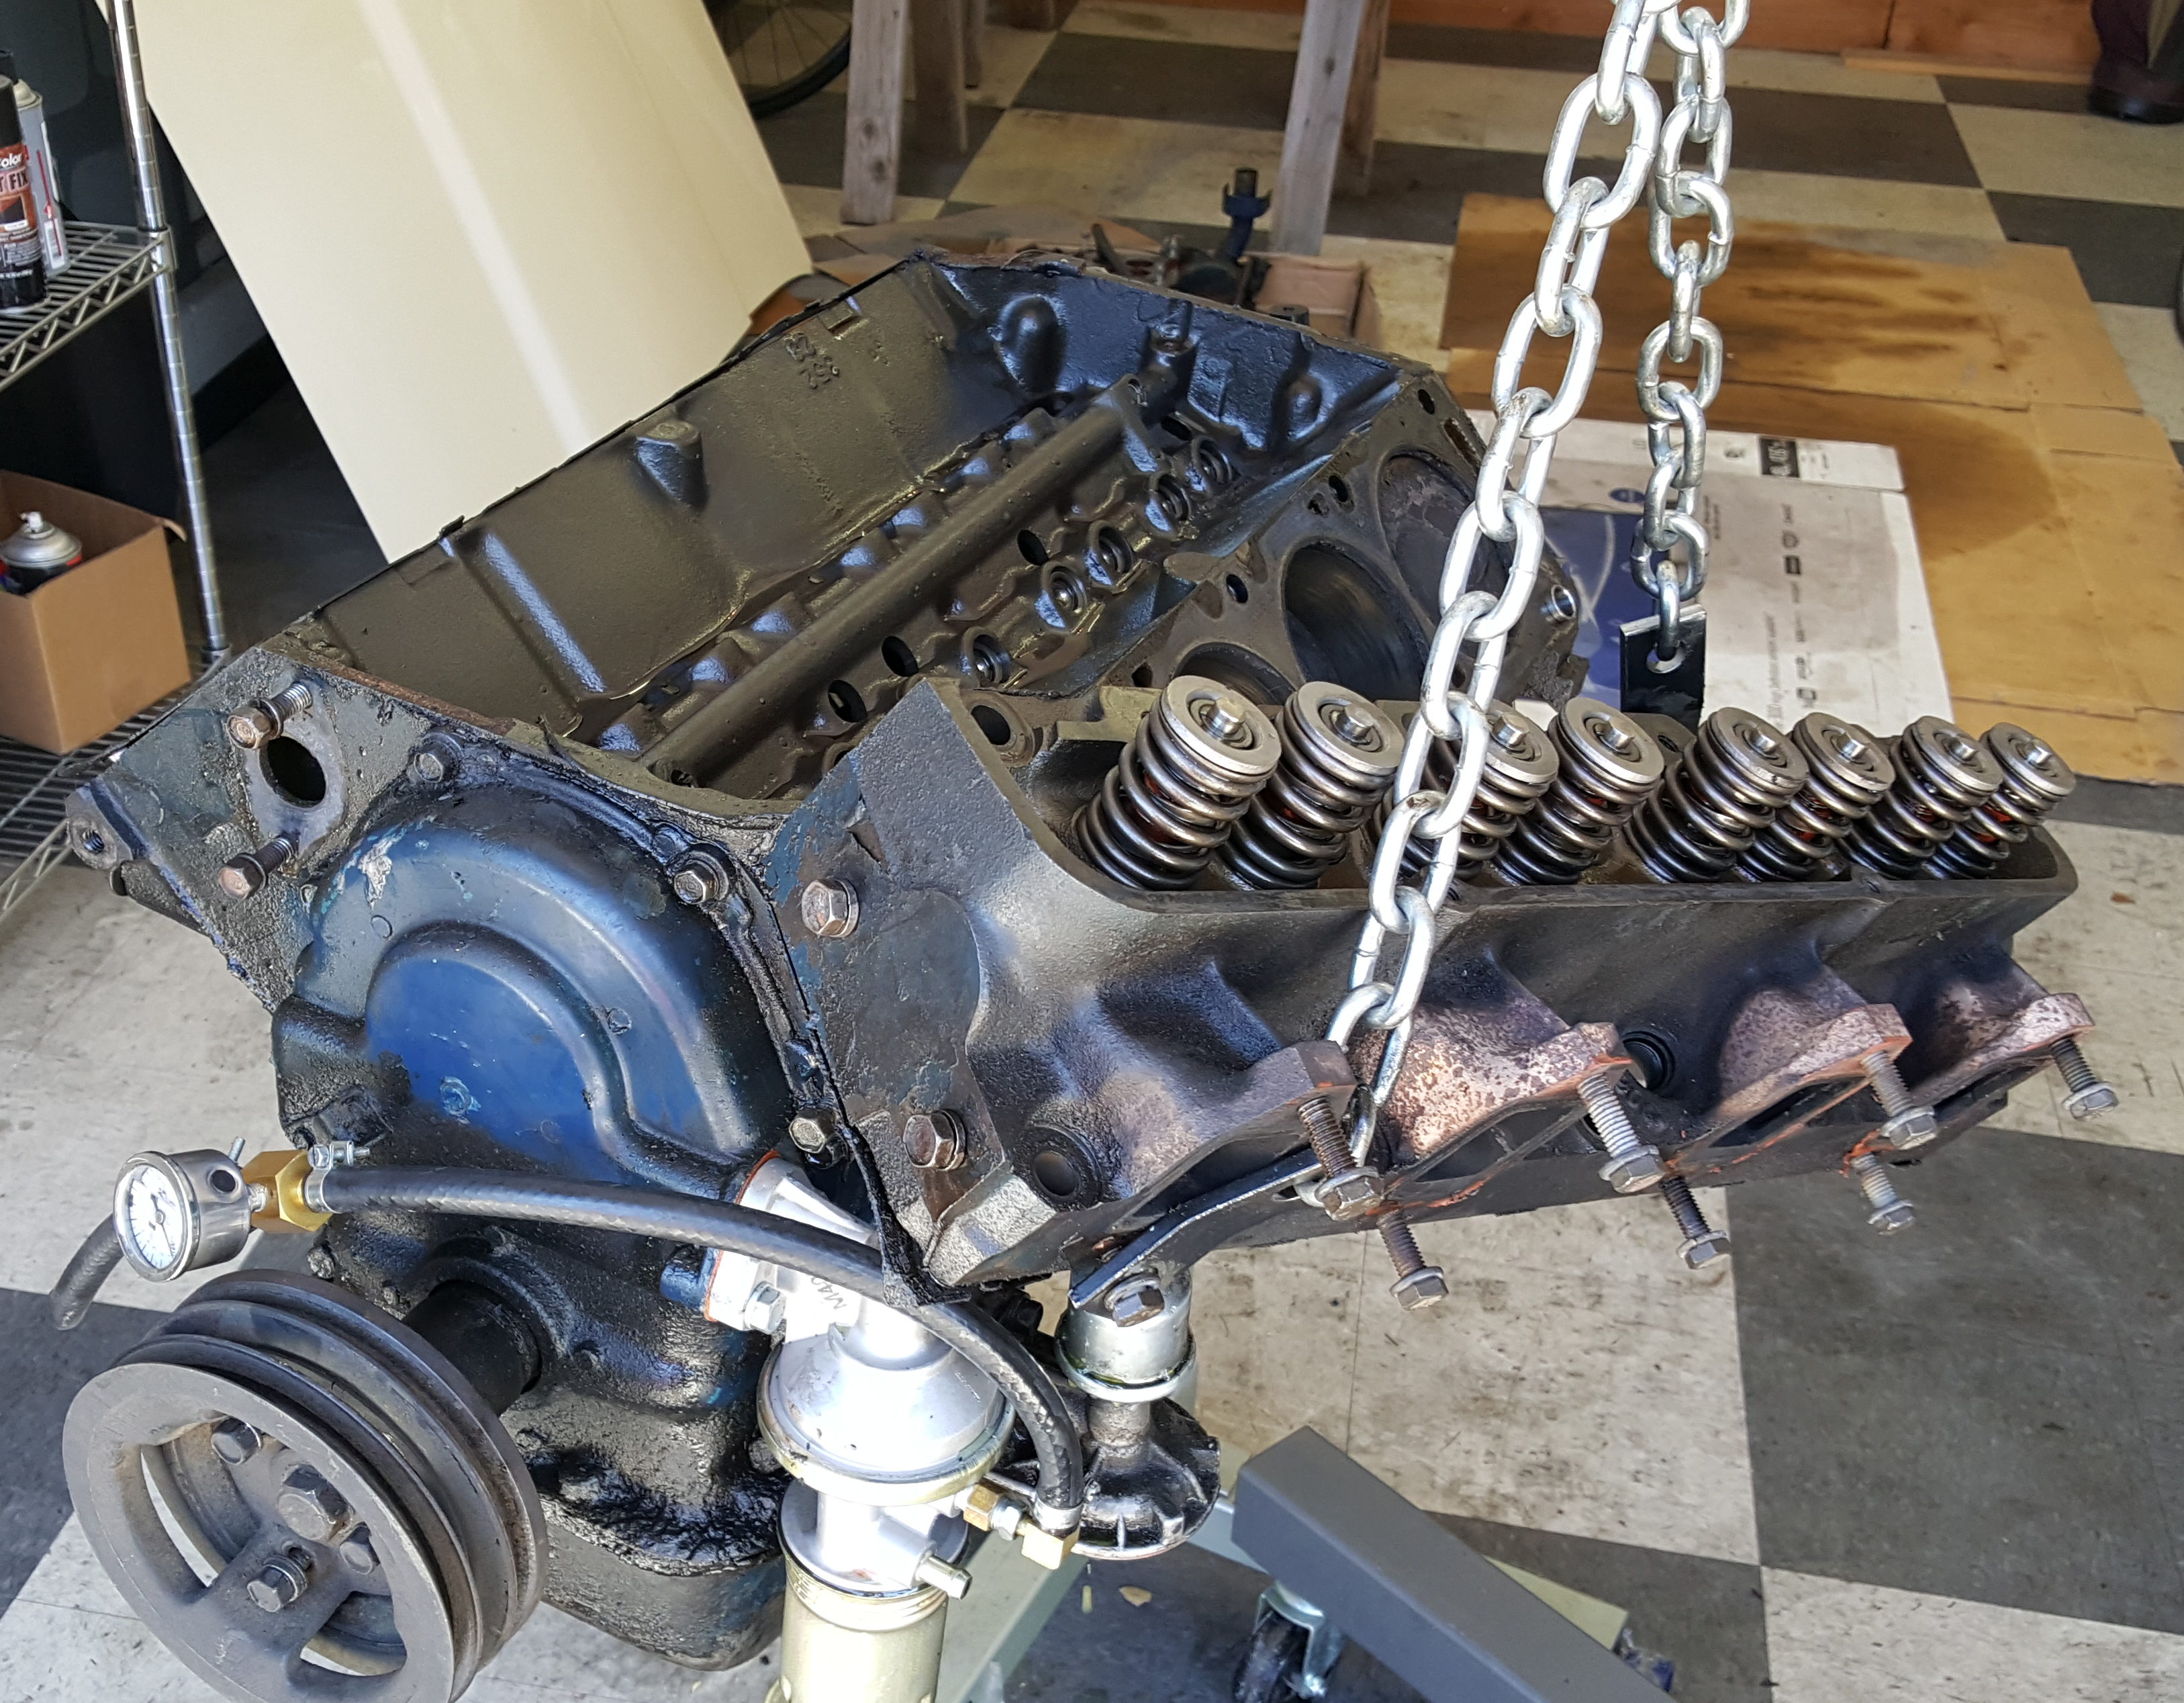
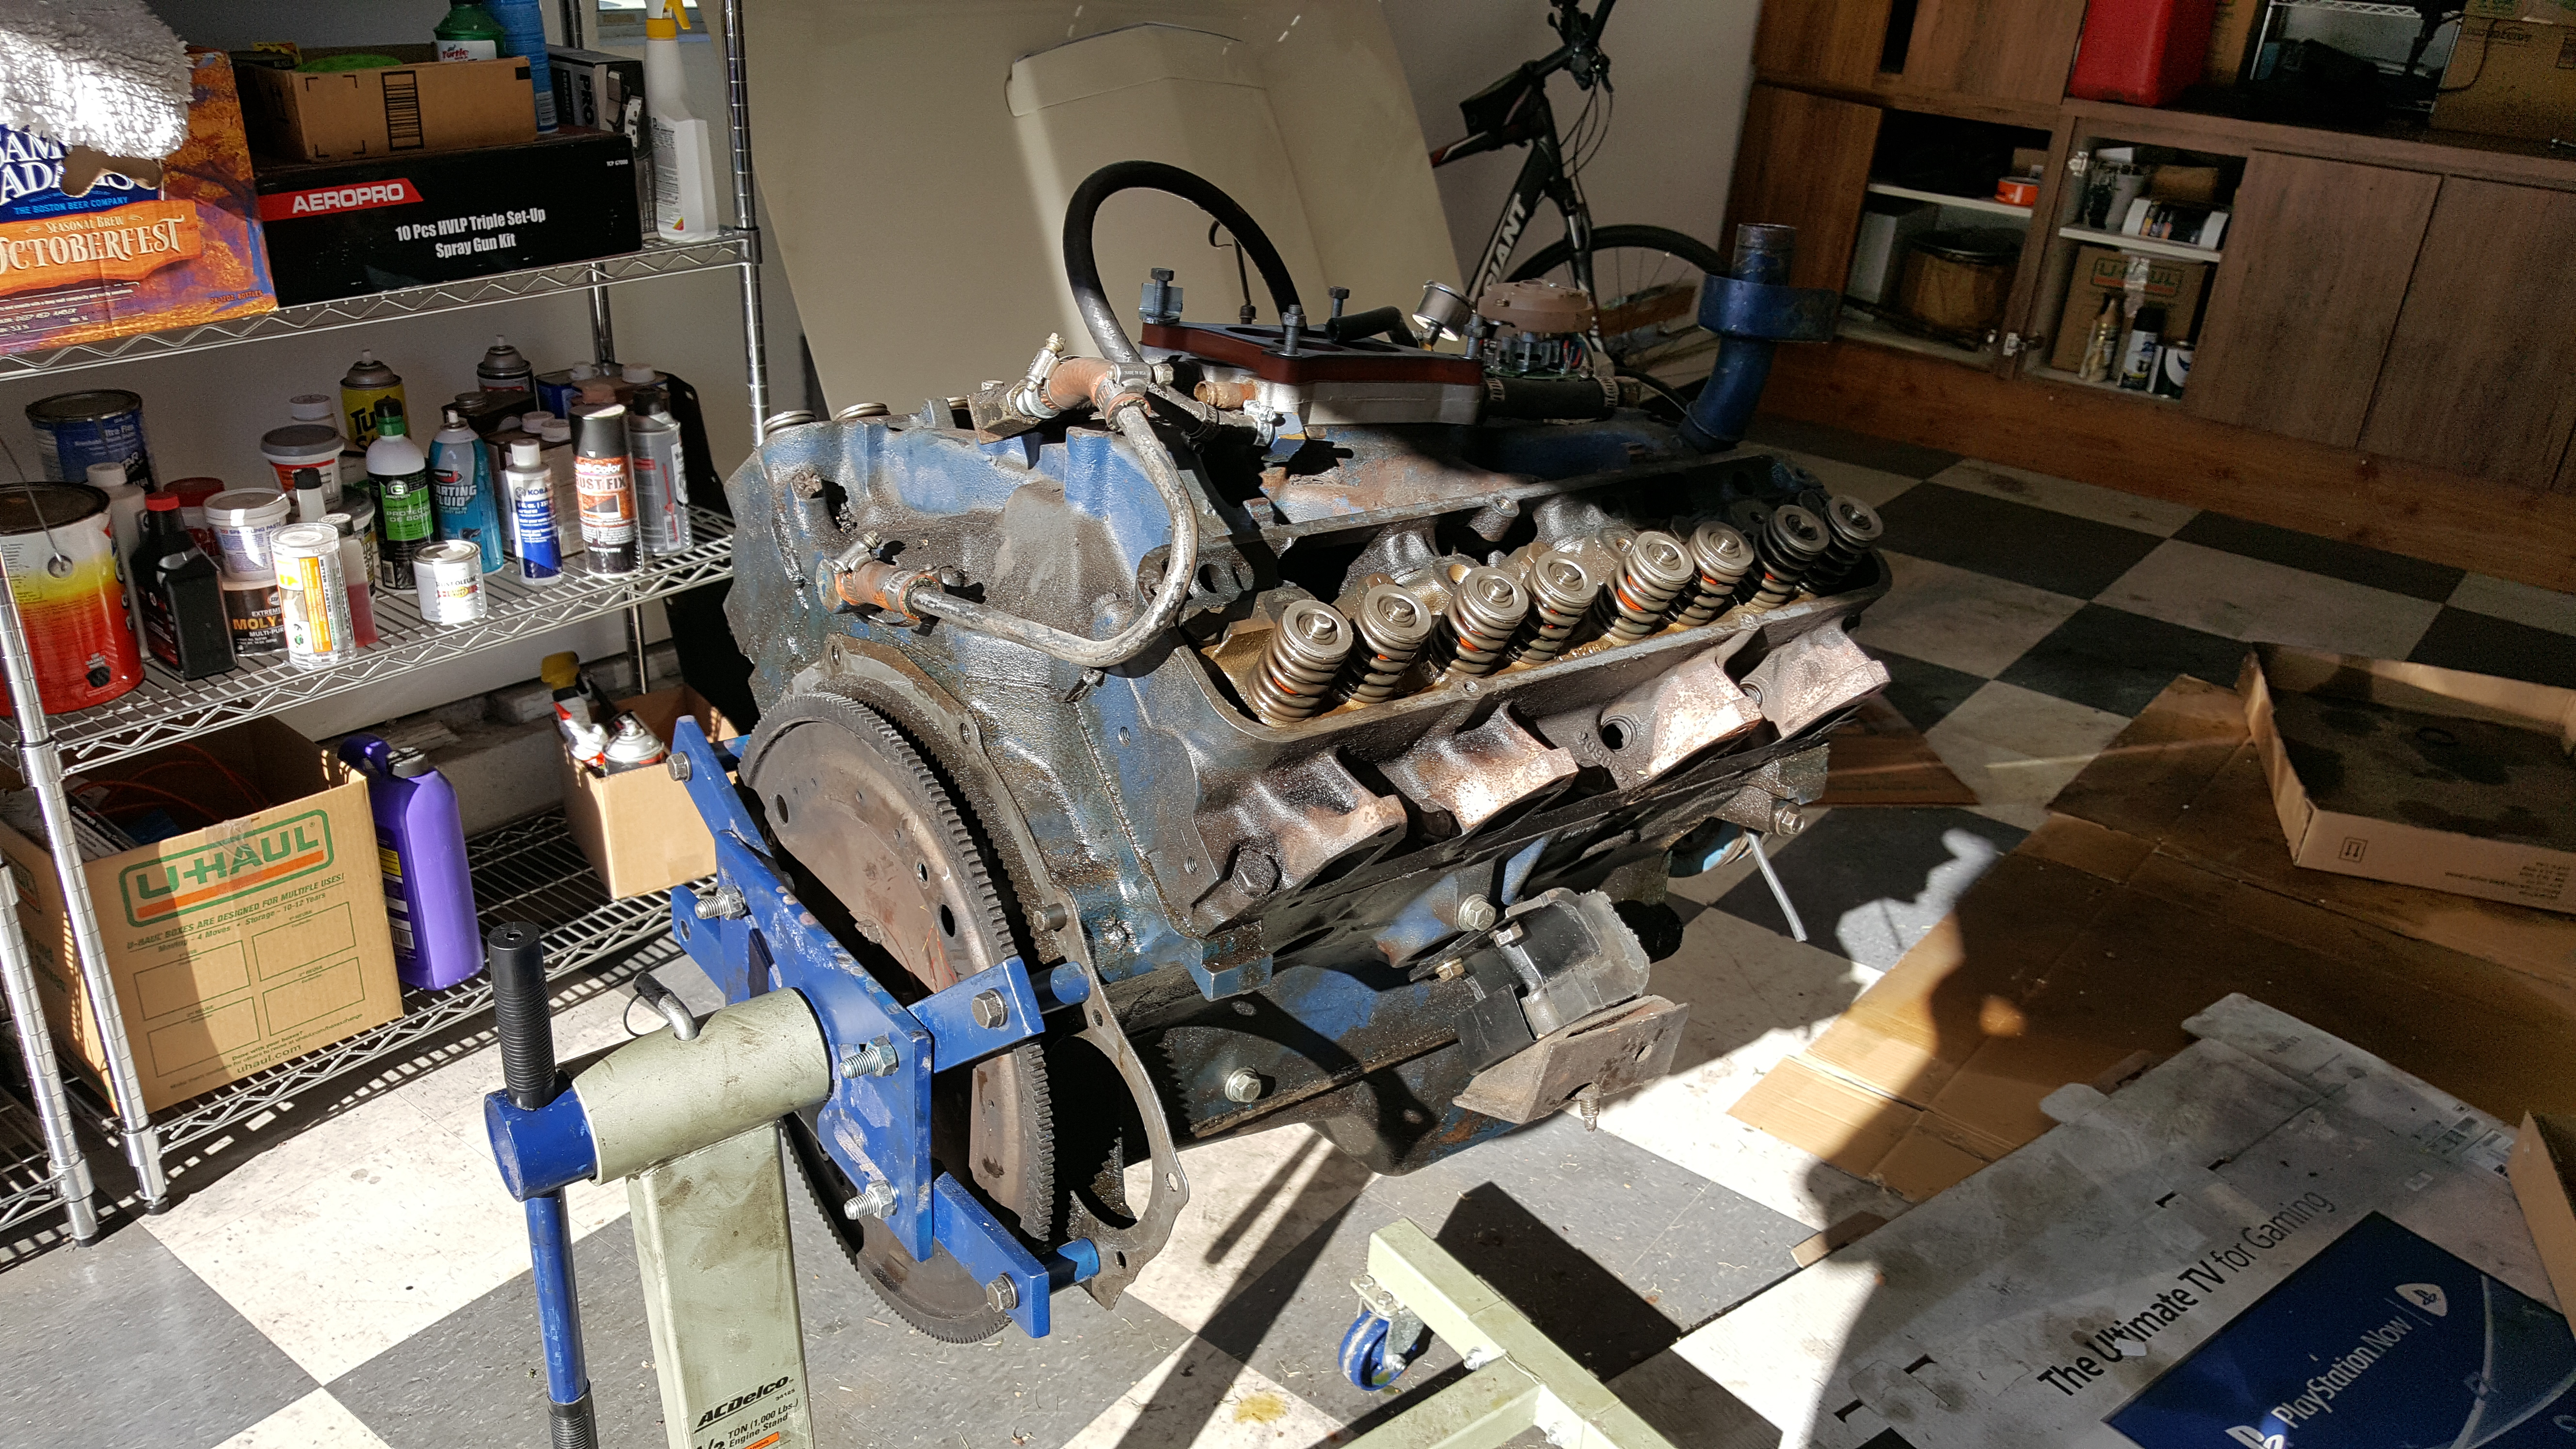
About half way–all the easy parts have been removed.
Last week I performed some thorough diagnostics on the motor: checked the vacuum, tweaked the tune on the carburetor, looked at the timing, etc. In the end, the high rpm hot misfire persisted—maybe even got a little worse, as I managed to coax a backfire during one test run.
While I’m not 100% convinced it’s an internal engine issue, I strongly suspect it. (It’s unlikely, but it could still be an ignition issue in the distributor or plug wires.) Digging deeper, I pulled the valve covers and the rocker arm assemblies. There were no bent pushrods and nothing looked terribly amiss at this level, except perhaps an odd wear pattern on the rocker for the #8 exhaust valve. That cylinder was also the low outlier when I did a compression test some years back.
A little corrosion, but otherwise nominal.
The diagnostic flowchart goes down the rabbit hole at this point, but one strong possibility is an out-of-spec camshaft. So, with help from my son, the engine came out of the car yesterday.
I’ve pulled engines from at least 5-6 cars over the years, and each one of them has been a challenge in some way. The tight fit in the Thunderbird engine compartment had me relying on every bit of that experience. (And I gained even more in this evolution.)
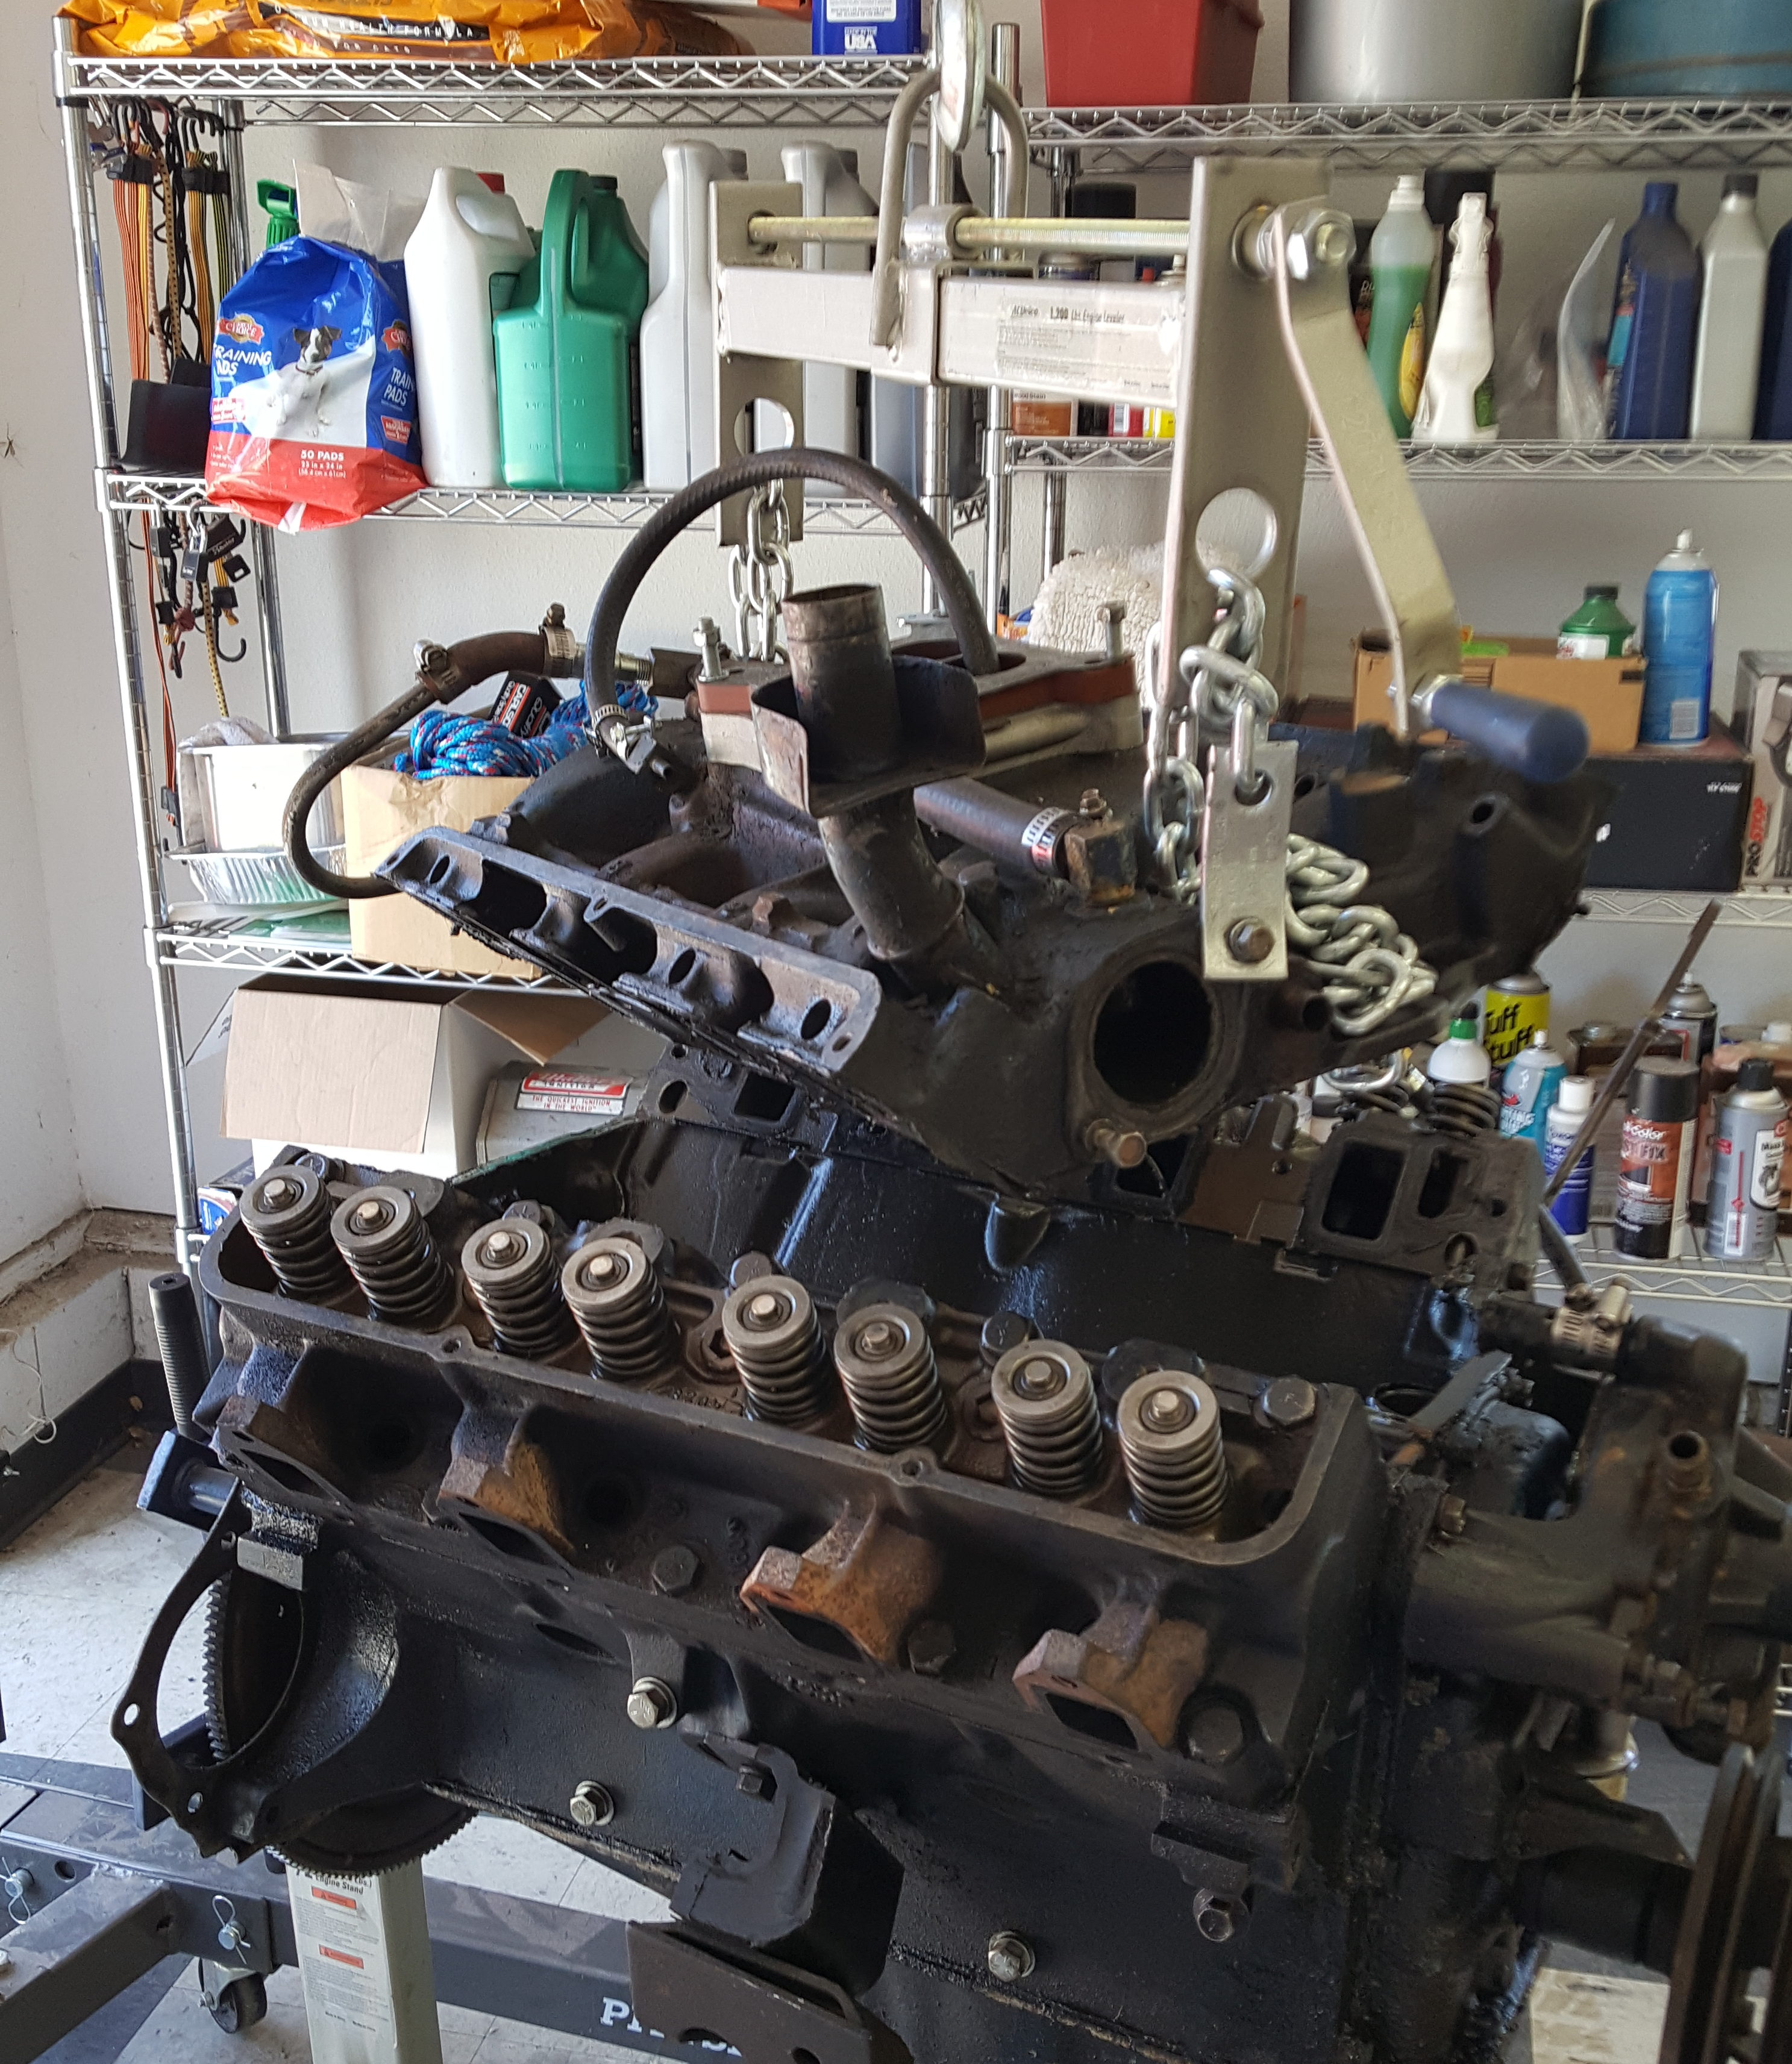
The FE is heavy; right at the limits of my engine stand.
Getting the hood and accessories off was routine, and with the radiator out, the front of the engine is remarkably easy to access. Likewise when the hood came off things like the throttle arm and bellhousing bolts—notoriously difficult to reach—were right there for the taking.
Underneath, the exhaust flange bolts are buried in deep, greasy recesses, and even though these had been removed a few years back when the transmission came out, they were completely frozen. I ended up removing the 16 exhaust manifold bolts instead. (Many were, surprisingly, only finger tight! I guess the exhaust guy I used doesn’t believe in lockwashers).
Lots of cleanup to do here. At this point, the fluid leaking from the transmission is just a trickle.
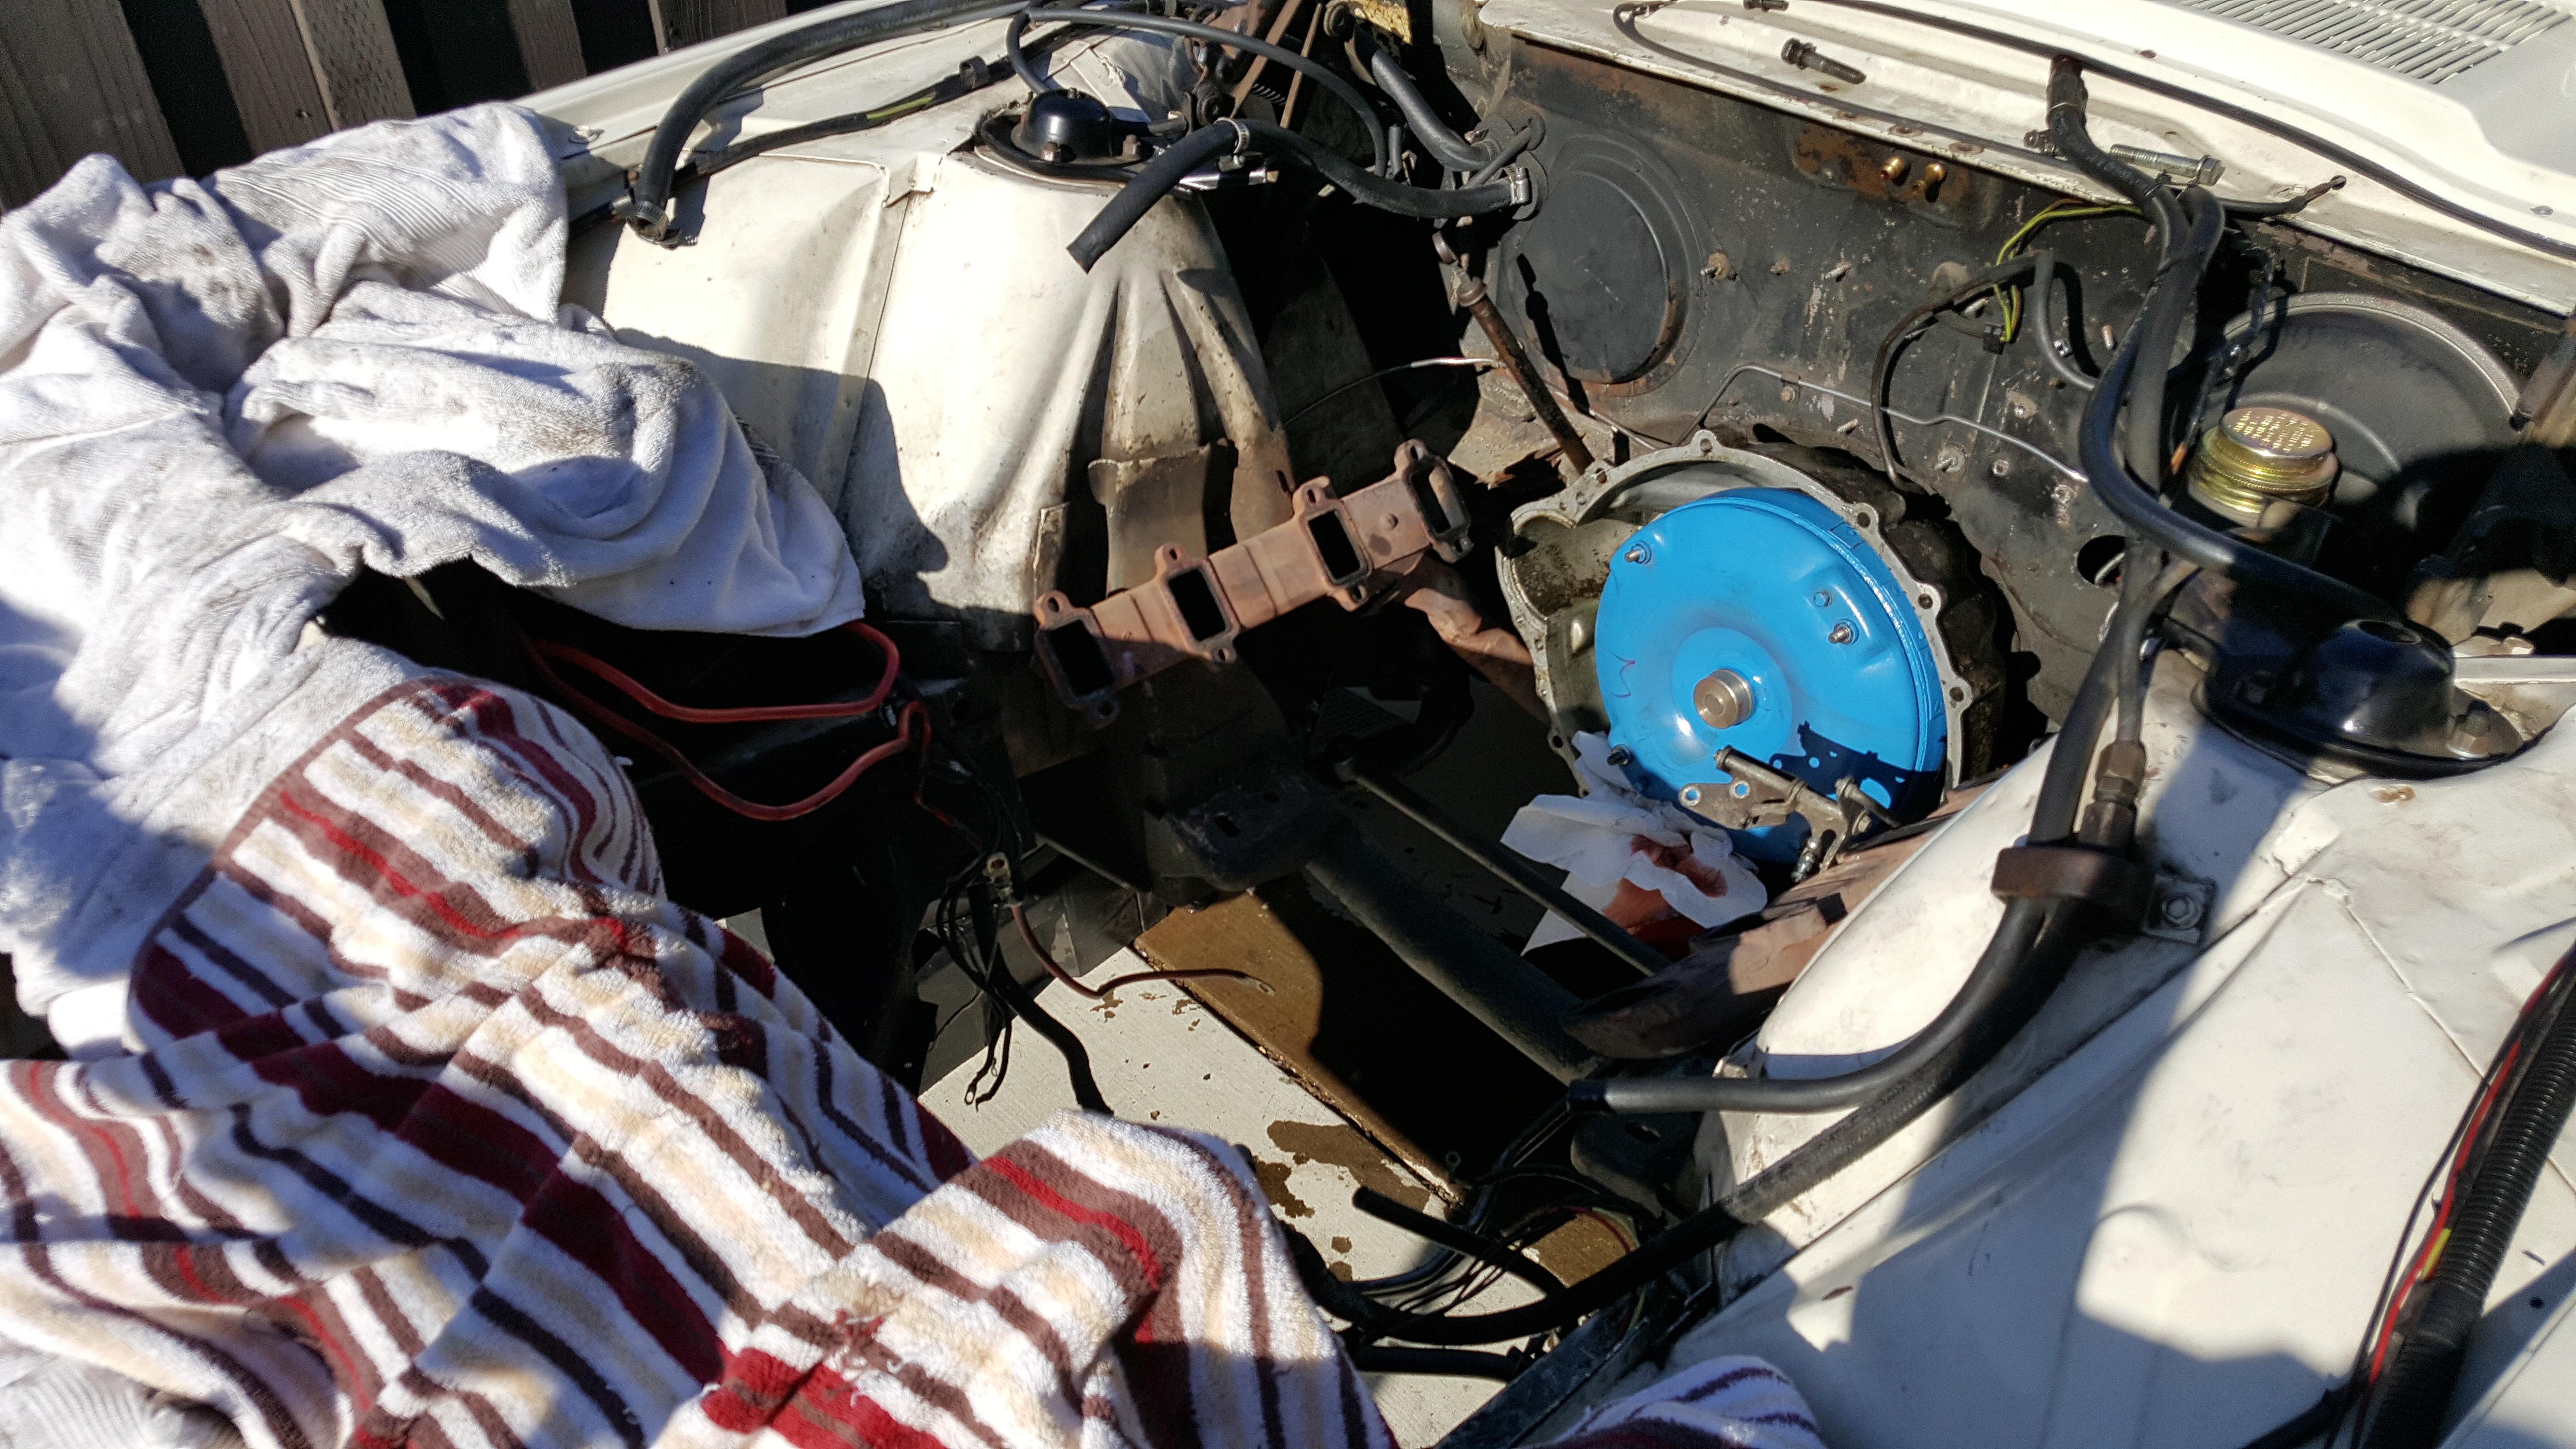
While lifting the motor, we got hung up on the transmission cooler lines (hate those things, but no damage done) and the motor mounts snagged on the now free-floating (but unremovable) exhaust manifolds. After some head-scratching, we worked it free and the lift had just enough height to clear the radiator support. (The car being up on ramps to facilitate work underneath.)
There’s a paradox to the engine removal in the T-Bird. The motor has to come up a few inches to clear the motor mount studs, but it has to come forward an inch or so at the same time in order to clear the studs on the torque converter. It’s difficult to do both at once. In my case, the converter came partway with the motor and some 4 quarts of transmission fluid poured out the bellhousing until I pushed it back in. I’m not sure if that’s normal on a COM transmission or if I mucked up the front transmission seal.
In any event, with the lifting out of the way, the real work is just beginning.
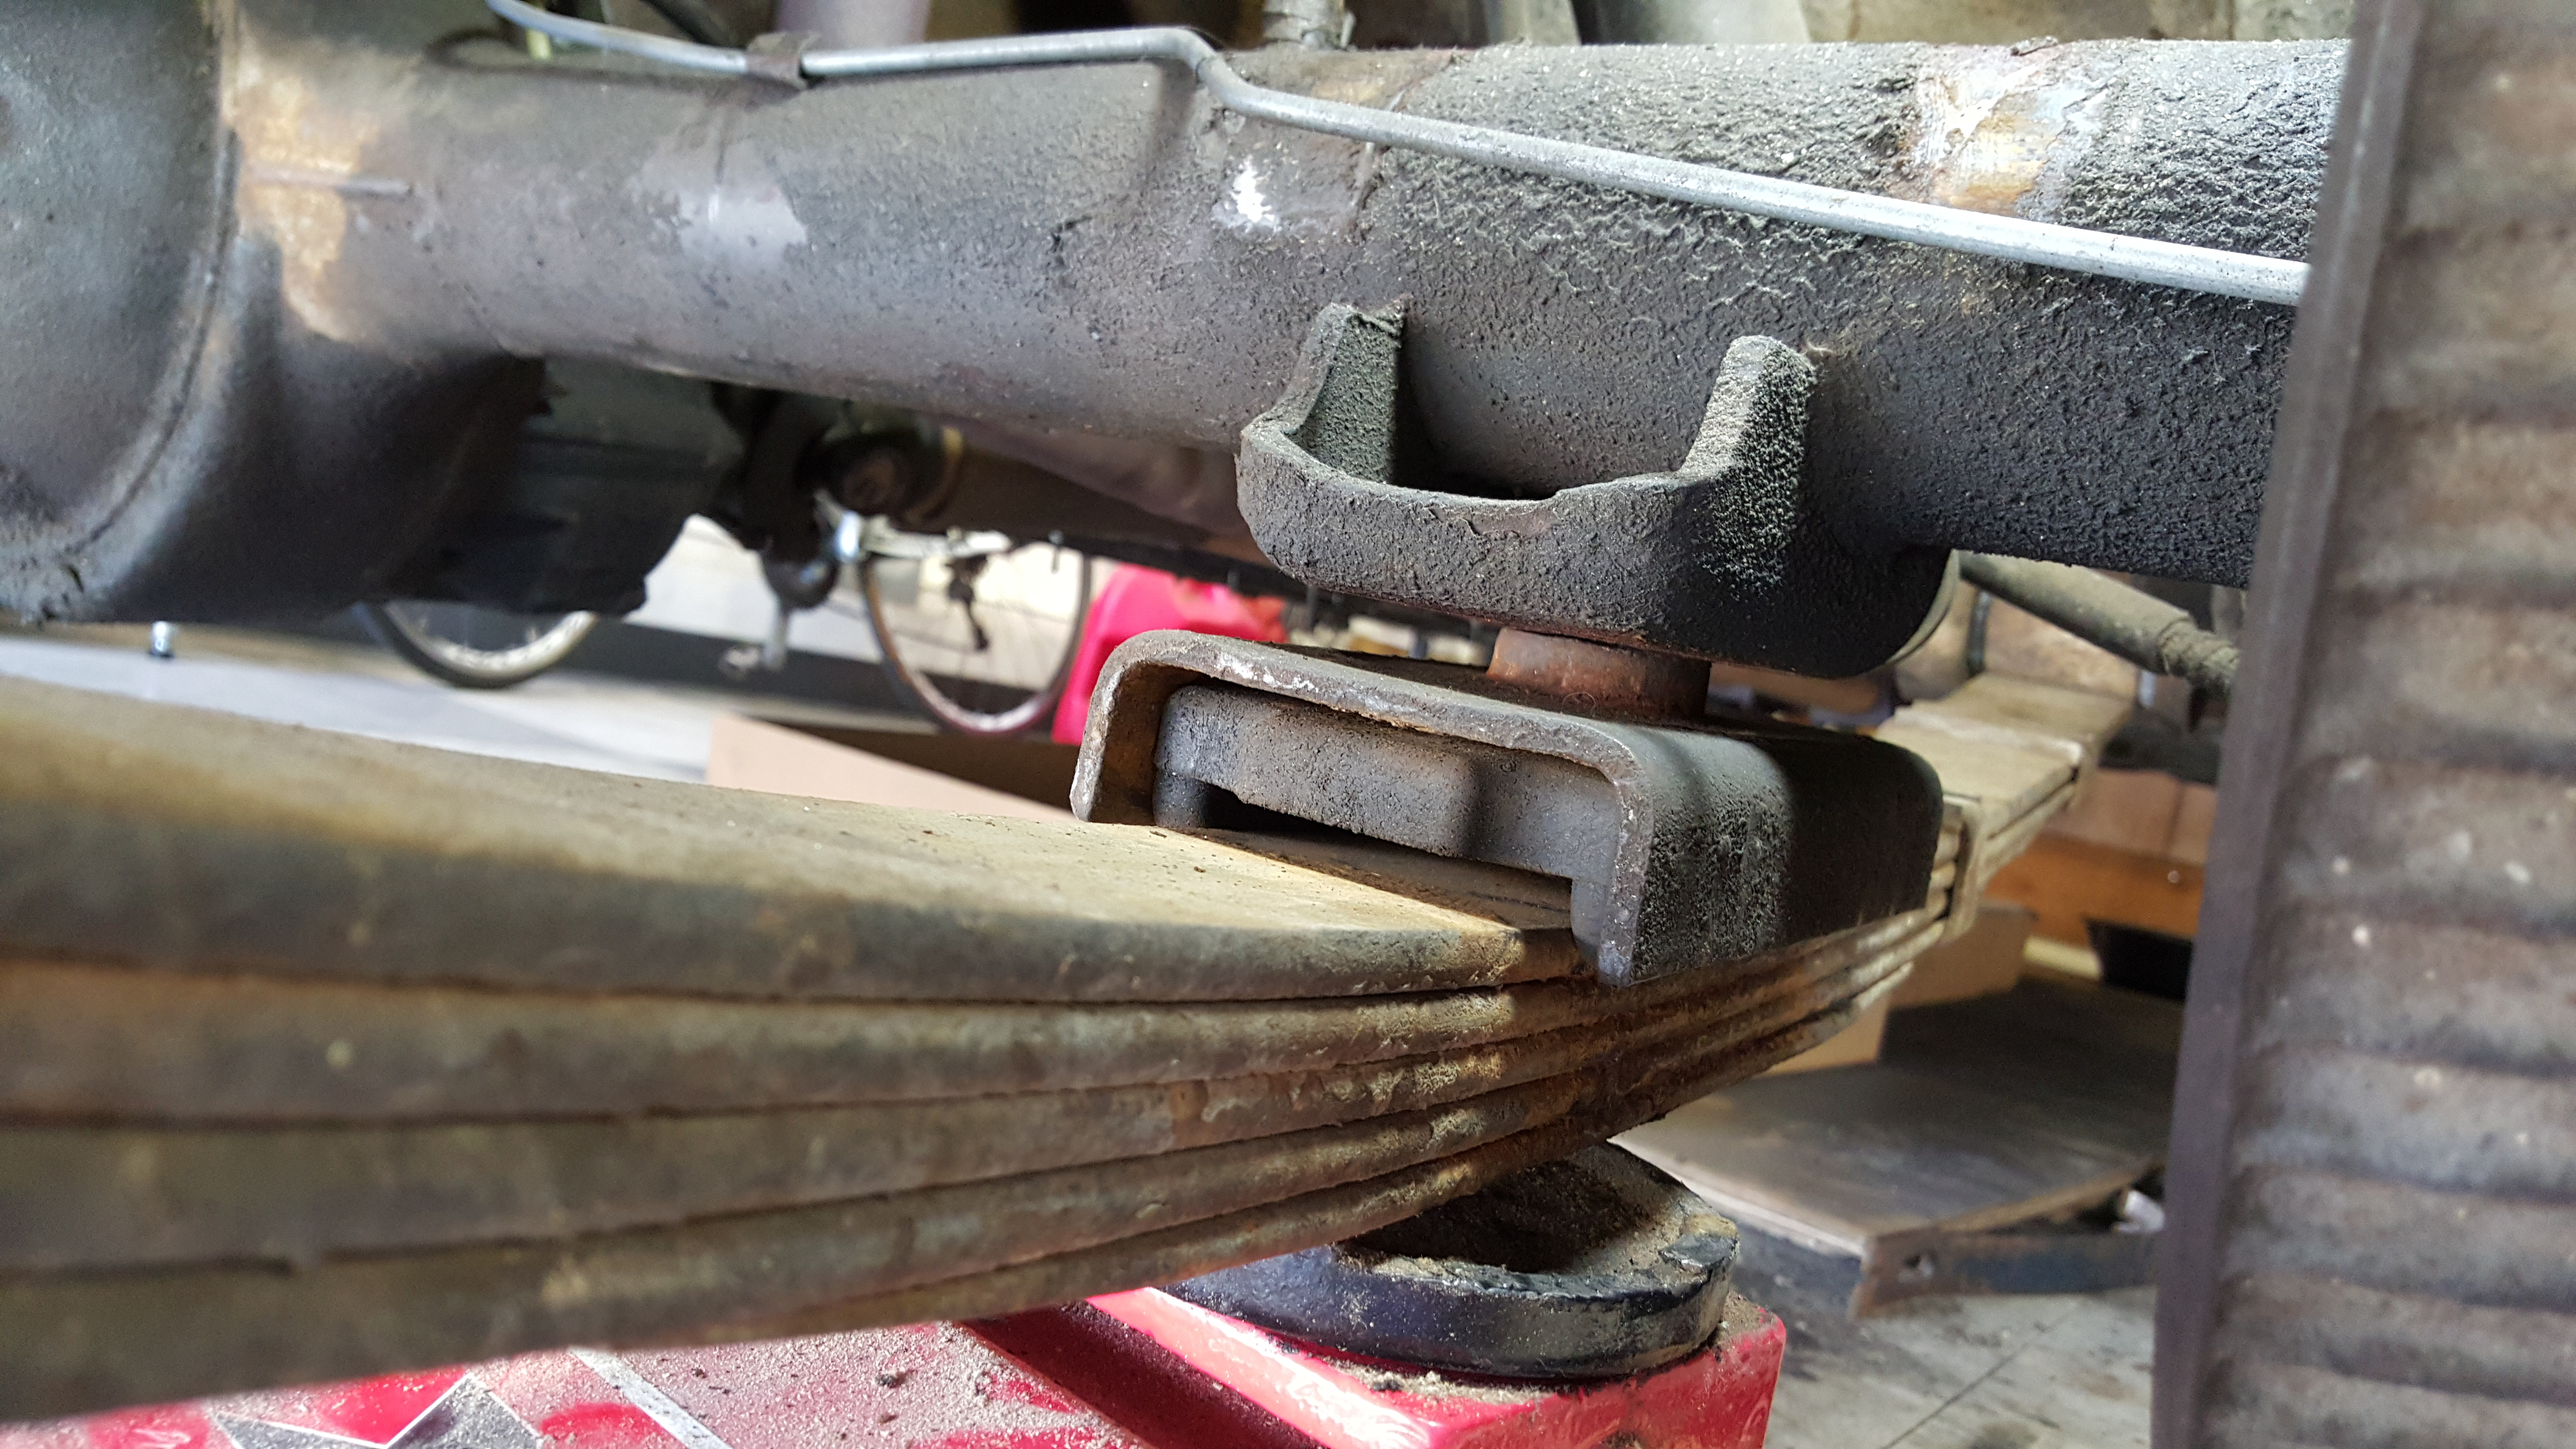
As it turns out, removing the rear springs to replace the bushings was more intuitive than I thought. Following the manual and some great guidance from a VTCI member, it was straightforward—if sometimes heavy—work.
Aligning the spring to the axle took some muscle and the occasional application of leverage from a cat’s paw.
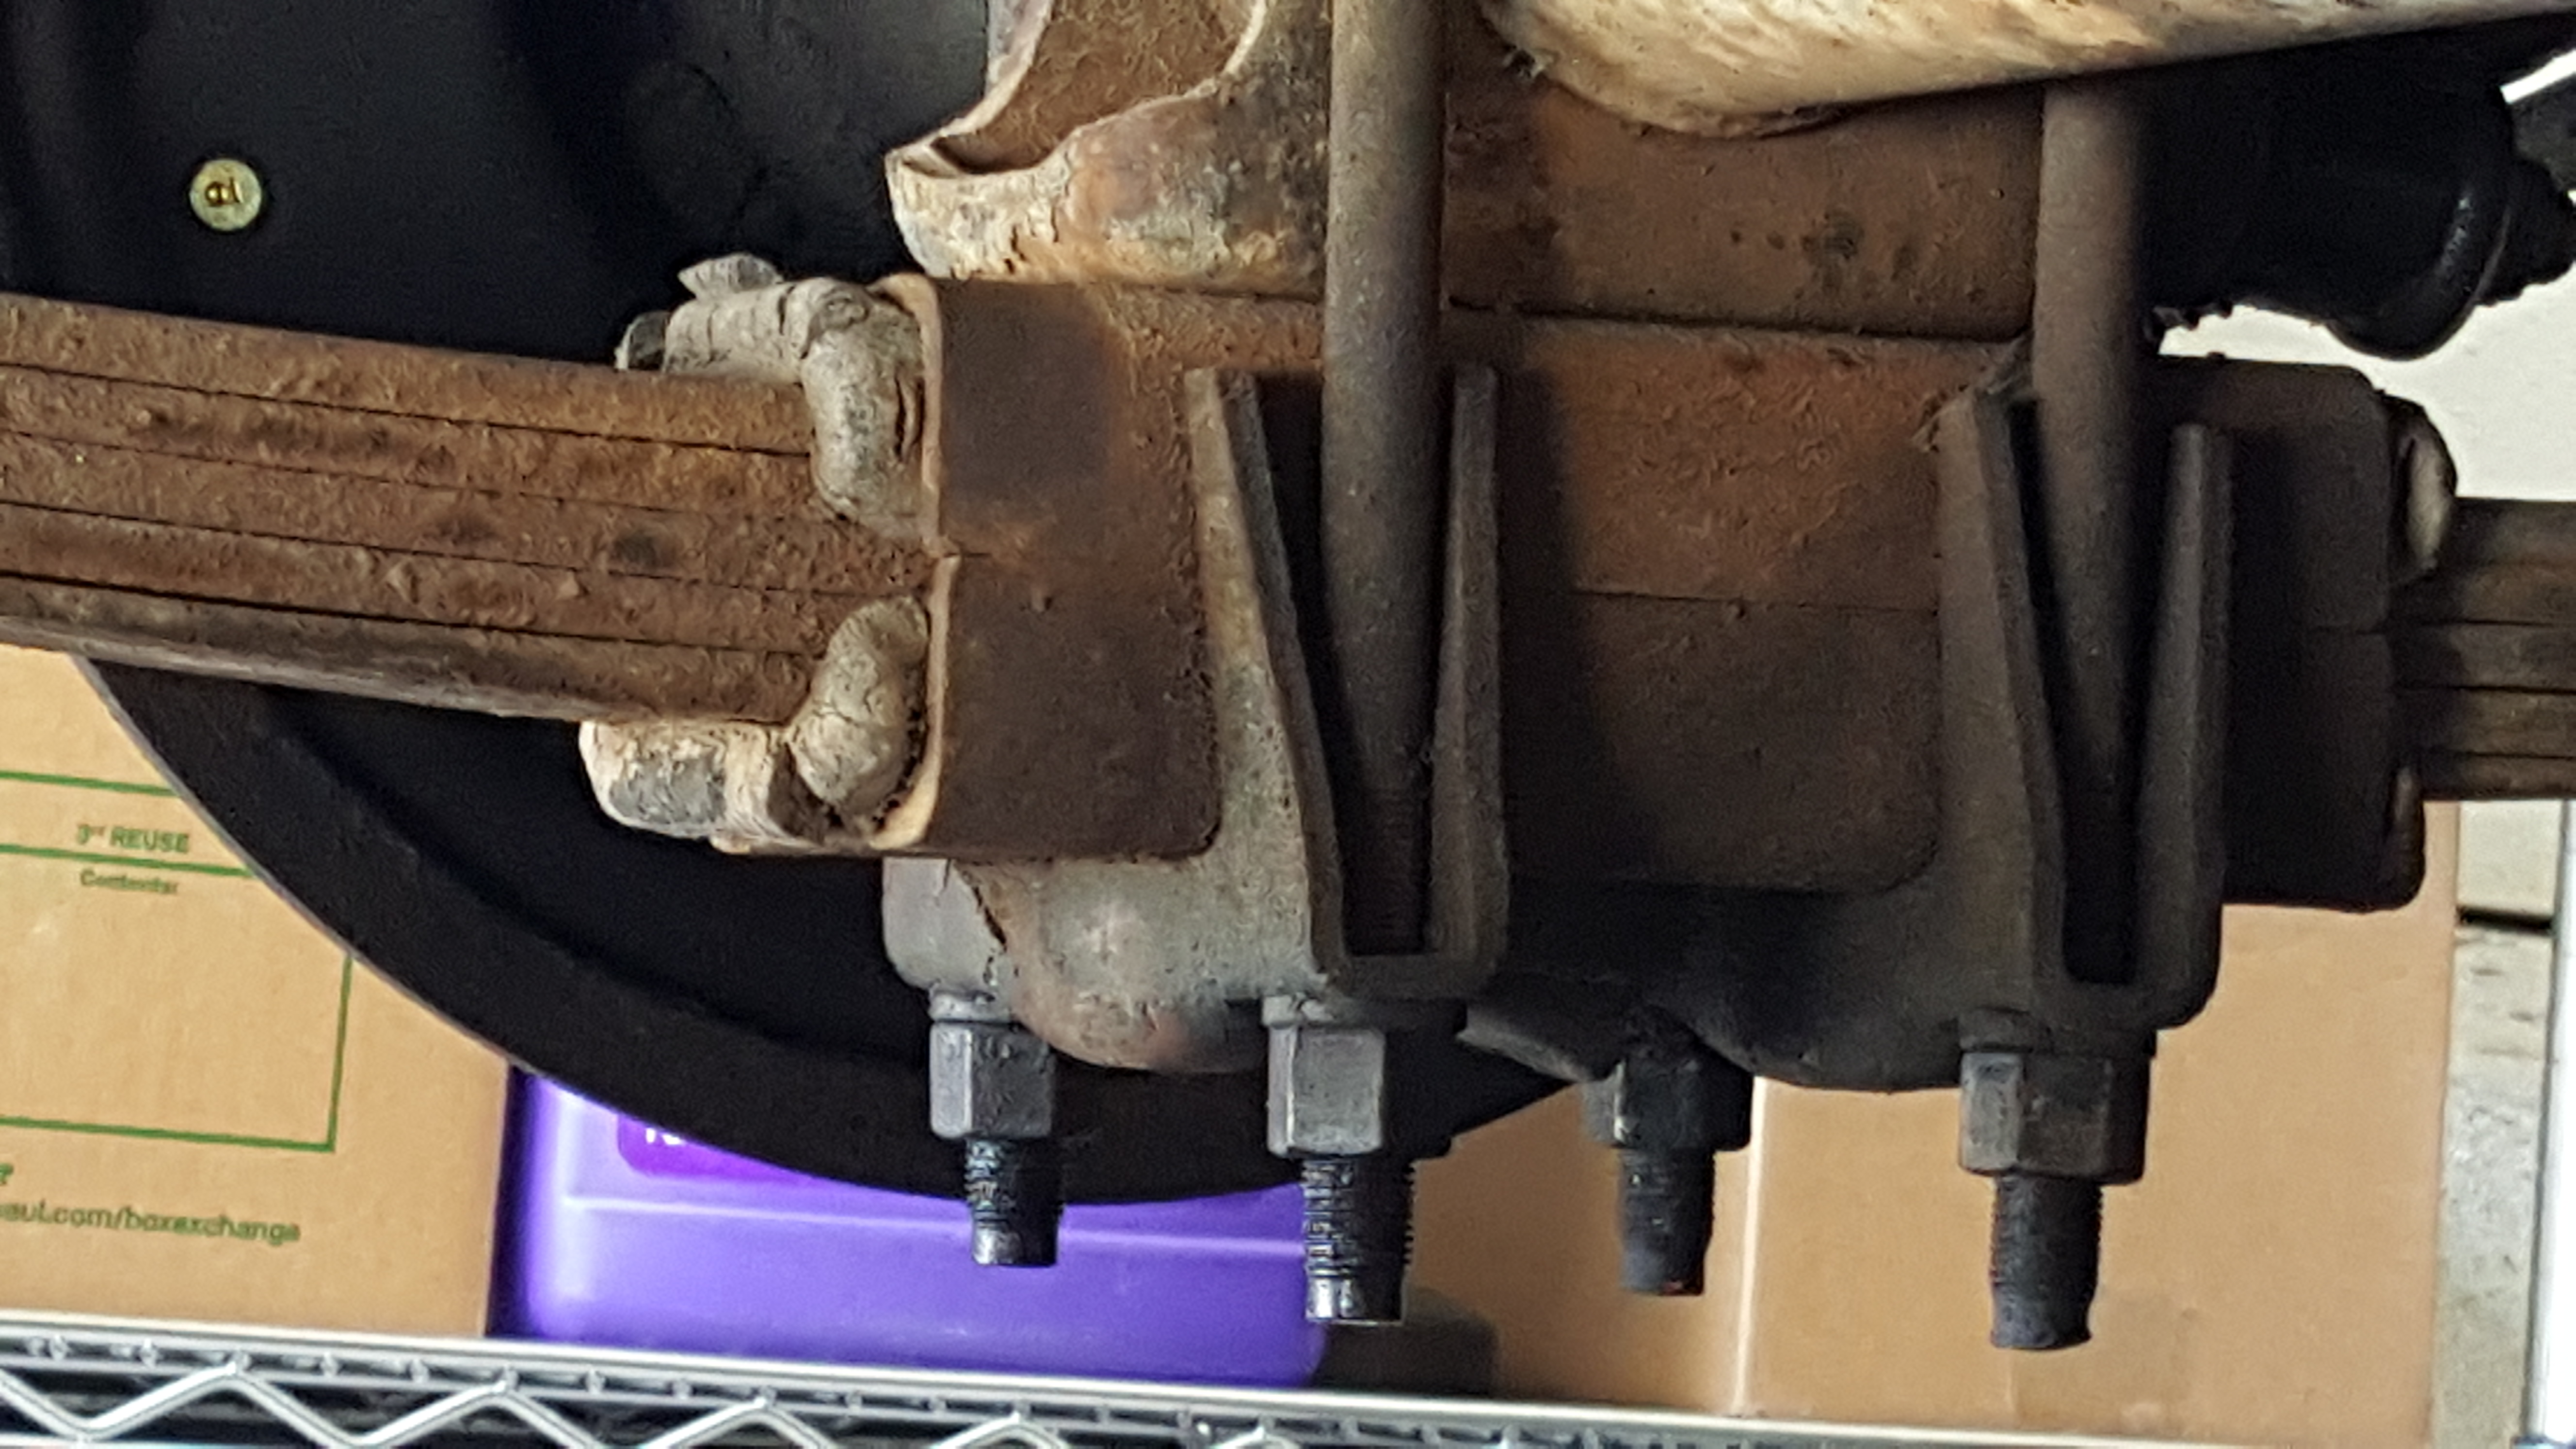
I ran a die down each leg of the U-bolts to chase and clean up the threads, which were pretty beat up after years of road debris. I also tapped out two of the nuts, which were damaged when I unscrewed them. I’m told that wasn’t such a great idea, as they are meant to work like pinch nuts, locking in place. I’ll check the torque on them after a few hundred miles, just to make sure replacements aren’t in order.
Fifty+ years of wear and weather doesn’t look good on rubber parts.
It’s hard to say for sure, but wear marks on top of the axle lead me to believe that the clunking noise was coming from the U-bolts walking around the axle over bumpy stretches (the rubber insulators having degraded and shrunk so badly.) If the new bushings don’t quiet things down, the next step would be to replace the springs and mounting pads. For the moment, though, except for replacing lock washers, I reused all the non-rubber parts. Despite some rust and corrosion, everything still appeared sound, and the ride height is ok.
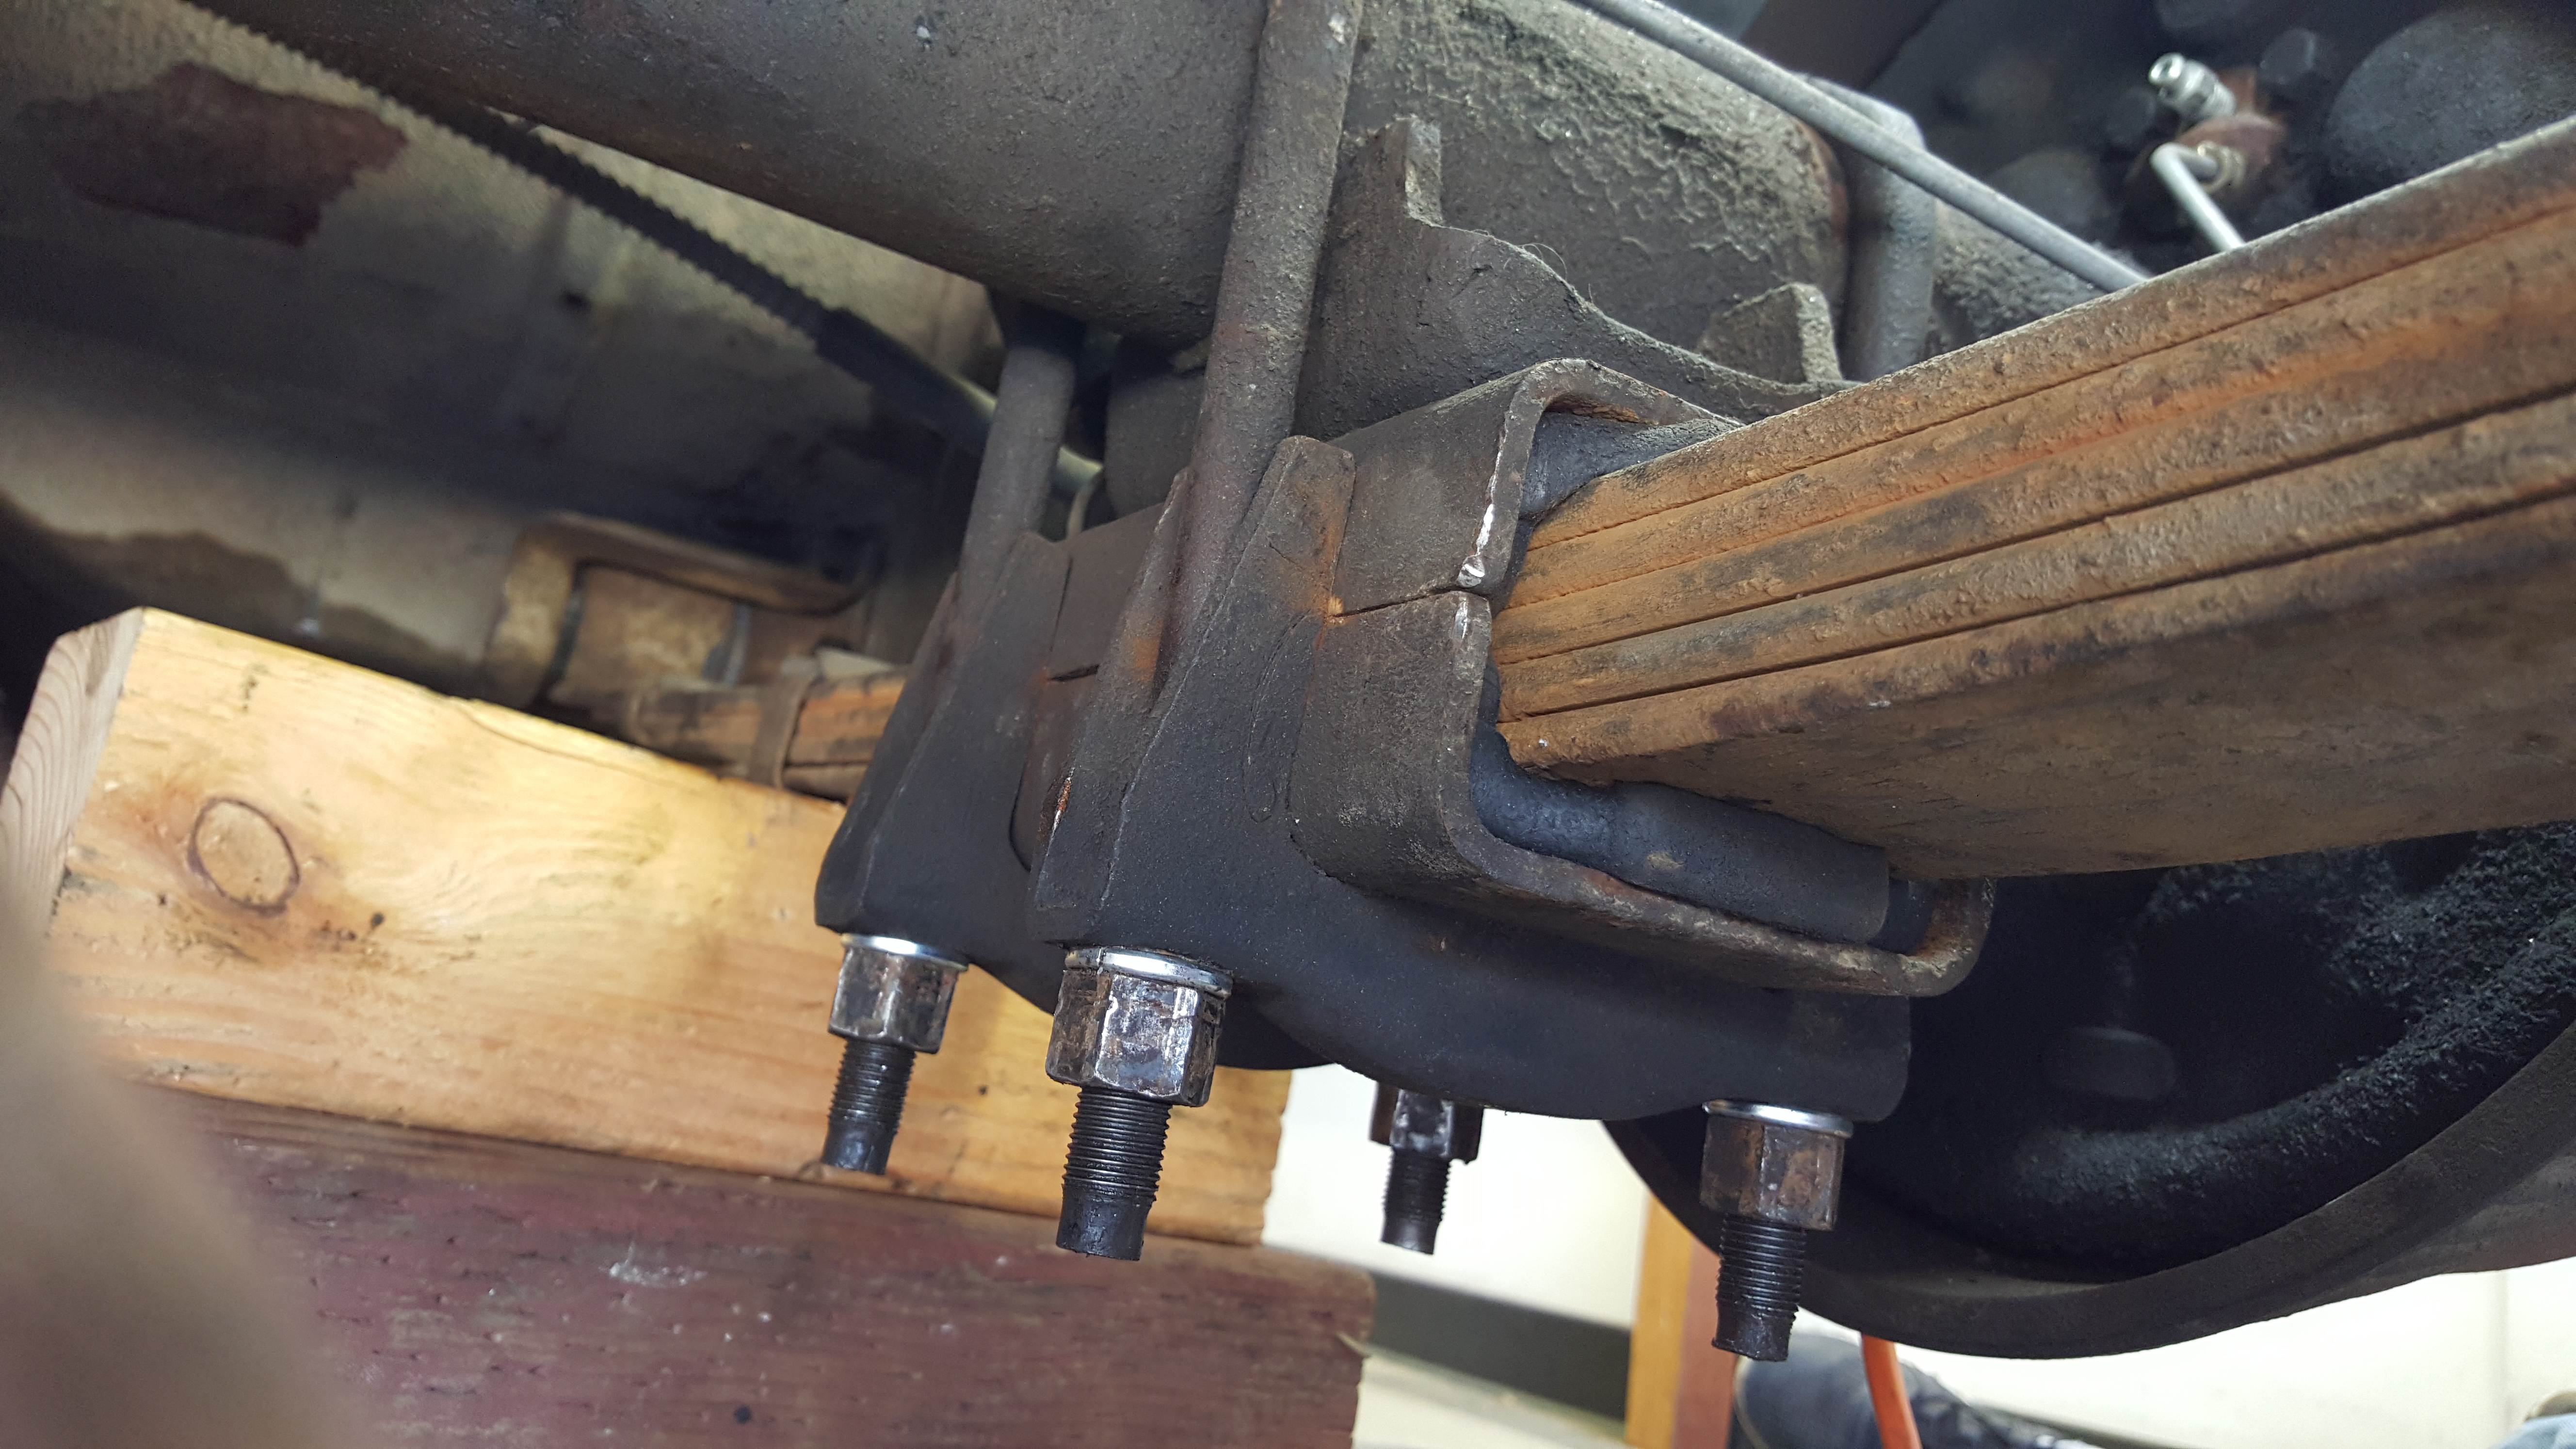
How the final assembly looked, torqued and ready to go. At the top of the axle, some of the wear marks are visible.
I don’t yet know how the new bushings feel because the new fuel pump is not yet installed. I discovered that with the car up on jacks, tires hanging, the anti-sway bar in front interferes with its removal. (Having the car up in the air did make an oil change super easy, though). The pump came right out when the bird landed. With luck, I’ll have everything buttoned up in a day or two.
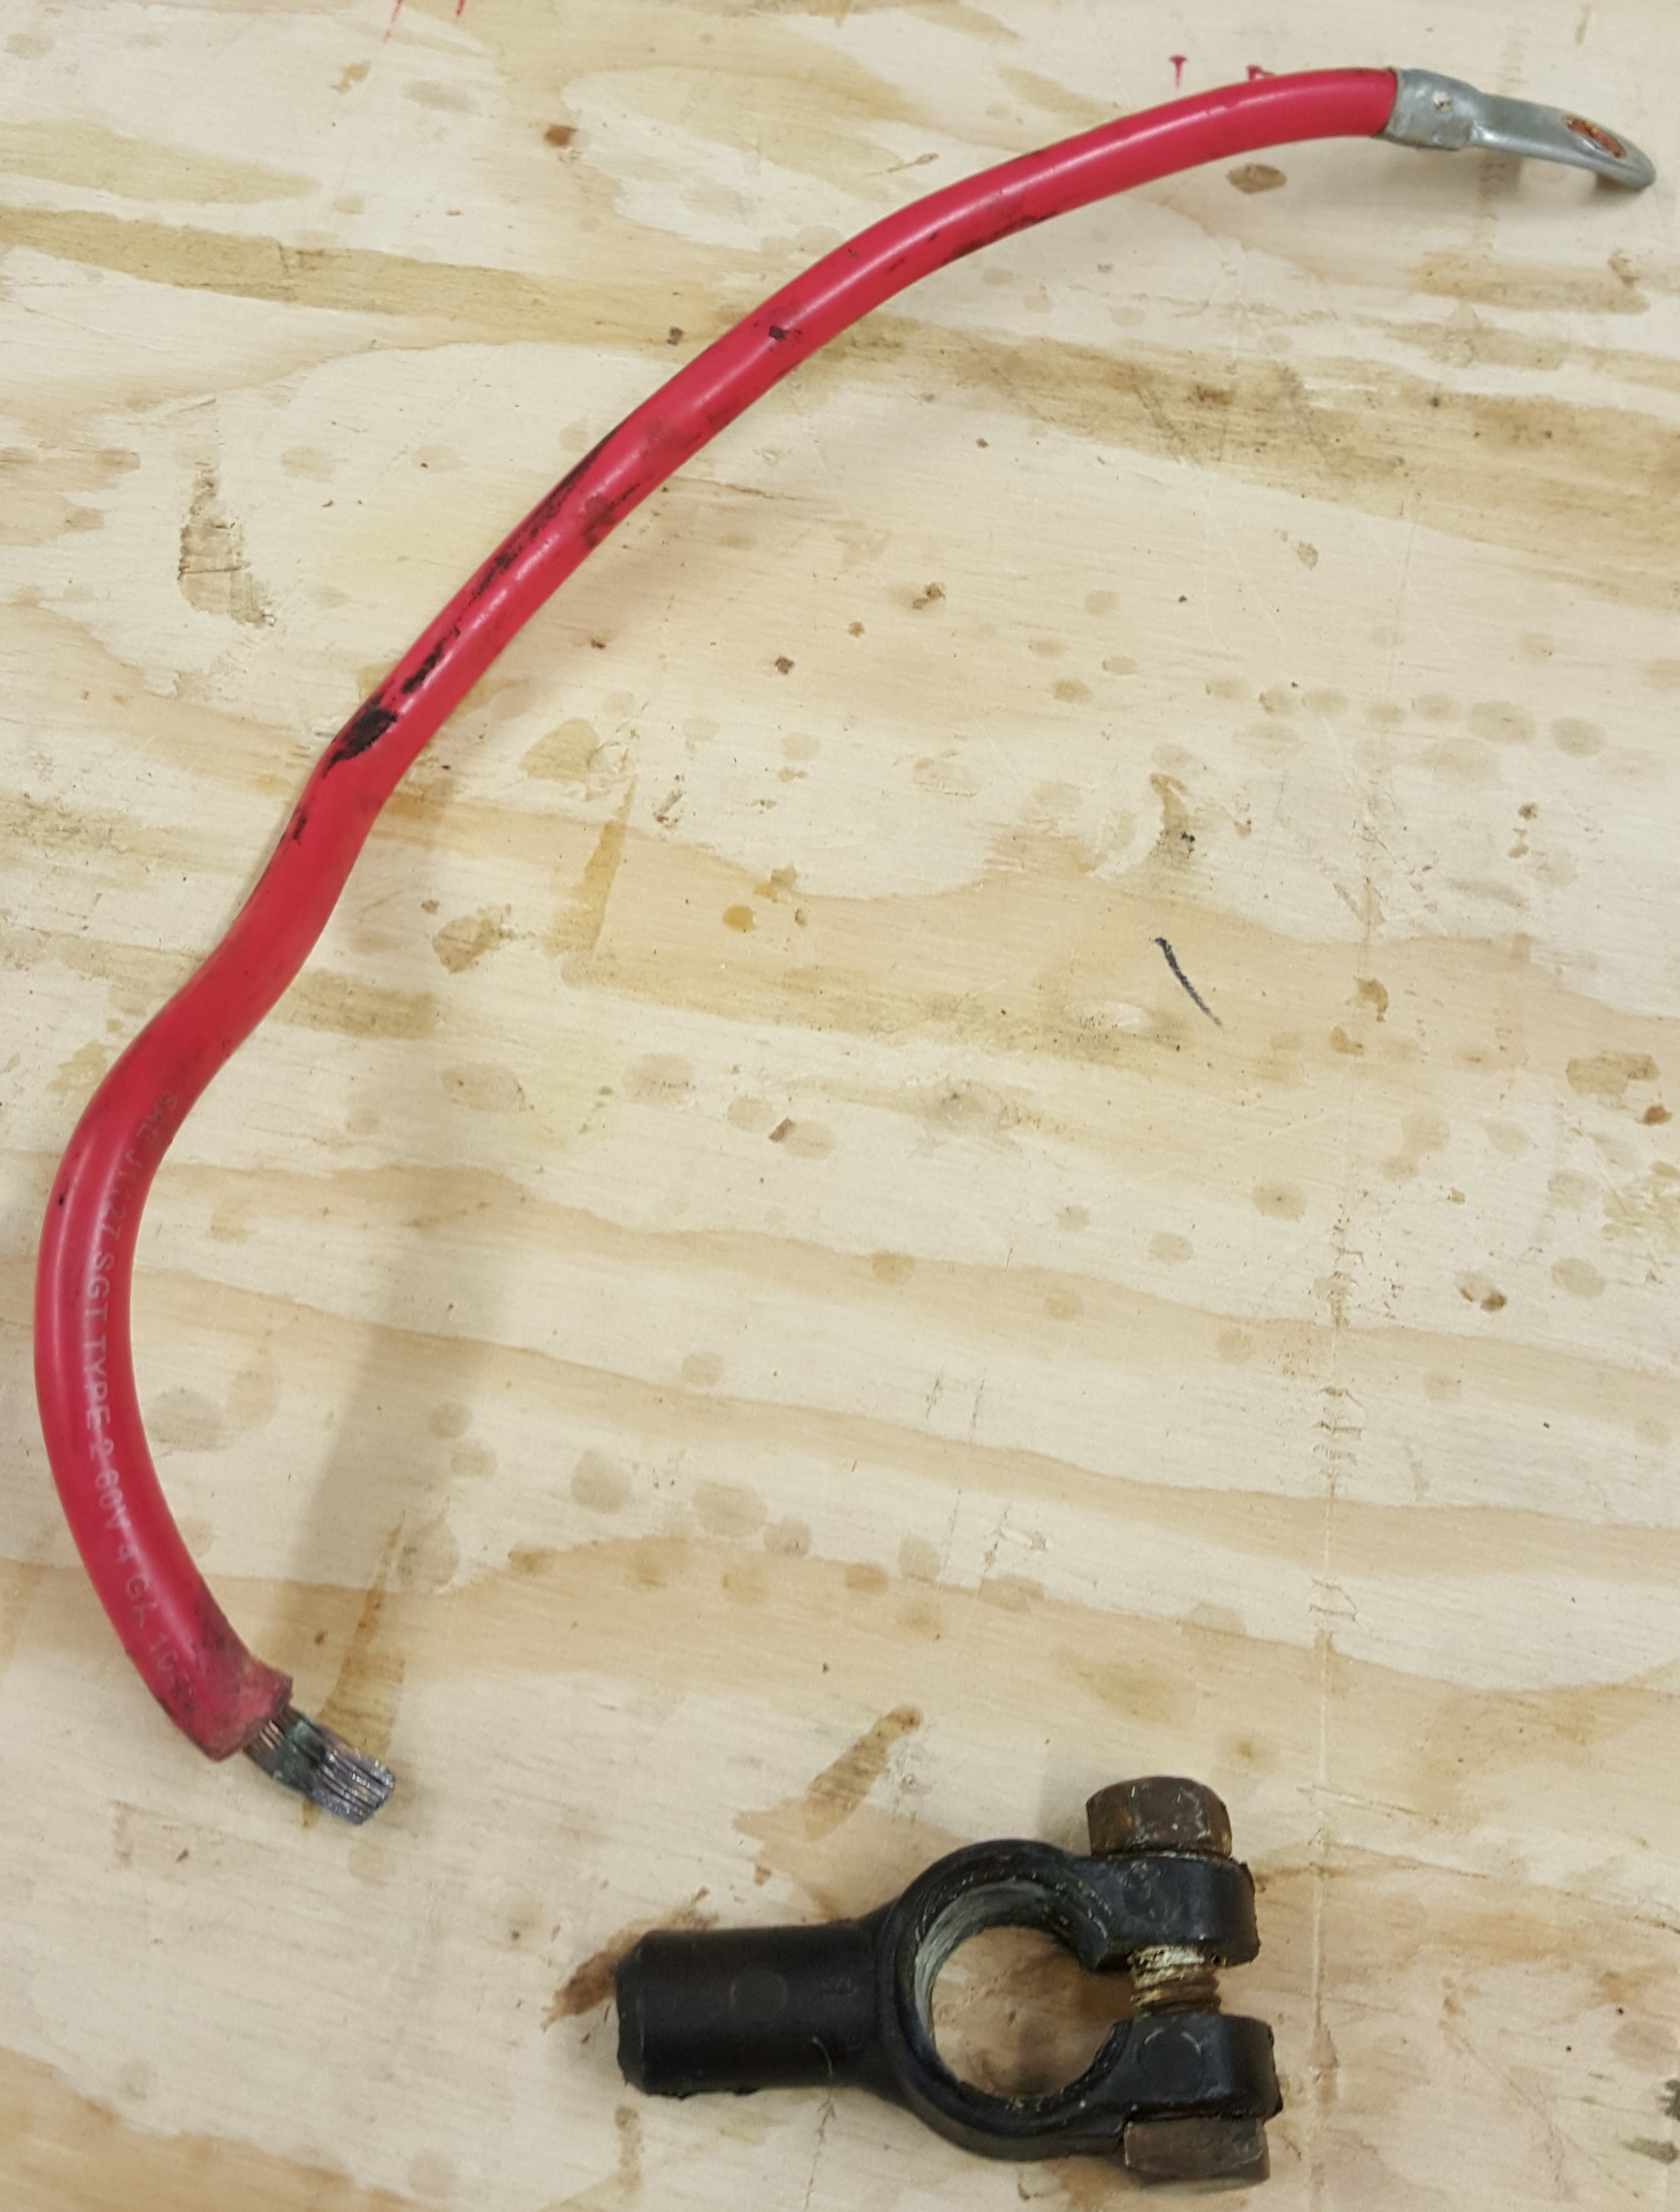
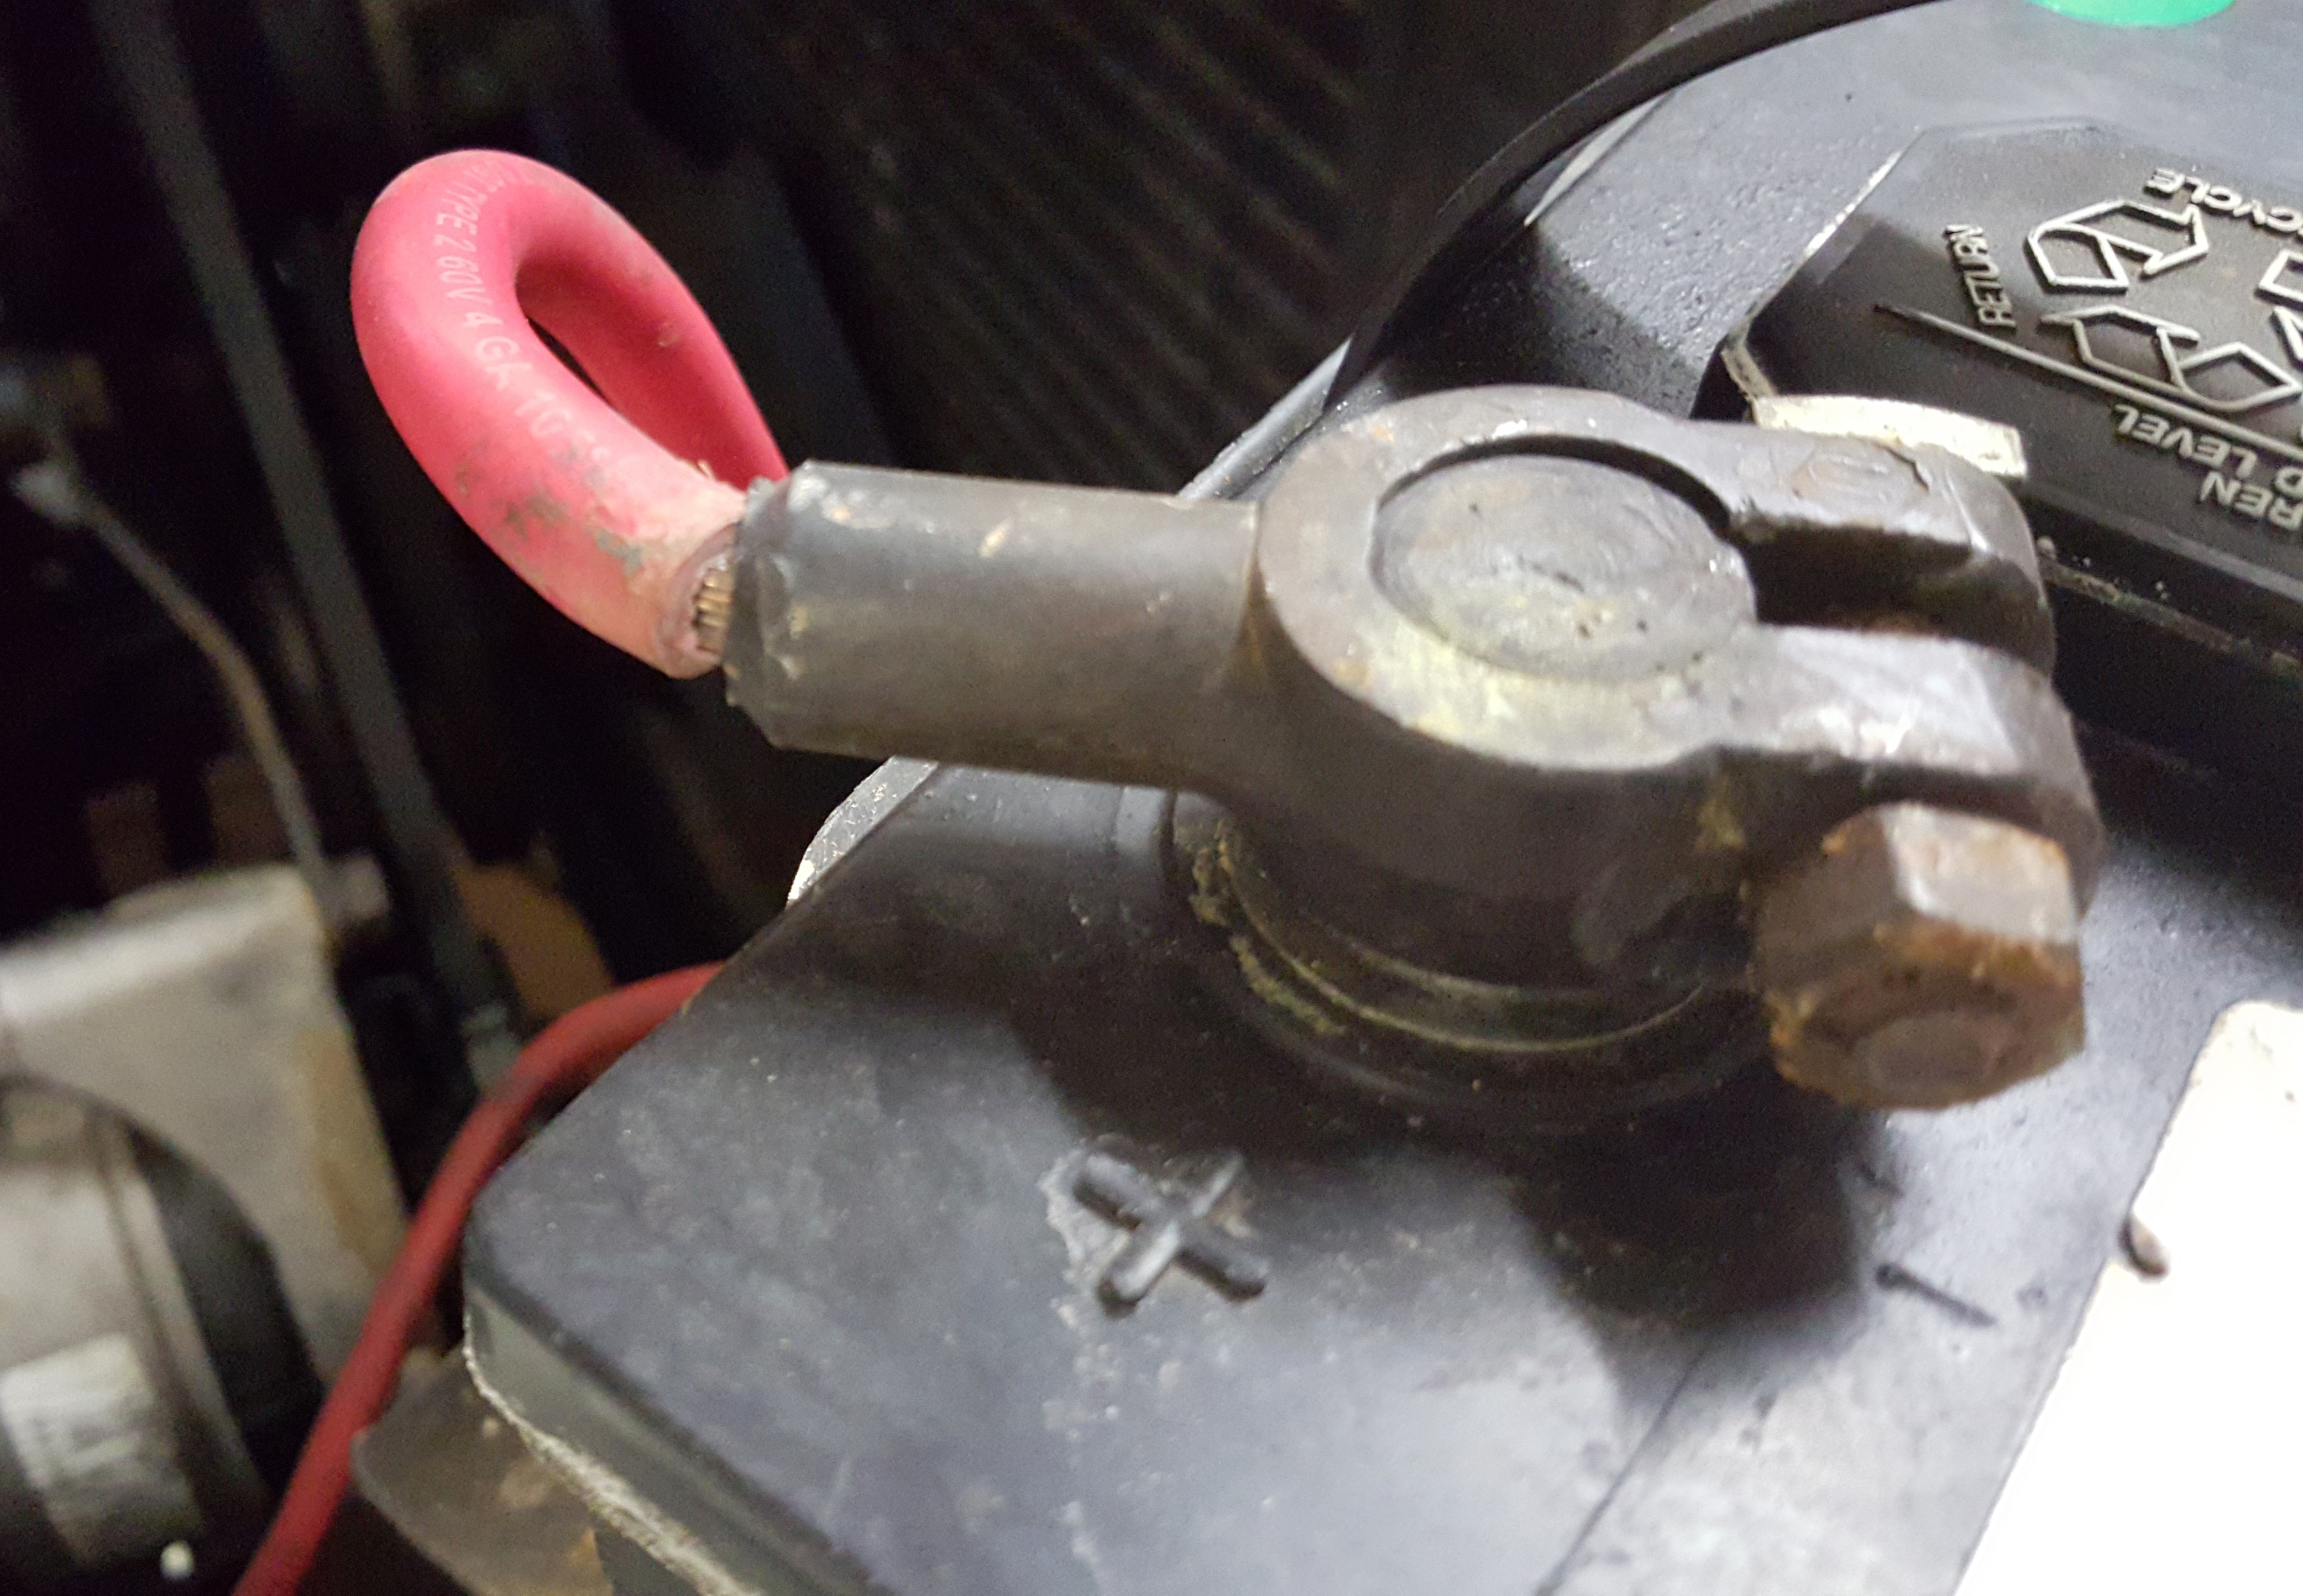
Pretty sure I shouldn’t be able to pull it apart like this.
It only took a few minutes to swap out the old positive battery cable, despite the limited access on the solenoid side of things. After I removed it, I was able to pull the old cable right out of the fitting by hand, so it had clearly gone south.
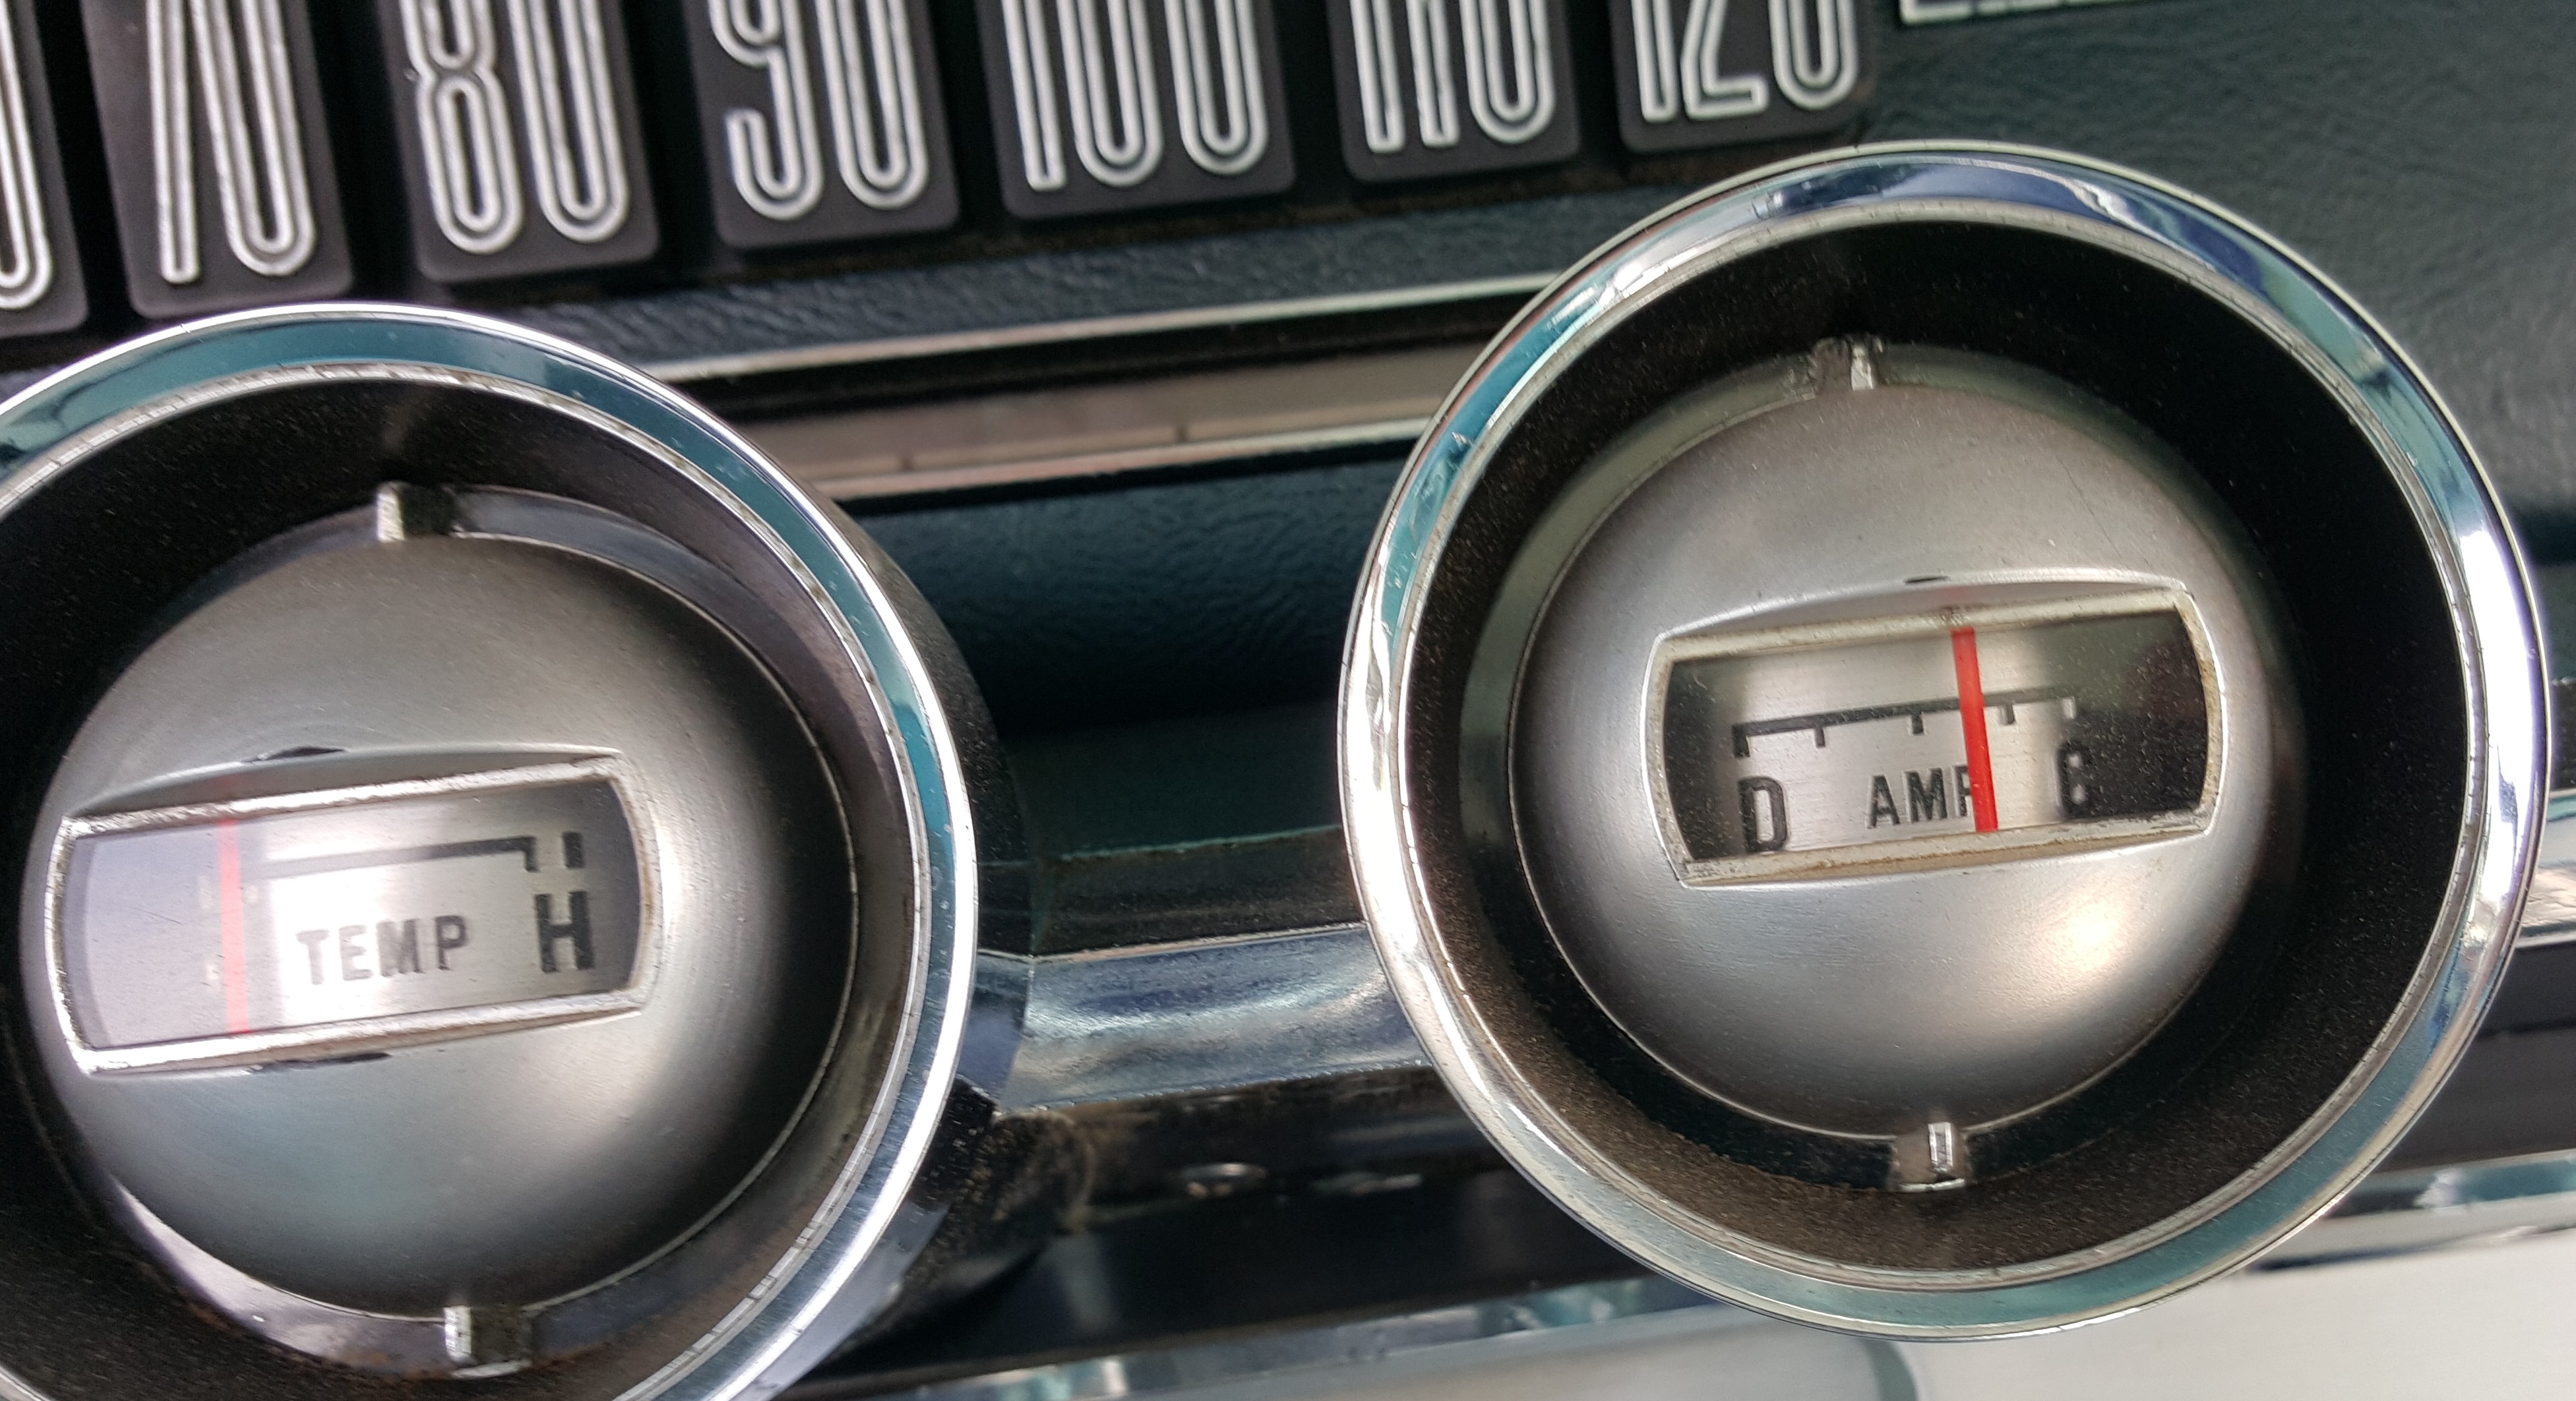
The good news is that the car started fine. I drove it across town on a few errands. In the beginning, the only oddity was the Amp gauge swung way over on the charge side—where it stayed the entire time.
Sad to say, though, the engine stumble (which I thought might be related to the battery connection) was just as bad, if not worse, than before. I had trouble holding speed on the freeway (especially when the engine was hot), and on a cruise through the countryside, any acceleration or load on the motor was met with a cough and sputter.
Charge!
Back home, I could see that there was a lot of air in the fuel line, so I suspect a failing fuel pump—probably the 4th or 5th I’ve gone through. I’ll get a replacement on order.
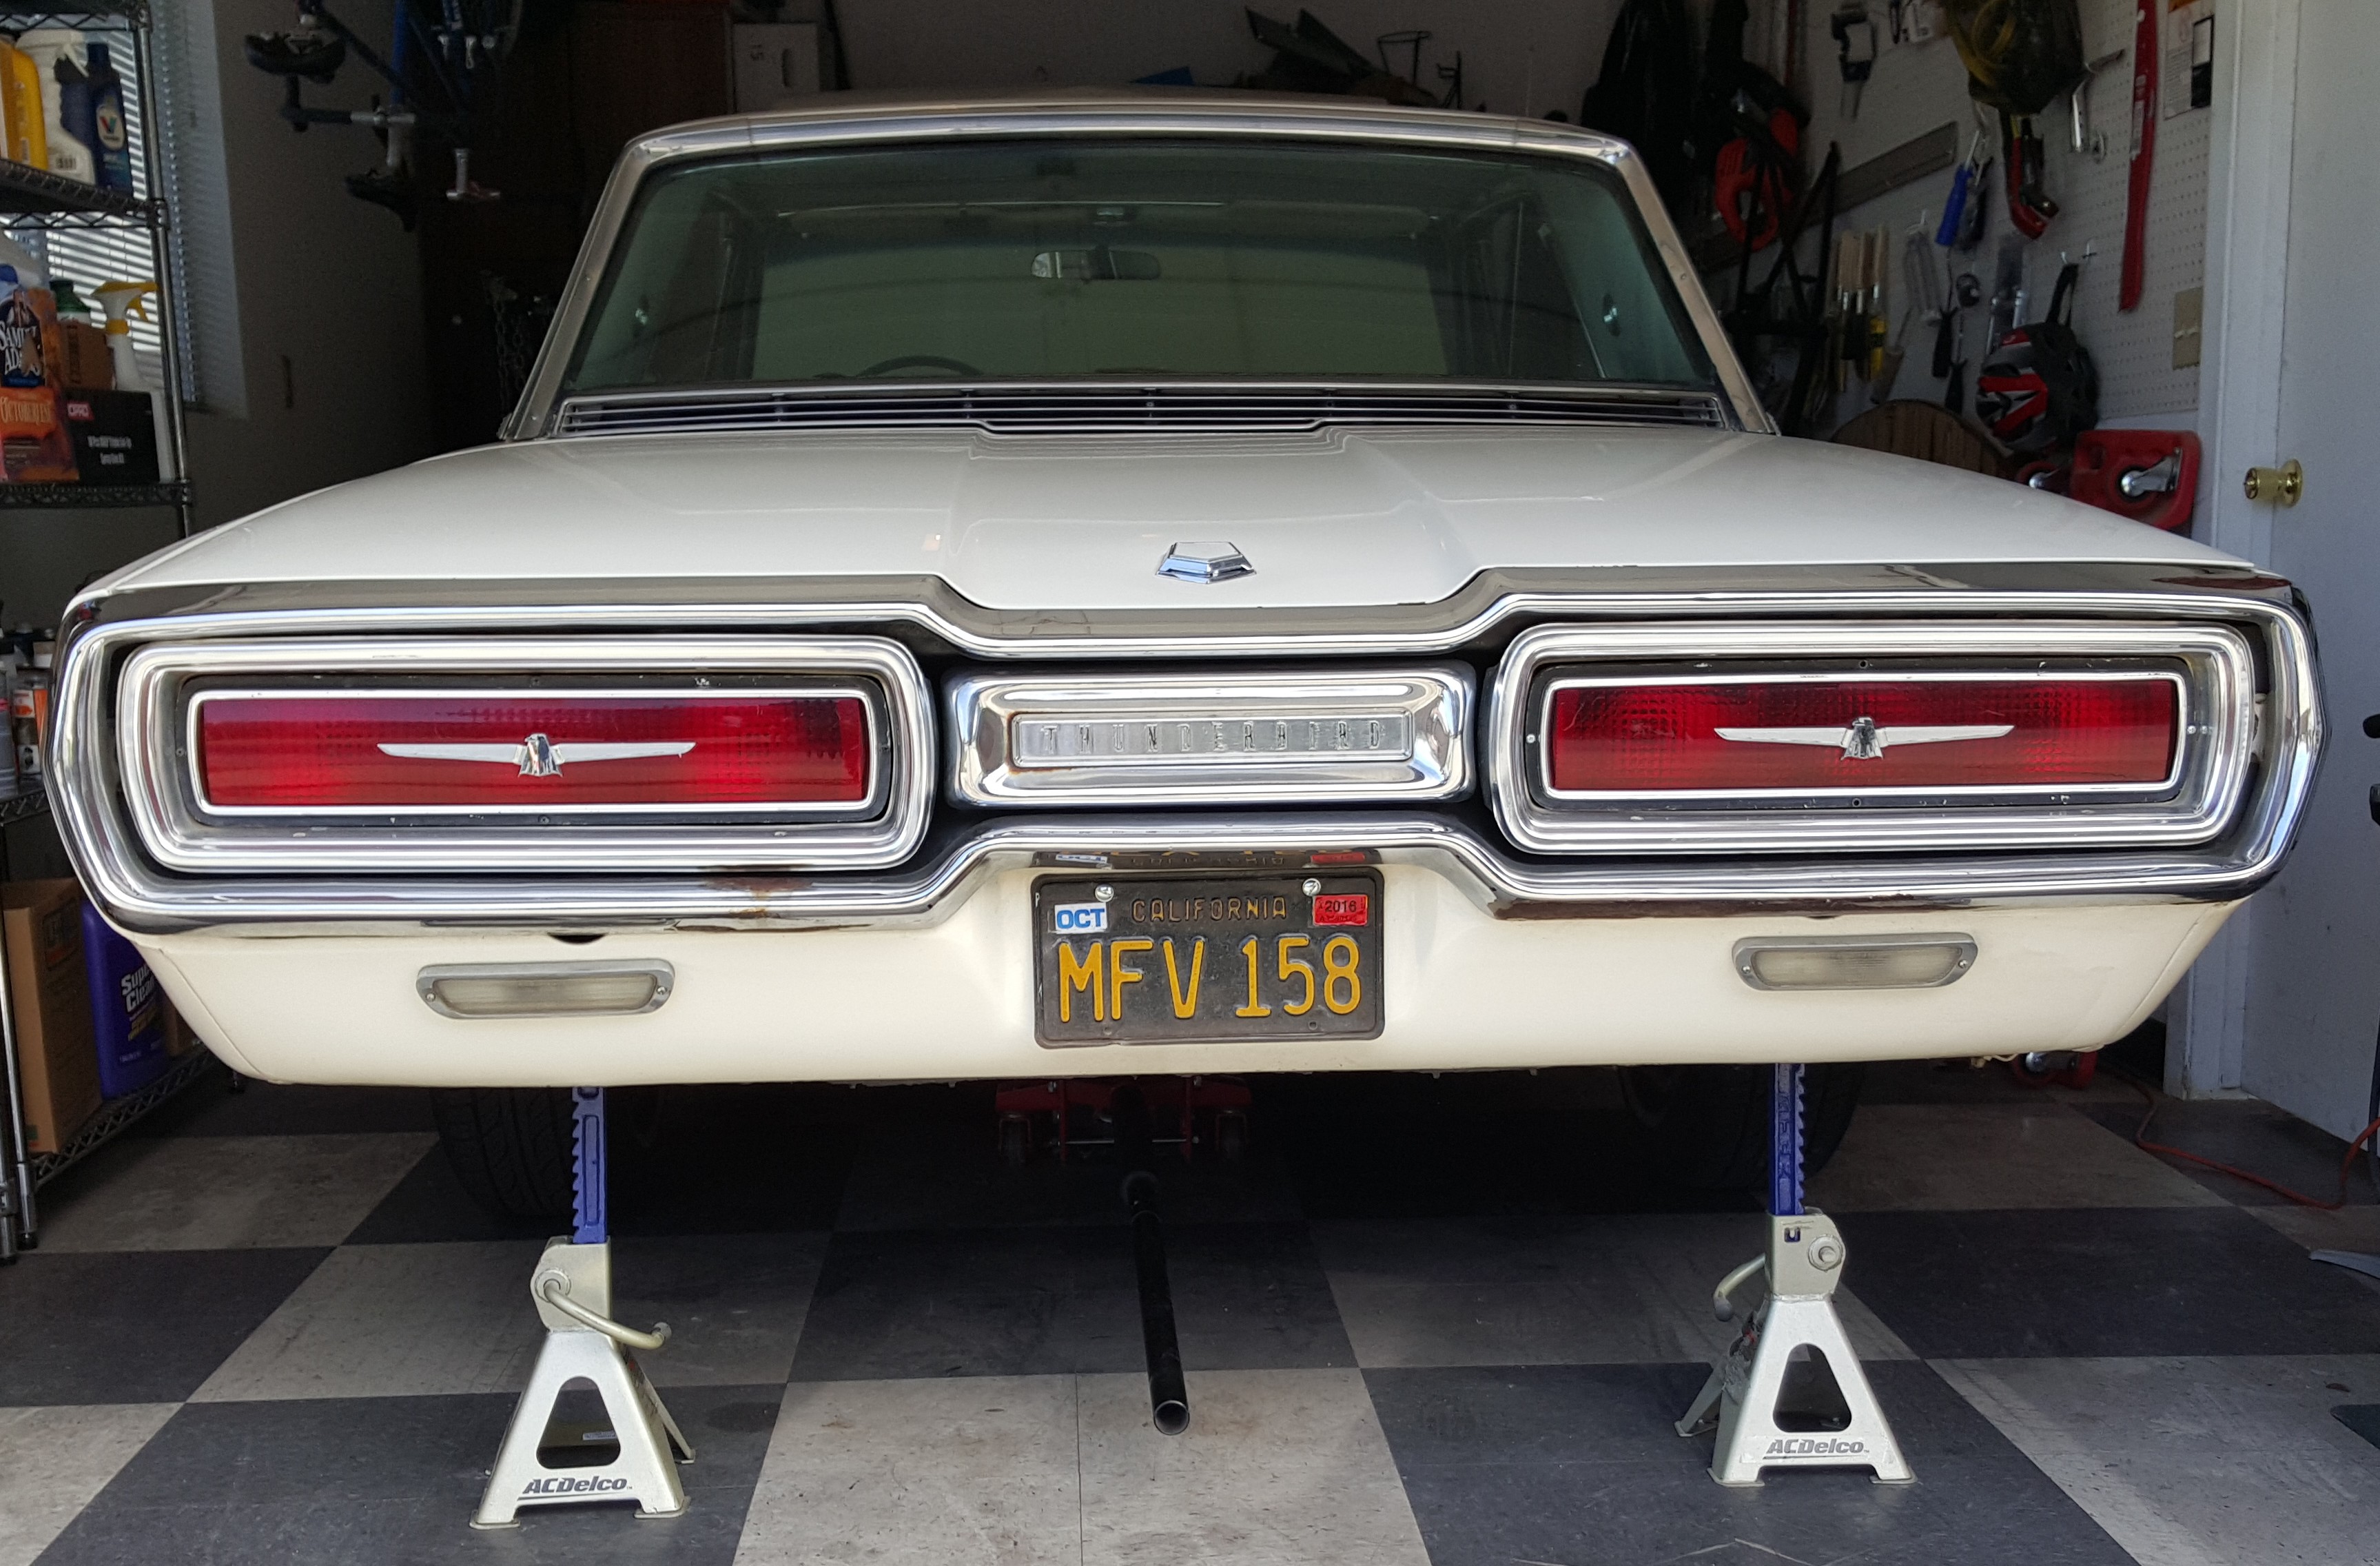
With the pump issue sidelining the T-Bird, I put it up on jackstands so I can replace the bushings in the rear springs. By a stroke of luck, while looking for my jackstands(misplaced when I moved), I found the studs I need to get the phenolic spacer back under the carburetor.
Jacked up.
So—I’ve got a bit of work ahead of me: springs, pump and carburertor. With summer fast approaching (It was almost 80º here today!) I’ll need to move quickly.
We’ve had a break in the rain, and I’ve been driving the T-Bird with some regularity. It’s performed well, starting normally—hot or cold—and running nicely. People still point, stare and wave, which is always nice. I can’t say for sure if the starting issue I had was the carburetor or the bad rotor/cap, but I lean towards the ignition system as the cause of those woes.
The only issue I’ve experienced was an occasional surge or stutter under hard acceleration. I chalked it up to an out-of-tune motor until yesterday: I had parked briefly to do some shopping, but when I got back in the car and turned the key there was nothing—no starter, no click and no power to anything.
I popped the hood, gave the battery a hard stare, wiggled the cables and got back in the driver’s seat. The stereo was back on, in demo mode, and a turn of the key started the motor right up.
The offending cable.
The drive home was an adventure. The occasional surge and stutter was now constant and I could barely get the ol’ Bird over 45 on the freeway. I left it on the street in front of my house for a while, the garage being otherwise occupied. When I went to move it that evening, I again had no power until I wiggled the positive battery cable. (The hard stare being optional, apparently.) It’s tightly affixed to the battery, but the actual wire appears to have come loose from the connector.
I new cable should fix the starting issue, but I’m not sure if an erratic connection like this is the cause of the engine stumble.
Earlier this week I anticipated some “Thunderbird time” coming up and put a trickle charger on the battery. In theory, the motor was ready to go—I just needed some fresh amps in case a lot of cranking was necessary.
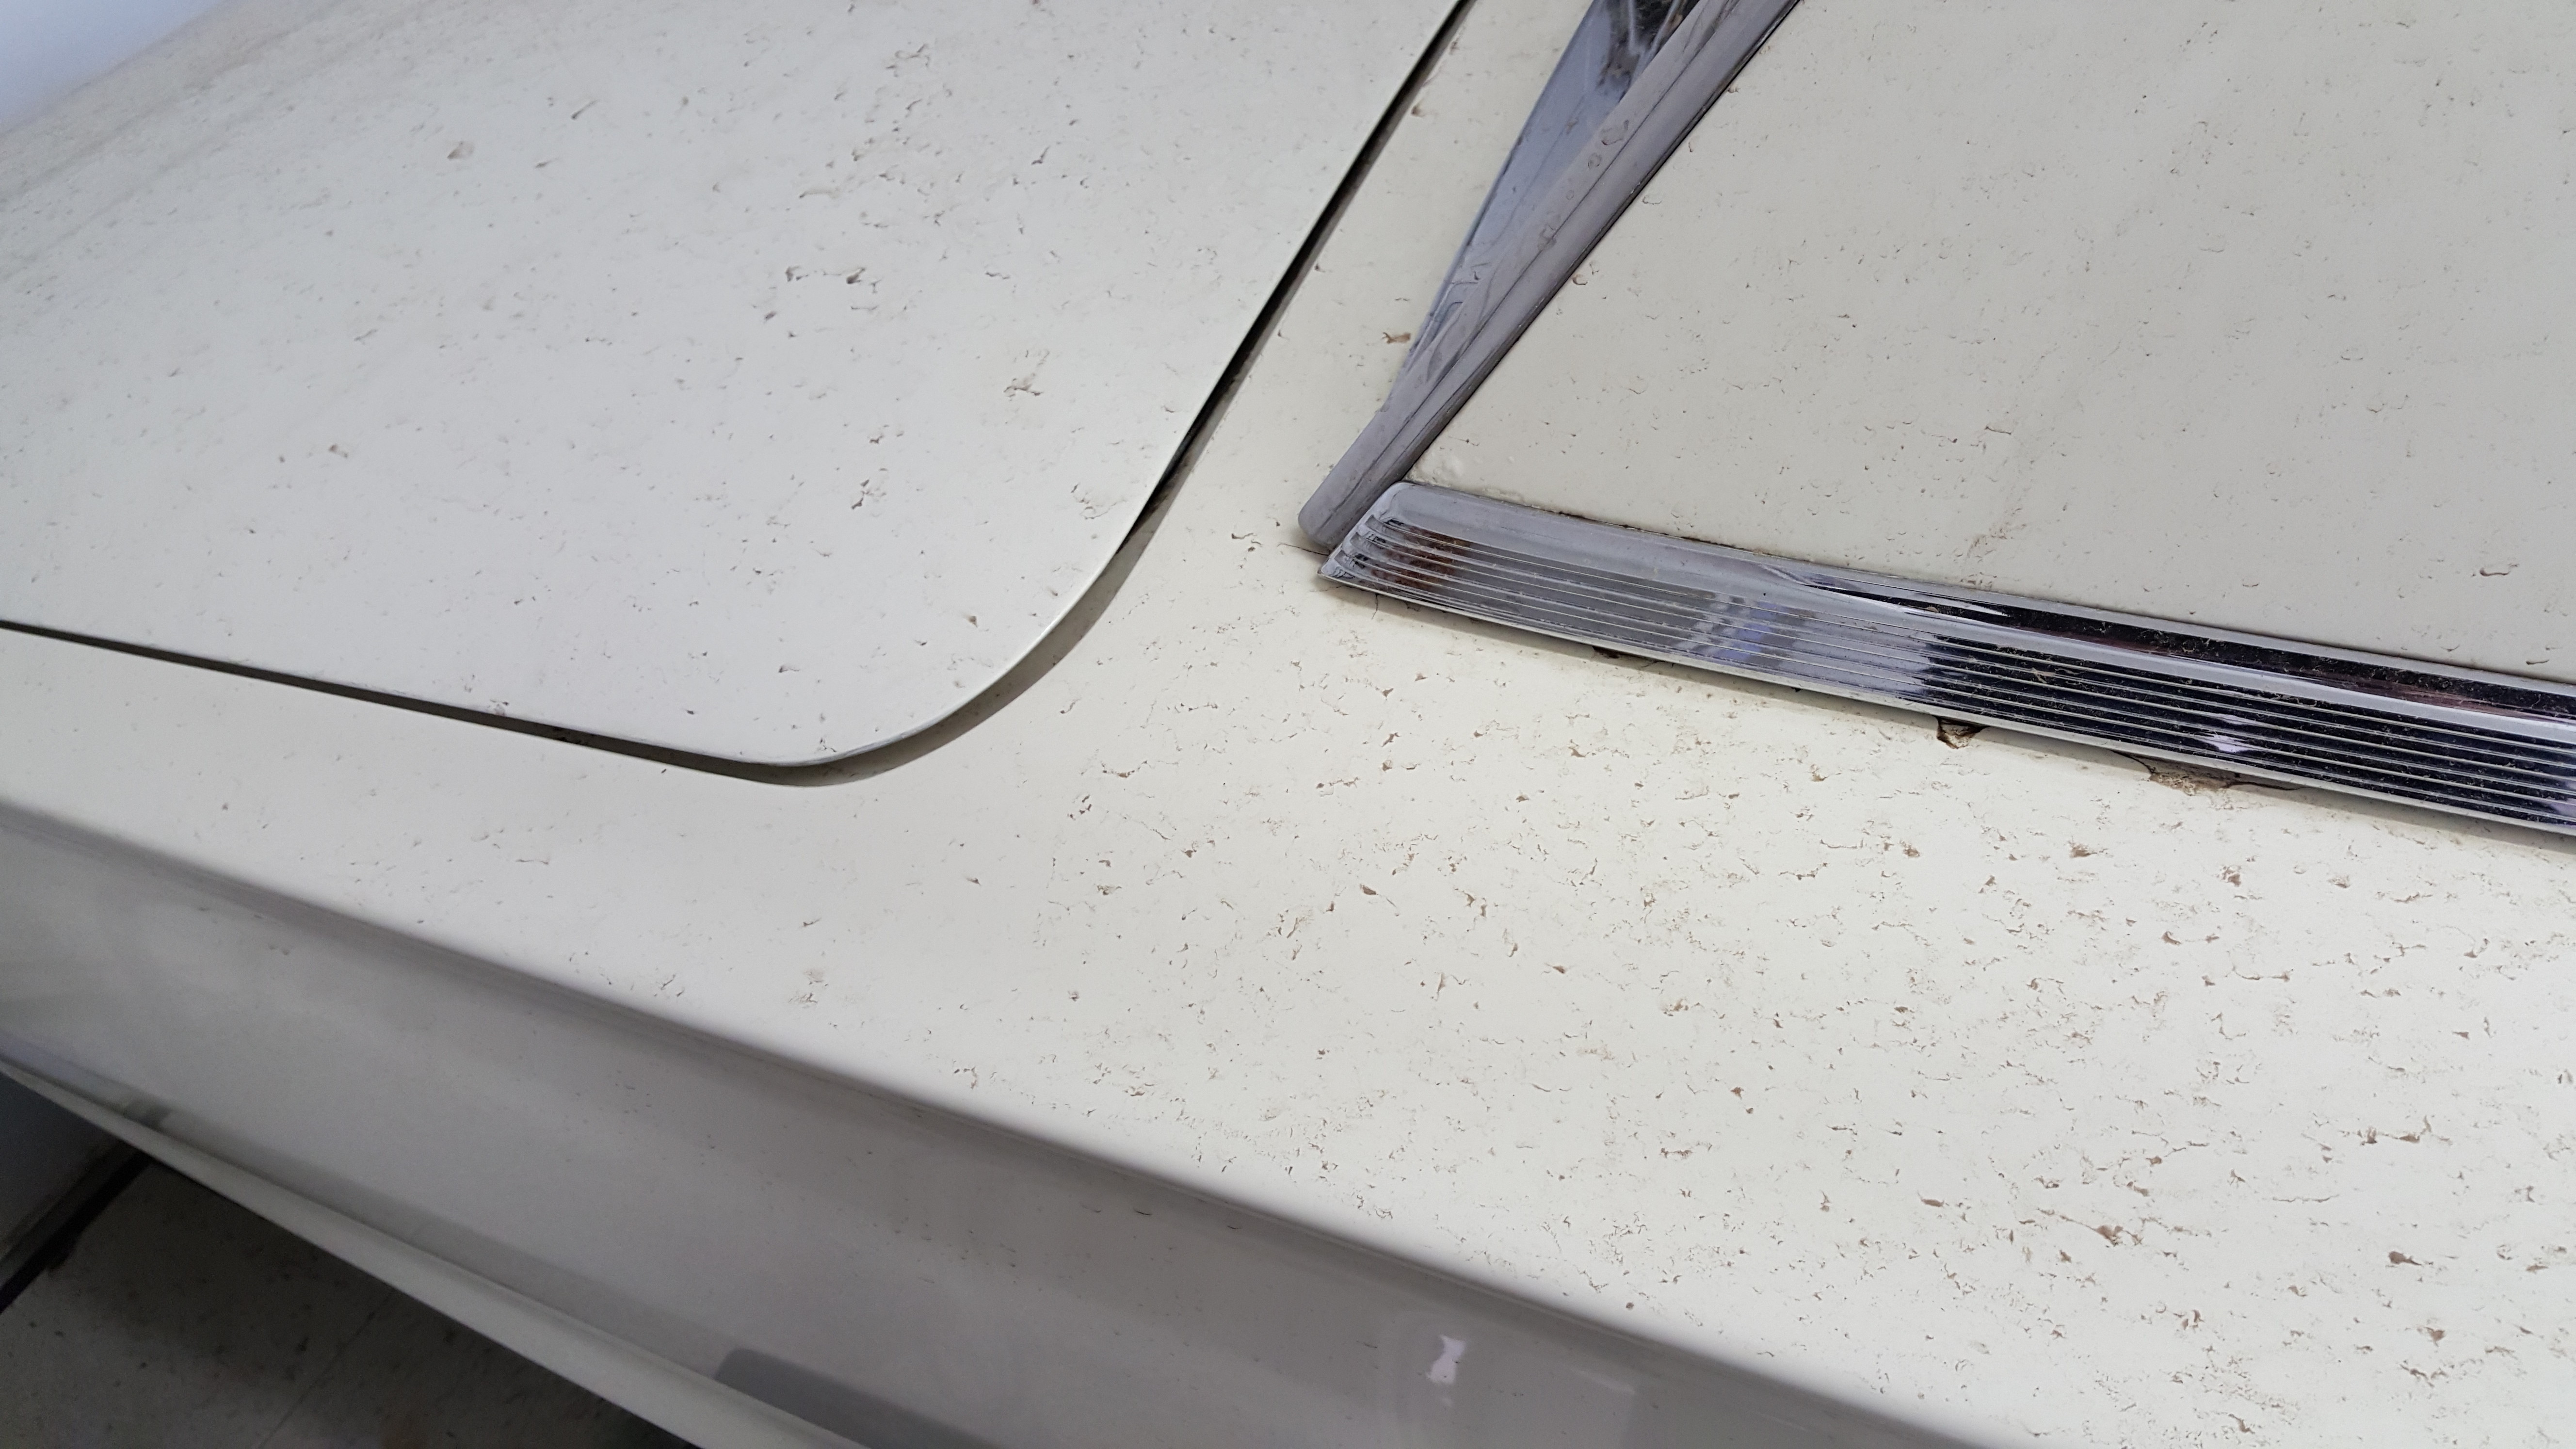
The rain didn’t help rinse the dust off the car much.
As it turned out, the motor fired up on the second try. My son, under the hood with the starter fluid when it caught, had me shut it right down though—there was a fast gas leak at the inline fuel filter. While twisting the line to pull it off the carb, it came partly unscrewed. (On a side note, it’s probably time to ditch this stupid thing. I don’t need it as a filter and it’s a potential fire hazard.) It took just a minute or two to tighten it up.
I started the motor again, fiddled with the idle screws a bit, pulled the bird from the garage and parked it at the curb. The power steering fluid had pretty much all leaked out and the windshield was opaque with dust. As I poured in some Type F, it started to rain. That took care of the windshield, so we were off.
Running in the rain, I got to test everything: brakes, steering, wipers, defroster, radio (to drown out the wipers)—the works. I thought I detected a minor hesitation once, but it didn’t recur. So far, though some minor tuning is probably in order, I was happy behind the wheel.
Back in the garage, I shut it off, waited some 15 minutes for a full heat soak, then tried to start it again. No troubles at all. I’ve seen this before, of course; the next few drives (at least one to the car wash!) will be the real test.
The bird ran reliably for a couple of years with a phenolic space under the carburetor body. I took that spacer out earlier this year, but thought it best to return to the “last known good” setup. I searched around my shop for some 20 minutes, finally turning up the spacer and some gaskets, but not the long studs I needed to complete the installation.
Since we moved, searching around for things (and never having them turn up) has become a way of life. I gave up on the studs after looking in all the obvious places (and some not quite so). For now, at least, the I’ll have to do without the spacer.
The carb reinstallation was routine; the hardest part being the fuel line, which is getting rigid with age. I gave the carb a couple of shots of starter fluid, turned the key . . . and, well, it ran. Sorta.
Not entirely sure how this could happen, but there it is.
A month or so ago, I started the car to move the it out of the garage. After an overnight battery charge, it fired right up and ran normally while I backed it out (and again when I drove it back in that evening.) Now, with the carb rebuilt, it barely ran, and as the choke opened, it ran even worse, finally sputtering and quitting.
I was able to restart it a few more times, but it coughed and backfired, completely refusing to idle, almost as if the . . . timing . . . was waaaay off. But that couldn’t be, could it?
I pulled the distributor cap, just out of curiosity, and was a little shocked to find that the rotor had somehow snapped, cocking the lead enough to point at the wrong cylinder, but not far enough off to keep the motor from running at all.
I had run out of time for the day, but I have a spare rotor and cap. (And I’m pretty sure I know where they are, too.) If I get a chance tomorrow, I’ll install them and try the motor again.
Sometime around mid-summer, I took the ‘Bird for a short errand—about a mile, maybe two—parked it for about 5 minutes, then came back and tried to restart it. Frustratingly, I found myself once again cranking and cranking with nothing to show for it. Finally, I walked home in defeat. Later that evening, when the motor was stone cold, I went back, and it started up at the first touch of the key.
I can’t rely on a car that will only start when cold, so for some months now, the T-Bird has been parked, and I’ve been driving my truck, which is even older that the car. It has its issues, too, but it at least it starts reliably.
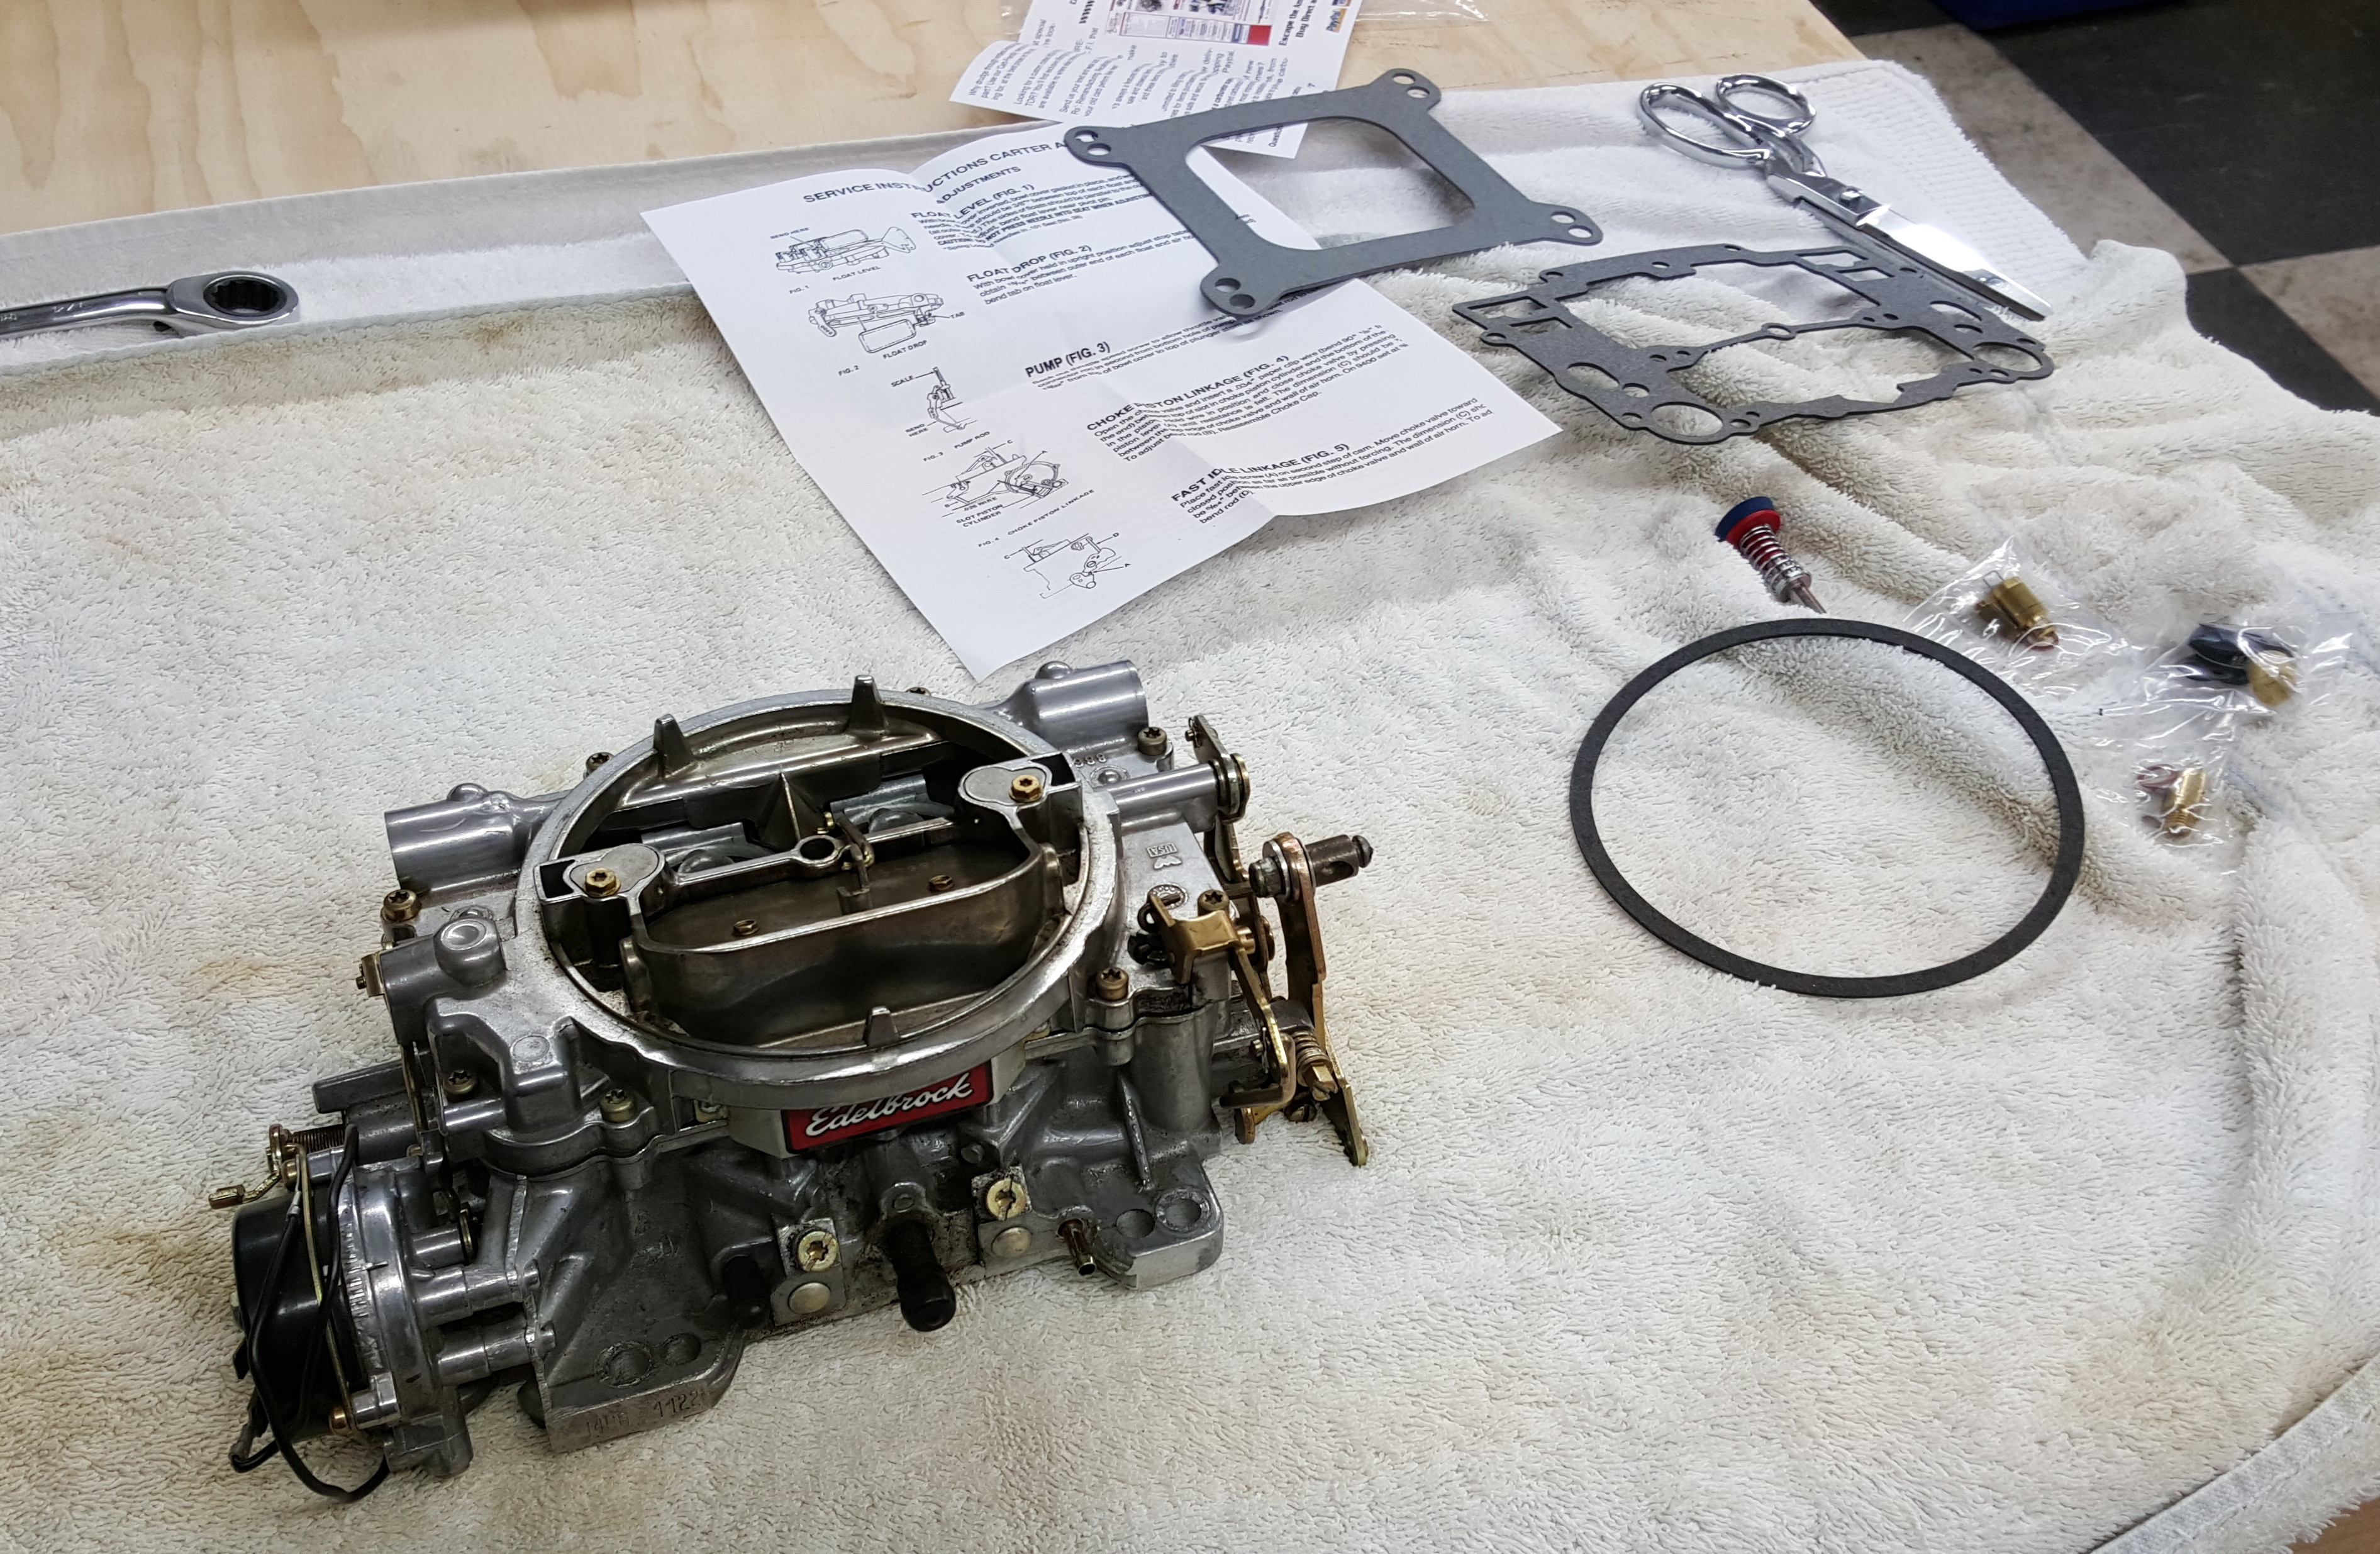
Before I forked over $300 for another carburetor—and I’m pretty sure this is a fuel-related problem—I bought a rebuild kit for the Edelbrock. Last weekend, I finally cleared a spot on the workbench, pulled the carb off and set to work.
The kit I got was very complete. It had a variety of gaskets for different Edelbrock models and included a new, metal accelerator pump
Some of the gaskets in the primary circuit had delaminated and were difficult to remove.
The worst-case scenario here is tearing into the carb and finding nothing wrong. Everything looked pretty clean inside, but I found two potential issues: the wrong gaskets under the primary venturies and no clips connecting the needle valves to the floats.
I don’t think the gaskets were a big deal They’re either original or were part of the last rebuild kit I used, and the car ran fine with them for some time. The missing clips I can’t explain—I really don’t know how long I’ve been running without them.
While I doing the final adjustments, I could see that without the clips, the needle valves didn’t always release properly when the floats dropped. It’s entirely possible that the valves could stick when hot and starve the motor of fuel, so perhaps this is the solution I’ve been looking for.
The carb is ready to go—I’ll install it early this week and try a couple of test runs.
I swapped out the Autolite for the ol’ Edelbrock yesterday, and what a relief to have a working carburetor again. The motor fired right up, and settled into a nice idle. I’m not the greatest tune-up guy in the world, but I re-set the idle adjust screws, checked the timing and went for a test drive.
So far, so good. A hot start 15 minutes after the drive was normal. Ninety minutes later, the car started as if cold. (That is, on key-turn.)
Nice.
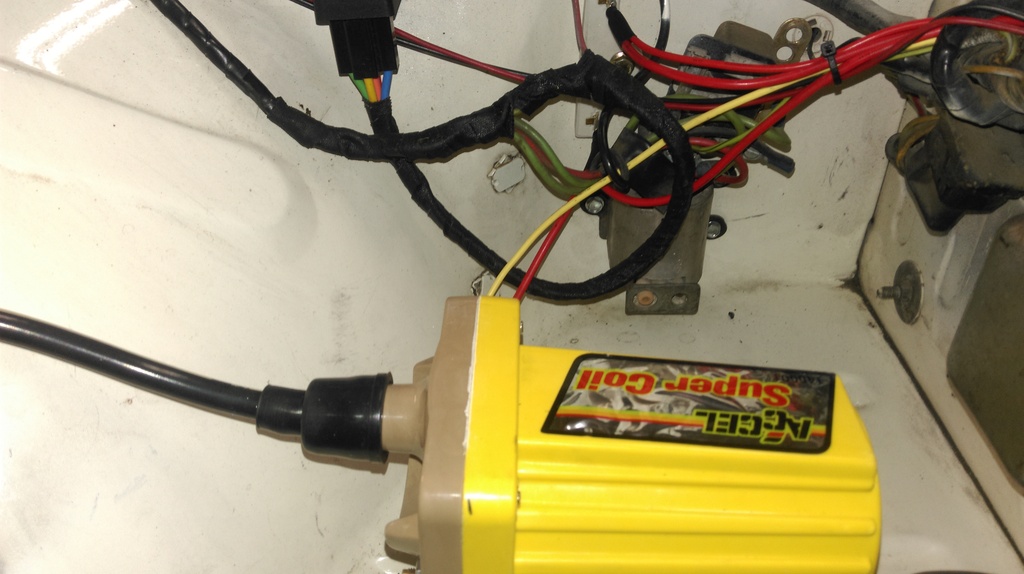
The coil was never the issue with the hard starting, but I’m leaving this installed. Not sure if the ugly is offset by performance gains. Maybe a coat of black paint would help.
Aside from the powdery crud and varnish in the carb, I noticed that the check valve under the accelerator squirters was stuck. It’s hard to say for certain, but I think the failure in that circuit is what lead to the starting issues—pretty sure it was completely congested.
I’ll need a few more drives before I’m fully satisfied that this is the fix, but now I’m confident enough to put the car back on the road. We are moving to a new house 40 miles away, so the first order of business is to get the car to its new location under its own power.
Despite being close by, the new town gets much hotter in the summer. In swapping the Edelbrock back in, I left off the phenolic spacer I was using. I originally installed it while struggling with fuel delivery issues caused by a crushed fuel line. Fuel starvation symptoms are much like vapor lock, thus the spacer. Whether or not I really need it, the coming summer months will tell.