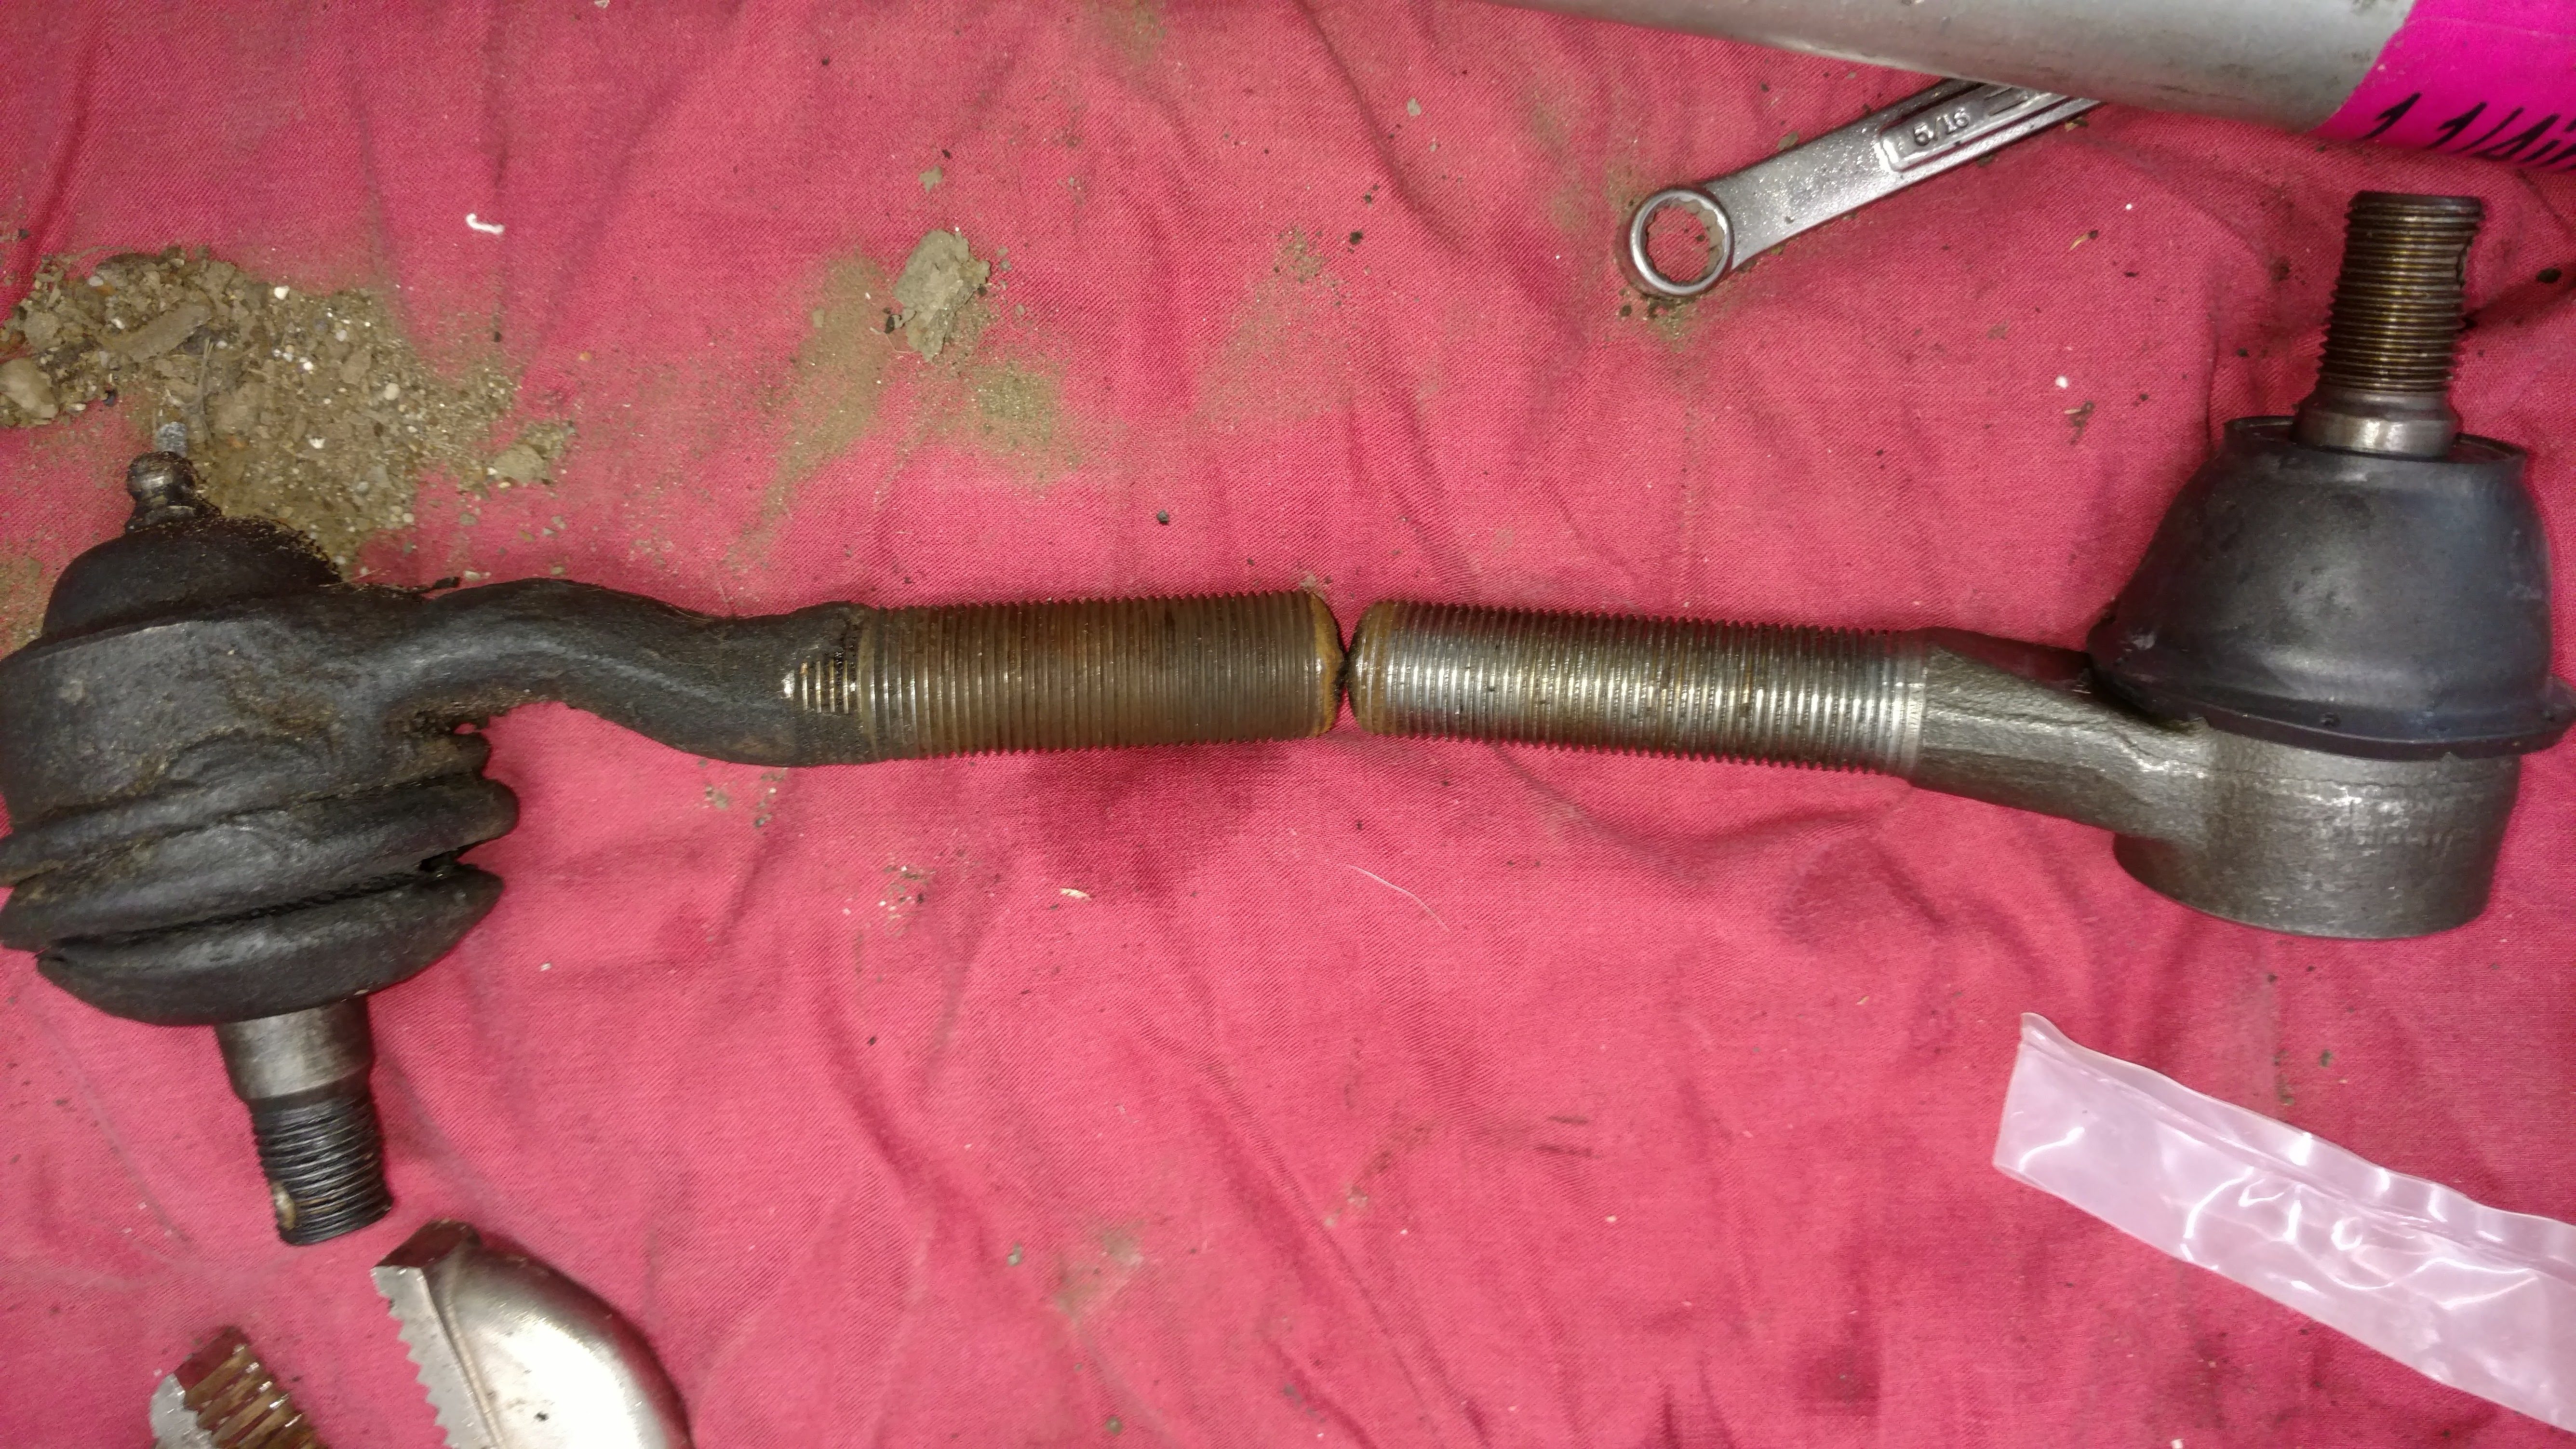
I was a little anxious about the upper control arm shafts, as the manual is uncharacteristically detailed about their assembly: making sure that they are exactly centered, then using a spacer to hold the ends of the arm apart while bringing everything to the final torque specifications.
As is often the case when using aftermarket parts, the instructions in the manual didn’t really apply. As I understand it, the two nuts at the ends have complementary threads that are the same pitch for both the control arm and the shaft. As you thread the nuts into the arm, you are also turning the nut on the shaft at the same rate.
Over the years, at least on my car, the stamped steel arm has developed rust and pitting, so the threads are rough and degraded. Even after cleaning the arm, lubricating the threads and buying a 1 3/8″ socket (for a firm grip on the nuts), I still needed extra leverage—beyond the 100 ft/lb torque spec—to get the control arms shafts installed.
Getting the shafts centered wasn’t an issue; if you start with them in the center, even if they shift, they can be threaded back into place. Before installation, I just made sure that they were centered properly in the arms.
I did make a spacer from ¾” pipe, but only used it once. The aftermarket shafts have longer threads than stock, so installing the nuts on the ends does not compress or distort the arm—or so it appeared to me.
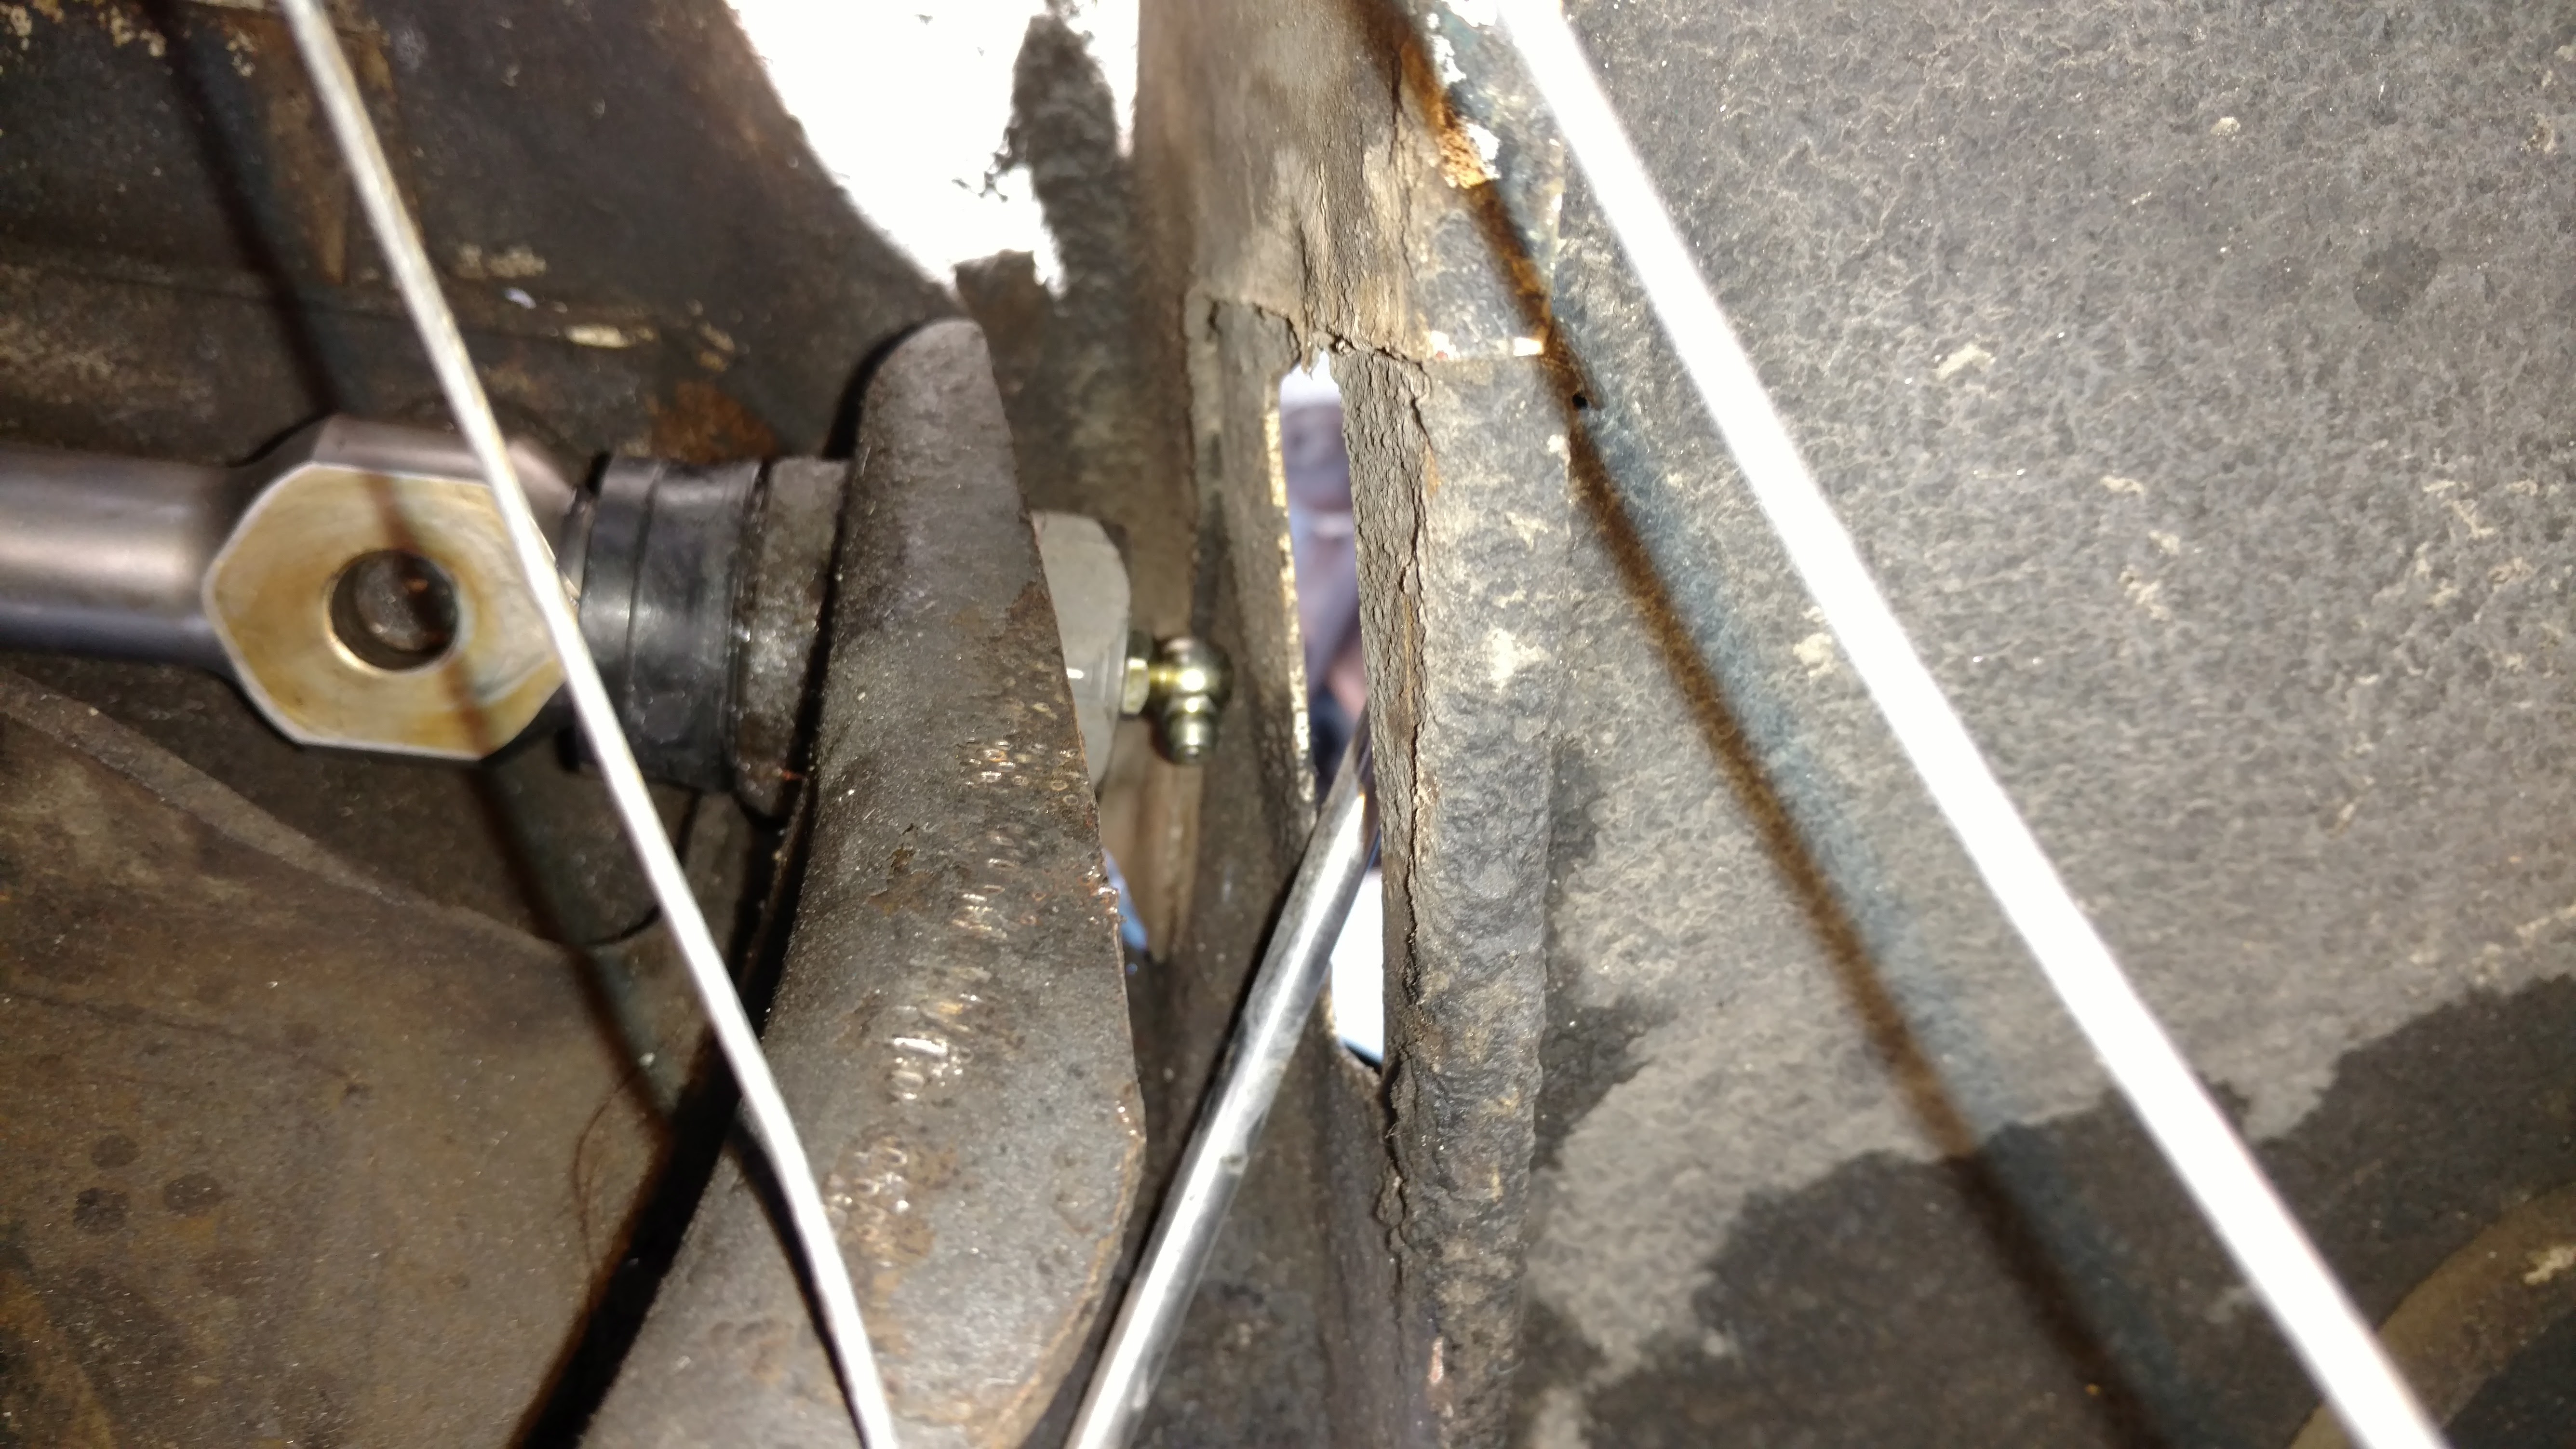
Before I compressed the springs, I did a quick test fit in the car to make sure the upper arm went in ok. Unlike the original, the new shafts include 90° grease zerks, screwed on to the ends of the nuts. I thought these were a good idea, until I realized that on one end, the zerk interferes with the shock tower.
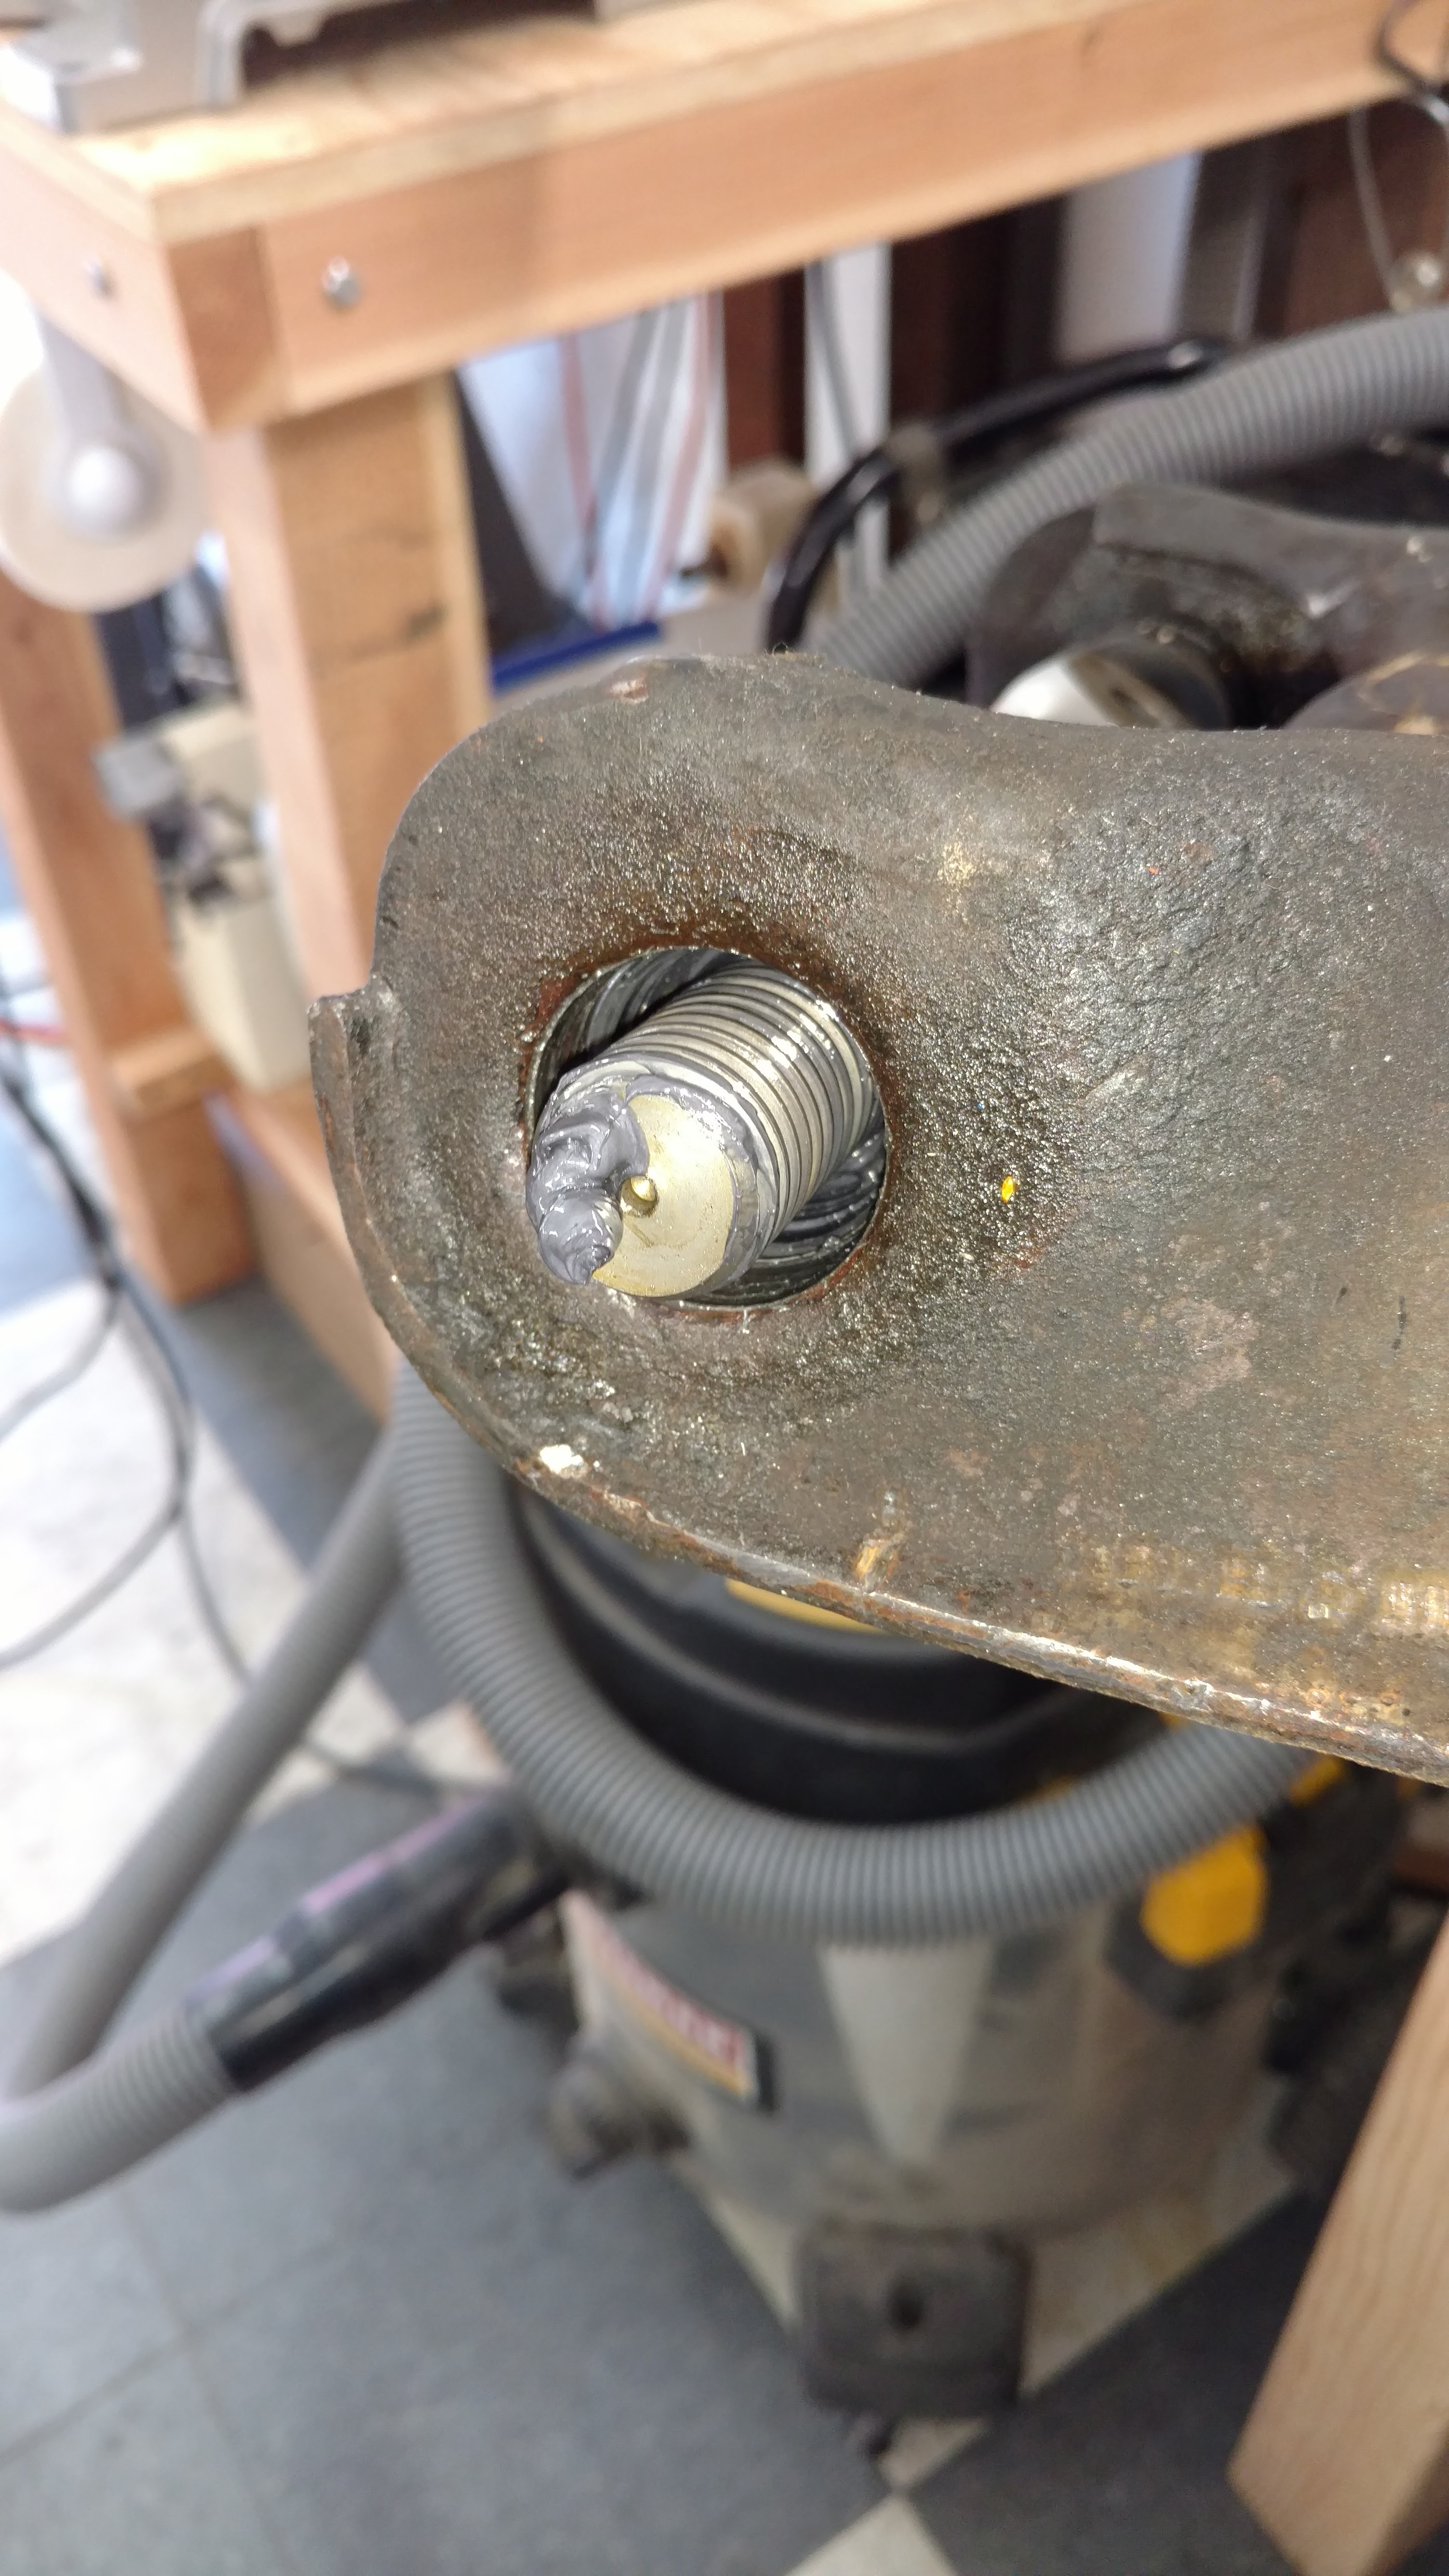
I hadn’t put grease on the threads of the shaft during assembly, thinking that I would lube the entire suspension after installation. I swapped out the 90° fitting for a straight one (which is shorter, and does clear the tower). Knowing that I could never get a grease gun on this fitting once the arm was installed in the car, I tried to inject some grease into the shaft.
It turns out, I wasn’t able to get much grease in there. I’m guessing that the threads seal tightly, so the grease won’t flow into the fitting. It’s lucky, I guess, that I found this before the springs were in and the assembly all together. At least this way, I could disassemble the shafts from the arms, grease them thoroughly, reassemble, the proceed with fitting it all together in the car—without having to remove the springs a second time!
But it was a lot of extra work. And someday, someone (possibly me), will wonder why there’s a grease fitting in there that no one can reach.

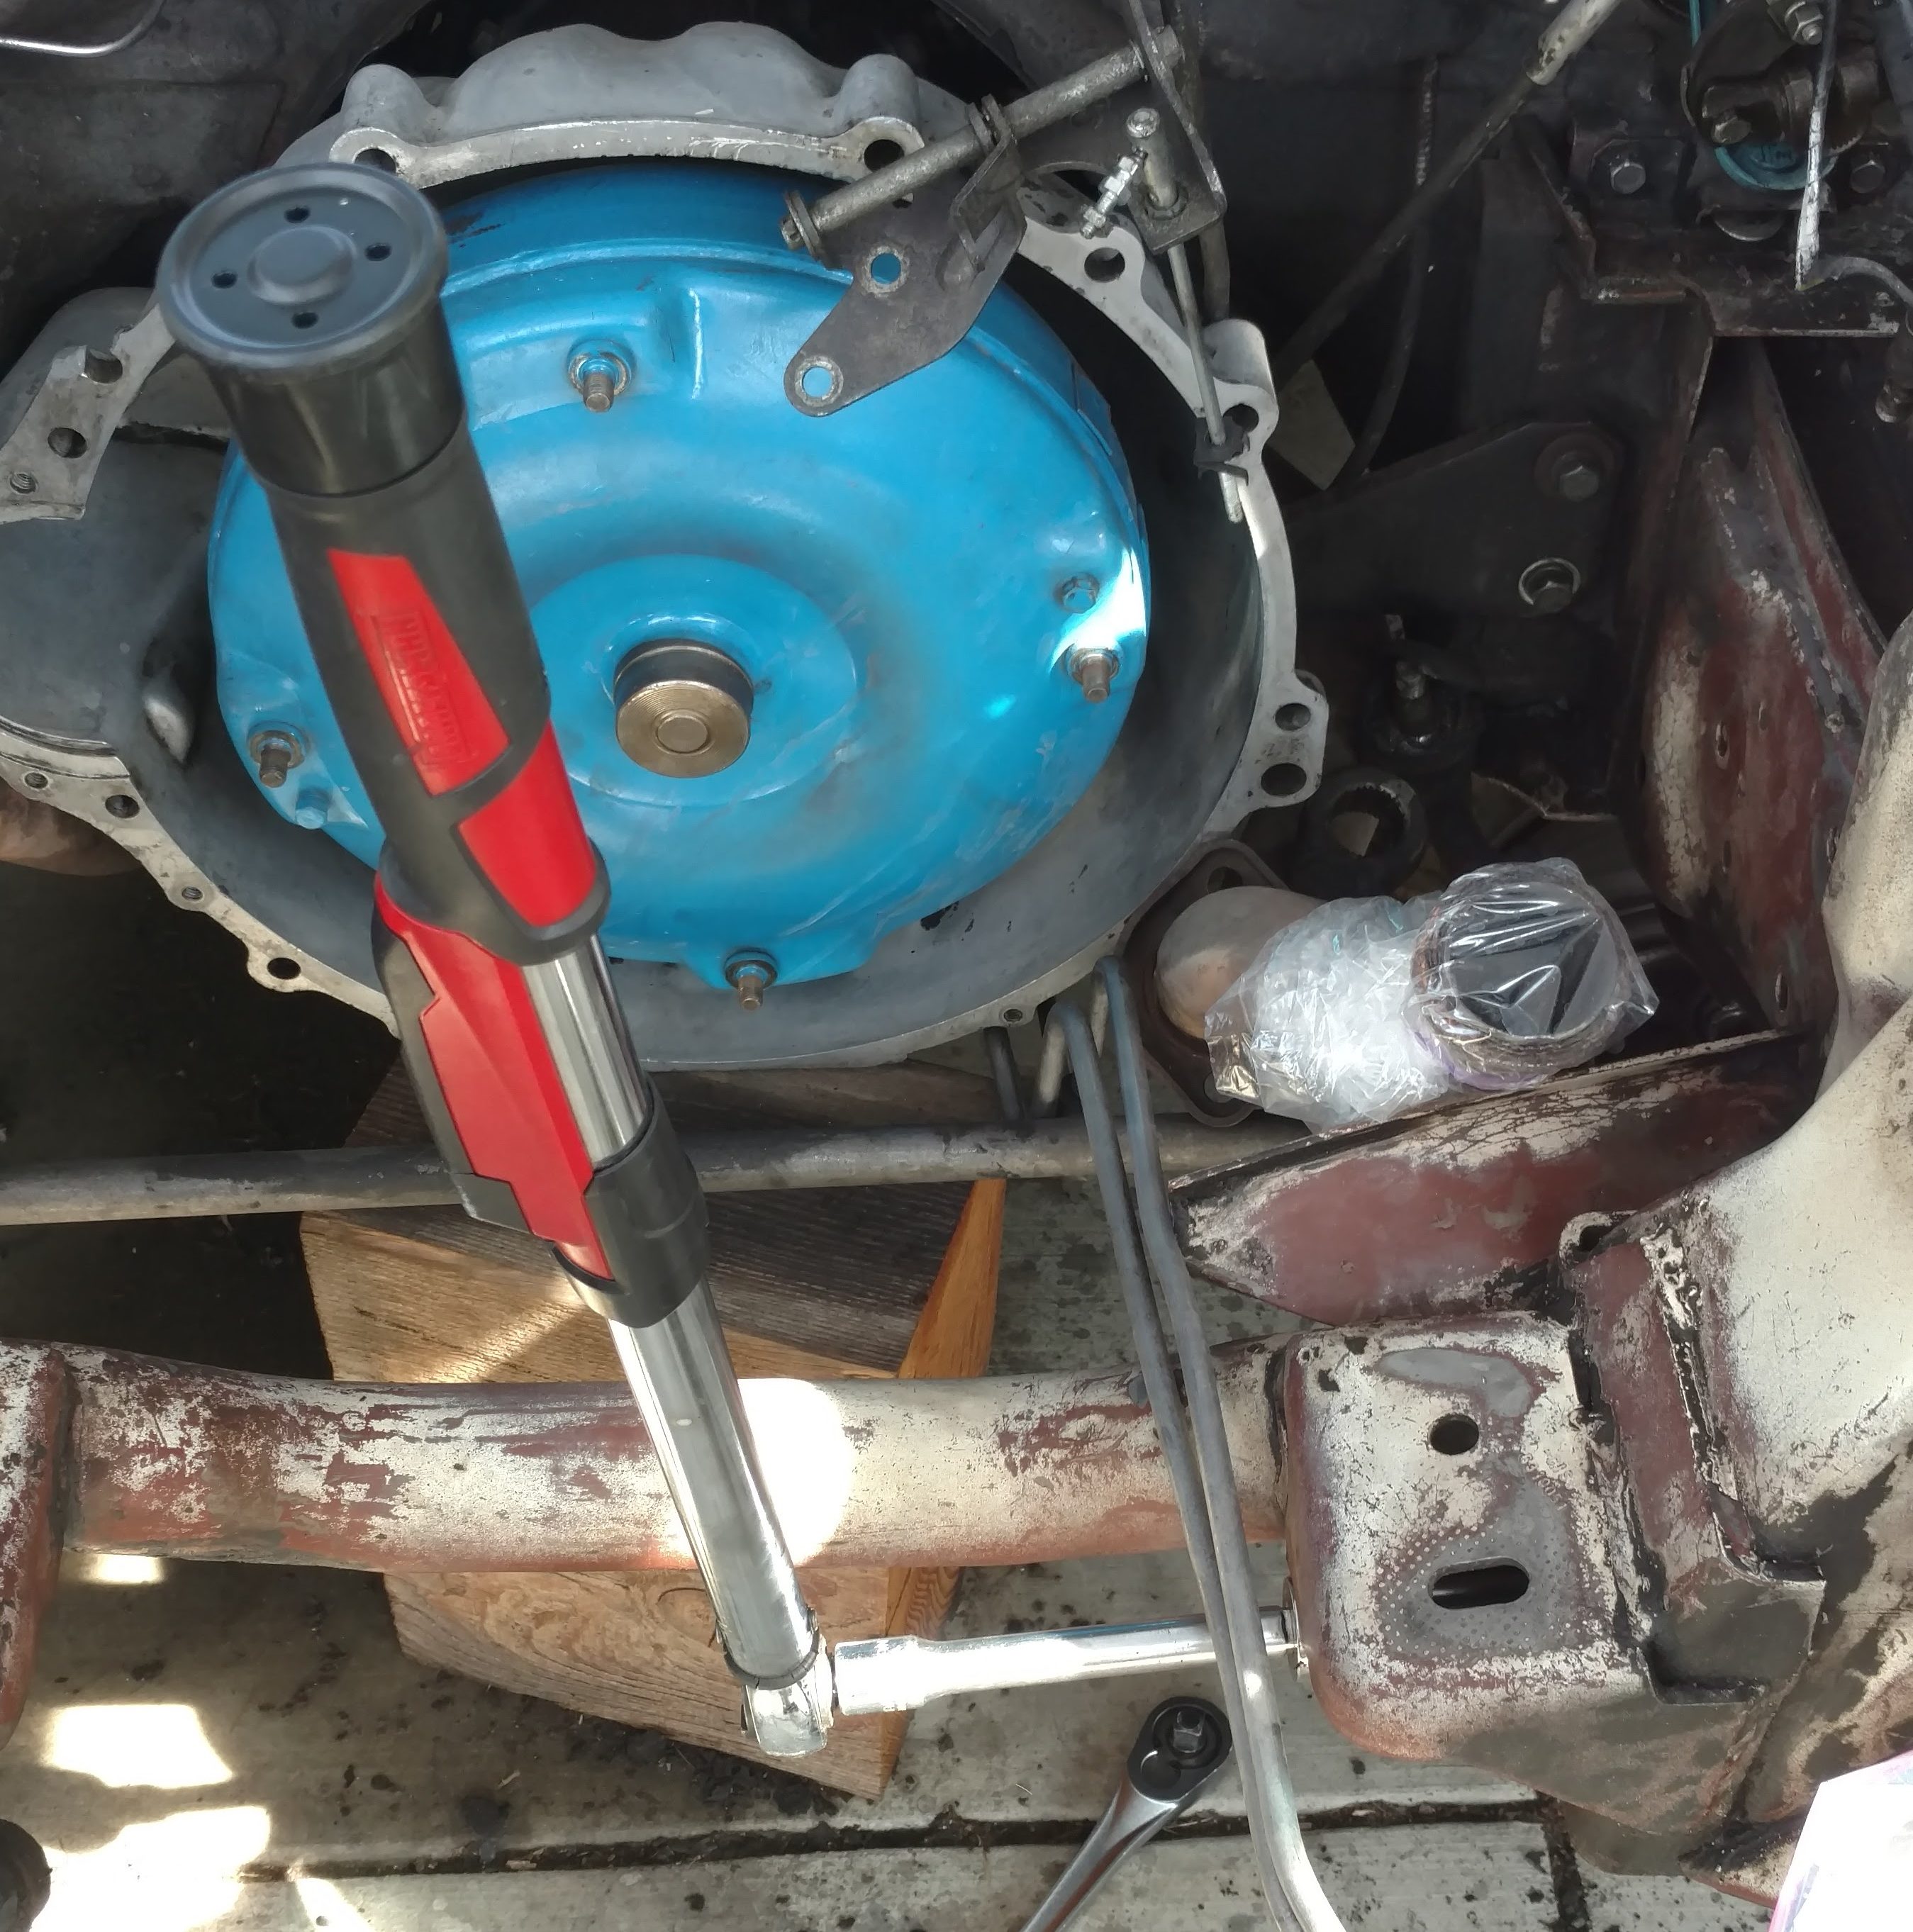
Once the upper arms were assembled, I loosely attached the upper ball joint to the knuckle, set the upper arm more-or-less in place, then compressed the spring. (Earlier, I had cut a coil from each spring; not to make installation easier—though it did!—but to change the stance of the car a bit.)
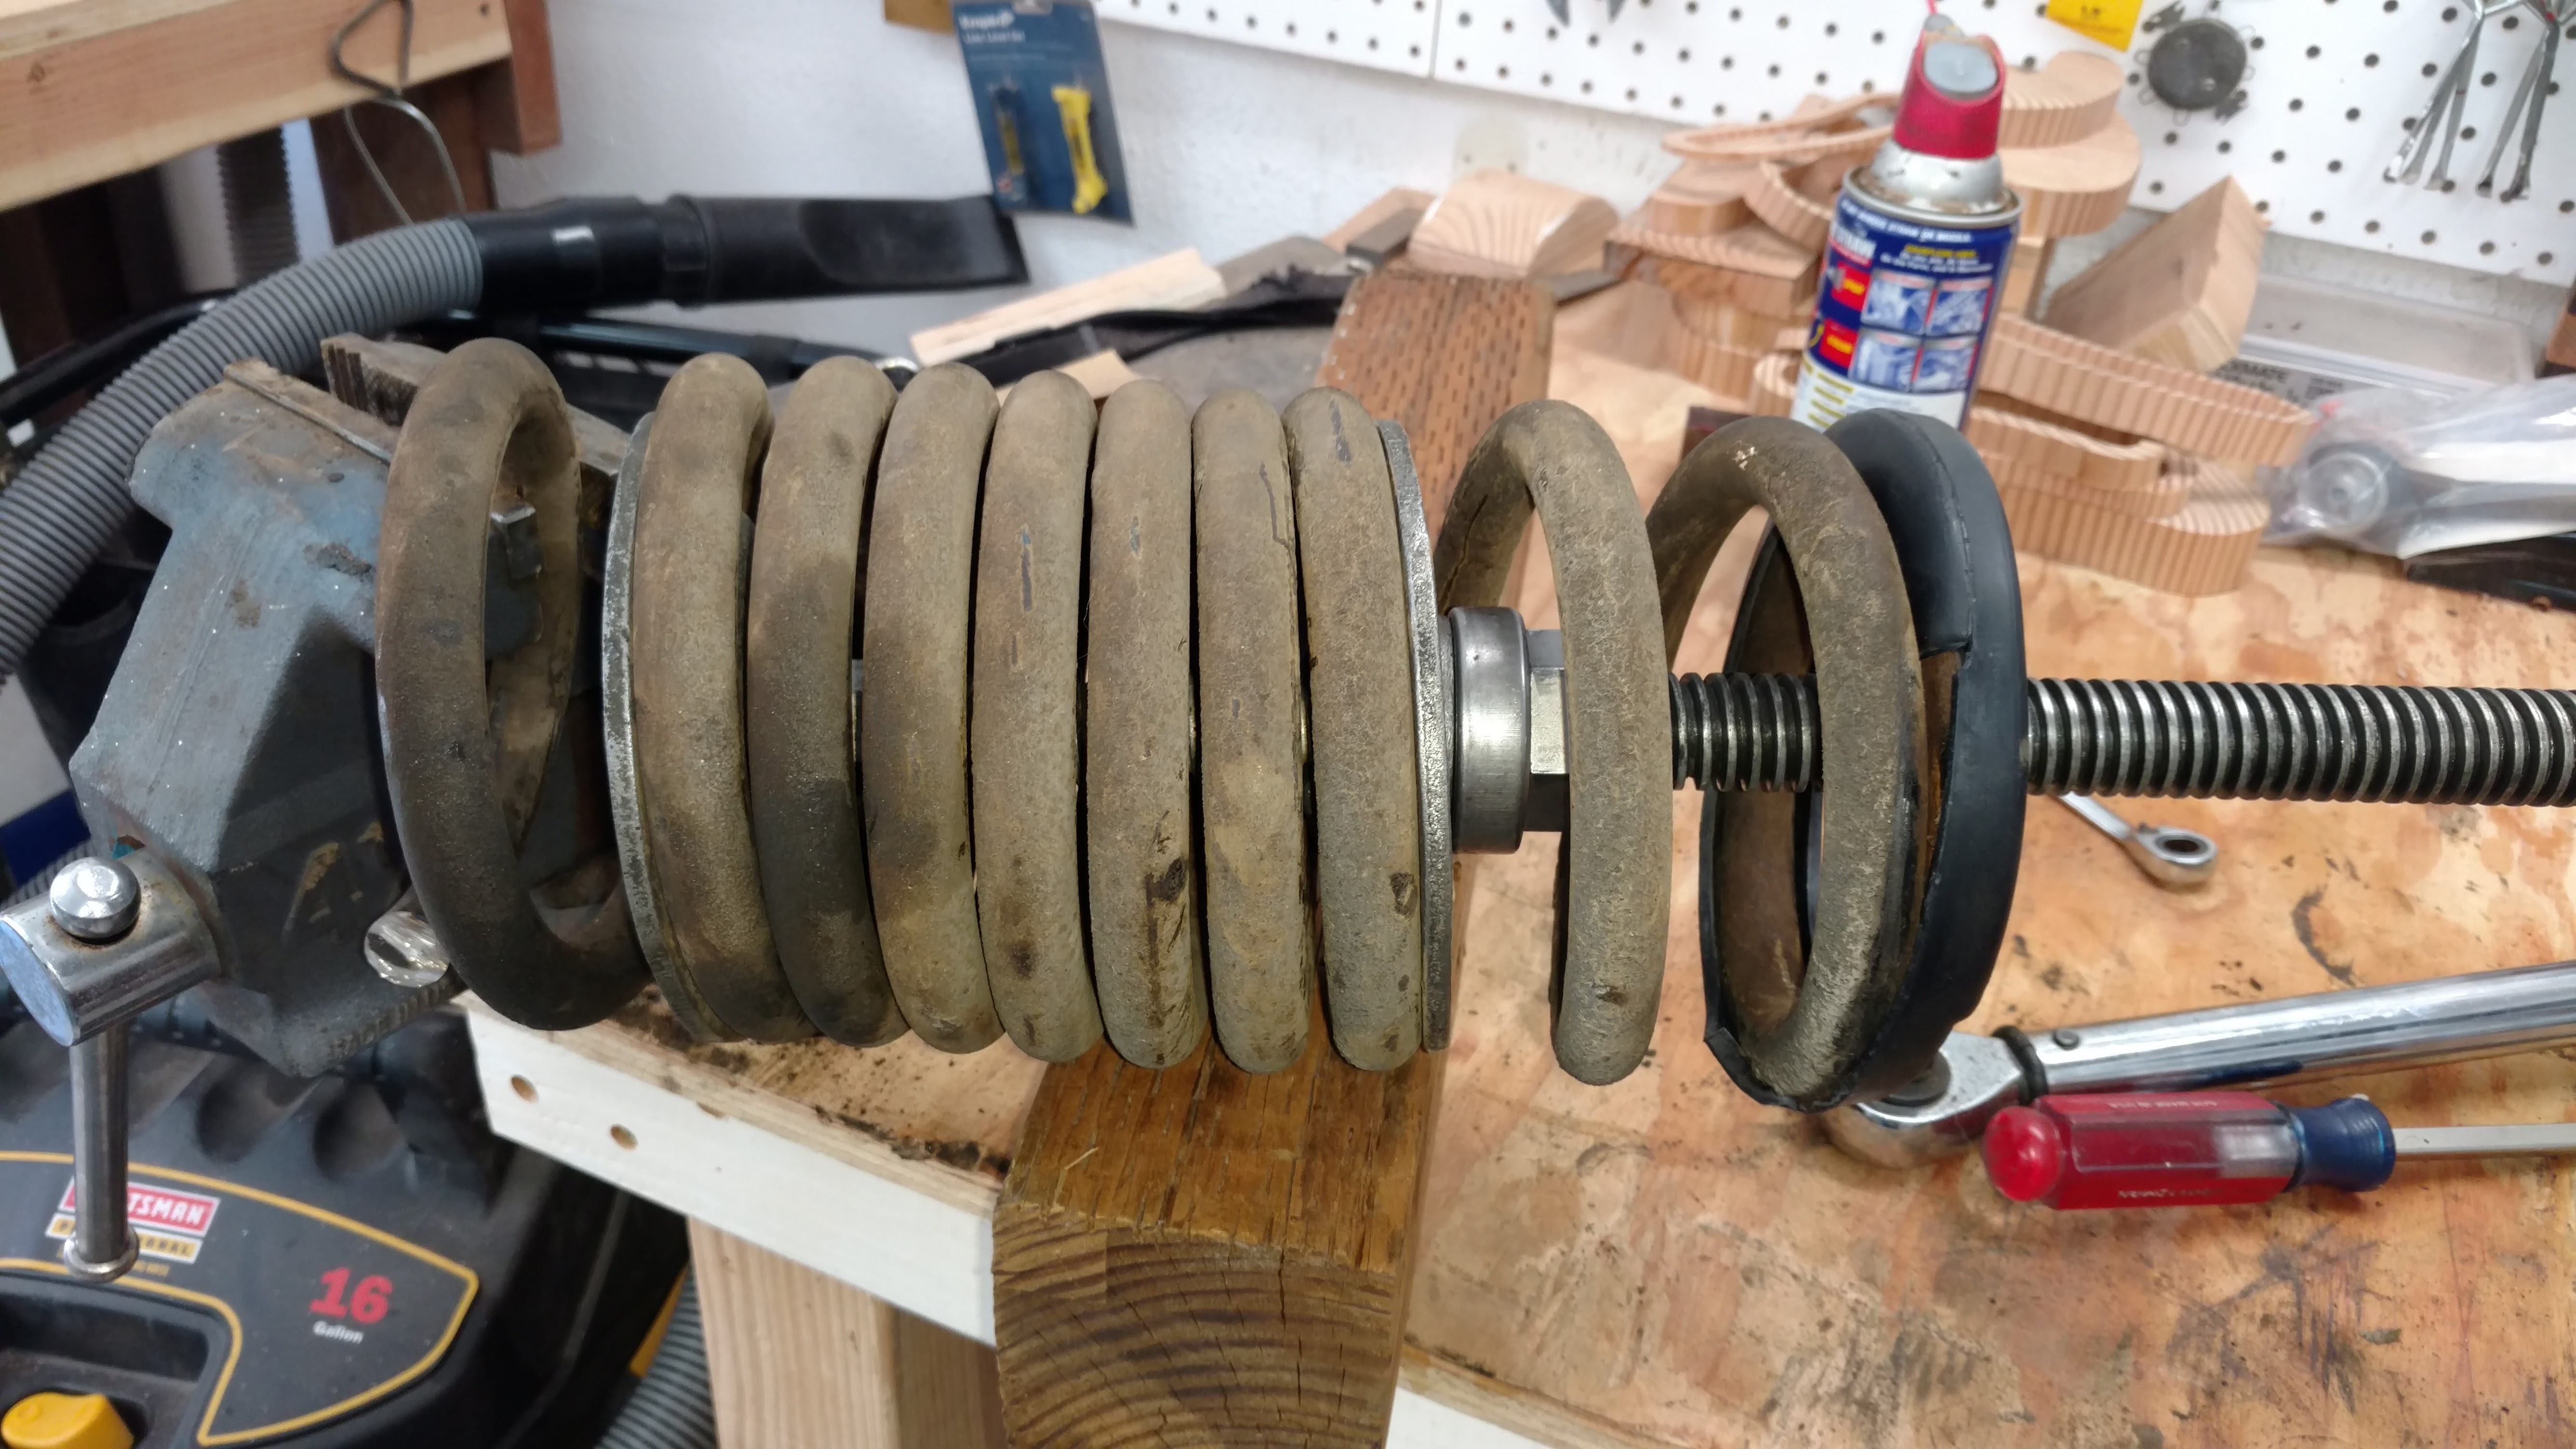
This time around, I used a vintage Moog compressor, which I spent a fortune to buy off of eBay.
It was worth every penny.
The compression went smoothly, and though I never feel truly safe around a compressed spring, I was able to install it in the car, lift the upper arm into place, and bolt it in securely while never feeling that the compressor was going let loose on me.
I clamped a pair of lock pliers on the spring to keep it from spinning during decompression, which worked about as well as you’d guess—just when you need them the most, they slip off and everything falls out of kilter. With patience, though, I was able to get the springs decompressed and in place. I used a jack under the lower arms to put some test weight on the suspension, and everything appeared to work normally.
By the end of the day, everything was torqued to spec, the backing plate, hub and drum were on, and all I had left to do under the car was the steering components.
I just might get this all done before the rains after all.