Shocking

Installed shock absorbers all around this weekend and it was the smoothest, if one of the most strenuous jobs I’ve tackled. I used Monroe shocks, which I found for sale, sealed in the box, but second-hand on Craigslist. Despite some chatter on-line about the front shocks not fitting correctly, mine went in just fine after only a little head scratching.

Old vs. New: Front
Old shock on the right, new on the left. No telling if the old ones were designed for the T-bird.

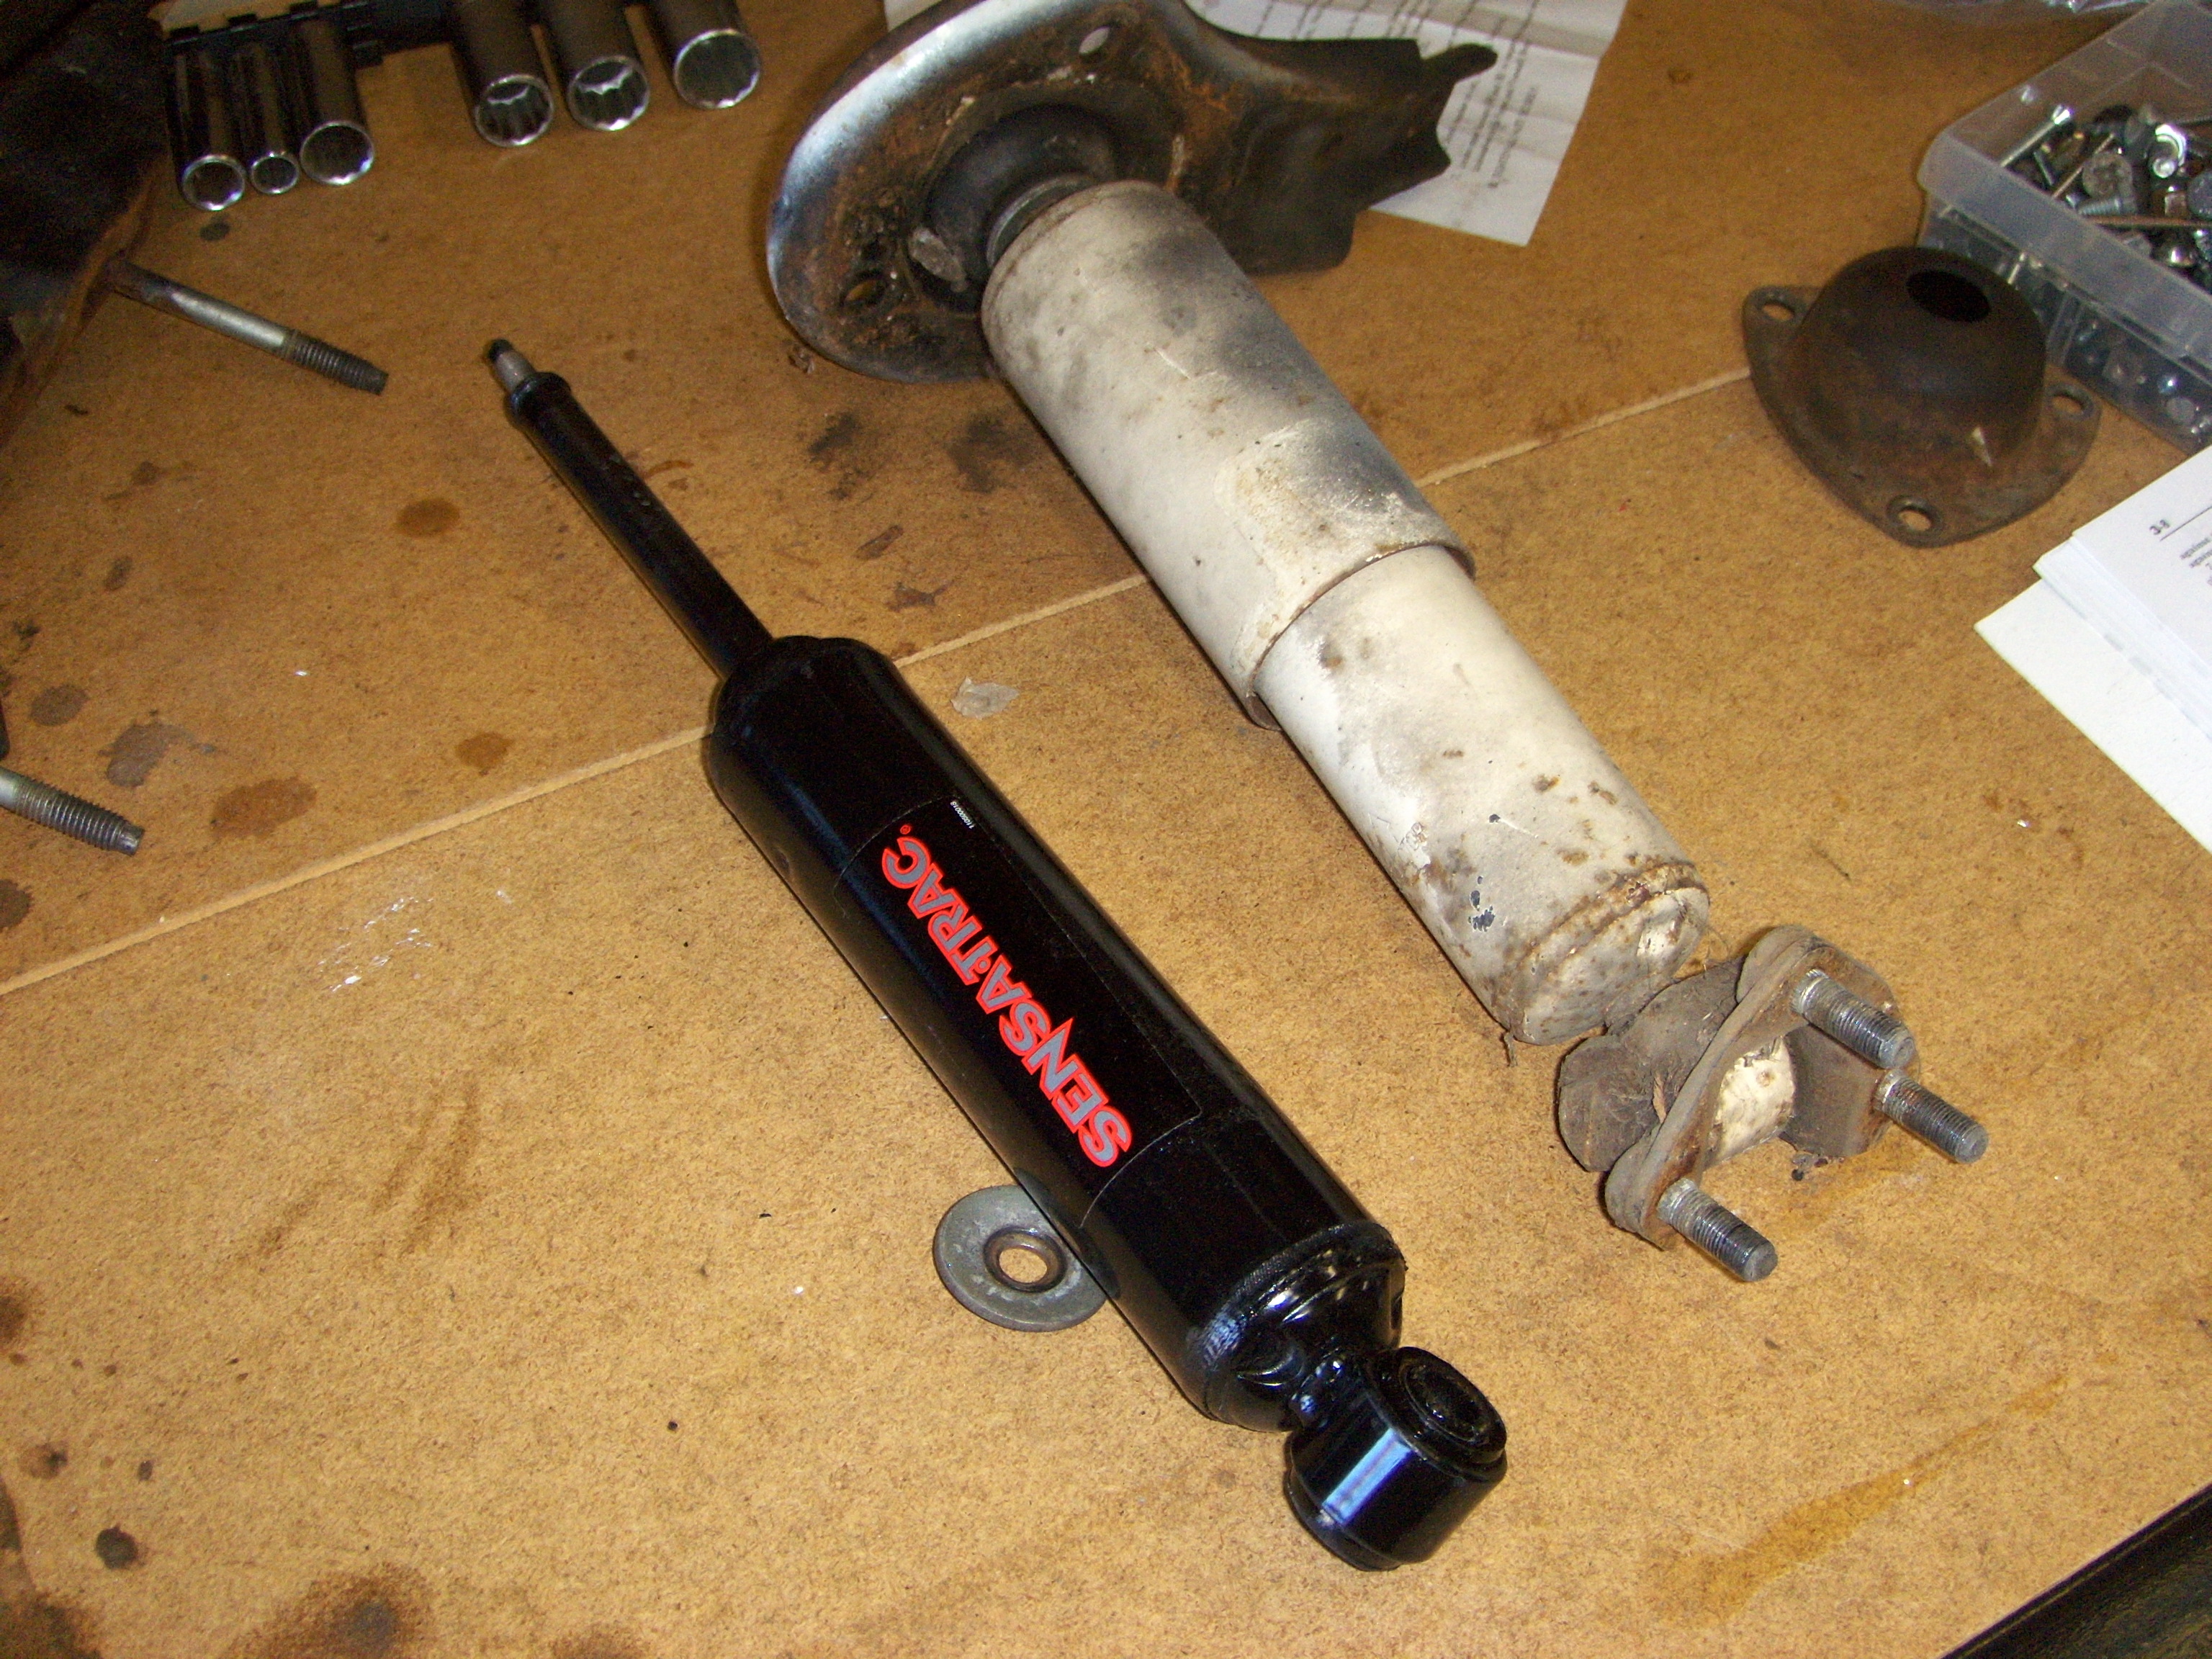
The front shocks in the car looked nothing like the shocks I bought. To make matters worse, the instructions and diagrams in the manual didn’t look like either one. After double-checking the item number online (and confirming it was correct), I followed the instructions that came with the new units. Once I got that figured out, the installation went smoothly.

In the rear, the old shocks came out easily. To get the new ones in that space, I had to compress them–but the Monroes must have a spring in them, ’cause they didn’t want to stay compressed for long. Getting them installed was a muscle-building isometricĀ  exercise of holding the shock completely compressed while trying to guide it into place. What a relief it was to see them finally snap in!

Three Studs
These 3 studs hold the lower end of the front shocks to the A-arm. Best part of this project? All the nuts and bolts could be reached with a socket wrench.

I expected a softer ride with the new shocks, but what I got was better control and a little more firmness. Not complaining–the ride is very nice.

Unfortunately, the nasty squeak in the front end was not significantly improved–something I was hoping for. For that, I’ve got a can of special grease on the way.

Exhausted

I took the car, original-style heat shields and bolts to a local muffler shop and asked them to seal up the exhaust leaks. Two days later, the car is back and quite literally transformed. Quieting the engine completely changed the character of the car from “old Ford in decent shape” to “luxury vintage Thunderbird.” She purrs.

I’m a little sorry now that I didn’t get this done a little sooner, though not sorry at all to have it professionally done. One bolt was missing and two had to be extracted when the manifoldsĀ  were removed–not exactly a job I’d like to tackle in the driveway.

The plug wires–less than a year old–were burned and split in some locations and had to be replaced. With the correct heat shields now installed, that should not happen again.

As for the fuel pump, new fittings did the trick. I installed them on the pump I had only to have it crack again (outlet side this time, though). Swapped it out under warranty–pump number 5, total, for those keeping score–installed the brass fittings, put the pump in and all was good.

New shocks this weekend!

Leaks, Coming and Going

Ever since replacing the fuel pump some weeks back, I’ve been troubled with a small but persistent fuel leak. The first pump I put on actually developed a crack in the housing. Removed, returned and replaced that one, only to have the next one drip, probably from one of the fittings.

The 90 degree fitting is flared, so I can return to a stock-like steel line if I like.

Replacement pumps available from the national chains are pretty generic and come with no fittings installed. To get the right inlet and outlet, it seems inevitable that you’ll end up with a stack of adapters, each a potential leak point. Gasoline is pretty clear and it was impossible to see exactly where the leak originated.

Tightening the connections while the pump was in the car didn’t help much, though I did discover that if the car is parked nose up on an incline, the leak will stop. Apparently, it only needs the pressure of the gas in the tank to start dripping.

Yesterday, I took the pump down to Royal Brass (a local specialist in fittings and hydraulics in general. They have rescued me more than once in the past.) In this case, I explained the problem and they came up with a couple of fittings that eliminated the need for adapters. Total cost, $4.

New exhaust manifold heat shield, bolts and washers, fresh from Bird Nest.

Today, I’ll put the pump back together and reinstall it. Yep, getting pretty good with this task, too.

At the other end of the system, the engine has at least one exhaust leak. I ordered a couple of heat shields (gaskets), new bolts and lock washers for the exhaust manifolds, but this is a job I’m not going to attempt myself. Next week, the plan is to drop it at a local shop and let them seal up the manifold and inspect the rest of the exhaust tubing.

Remount

Installation of the new mounts was slightly easier than expected; though I was expecting it to be nearly impossible, especially on the left side. The engine leaned a little to the left, so I started with the more accessible right, holding the insulator against the block and threading in the bolts. The lower stud, which is attached to the crossmember on the frame didn’t line up exactly with the hole, so I left some slack in the bolts for adjustment when I lowered the engine. As the engine came down, though, everything lined up nicely and dropped into place

Hovering Mount
Right mount, attached to the block and hovering over the crossmember. I lowered the jack slowly to ensure I could guide it into place.

On the left side, there’s no way to get two hands up there and still see what you’re doing. With a little luck, I was able to get both bolts into the block on the first try. On this side, the lower stud did match up with the hole on the frame rail, so there was less wiggle room installing the insulator, creating some friction on the bolts. I got them started, but they needed wrenching almost immediately. Unfortunately, swinging a wrench in there is challenge. I got the lower bolt tight and the upper bolt half way in.

With darkness closing in, I switched over to the right side and tightened up both bolts as well as the lower stud. Tomorrow, in daylight, I can get the last bolt snugged up. The goal is to be back on the road by Sunday–looks like I can make that date.

Dismounting

I got a couple of new motor mounts from The Bird Nest. They arrived just before Christmas, but circumstances have kept me away from the car until today. I jacked up the front end of the car as high as I could get it and removed the left front wheel for access.

Wrench on the left mount
This is the lower insulator bolt on the driver’s side. The upper is out of sight, above.

The mounts are in two parts: insulators attached to the motor are bolted to an angle bracket, which is then bolted to a frame member. Getting to the lower nuts (those holding the angle bracket to the car frame) is easy. I couldn’t see a way to separate the bracket from the insulator in the car, but was able, with some effort, to get the insulators removed from the engine block. (Those on the driver’s side are especially inaccessible due to the steering components.)

With the mounts disconnected, I jacked up the motor–had to remove the fan shroud to get it up high enough. The passenger side mount came out easily. I couldn’t get the driver’s side mount and bracket assembly out of the car until I removed the oil filter adapter, which was a little unexpected. The fuel pump was already out (and the coil removed) just by chance. I don’t know if these would need to be removed as well for clearance.

Old vs. New
The old mounts are not only hard and cracked, but twisted and distorted as well.

All the nuts and bolts associated with the mounts were snug, but not tight, which I found a little odd. The engine was out of the car for a rebuild some years back and it’s a simple matter to assemble the mounts before reinstallation. In my case, it will be a little more difficult to cinch everything up.

I will post a photo journal of the whole process once I have the new mounts installed. Should I ever buy another ‘Bird, this will be an item I’ll plan on replacing right off the bat.