Panned Out

The driver's side floor pan, after welding it in and a quick coat of self-etching paint. View from underneath the car.
The driver’s side floor pan, after welding it in and a quick coat of self-etching paint. View from underneath the car.

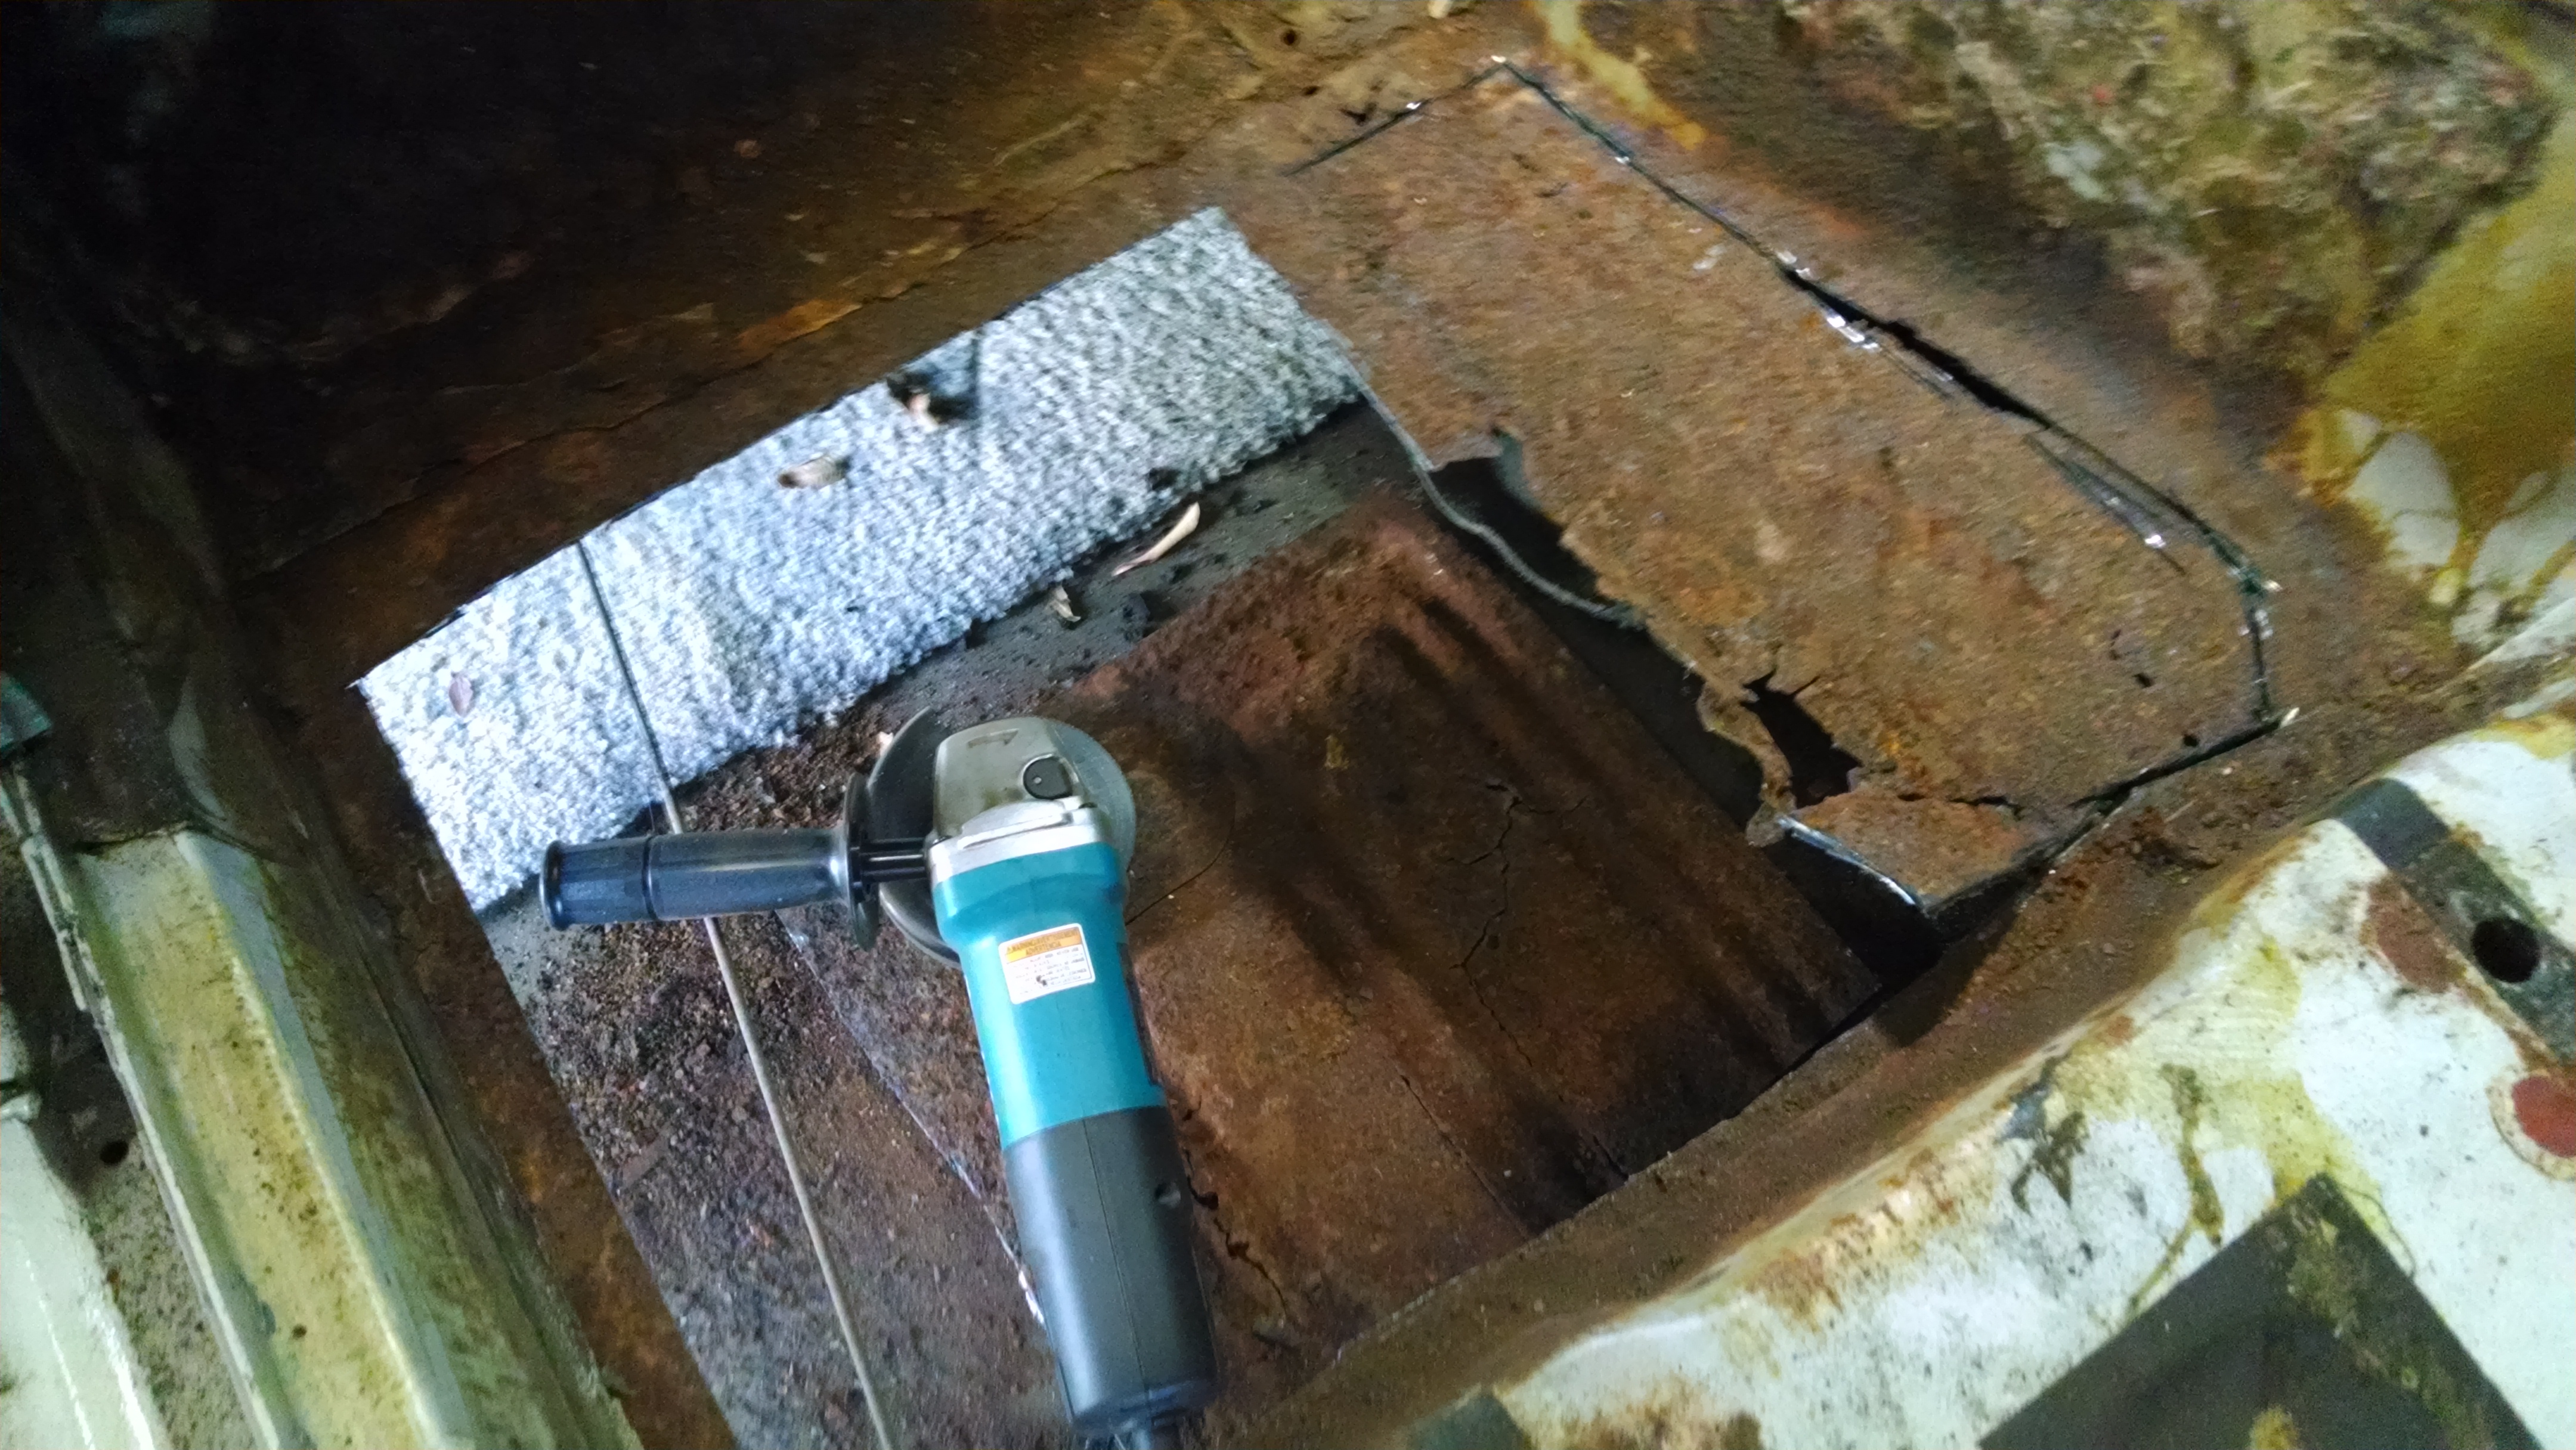
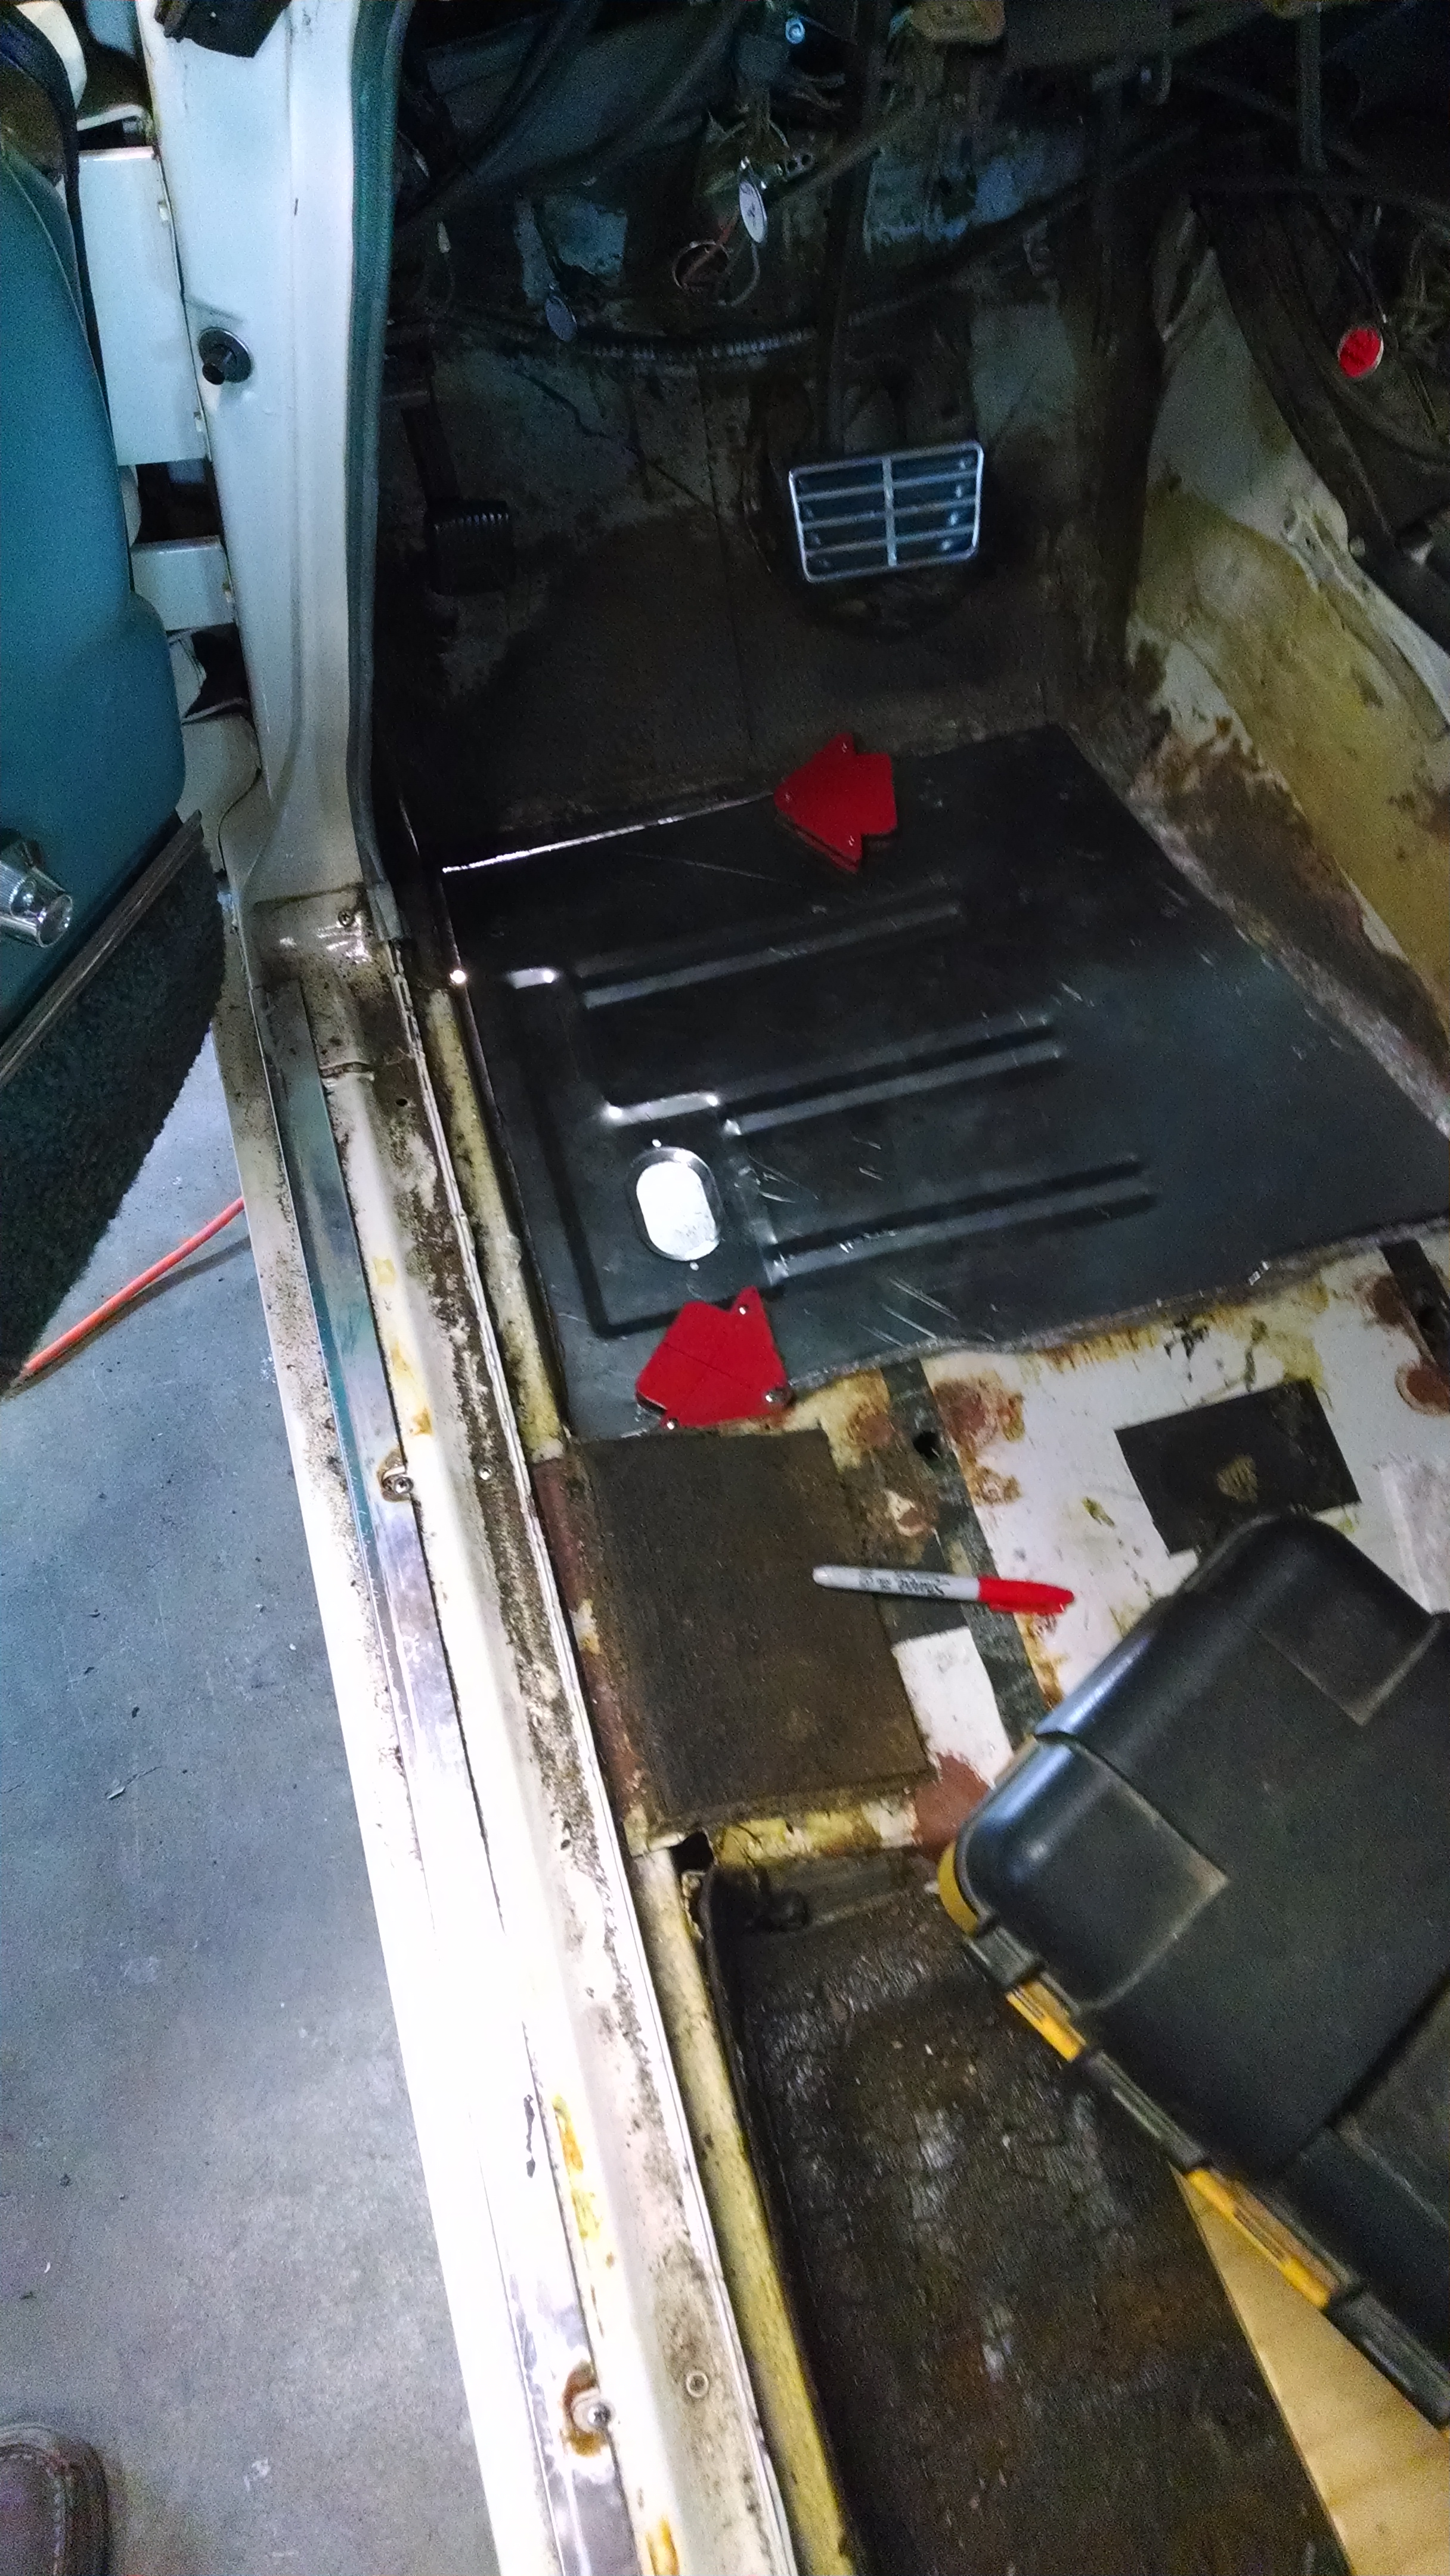
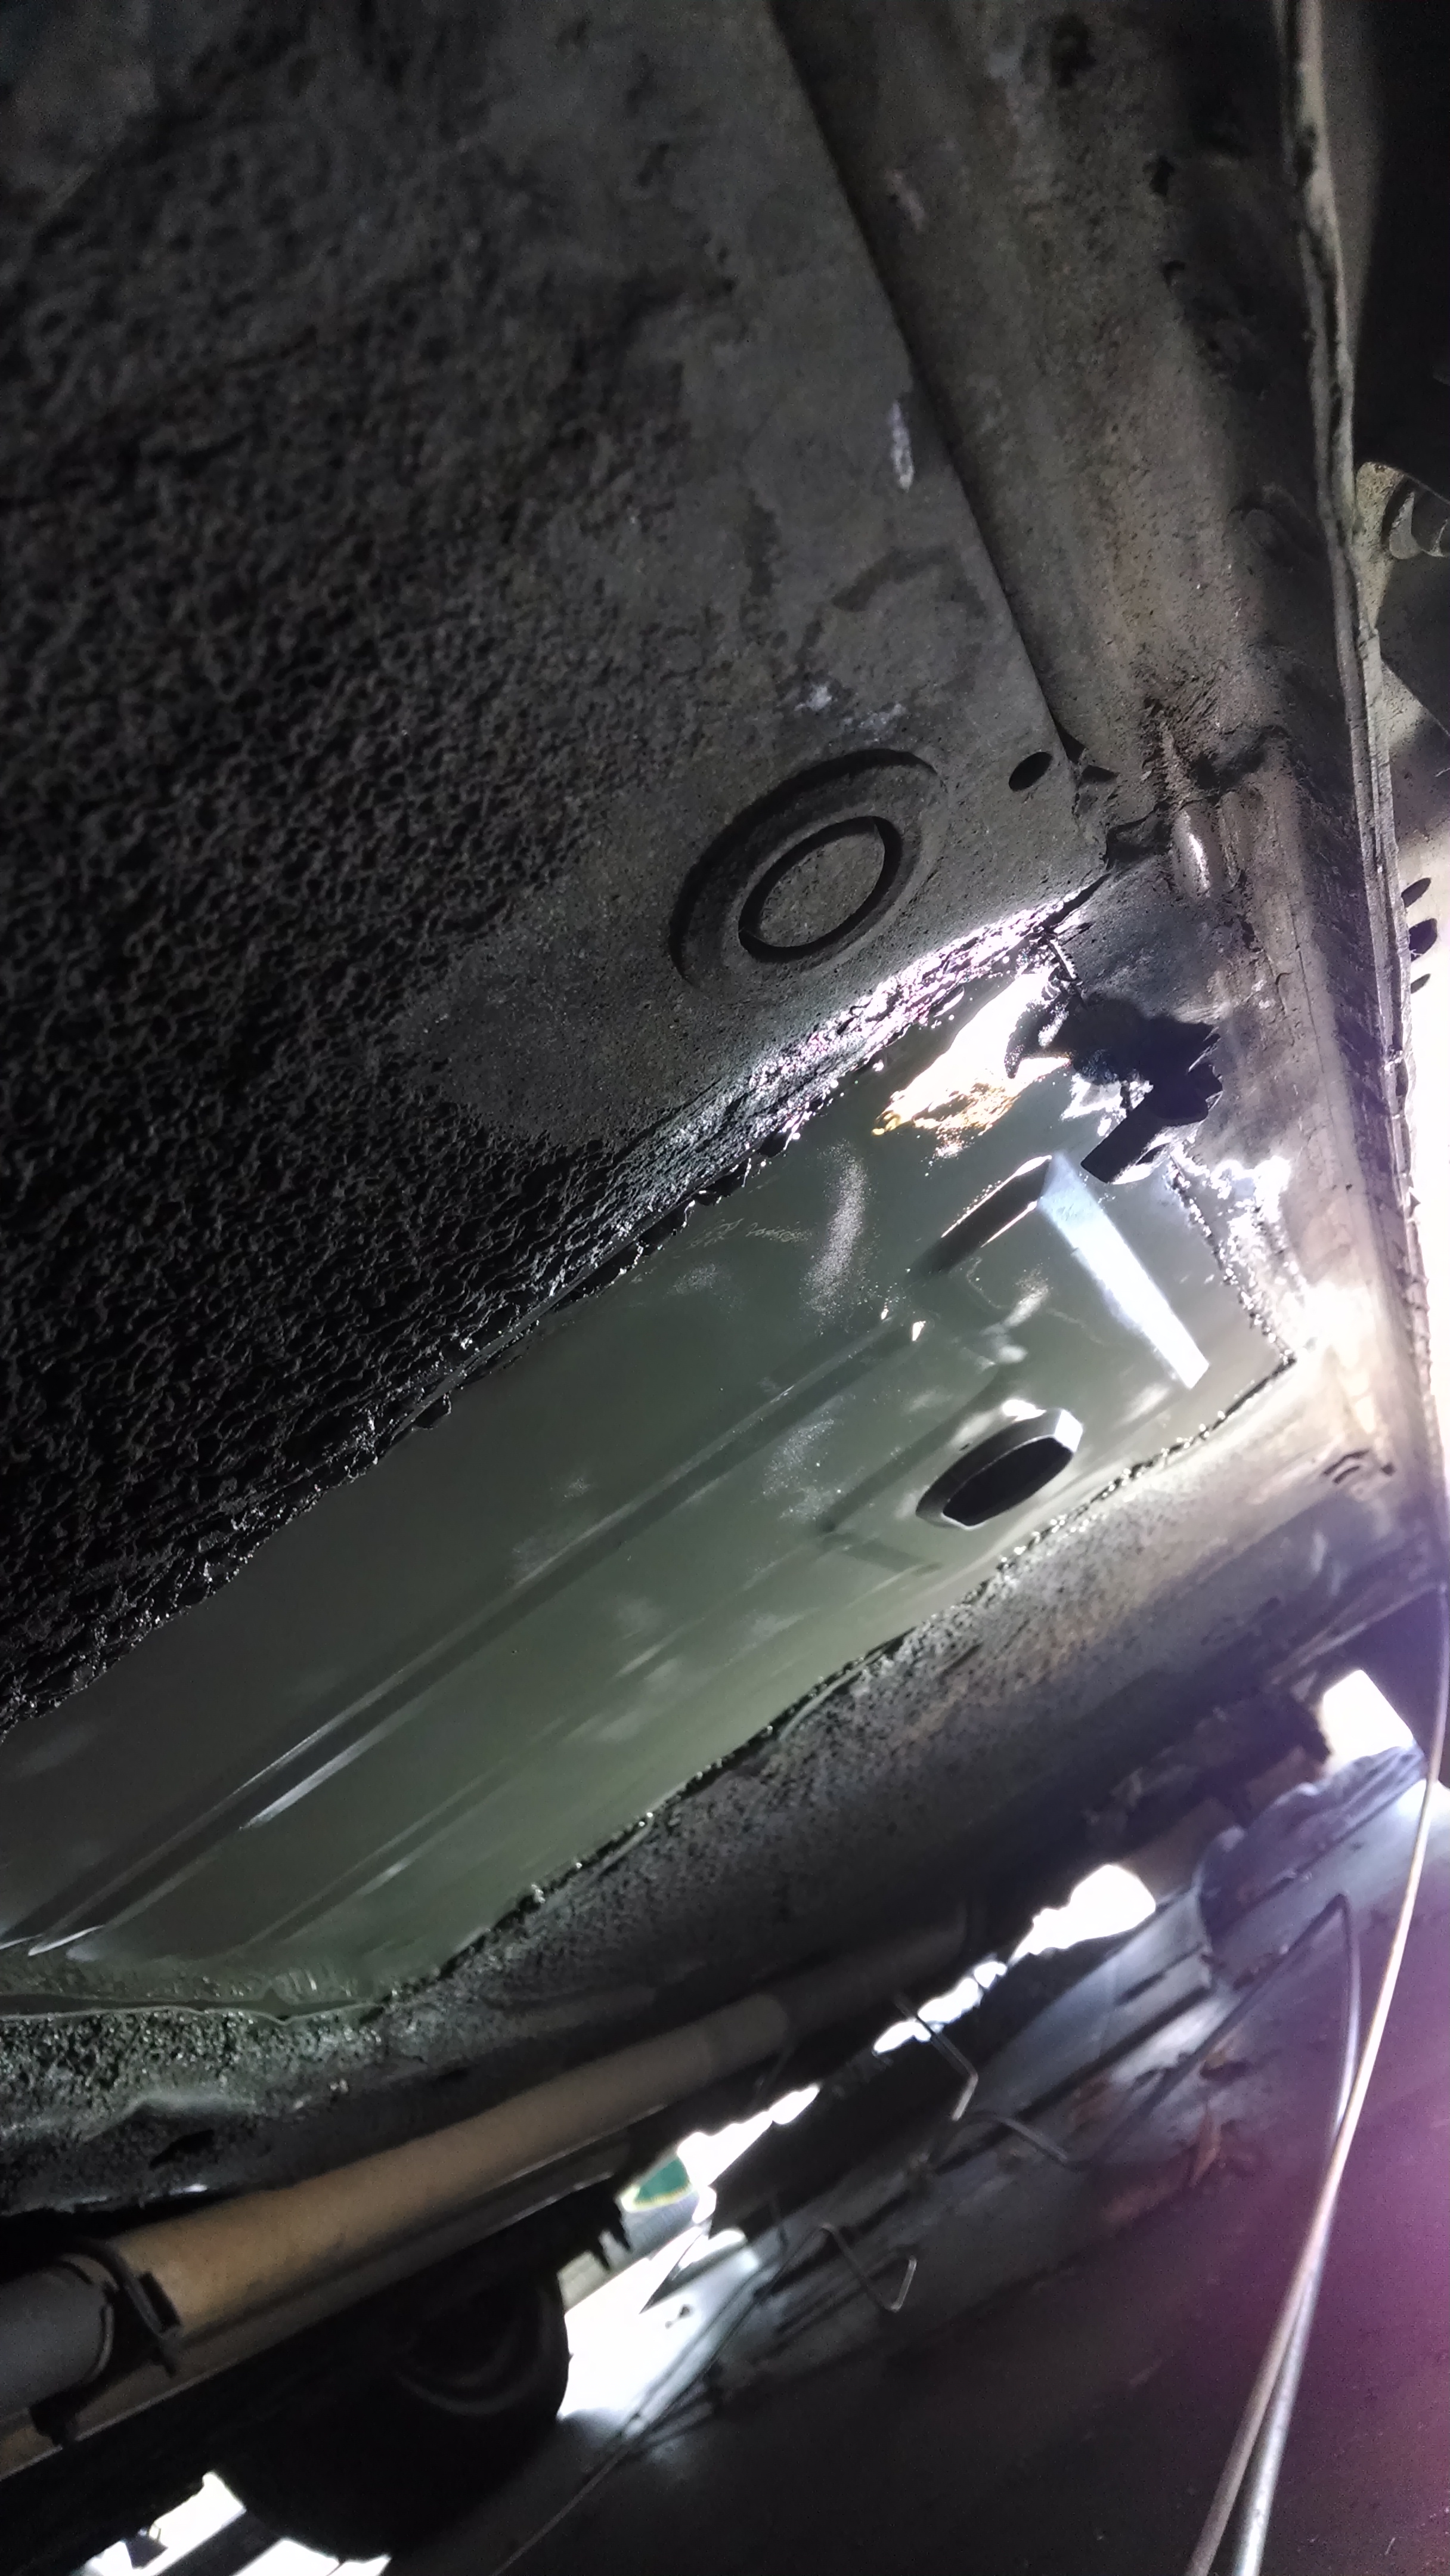
Last Sunday I spent the better part of the afternoon squatting in the car, welder in hand, sweating over the new floor pan. As it turns out, the replacement piece was cut perfectly–no adjustments were needed to the fit.

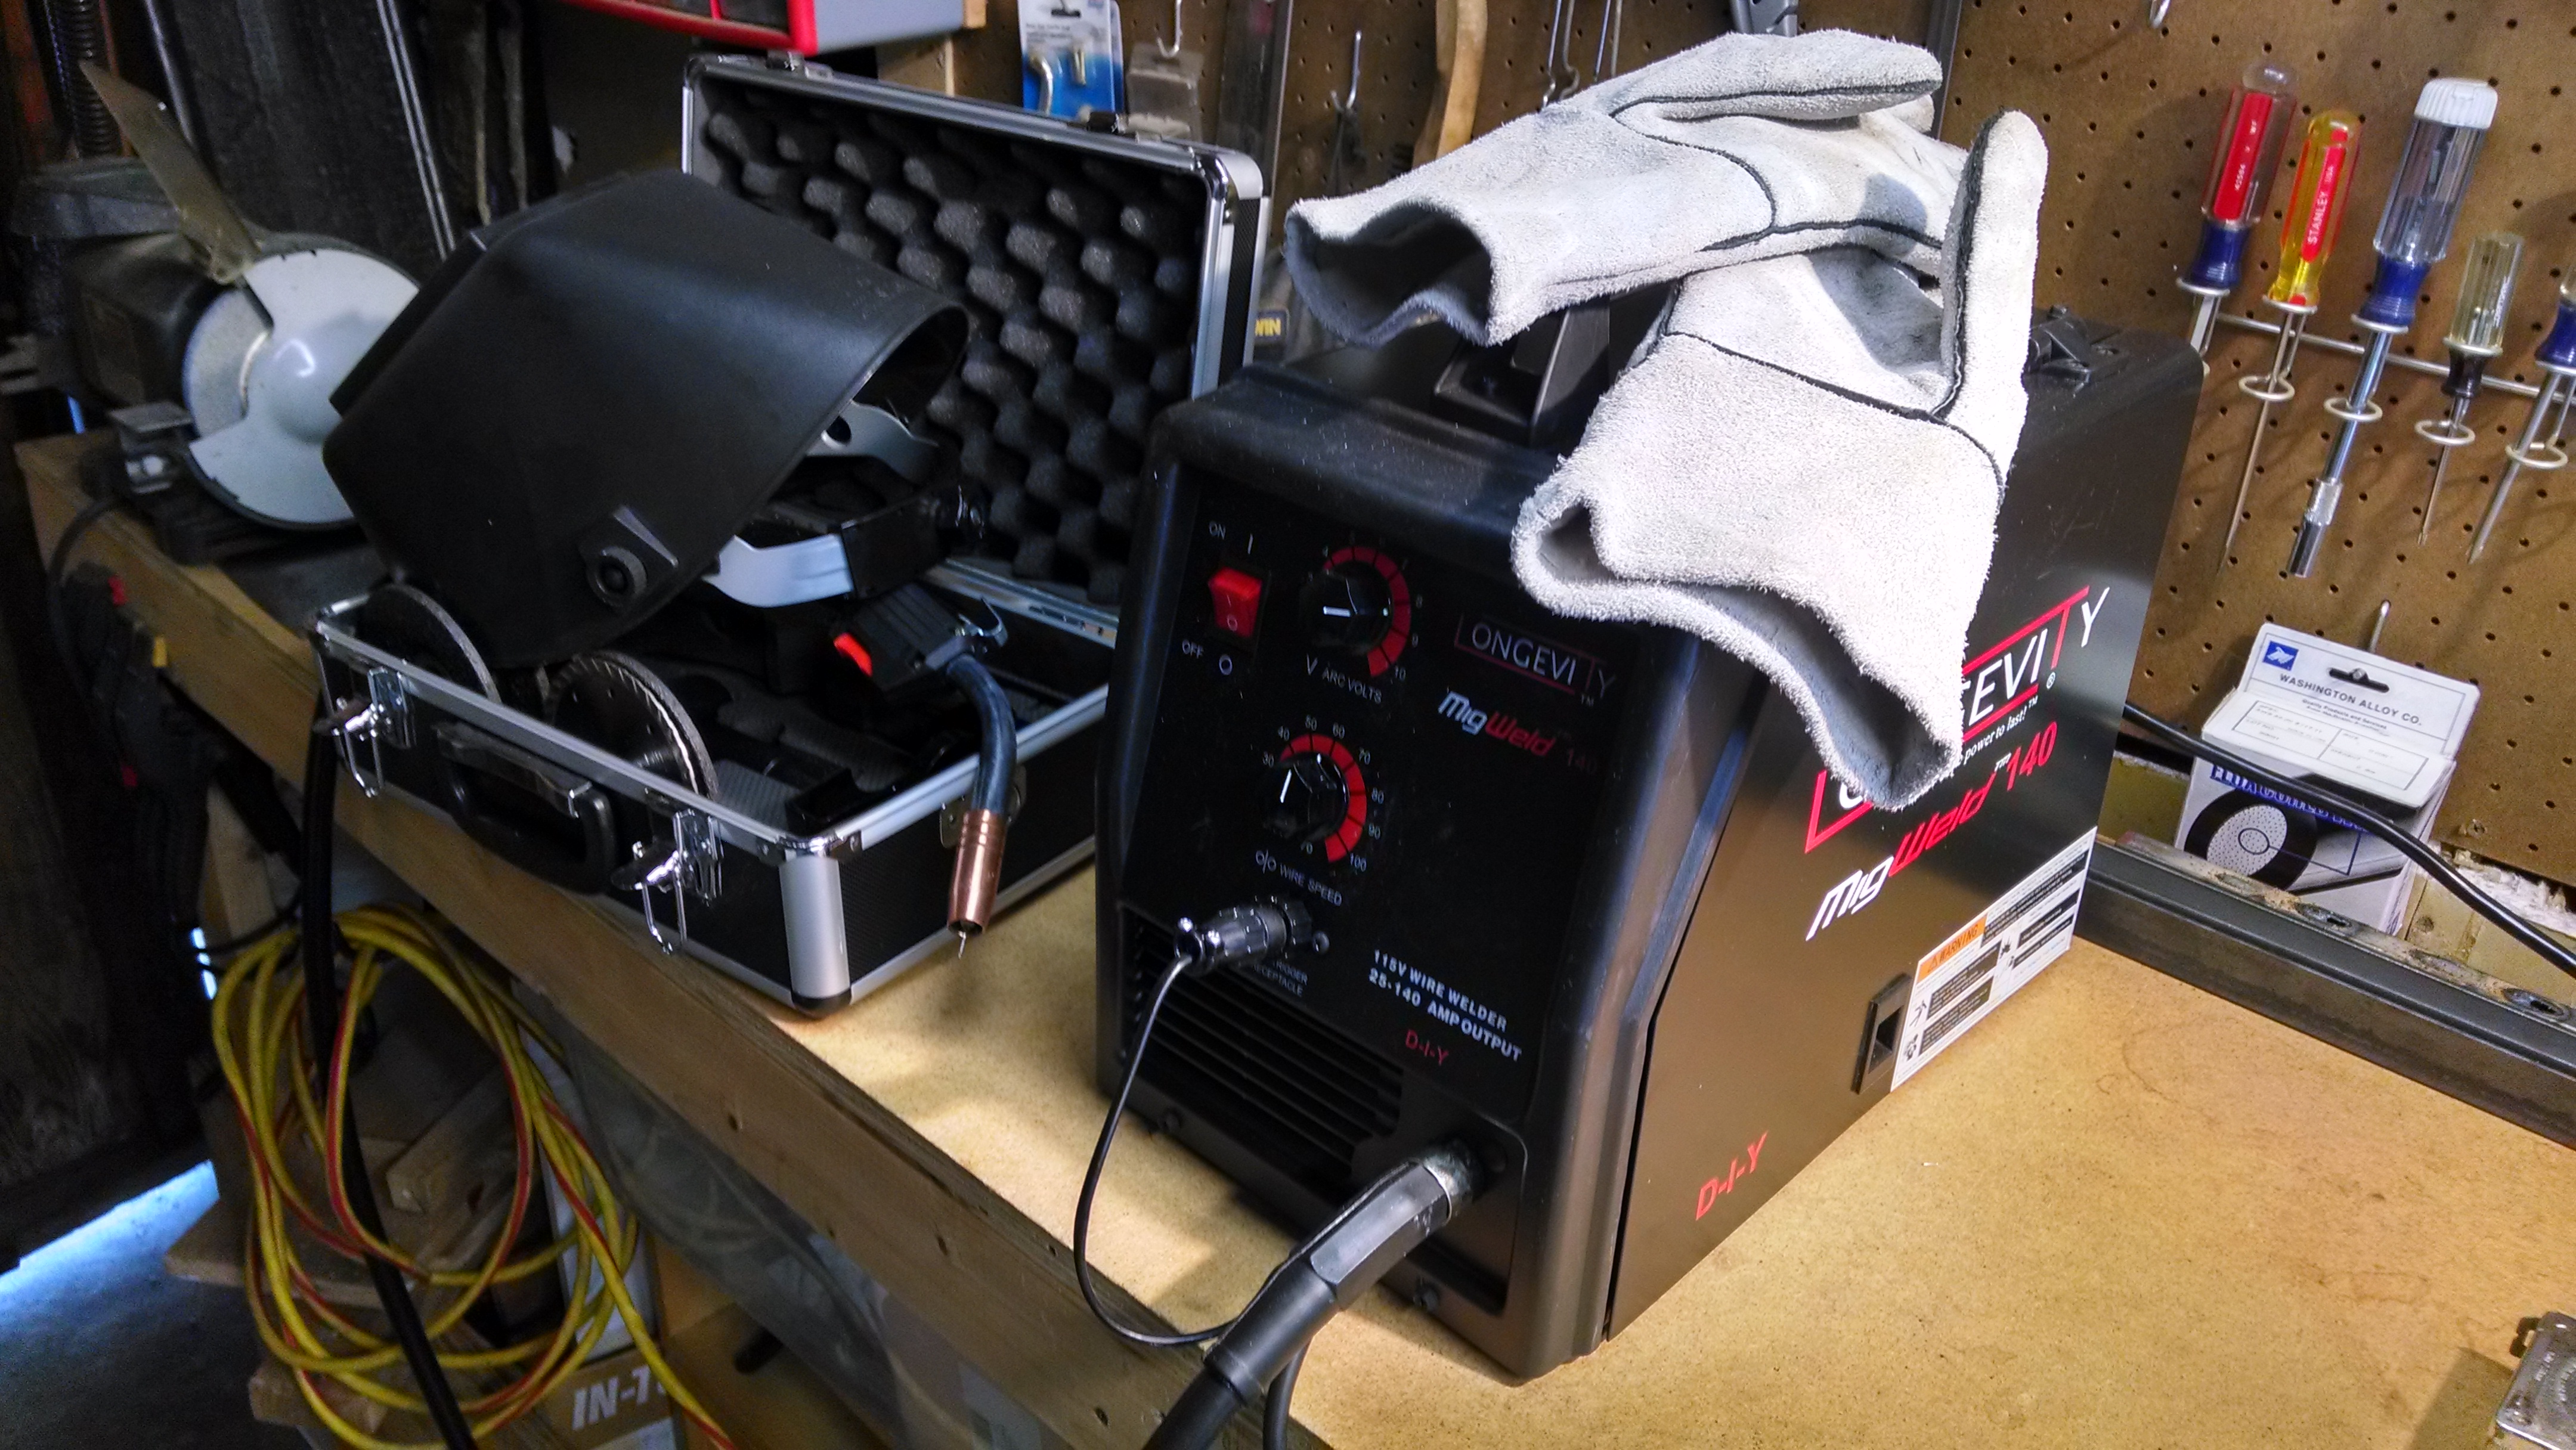
It took me quite a while to find just the right settings on the welder, and I did burn through in some areas, which was my greatest fear. With some experimentation, though, I found a technique to fix my mistakes. In the end, I had a solid, if not very pretty, seam weld around the entire perimeter. I used a light source underneath to help find and plug any gaps or holes in the welds, which felt like the right thing to do, even though the seams will be sealed as well.

I painted the the fresh metal with self-etching primer, which should help to inhibit future rusting. The seam sealer is on a truck somewhere, but when it arrives, I’ll be able to seal this side and lay down new sound insulation. There is a light at the end of this tunnel.

Old vs. New Brake lines. The last stainless steel line to install.

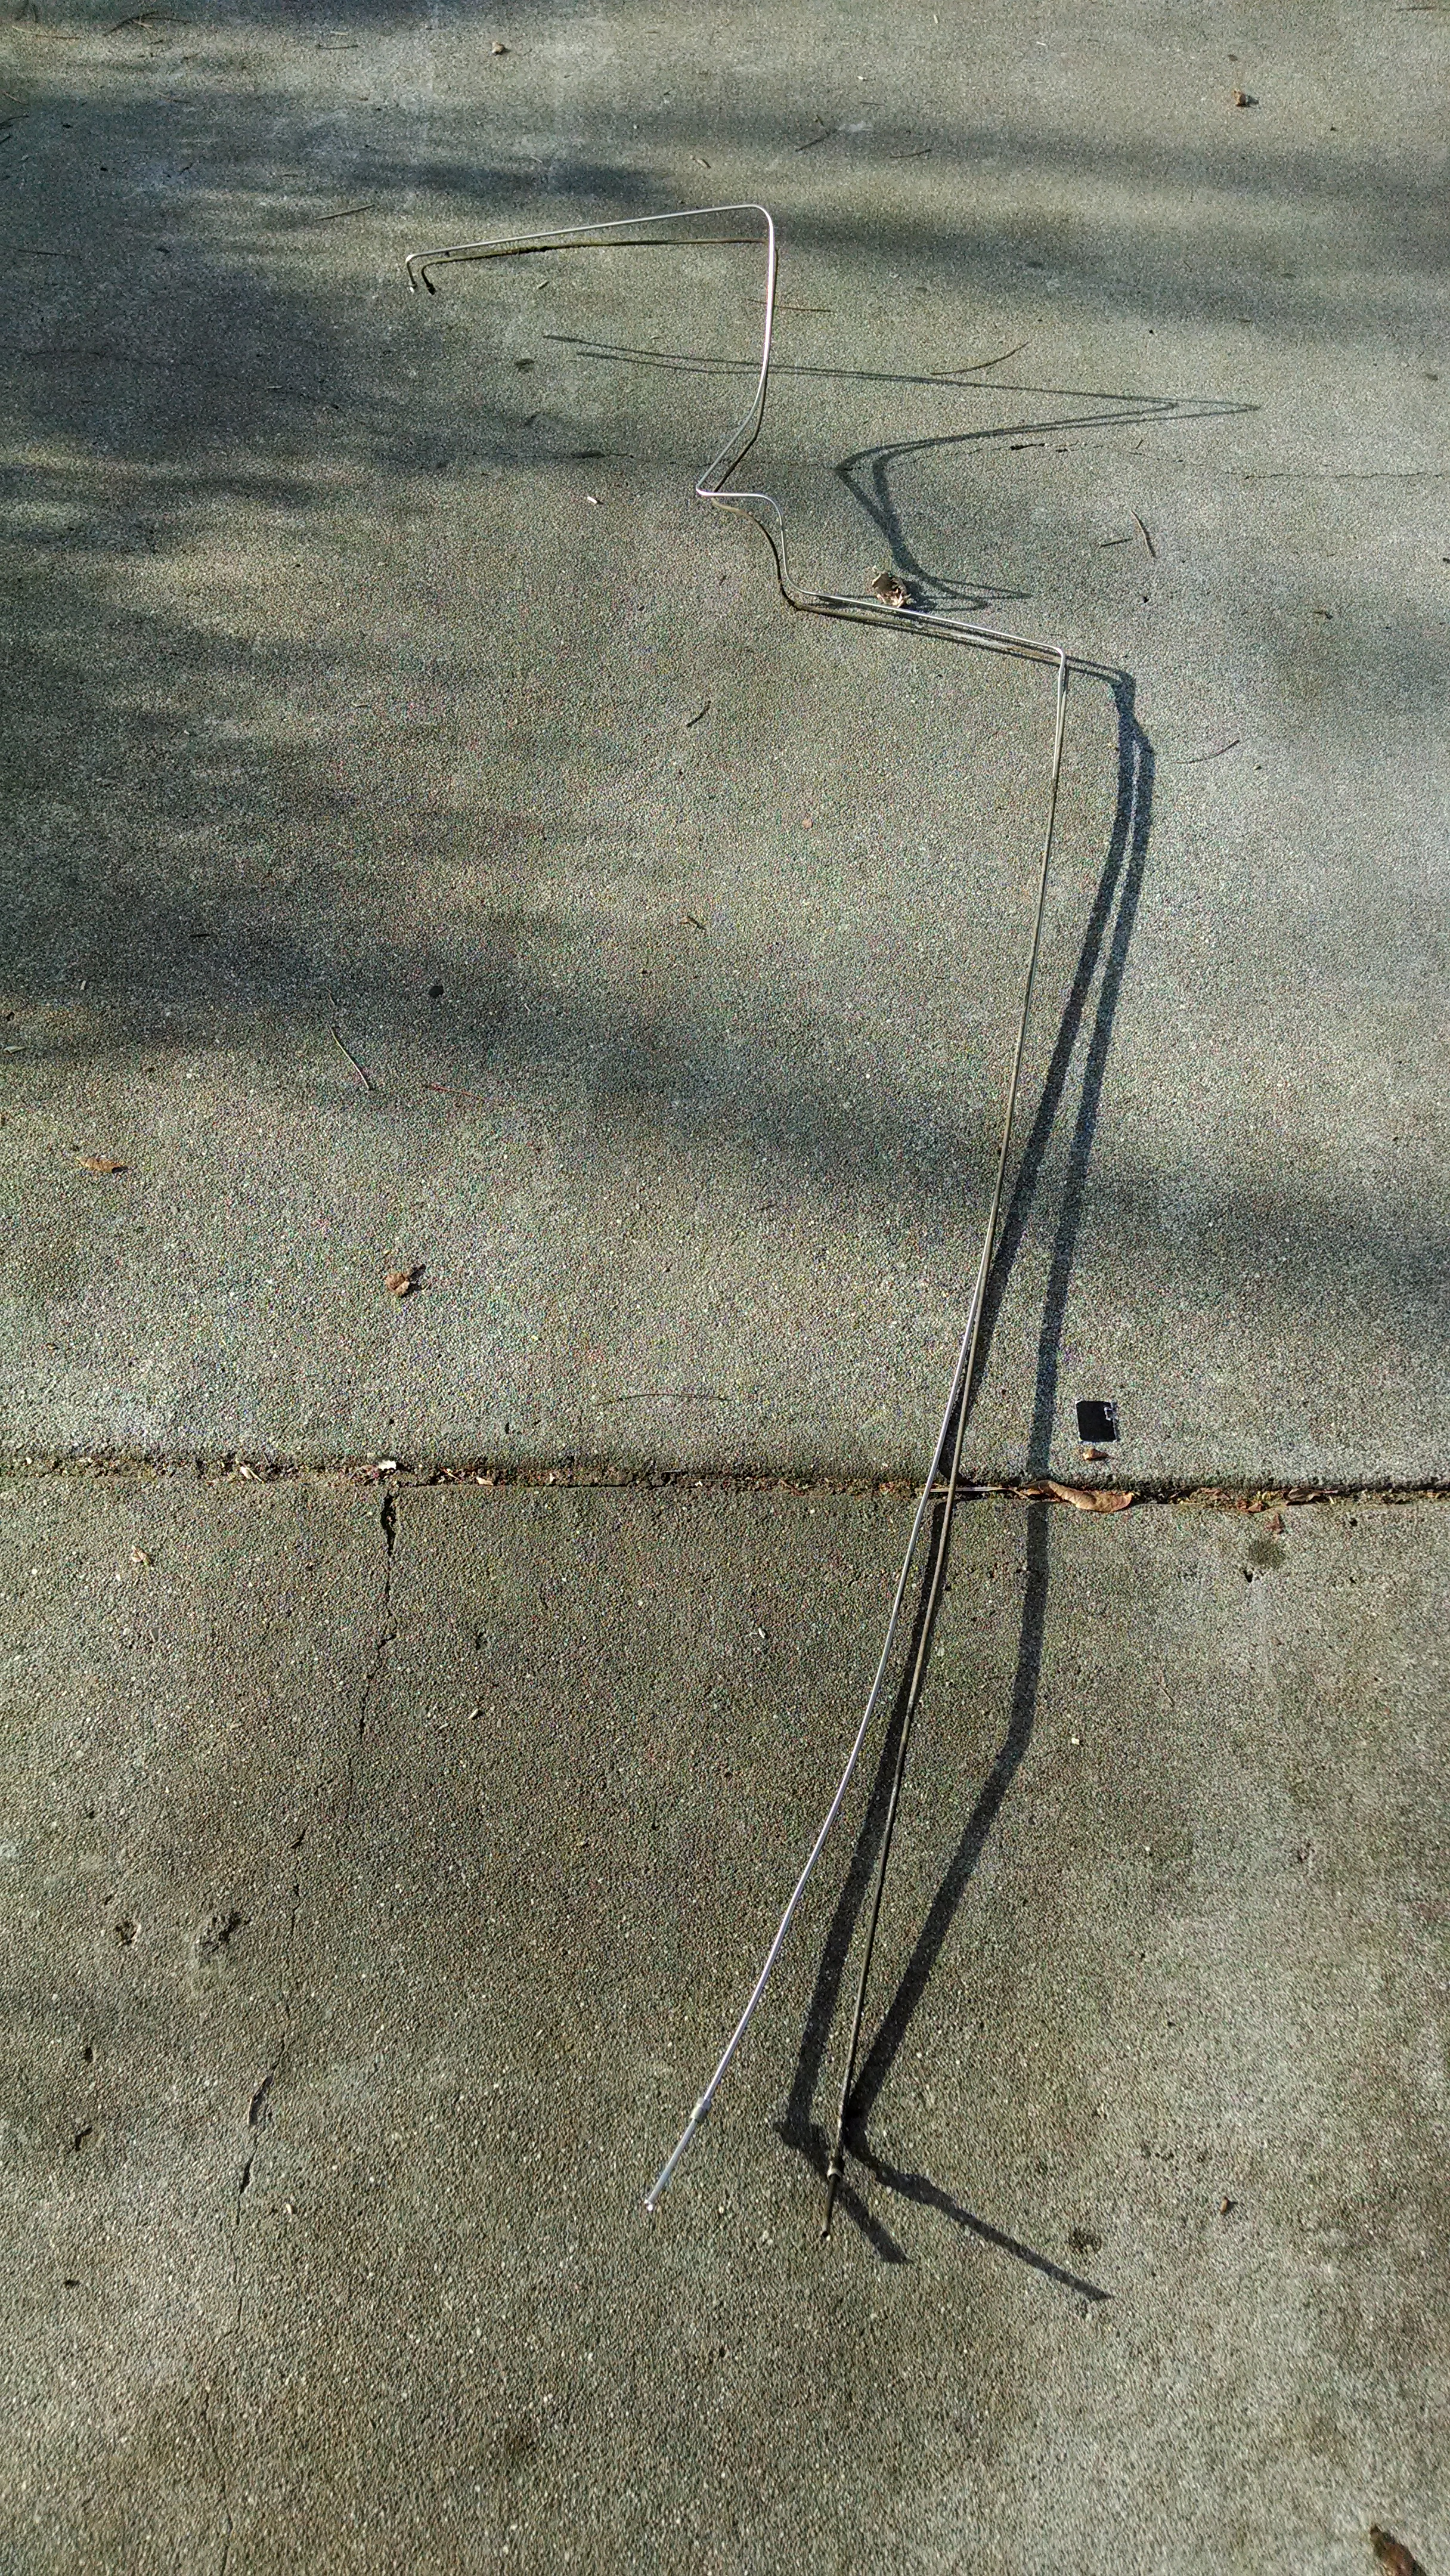
In the meantime, I tied up some loose ends by reinstalling the fuel line and replacing the old brake line that runs with it to the rear wheels. The new brake line was part of the stainless steel kit I purchased in 2012. The long piece snakes up behind the inner fender well where it is connected with a union, for some reason, to a shorter line that leads to the master cylinder. There was no urgency to replacing these lines, but it’s nice to have them on the car and not floating around the garage any more.

With those two lines in, I was able to put the inner fender well back on and reinstall the left front wheel. The car had been up on a jack for over a month–maybe longer–nice to see it down on four wheels again. Feels like progress.


Yabba Dabba Do

First pass with the cutting wheel. Rusty metal still attached to the brace.

I cut the driver’s side floor pan–what was left of it–out of the car earlier this week. This is the first time I’ve tackled bodywork of this magnitude so I began with some trepidation, even though there was really nothing to lose.

Before I began, I removed the fuel line. (It runs right up the driver’s side of the car, close to the area I was working in, and I didn’t want a fire.) I didn’t wear my welding apron, but did have on a long sleeve shirt, welding gloves and a full face shield. It was a hot winters day, oddly, and with all that gear I was sweating pretty good. The cut off wheel I used in the grinder throws up a lot of debris, both from the rusty metal and the wheel itself as it disintegrates. At the end, I was wishing I had used a dust shield over my mouth as well, sweaty or not. I ended up breathing in a lot of the airborne particles.

The finished product, ready for Fred Flintstone.

The rusty metal was soft and easy to cut, but some areas can be hard to reach; in those cases, it can be difficult to control the cutting wheel. I was conservative in what I cut out, then used a grinder (easier to control) to work back to good metal, trying to keep straight edges all the way around.

The pan is spot welded to a brace that runs diagonally underneath it. I didn’t have a good tool to break these welds, so I used a screwdriver to separate the metal, then pried the welds apart with a pair of pliers. This is not the best approach, as the brace gets a little distorted in the process. (I’ll try something else on the passenger side.) With the welds broken off, I ground them down pretty easily.

I cleaned off the surface rust on the remaining metal with a wire wheel, then a rust removal pad chucked in a drill. I also used navel jelly around the edge of the opening to get as clean a surface as possible for welding.

New pan, cut out, ready for welding.

A day or two after cutting out the old, I set to work trimming the replacement panel. I set it in place, holding it down with a heavy tool box, then outlined the areas to cut away from underneath. Like with the old pan, I cut way outside the line, then slowly worked back towards it with a grinder, checking the fit as I went.

It was a tedious process. Since I plan to seam weld, the new piece needs to fit just inside the opening–no overlaps and with no large gaps. It is difficult to hold it in place (It wants to fall through, of course), check for fit and mark the spots that still need work. As the sheet metal is cut, it distorts slightly, too, so it can be difficult to judge just how well it all aligns, unless you have about six hands to hold it in place.

It took me about two hours of cutting and grinding to get a piece that fits well. It may be a tad oversized, but that’s better than too small. I plan to tack one side into place, then make any small adjustments necessary before welding it permanently into place–today!

Instrument Cluster

I practiced some welding yesterday morning using 16 gauge sheet metal, which appears to be the same thickness as the replacement footwell panels. Some of the welds came out quite nice . . . others, well . . . they weren’t exactly confidence builders. My biggest concern, though, is burn through, where instead of joining the metal, it just melts away–trading one problem for another.

Instrument cluster--dirty, but not too far gone.
Instrument cluster–dirty, but not too far gone.

I had that happen a couple of times during practice, mostly because I worked the same spot too long. Going slow and moving around the perimeter as I work and all should be well. In any case, it’s time to stop practicing and start the metalwork. I expect to have it done by this time next week.

I also took some time to clean up the instrument cluster. On close examination, I found it was a fairly complex assembly, held together with tiny hex head screws and trimmed, in places, with black tape (to prevent light leaks). Inside, paint was flaking off, screws were missing and it was full of dirt.

Shined up and ready to go.

The chrome on this piece was better than my original. Most of these have considerable pitting on the surface under the gauges, and this one was no exception. I don’t know why that is, but, fortunately, it’s in a fairly inconspicuous spot. The high-visibility items–the wide sweep of chrome under the light switch and the instrument pods themselves–cleaned up very nicely.

Disassembly Complete

I picked up a tank of Argon/CO2 gas for the MIG welder this week and yesterday hooked it all up. I did some welding on some old sheet metal with the new setup, and while I have a little ways to go, practice-wise, the results were pretty decent for the first time out.

The "new" dash, stripped, cleaned and ready for paint.
The “new” dash, stripped, cleaned and ready for paint.

I dragged out the dashboard yesterday and started cleaning it up . . .remember the dashboard? (This is a project about the dashboard!) It came out looking pretty nice, but not quite nice enough. The clock pod, with its fresh coat of paint, looks positively new. Next to the older paint on the dash, it has a slightly different sheen, texture and color as well.

Talking with the body shop that did the work on the pod, the only real solution is to scuff and spray the rest of the dash to match. Of course, that means more disassembly. I had originally thought the the other painted panels were attached to the framework of the dash. In fact, they are part of the dash itself.

The Instrument cluster, exploded view.

I removed the Thunderbird logo and the trim pieces with some hesitation. These a clipped on and were never meant to be removed. I don’t know how well re-assembly will go. With those off, I also removed the instrument cluster, which has a small painted panel as well. The only real difficulty here was removing the plastic speedometer number panel. The plastic was very fragile and was partly broken. I may have to use the original from the old dash on reassembly–provided it’s in better shape.

The next trick will be getting the entire dash to the body shop tomorrow.

What I Found Under the Carpet

With the interior of the T-Bird mostly disassembled, it was an easy task to pull the carpeting out this afternoon. I only had to remove the door sills and the seat belts to free them up completely. (The carpeting does not span the transmission/driveline hump, so it’s in two large pieces, one for each side.)

Rust-O-Rama. Much worse than anticipated.

Once up, I was able to remove what was left of the sound insulation in the front floor pans with my hands. When I got the car, it was leaking around the windshield, something I fixed about a year ago. Amazingly, the sound proofing next to the sheet metal was actually still wet after months of dry carpeting.

I had examined the floor pans from underneath the car many times and noted about a square foot of rot on both sides. With the pans exposed from the top, it was clear that both floors were completely rotted out.

I was a little reluctant to take this project so far–quite a lot of the car is scattered in parts around the garage. However, looking at the extent of the damage–and finding that the floors were about to fall out–I’m pretty happy I took the time to investigate.

I’ve done quite a lot of practice welding on 1/8″ steel and have fabricated a welding cart to hold the MIG welder and provide a good place for further practice. Today, I acquired a medium-sized tank of gas so I can start practicing on sheet metal.

Looks like I’m going to have a lot of experience when all is said and done.

Welding

New welder. Grinder, in the background, is an essential accessory.

All told, I spent maybe an hour playing around in the garage melting metal and fusing bits of scrap together in an effort to get comfortable with MIG welding. I was going to do the same this weekend, and I even picked up a bunch of scrap iron for that purpose.

On Saturday morning, though, I figured “what the hell . . .” and just dove into an actual project. I had seen a lot how-to videos by expert welders, and while they got me started, it was frustrating trying to duplicate the quality of their results. My welds to that point were generally not pretty–lots of spatter and sometimes not enough penetration–but seemed sturdy enough, at least for a simple project.

First day's progress: mitered shelf brackets, one leg attached.
First day’s progress: mitered shelf brackets, one leg attached.

Actually building something was, of course, much more fun than simply welding bits of steel together and dropping them in the scrap bin. I’m about half-way through the project and it’s coming together pretty well. The welds are solid, and about a third of them I would call decent-looking, too.

The cart I’m building is based on a plan posted at the Lincoln welding site, though I’m modifying it a bit to save a few dollars (if not some time as well). So far, I’ve built the shelf frames, cut the legs and got one of them installed. By cocktail hour today, I expect to have a a finished cart.