Little Things

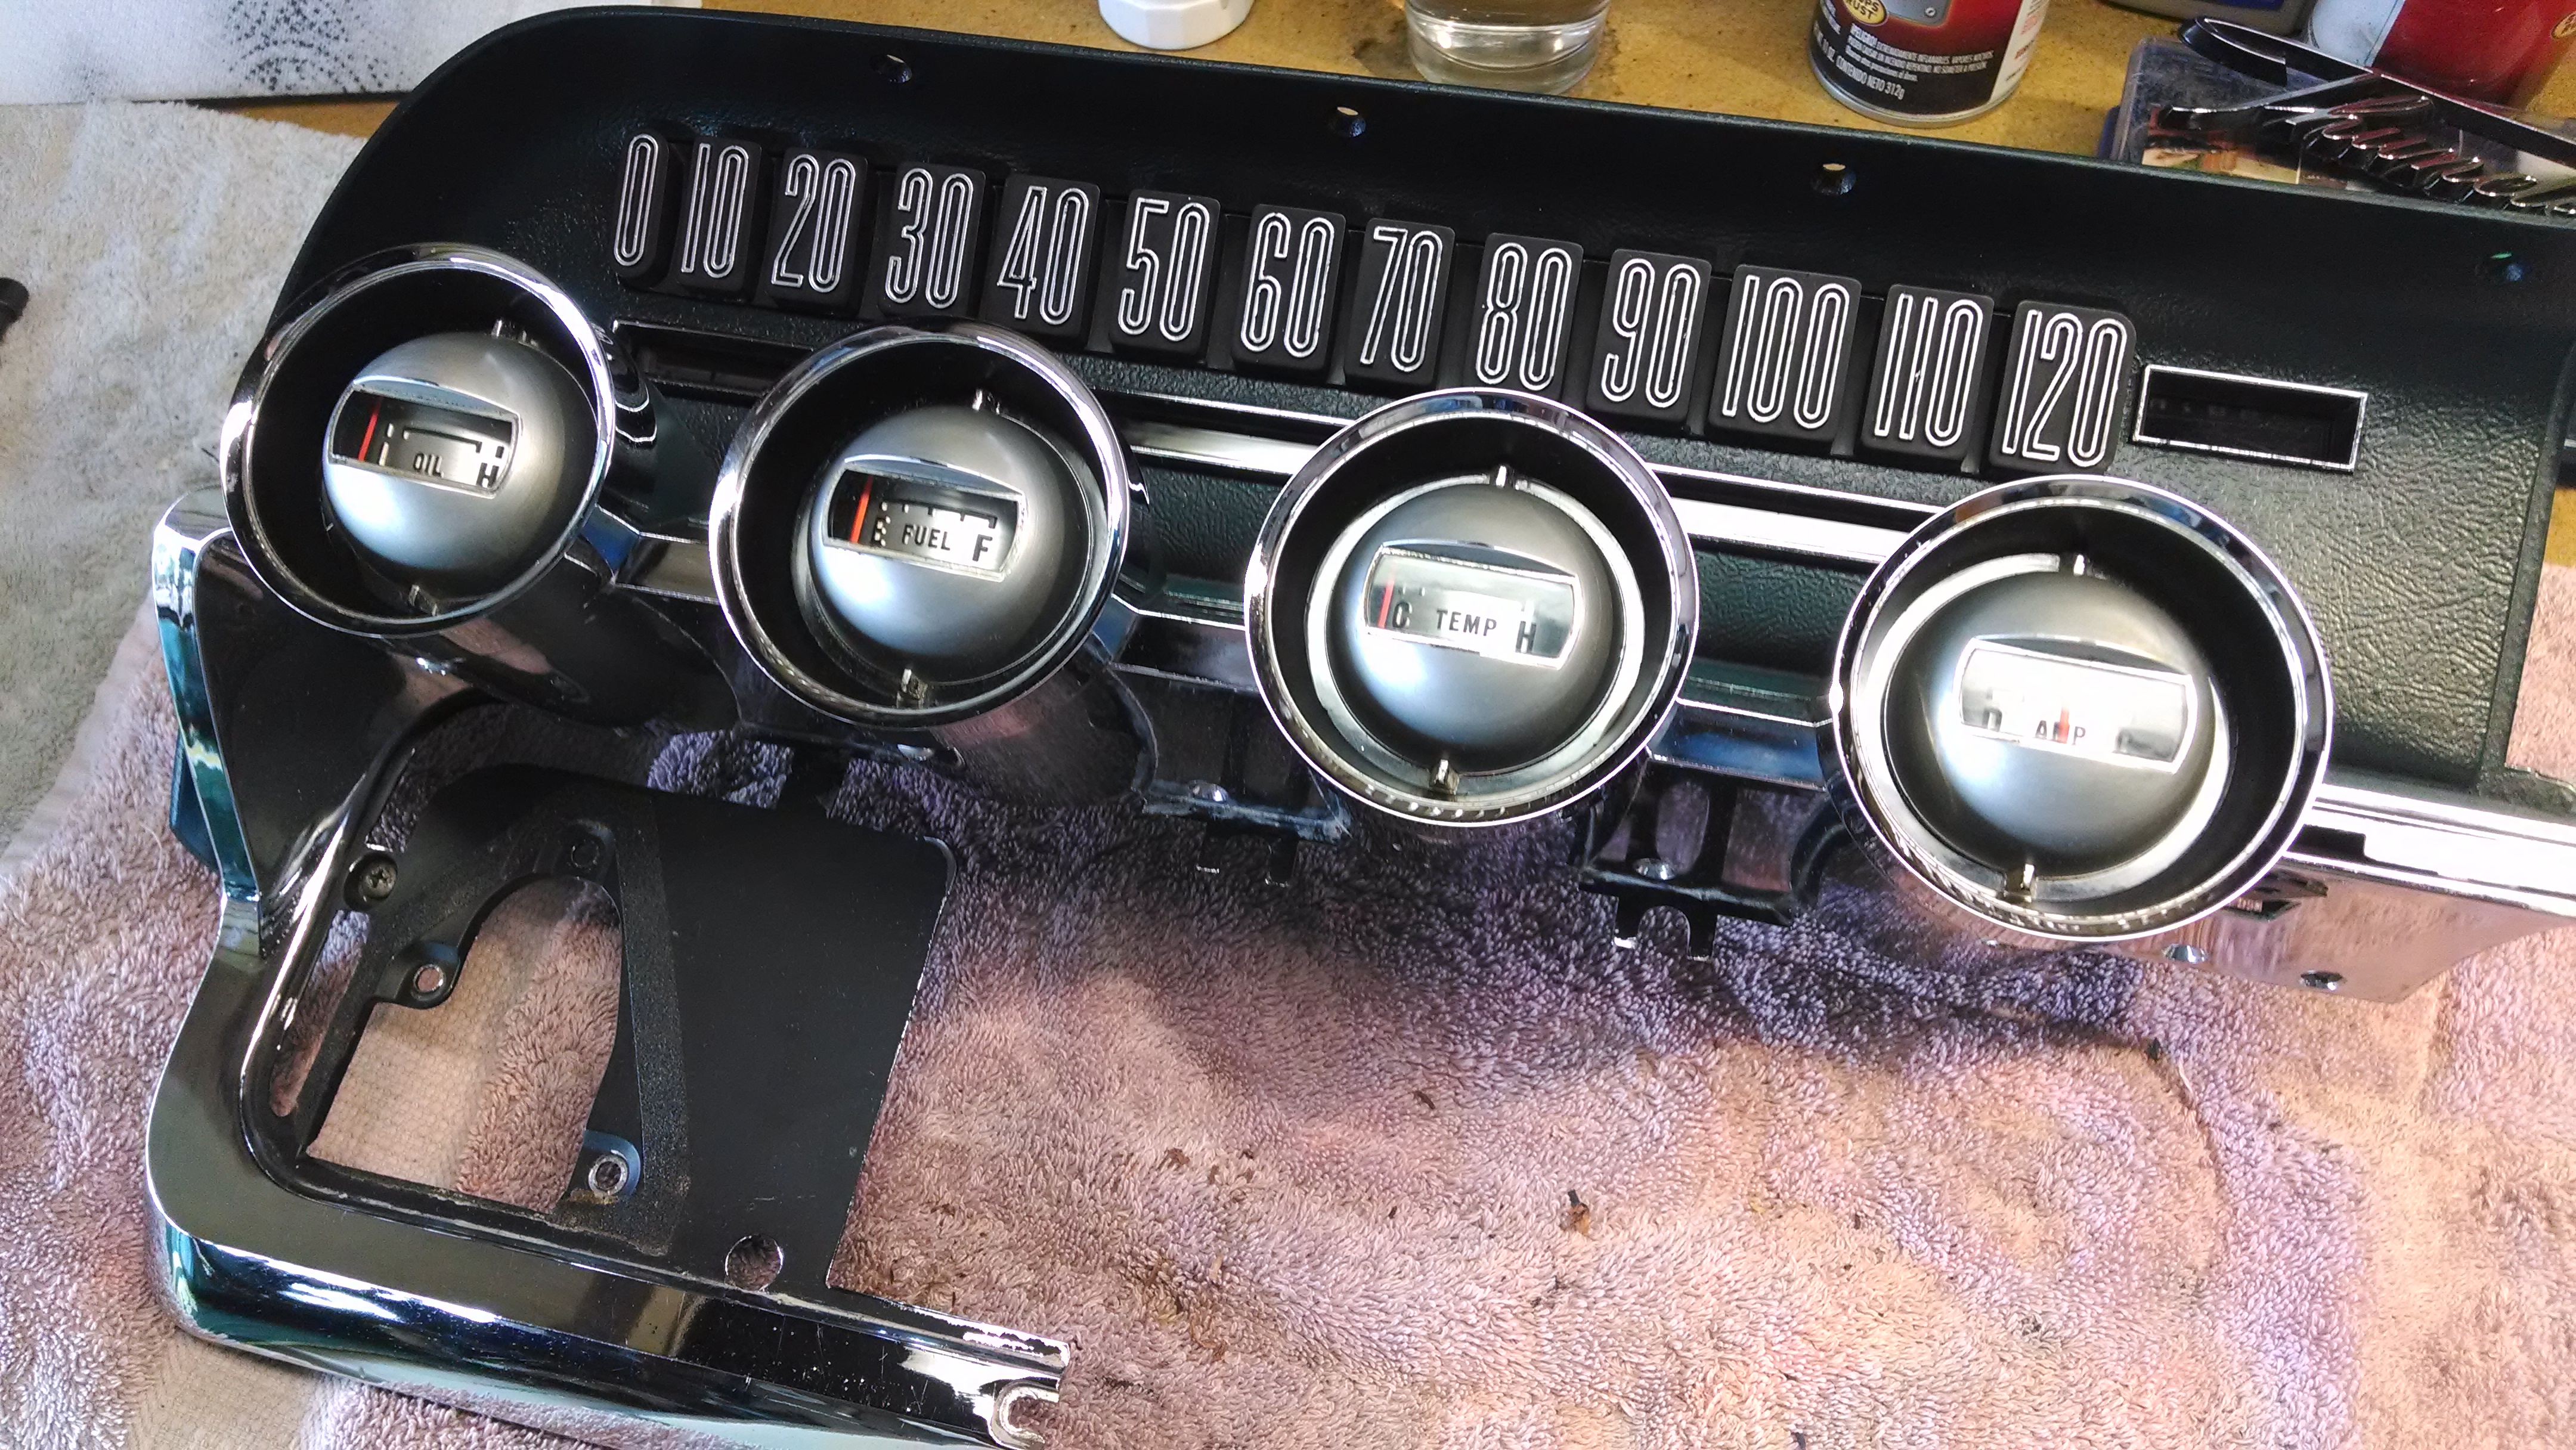
While getting the last elements of the dash together–and with thoughts of installing it last week–the insulator behind the old ammeter broke while removing it. A quick search online, followed by a phone call got one moving in our direction, but it didn’t arrive before the weekend.

New lugs on the ammeter wires. Above, reinforced defroster ducts.
New lugs on the ammeter wires. Above, a reinforced defroster duct.

So, I spent this time doing some of the smaller jobs preliminary to installation.

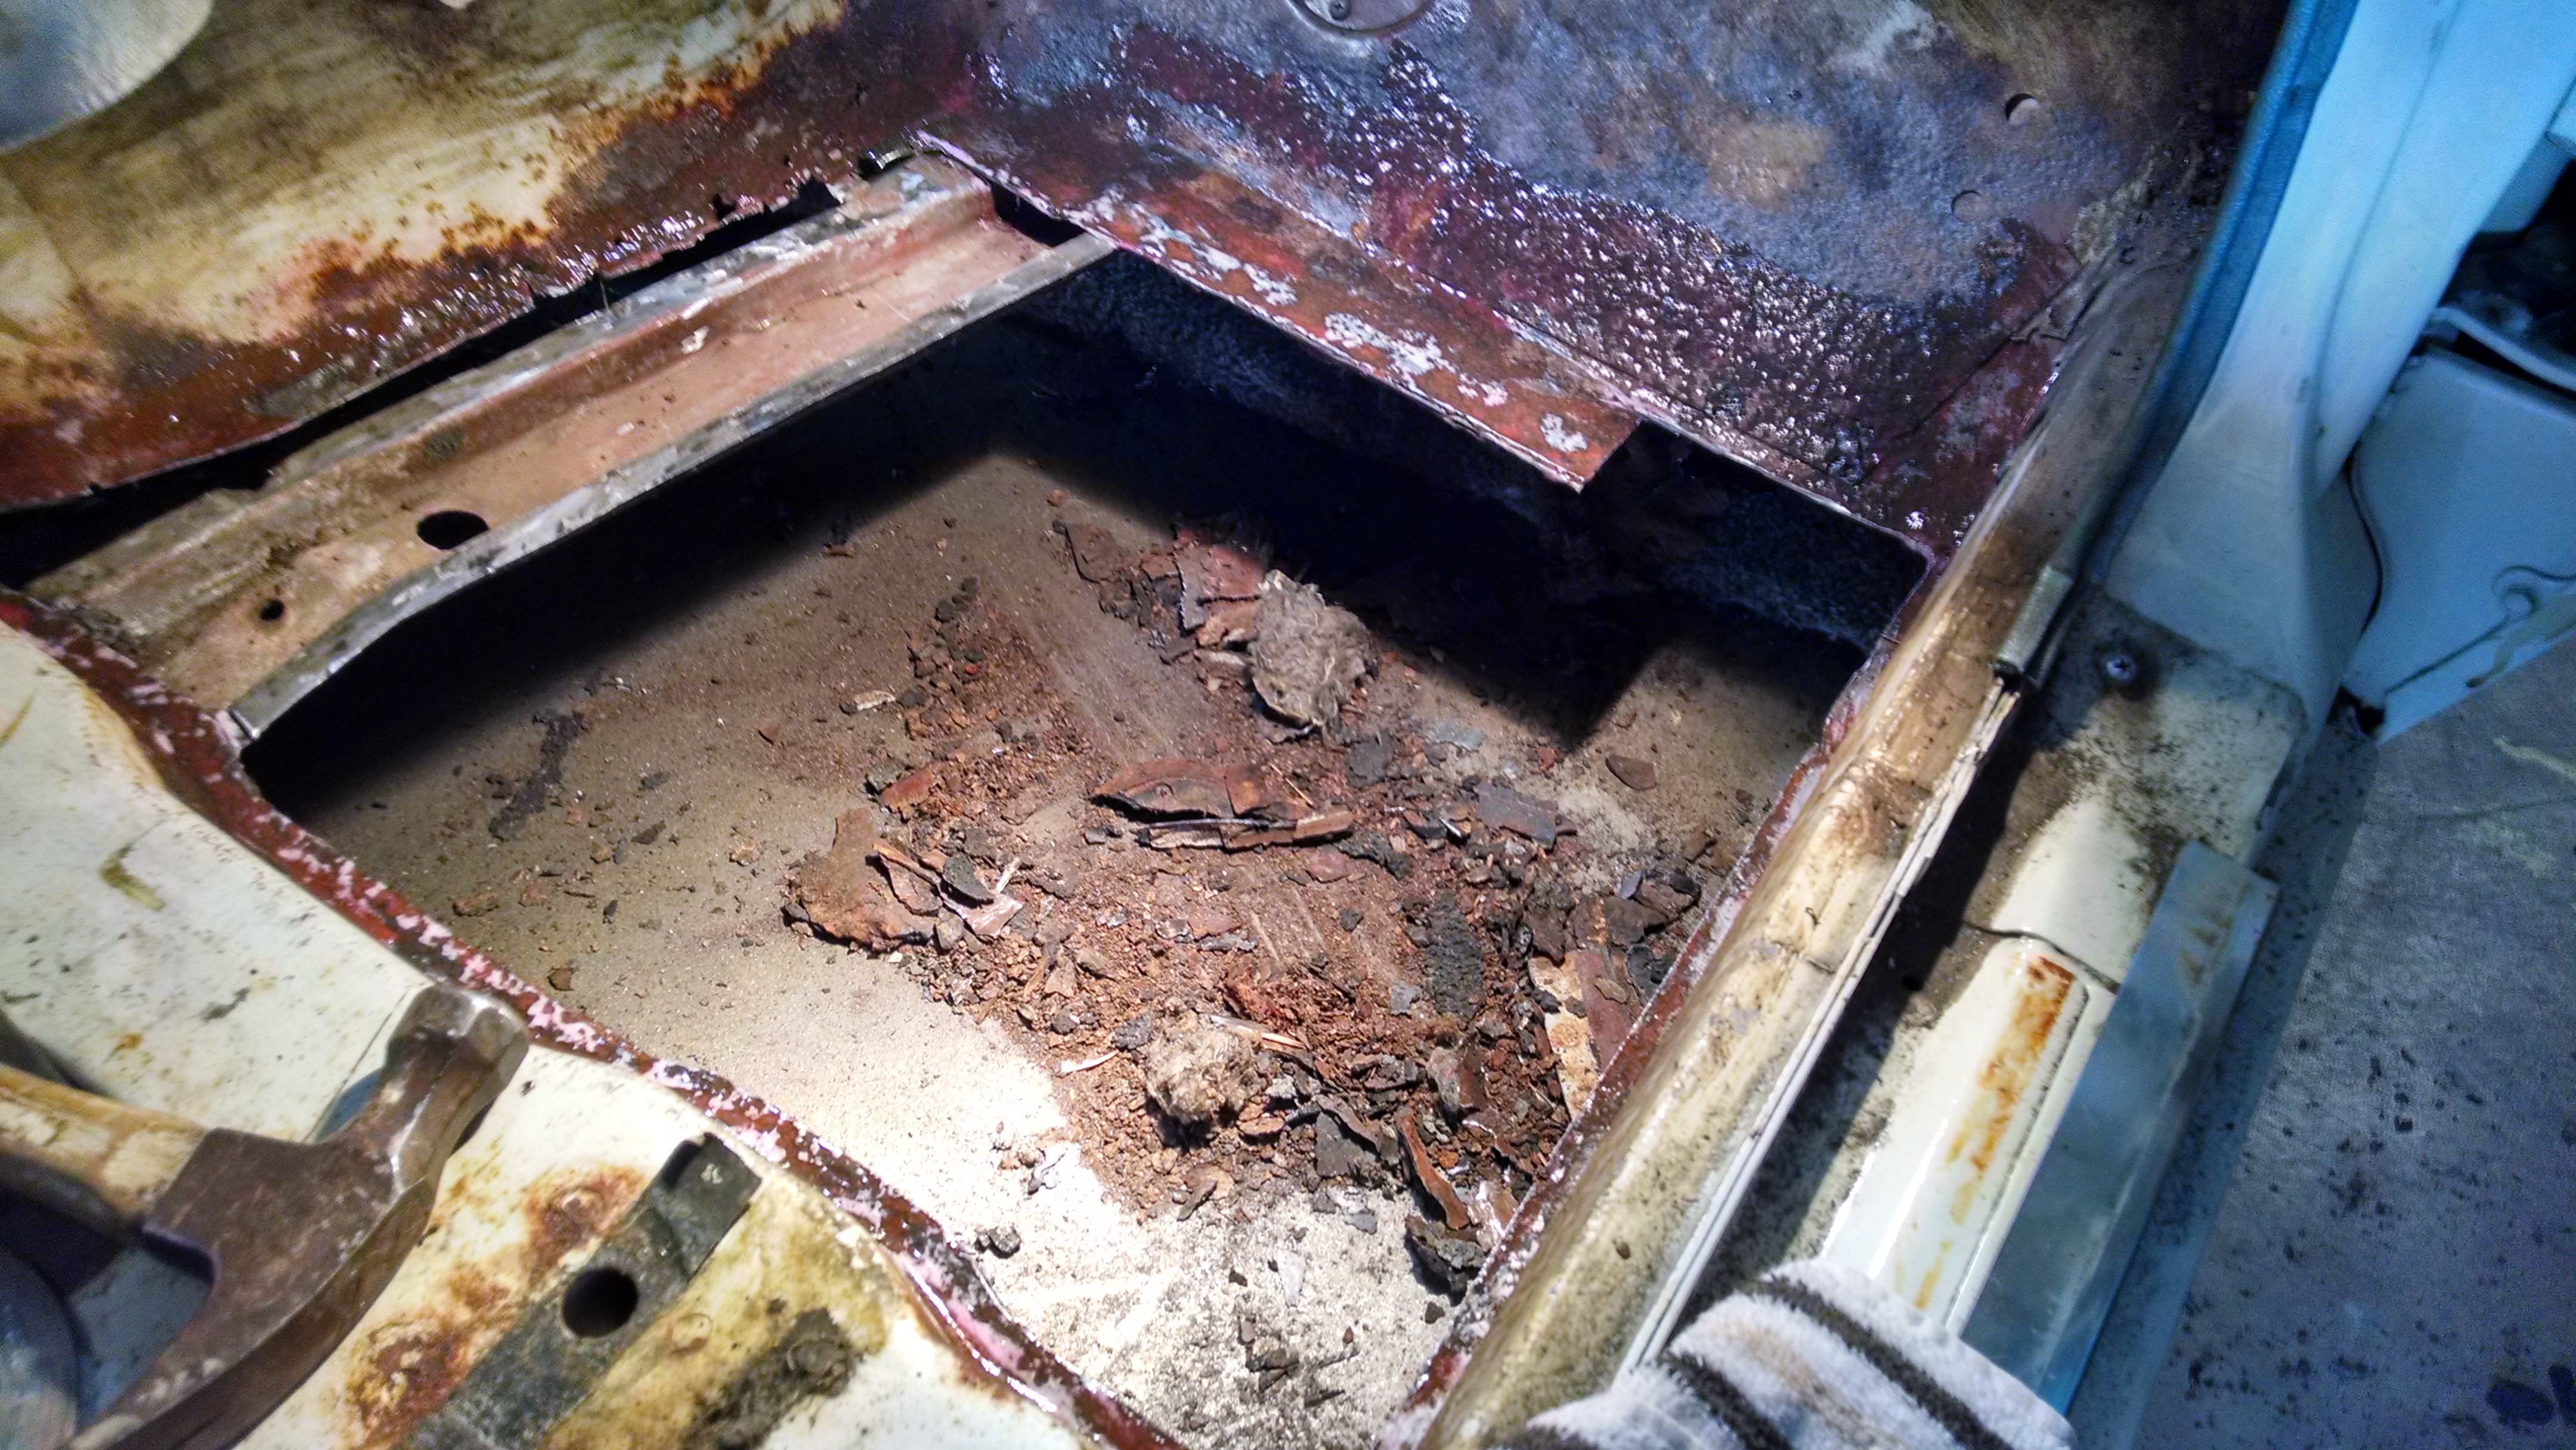
I pulled up the sound insulation on the rear footwells only to find some rust (but no rot) on the driver’s side. More cleaning and rust-killing sprays, but thankfully no metal work involved. The rust inhibitors require a 24 hour cure time, so I was unable to put a coat of primer down, let alone the new Dynamat sound insulation.

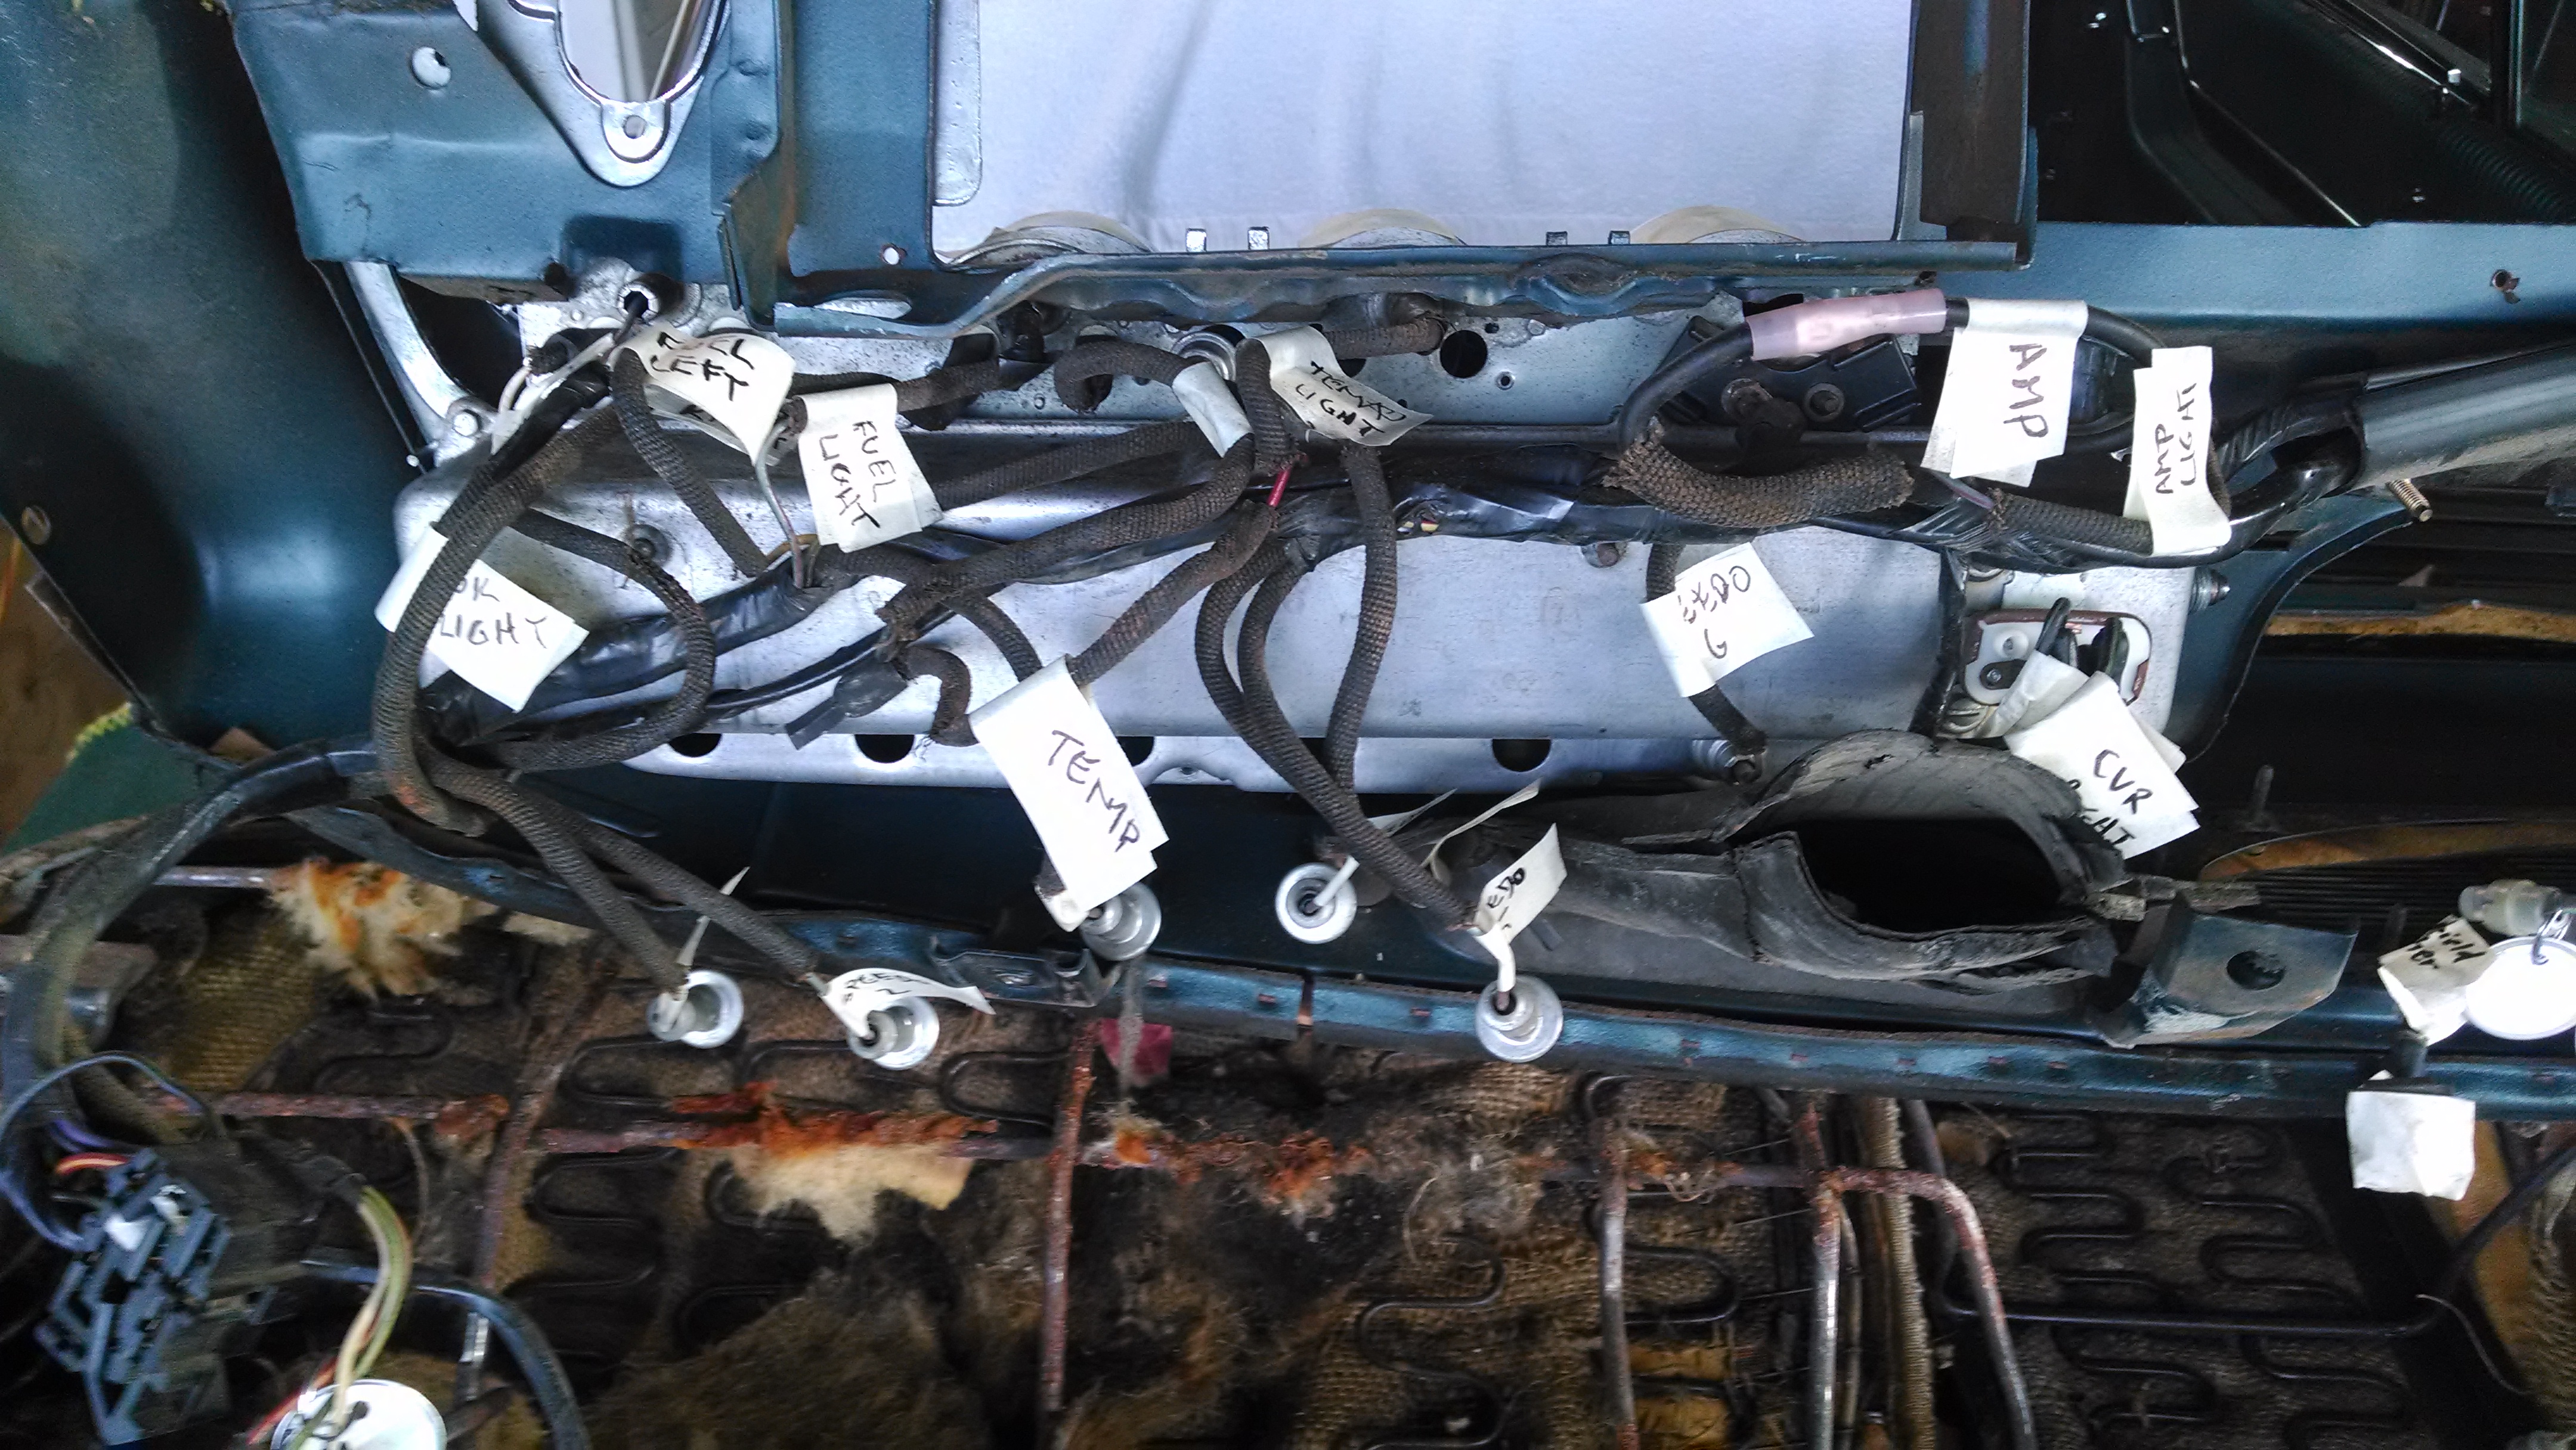
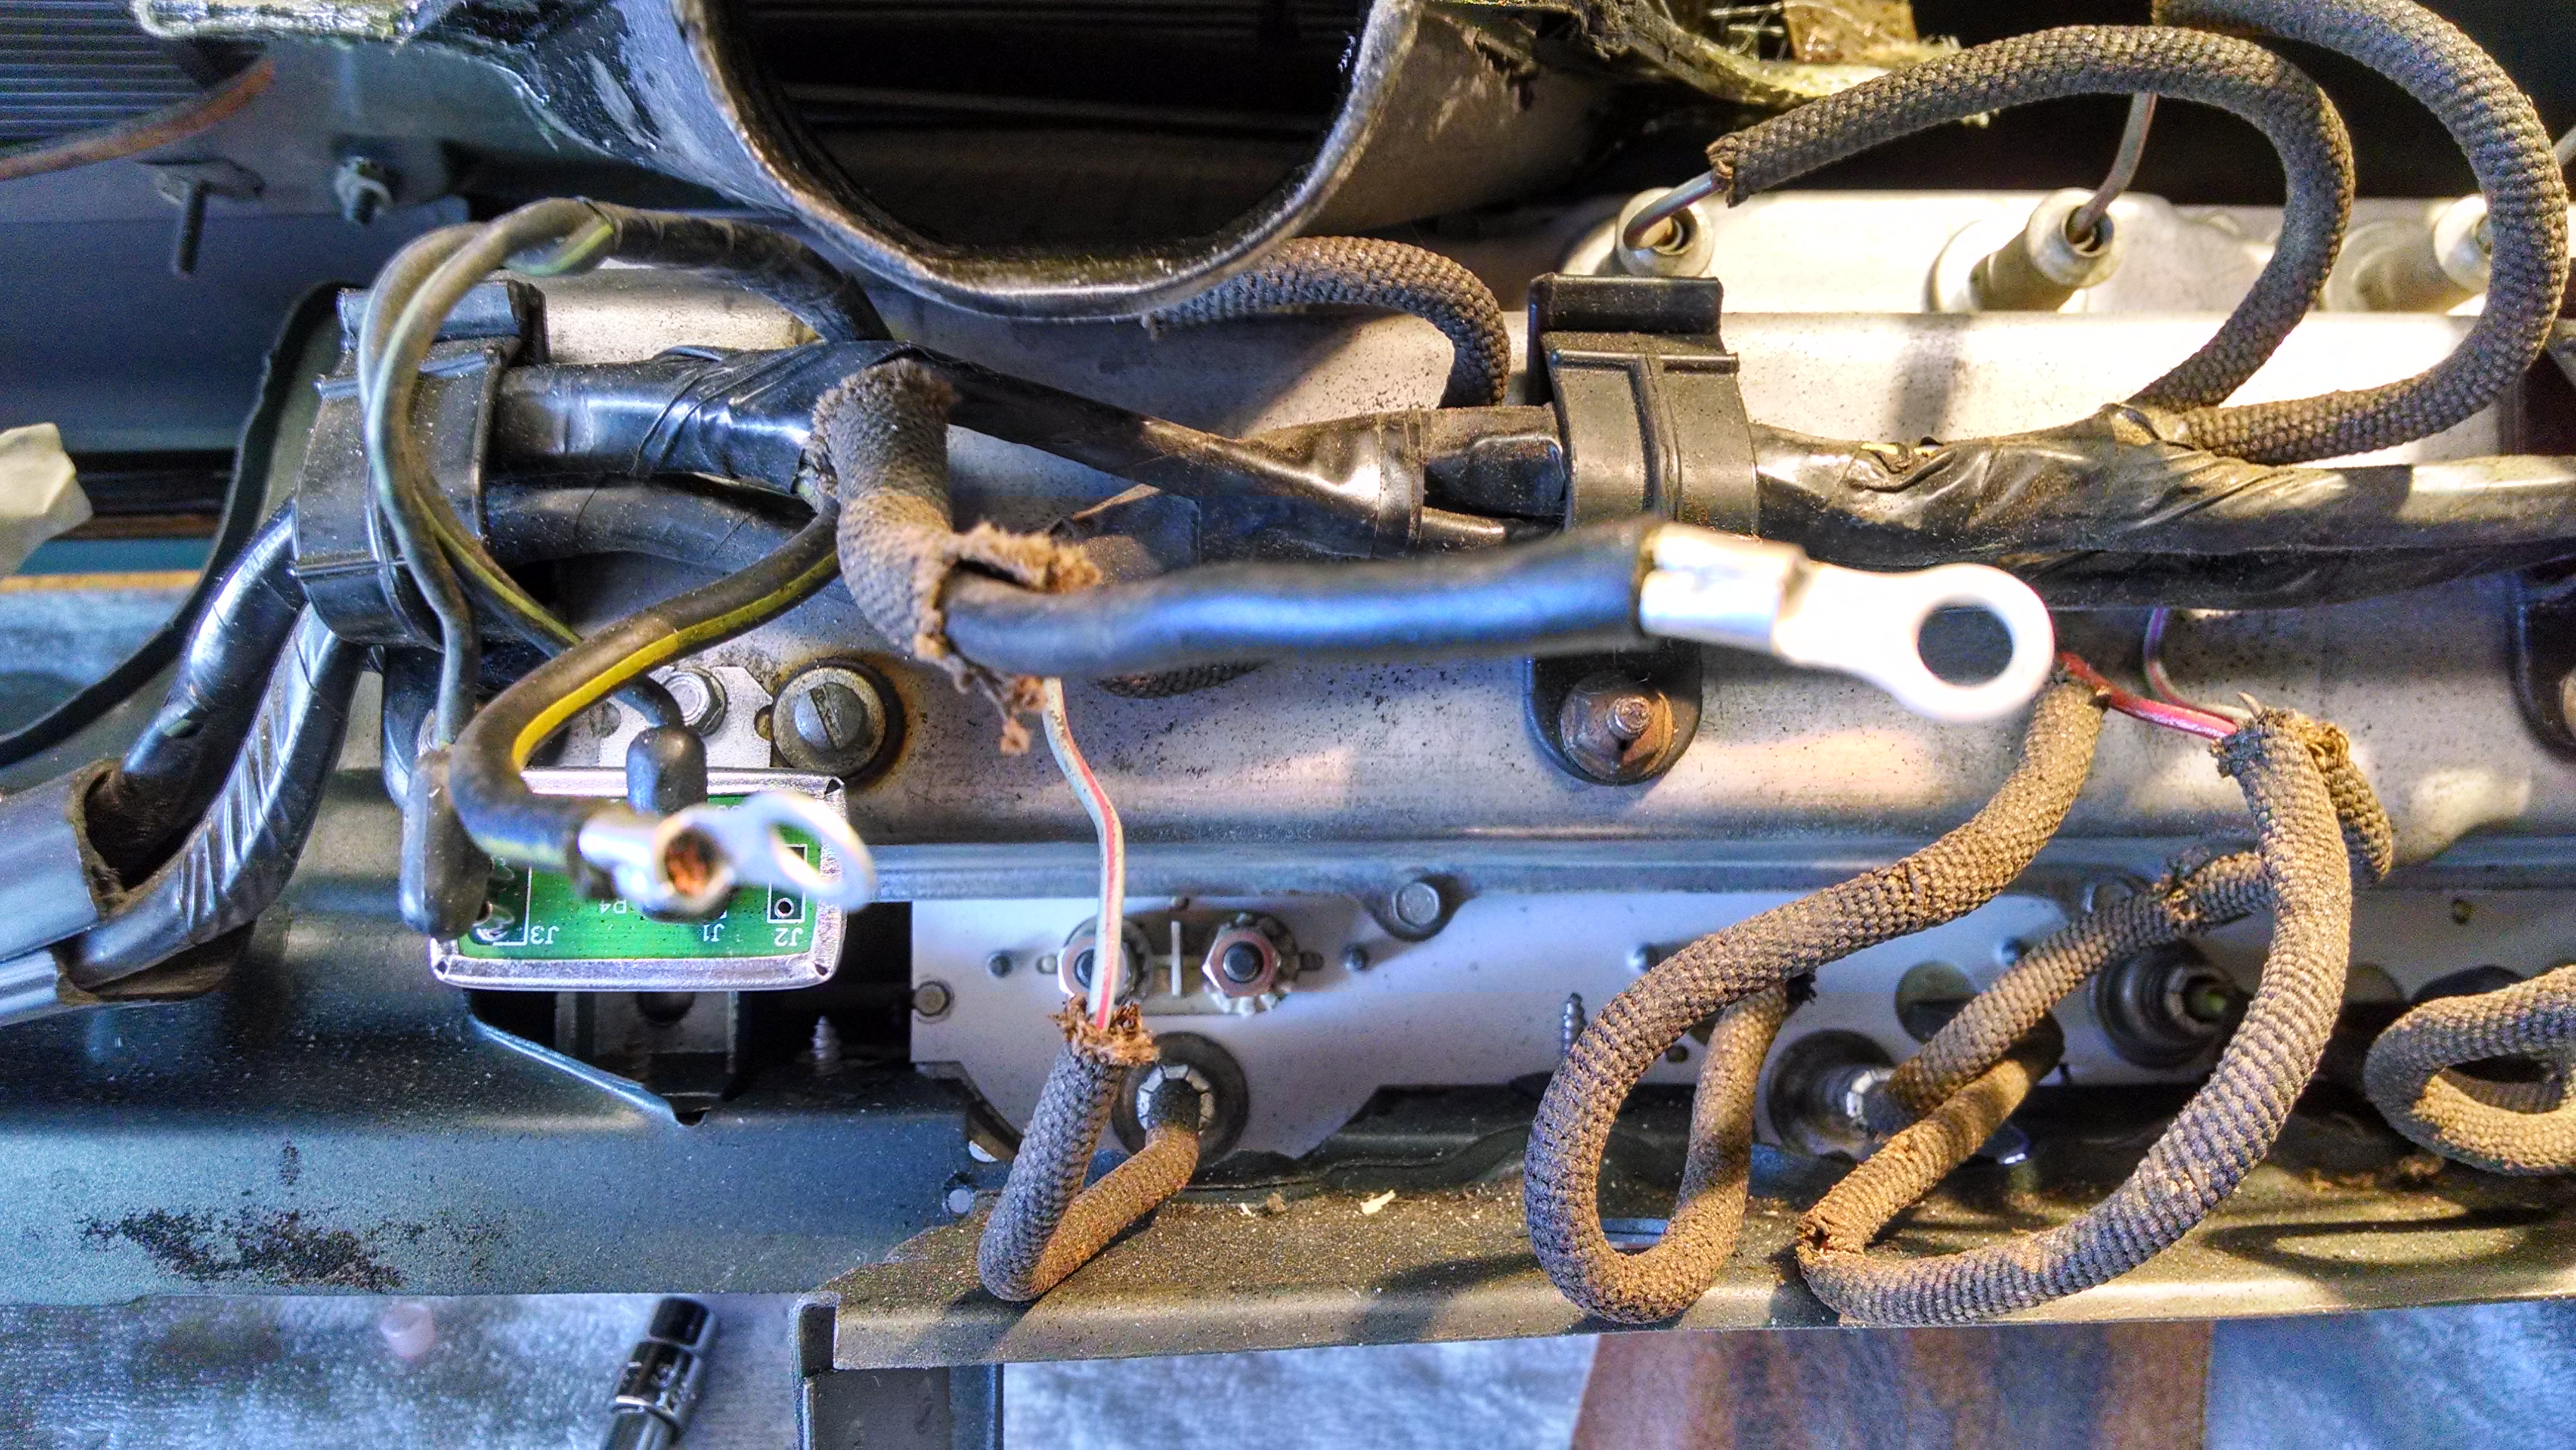
Instead, I located some lugs for the wires leading into the ammeter and soldered them in place. (The meter had been bypassed on the old dash.) Since I had the tools out already, I also soldered terminals on the heater blower motor and finished the connections there as well. (Spent about five minutes head scratching and consulting Osborne manuals to figure out how it all went together first.)

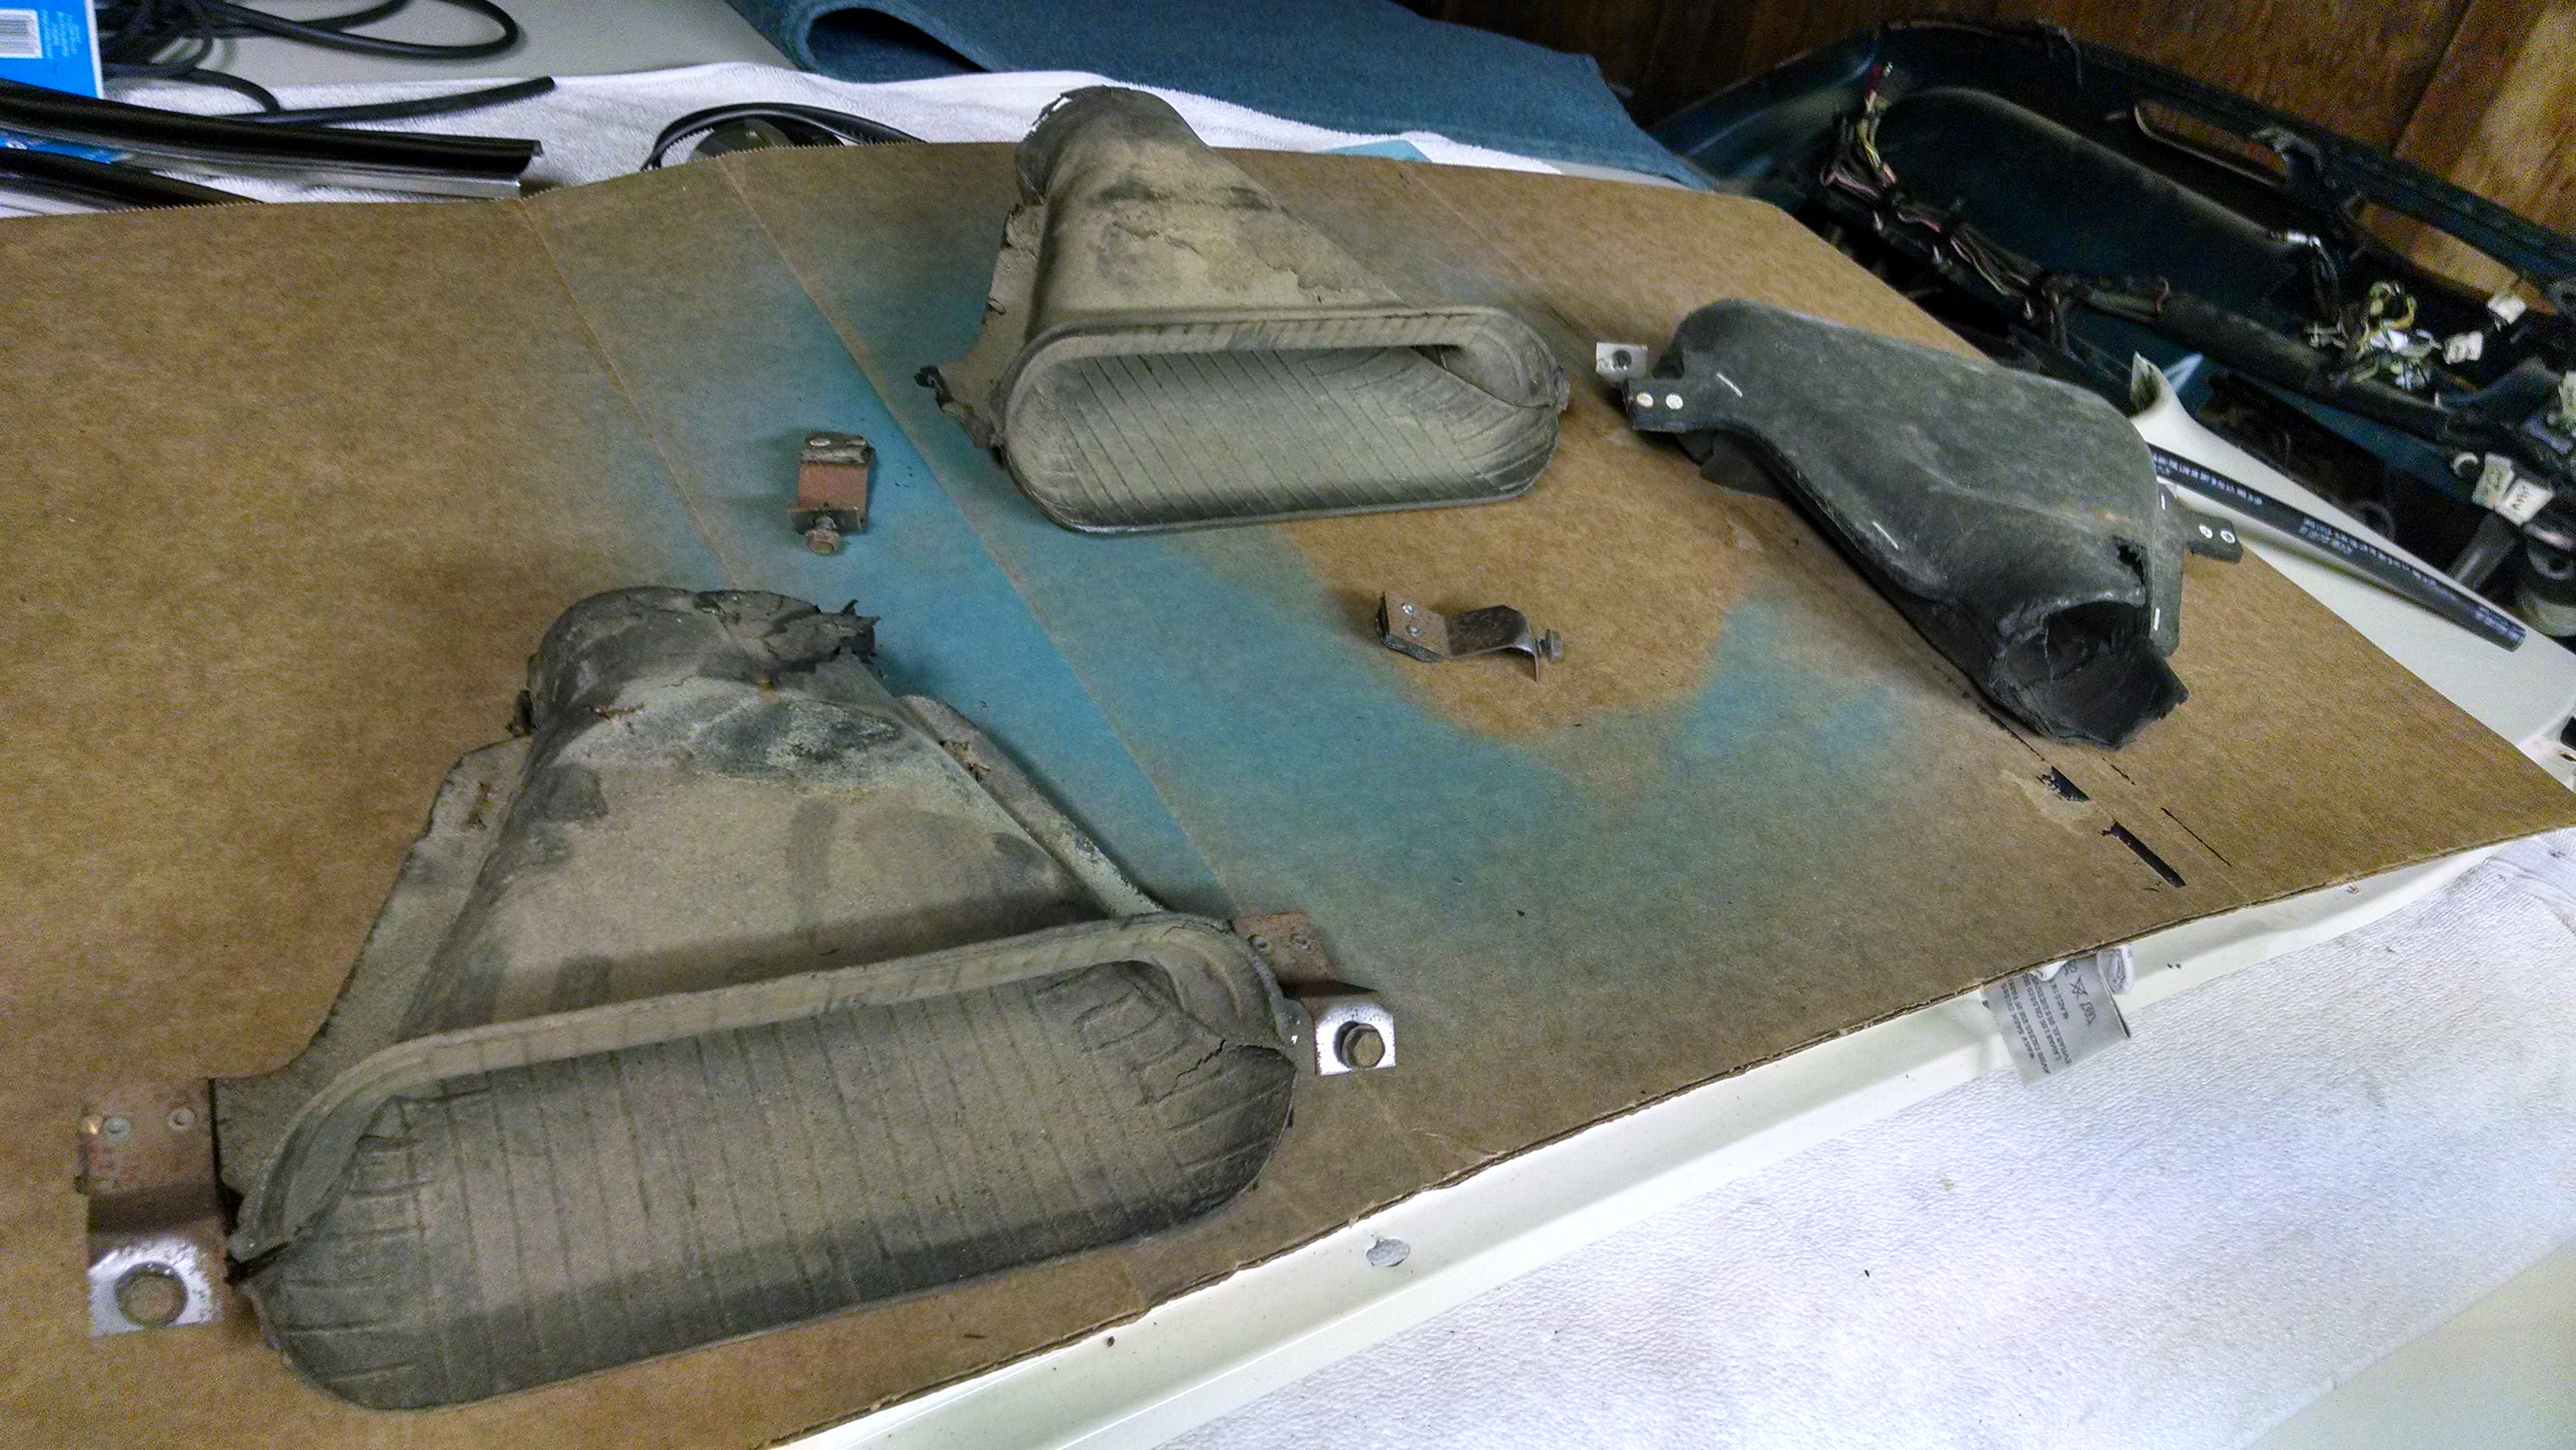
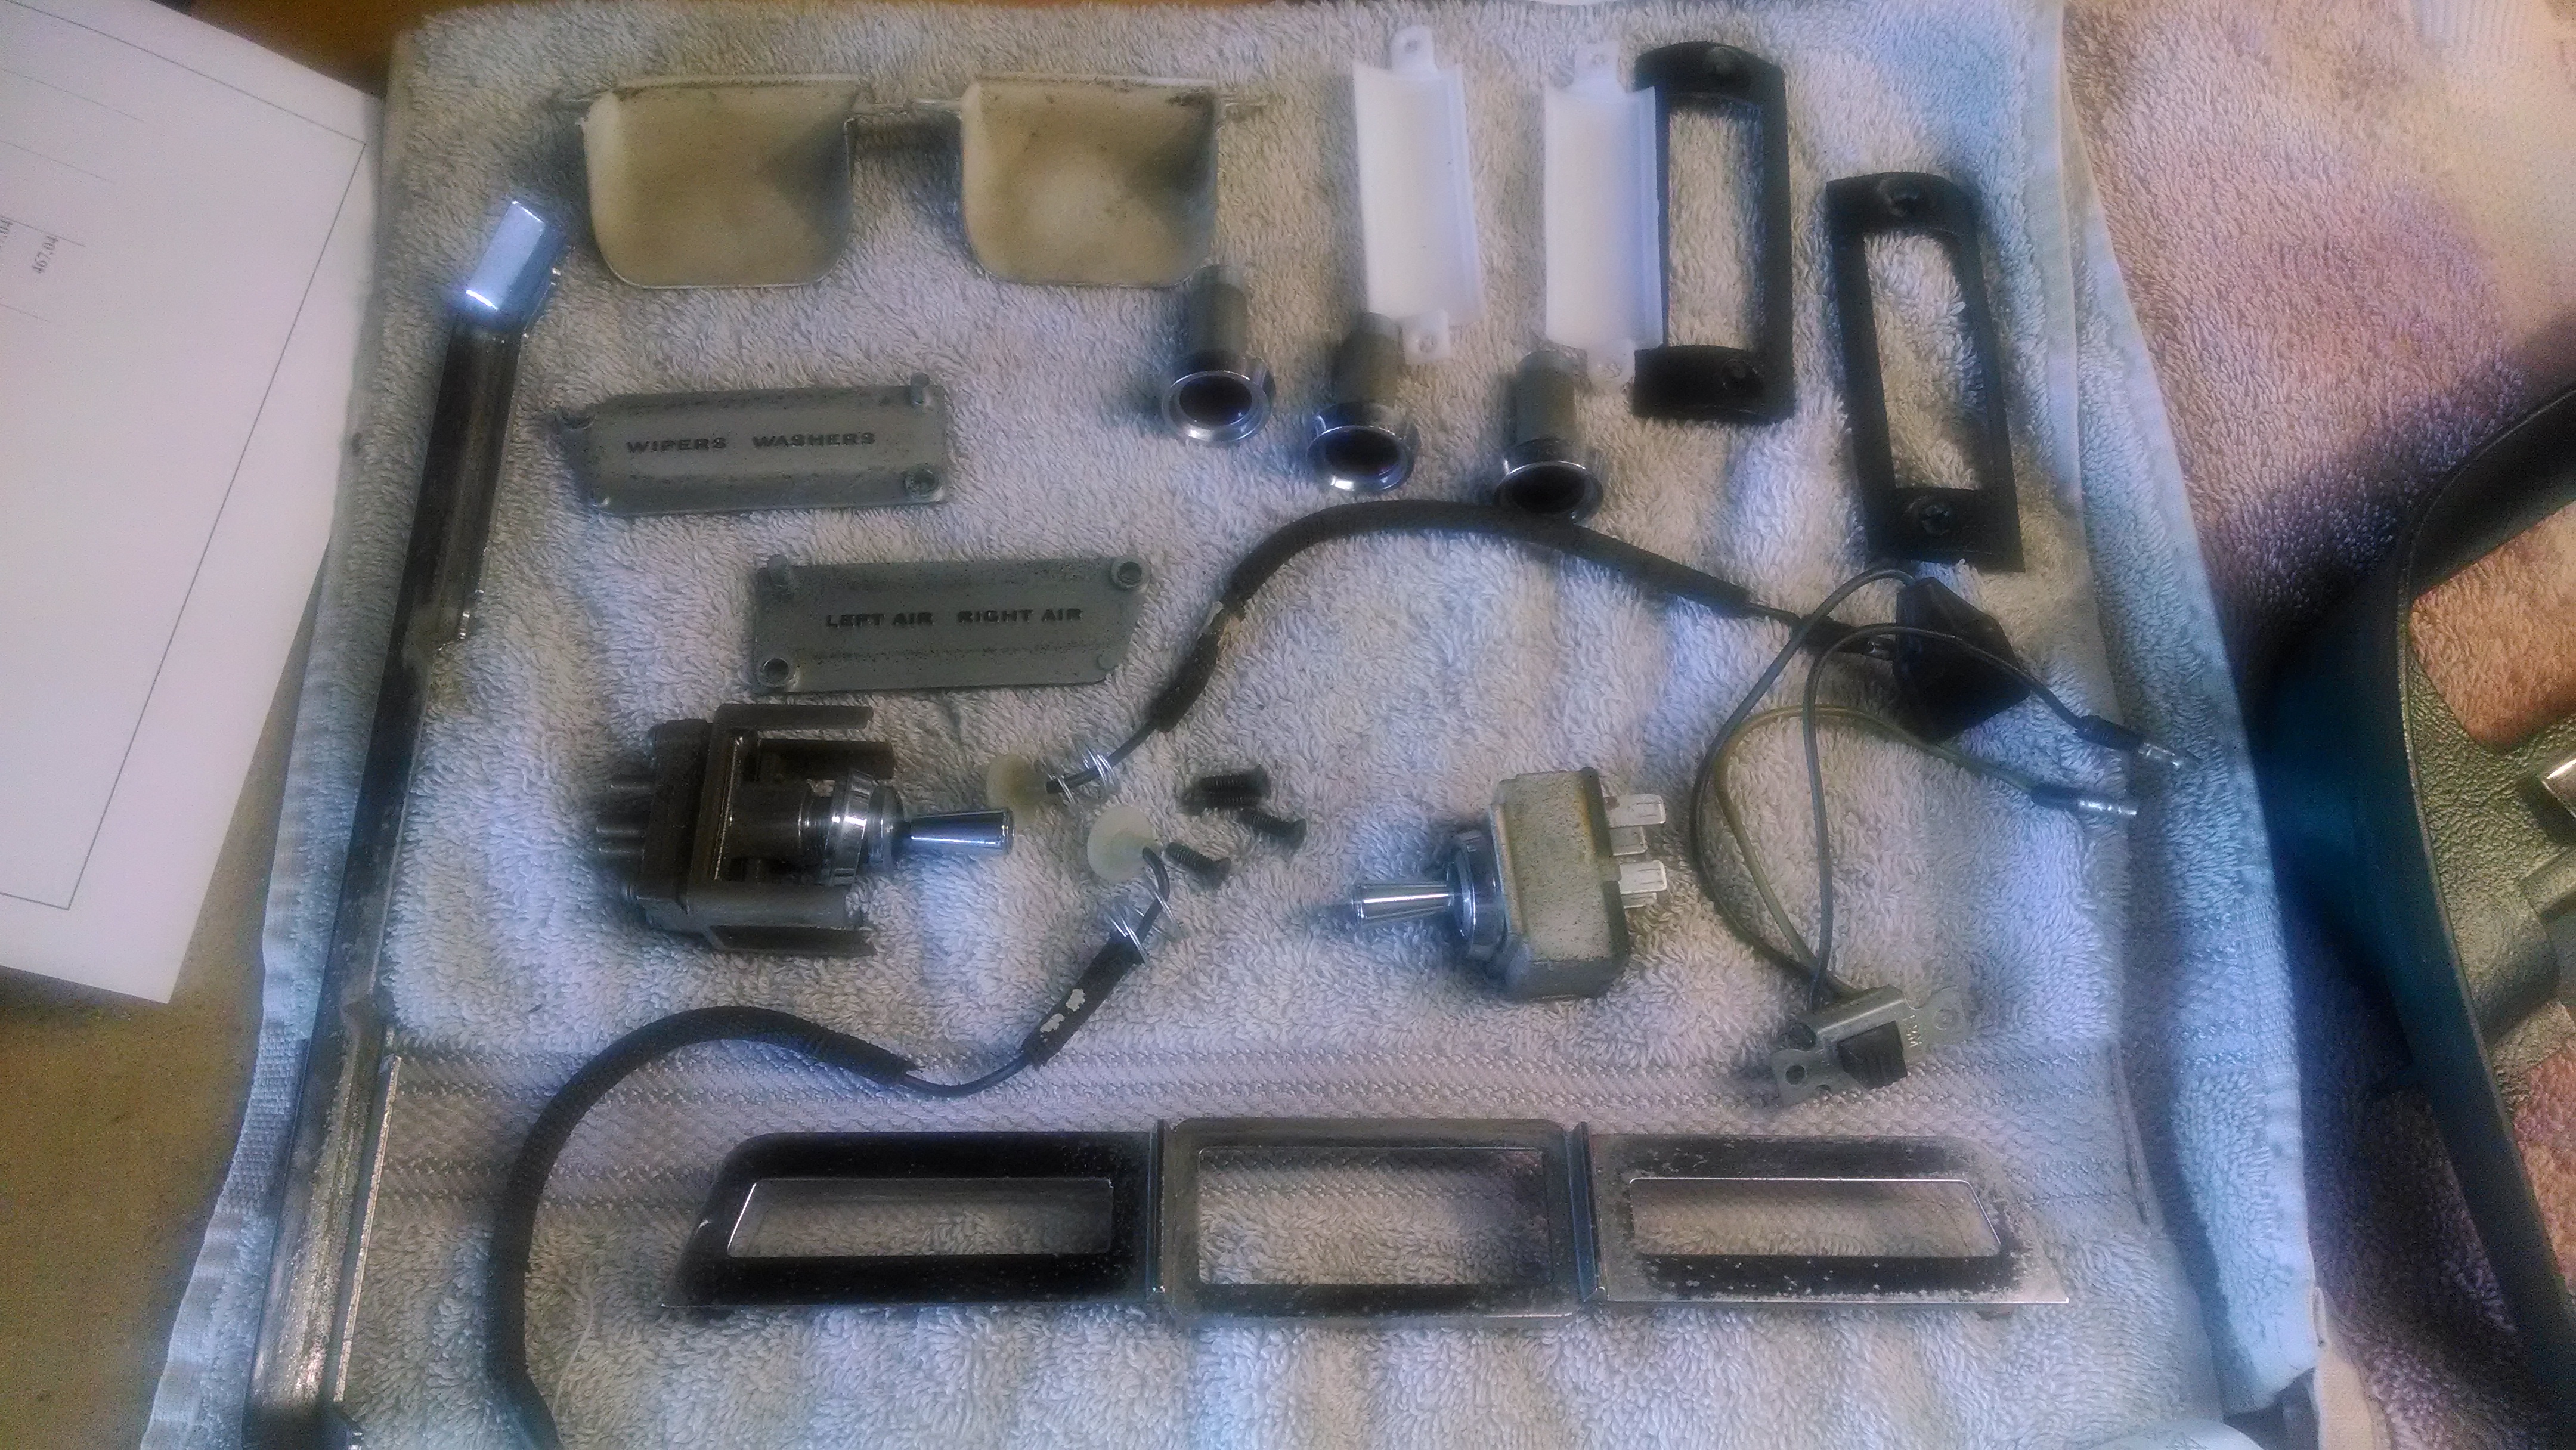
I lubed up the long Bowden cable that operates the driver’s side fresh air duct and reinstalled it. This cable is in terrible shape and I had to jury-rig the connection on one end, but I have not been able to find even a good used replacement, so I made due with the fading original.

A moment of consternation. How did this go together?
A moment of consternation. Where are those wires supposed to go?

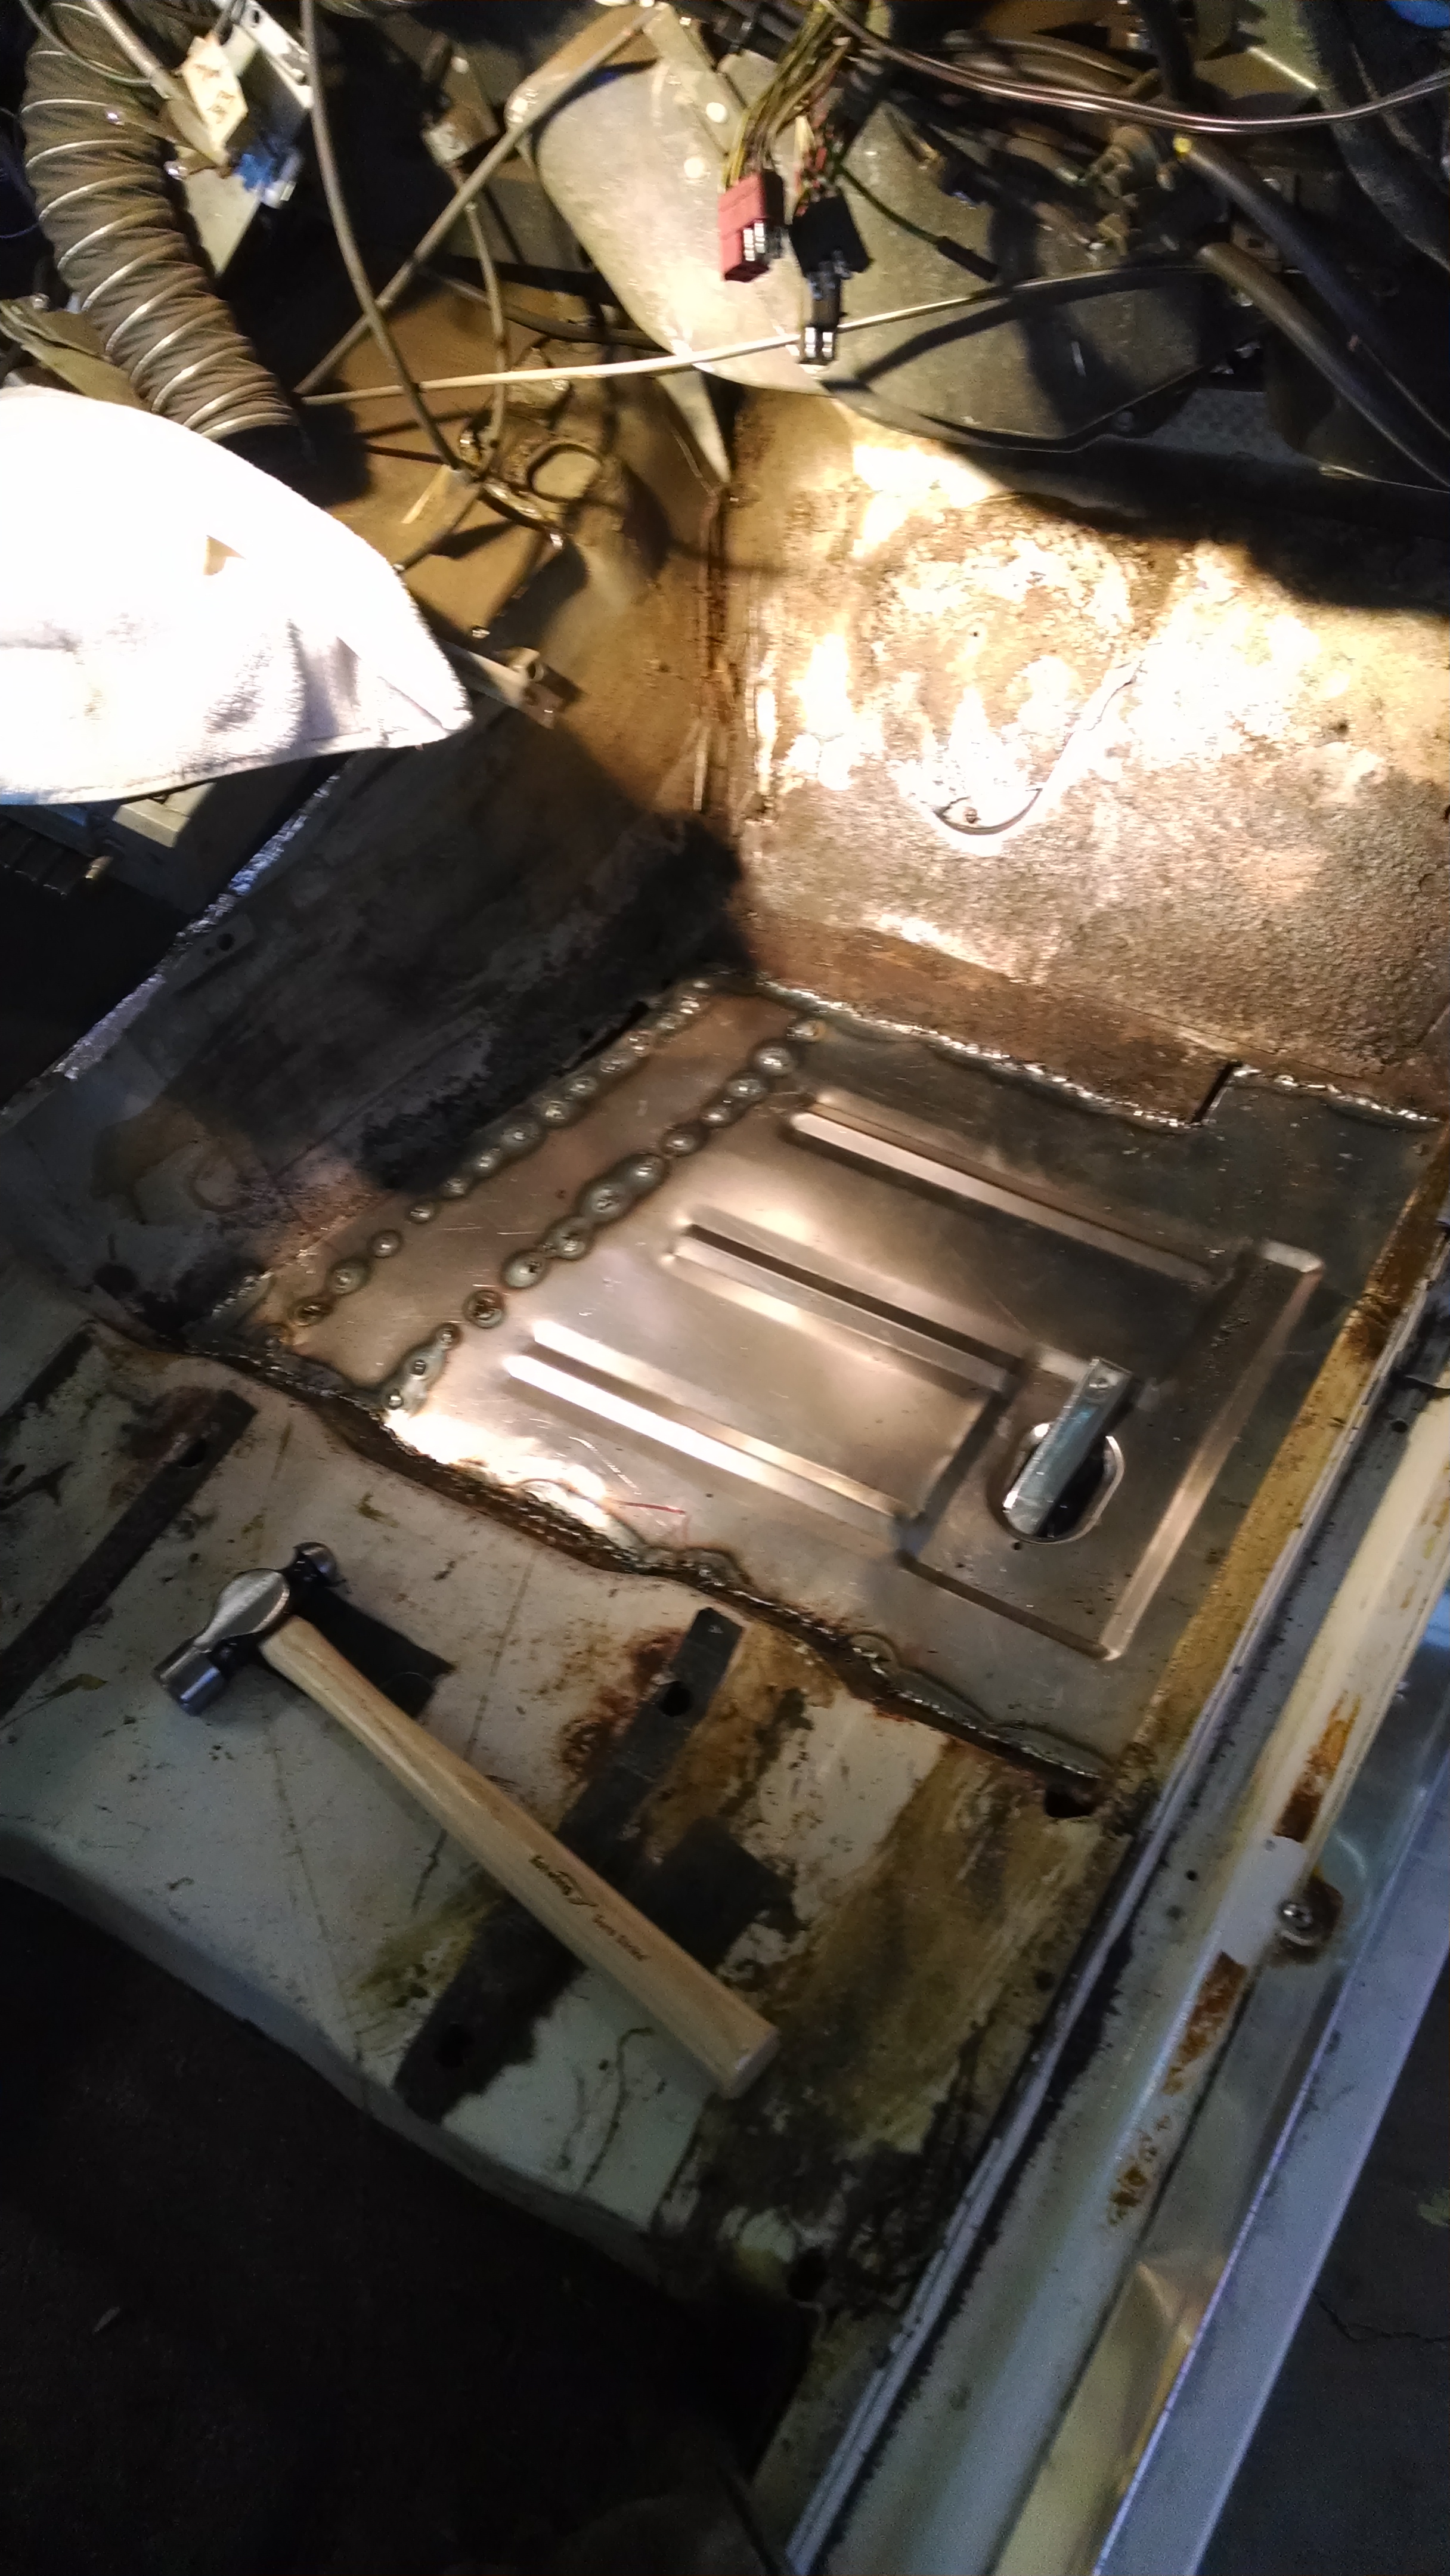
I also lubed up the speedo cable and changed out the few vacuum lines I didn’t get around to when the dash came out some months ago. One of these is the small line that runs to the back of the car to operate the fresh air vent. Over lunch, I seriously contemplated pulling that mechanism out for refurbishing. In the end, though, I decided it was a project for another day and left the new hose plugged and coiled under the rear seat for later this year.

With luck, the insulator will be here early this week and I’ll see the dash back in place shortly afterwards.

Duct, Duct . . .

I still figure to be about two weeks away from backing down the driveway.

The three remaining ducts, all with some problem or another
The three surviving ducts, all with some problem or another

Space in the garage is gradually clearing out as parts are being assembled, but the real change will come when the dash goes back into the car. That monster has been lurking in the garage for far too long–as has the old doppelganger, which is heading for the scrapyard when this is all done.

Moving the old dash around the garage, I managed to damage both the defroster ducts, which were made from cardboard originally, but have transformed into a brittle, crumbly substance. The new dash had one duct left on it, also damaged. Reproductions are produced, but they are about $100(!) new, about a third of that for good used, so I’m making an attempt to restore what I have. They are hidden, so don’t have to look pretty.

A little paranoid about moving the wiring from one dash to the other.

My initial thought was to reinforce the ducts with fiberglass and resin–which would probably work, but I was steered in the direction of epoxy instead of resin, potentially thinned down with acetone. In theory, it will penetrate the old cardboard and bond better.

The same person also directed me to TAP plastics for materials. I stopped by to get some epoxy in bulk and discovered it was a DIY candy store: full of tools and materials for projects I hadn’t even thought of yet. I left with epoxy . . . and a few “extras.”

Over the last week the new dash was painted/dyed, the instrument cluster was installed and the stainless trim was snapped back on. I also pulled the wiring harness off the old dash. I will replace the light bulbs and repair the wiring at the alternator gauge, then tap into the harness for power to a modern radio/head unit. With the restored ducts and the replaced wiring, the dash will be ready to go back in the car.

Masking, dying and painting the dash.

Paint and Polish

The clock pod pieces, waiting for reassembly--in the right place an correct order.
The clock pod pieces, waiting for reassembly–in the right place an correct order.

Since my last post, I’ve finished up the final bit of welding on the passenger side floor pan. There’s normally a little smoke after welding, but when I finished up the plate on the tunnel, smoke continued a little too long. Investigating, I found a nice fire going up by the transmission. Apparently, there was quite a lot of grease and oil built up in the transmission tunnel. and the heat from welding was enough to light it up. Luckily, I had the foresight to keep a bucket of water handy. A wet rag quickly doused the flames.

Completing the floorpans was a huge milestone. A day or two after they were done, I was able to pick up the dashboard, clock pod and other miscellaneous parts from the body shop where they were painted. They did an excellent job with the paint and even though the vinyl shows its age, the dash looks relatively fresh and new.

Restored Clock pod
The finished clock pod. Upside down, but you get the idea.

I set about reassembling the clock pod first. I have two of these, so I used the best parts from each, polishing and cleaning as I went. The best chrome pieces on hand still have a bit of pitting, but the finished product is far better than the original.

I was very pleased with the way the instrument cluster and speedometer came together as well. Again, it’s not perfect, but with the restored numbers, new paint, decent chrome, and  unobtrusive upgrades (like repainting inside the pods), the finished product has the feel of almost, but not quite, like new.

The speedometer and instrument cluster mated together again.

This week’s challenge will be removing the wiring harness from the old dash, restoring it (there are some cut wires and other issues) and installing it in the new location. After that, I’ll need to figure out what to do about the defroster ducts, which were made from cardboard. They were very fragile and were damaged while the dashboard was moved around my shop. I don’t think they are reproduced, so I will need to fabricate some kind of replacement.

At this point, it appears that I am about three weeks away from my first drive in months.

Ar-Gone

Another busy week with the car–it’s exciting to see it start coming together after so long in the works.

Barney Rubble brakes go here.

I pulled the inner fender on the passenger side sometime mid-week to get to the old antenna. (It had broken off sometime in the distant past and had a cheap slip on mast that didn’t, technically, work.) One nut holding the fender on was badly frozen and eventually just snapped off after a 20 minute struggle involving a torch, lock pliers and swearing.

Behind the fender, when it was finally off, was the usual 5 pounds of debris and dirt–always nice to get that stuff cleaned out. A new antenna went in easily; I can look forward to more than a single lousy radio station once I get on the road again.

It was also take 2 for the floor pans: I cut out the passenger side. With a little experience, this process is far easier–it probably took half the time of the first. I was much more aggressive in cutting, leaving very little to grind out. I also acquired a “seam buster” tool that helped to cleanly break the old pan from the brace underneath, and in a fraction of the time.

Almost done with the pan. Rot on the transmission hump extends up above the replacement pan. Rats.

The windshield leak, ultimately the cause of this problem, was worse on this side, and I was dismayed to see that the rot had crept up the side of the transmission tunnel. The replacement pan I have doesn’t cover this area, so I was forced to fabricate a piece to fit. I got some good advice on the type of sheet metal to use and how to form it. The rotten section still has some integrity, so I was able to use it as a form and pound a replacement into shape.

Welding, like the cutting, was faster and easier this time around, too. I’m still not happy with the looks of the welds, but they appear stronger and better than my first efforts on the other side–done with less effort, too. As I was wrapping up the last seam, the welding arc got erratic (well, more so than usual!) and hard to control. Upon investigation, I discovered that the argon / CO2 welding gas had run out.

So, tools down, commence happy hour. I should be able to finish the pan and fix the transmission tunnel on Tuesday. Looking to get the dashboard installed next weekend.