Off and On Again

I hopped in the ‘Bird a couple of weeks back for a routine trip—the store, maybe, or perhaps out to a restaurant. I left in daylight, returning after dark. All was well on the way out, but coming back, the instrument panel lights failed to come on when I turned on the headlamps.

I see this problem all the time on T-Bird forums, and the suggested fixes always center on the light switch, grounds or aging wires. I did the usual thing—twist the light switch, turn it on an off a few times, swear under my breath. No dice. They were off and staying off.

For the driving I do, mostly close to home, it’s annoying, but there’s not a lot of need to see the gauge. It is, though, difficult to to know if I’ve hit the right gear in the dark. I drove it for a while in this condition, frequently at night, surprising  myself a bit each time I turned the lights on: “Oh yeah, gotta fix that.

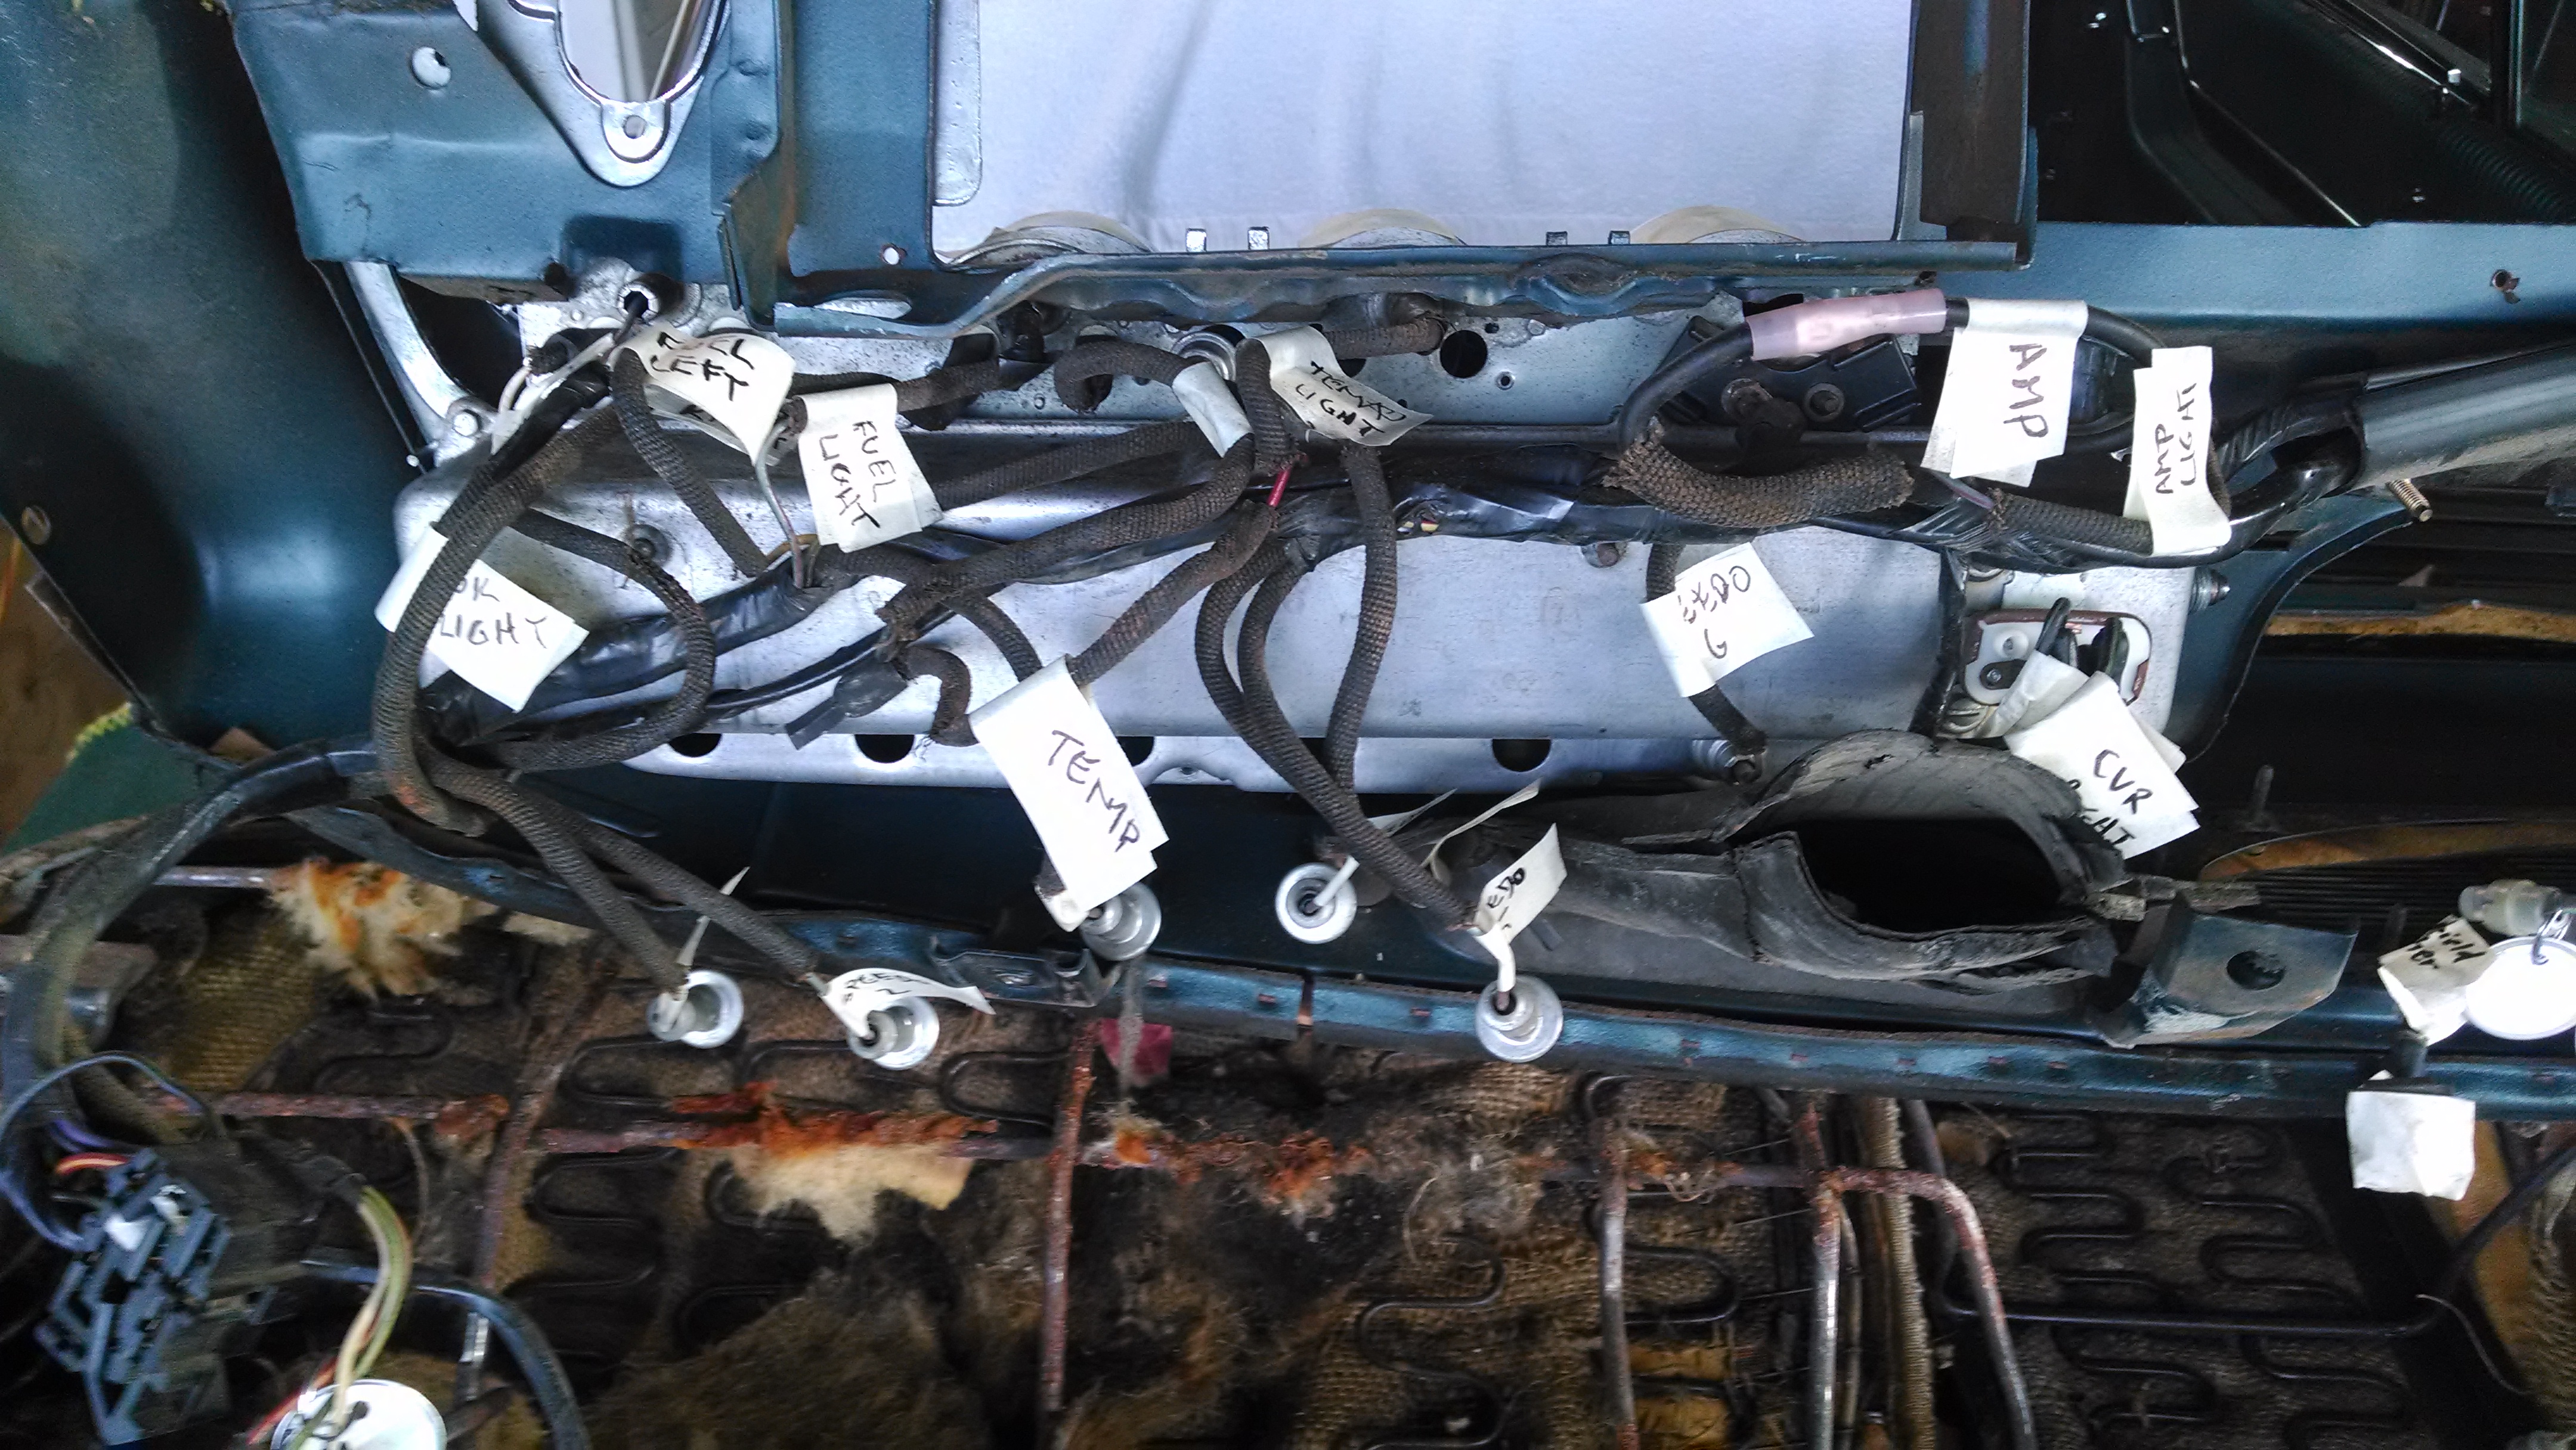
It’s a simple circuit: power to the switch (which is relatively new), through a variable resistor, then the fuse, then the bulbs, finally to ground.


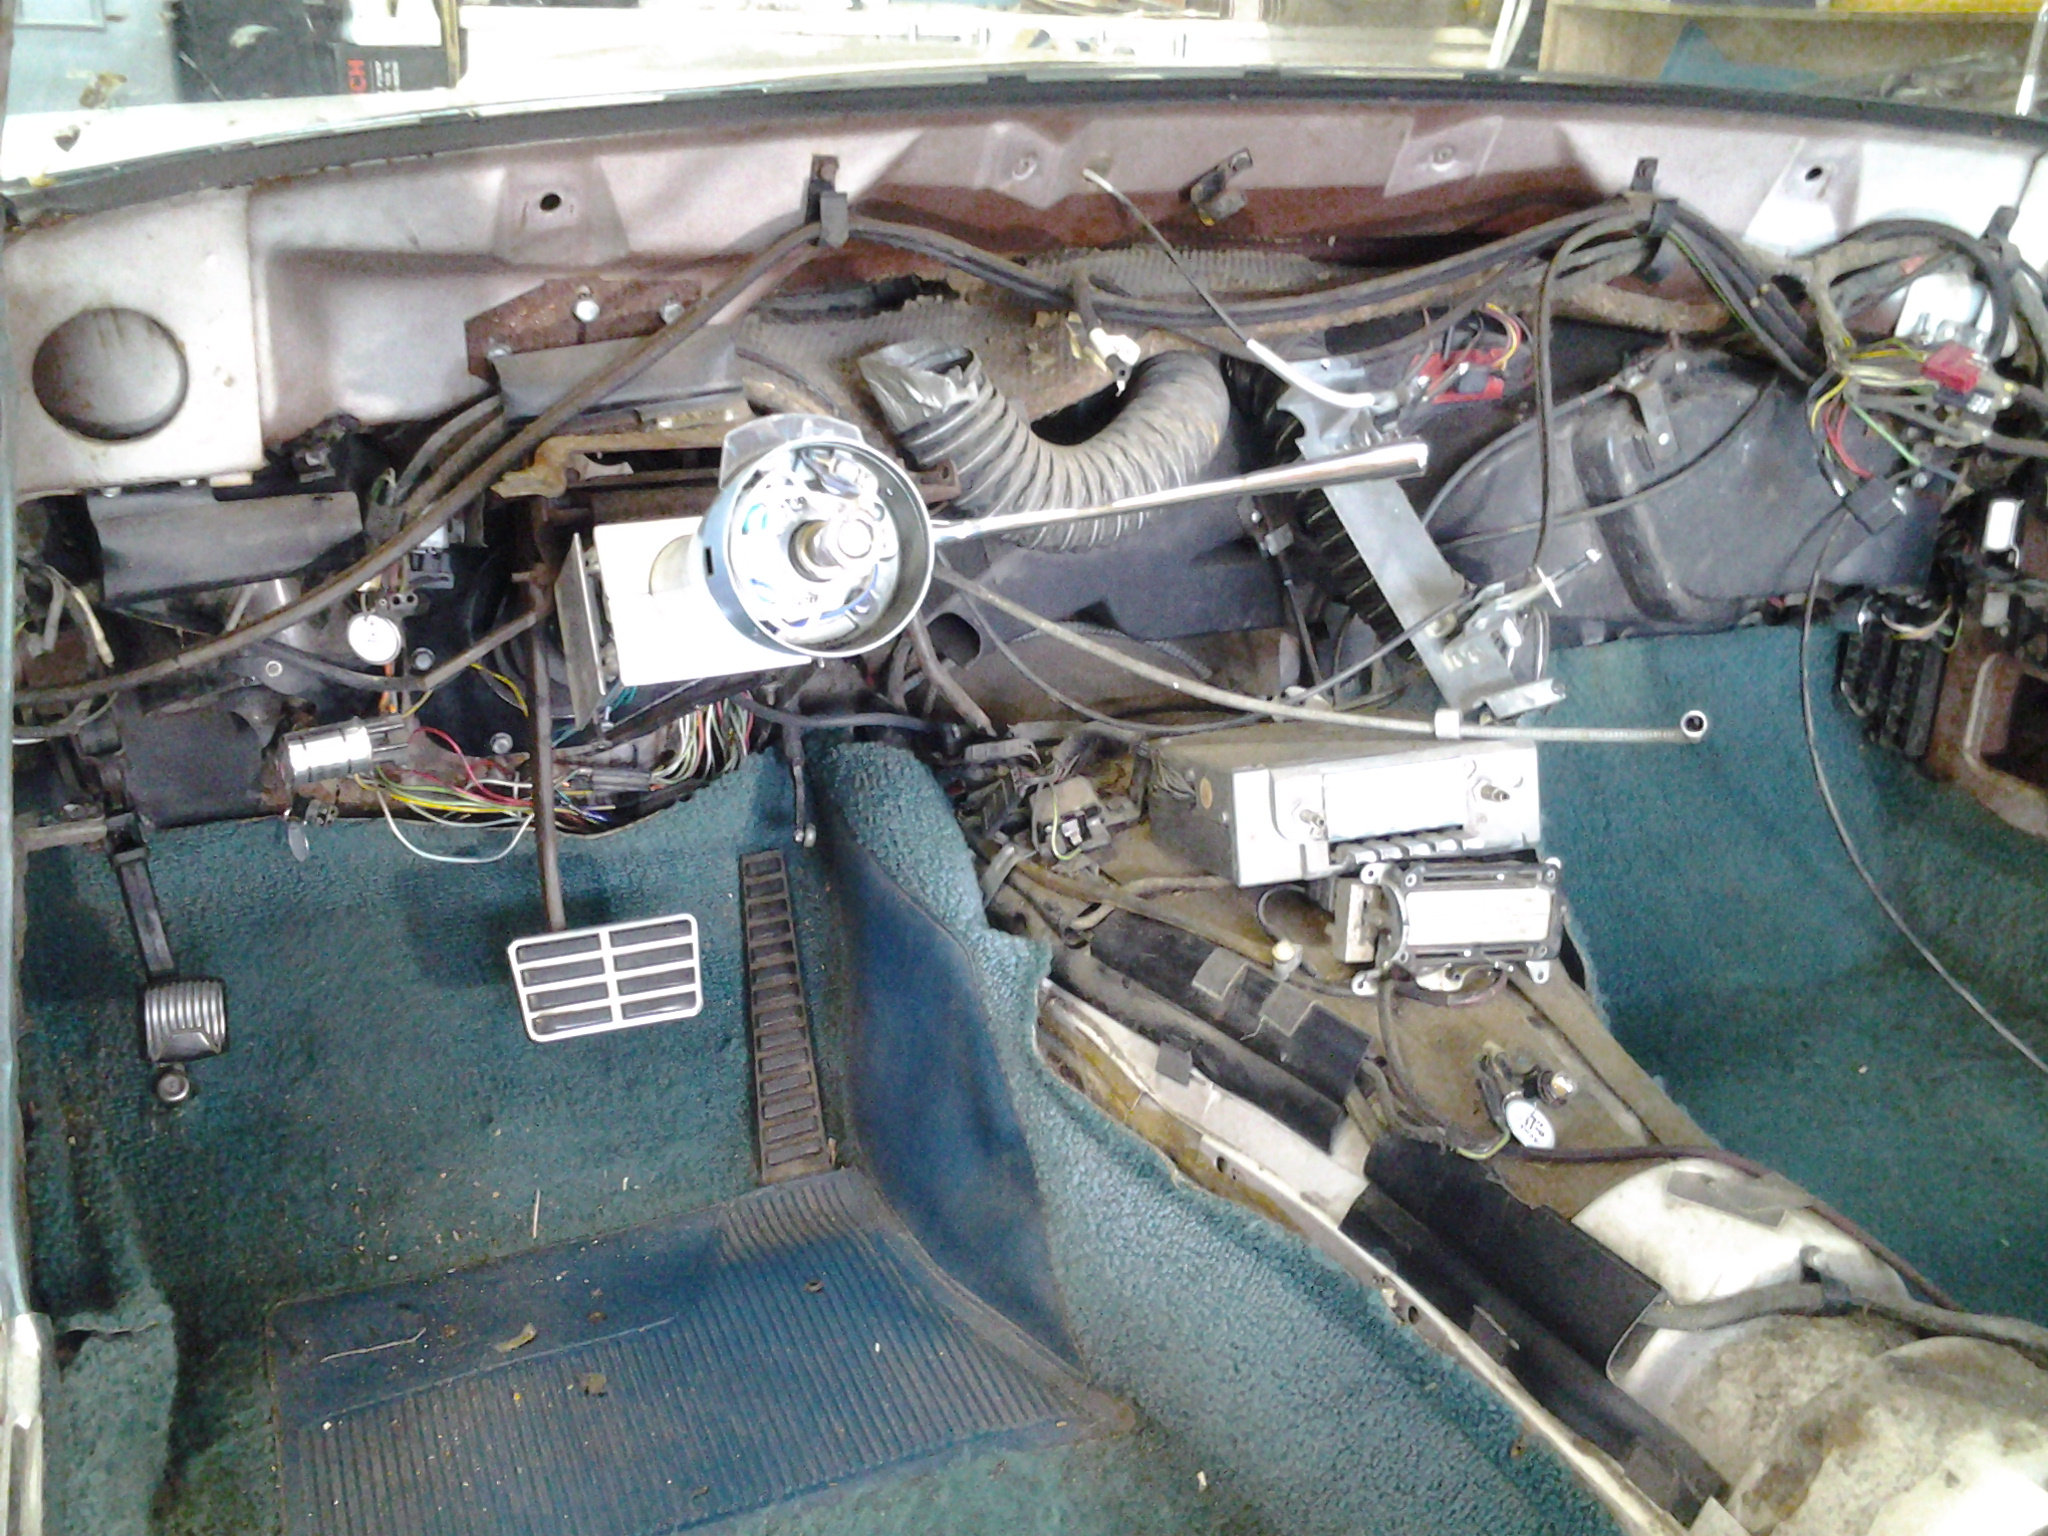
I pulled the switch earlier this week and hooked it to an ohm meter. It worked perfectly, reading from no (or hardly any resistance) to 100%. Reinstalled it, turned it on. I was working in full sunlight, so hard to tell, but it appeared that the lights were still out.

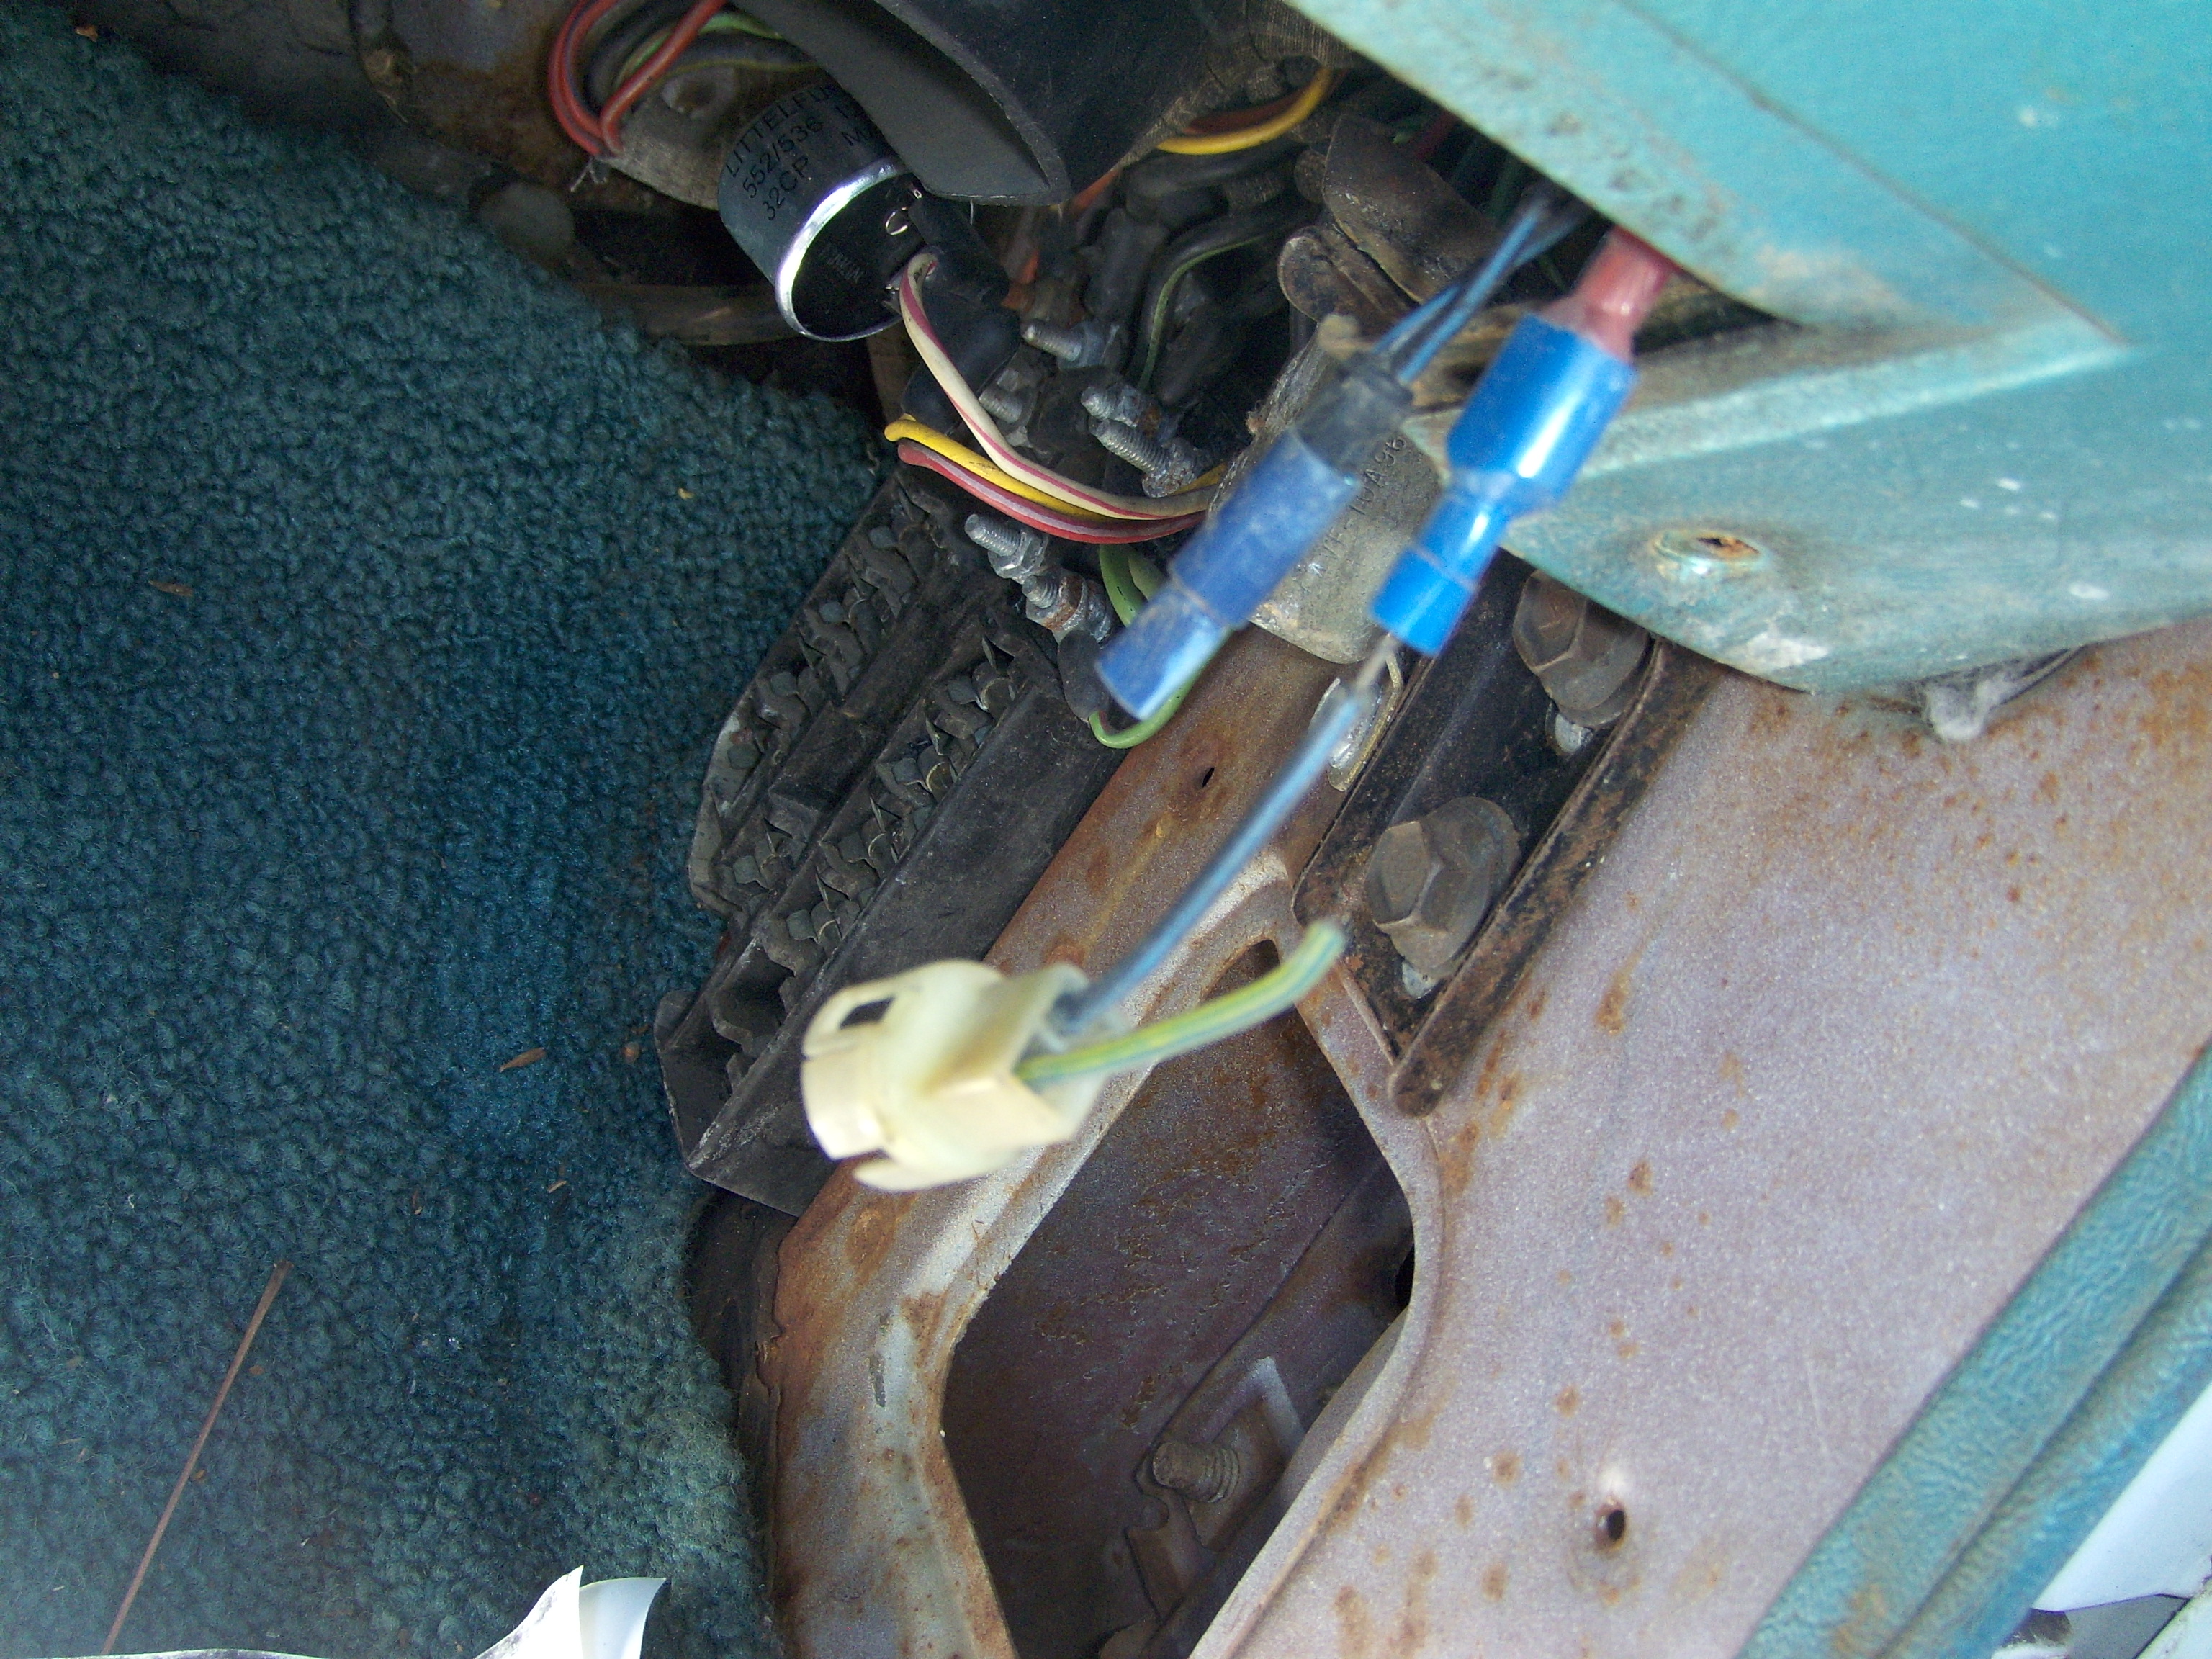
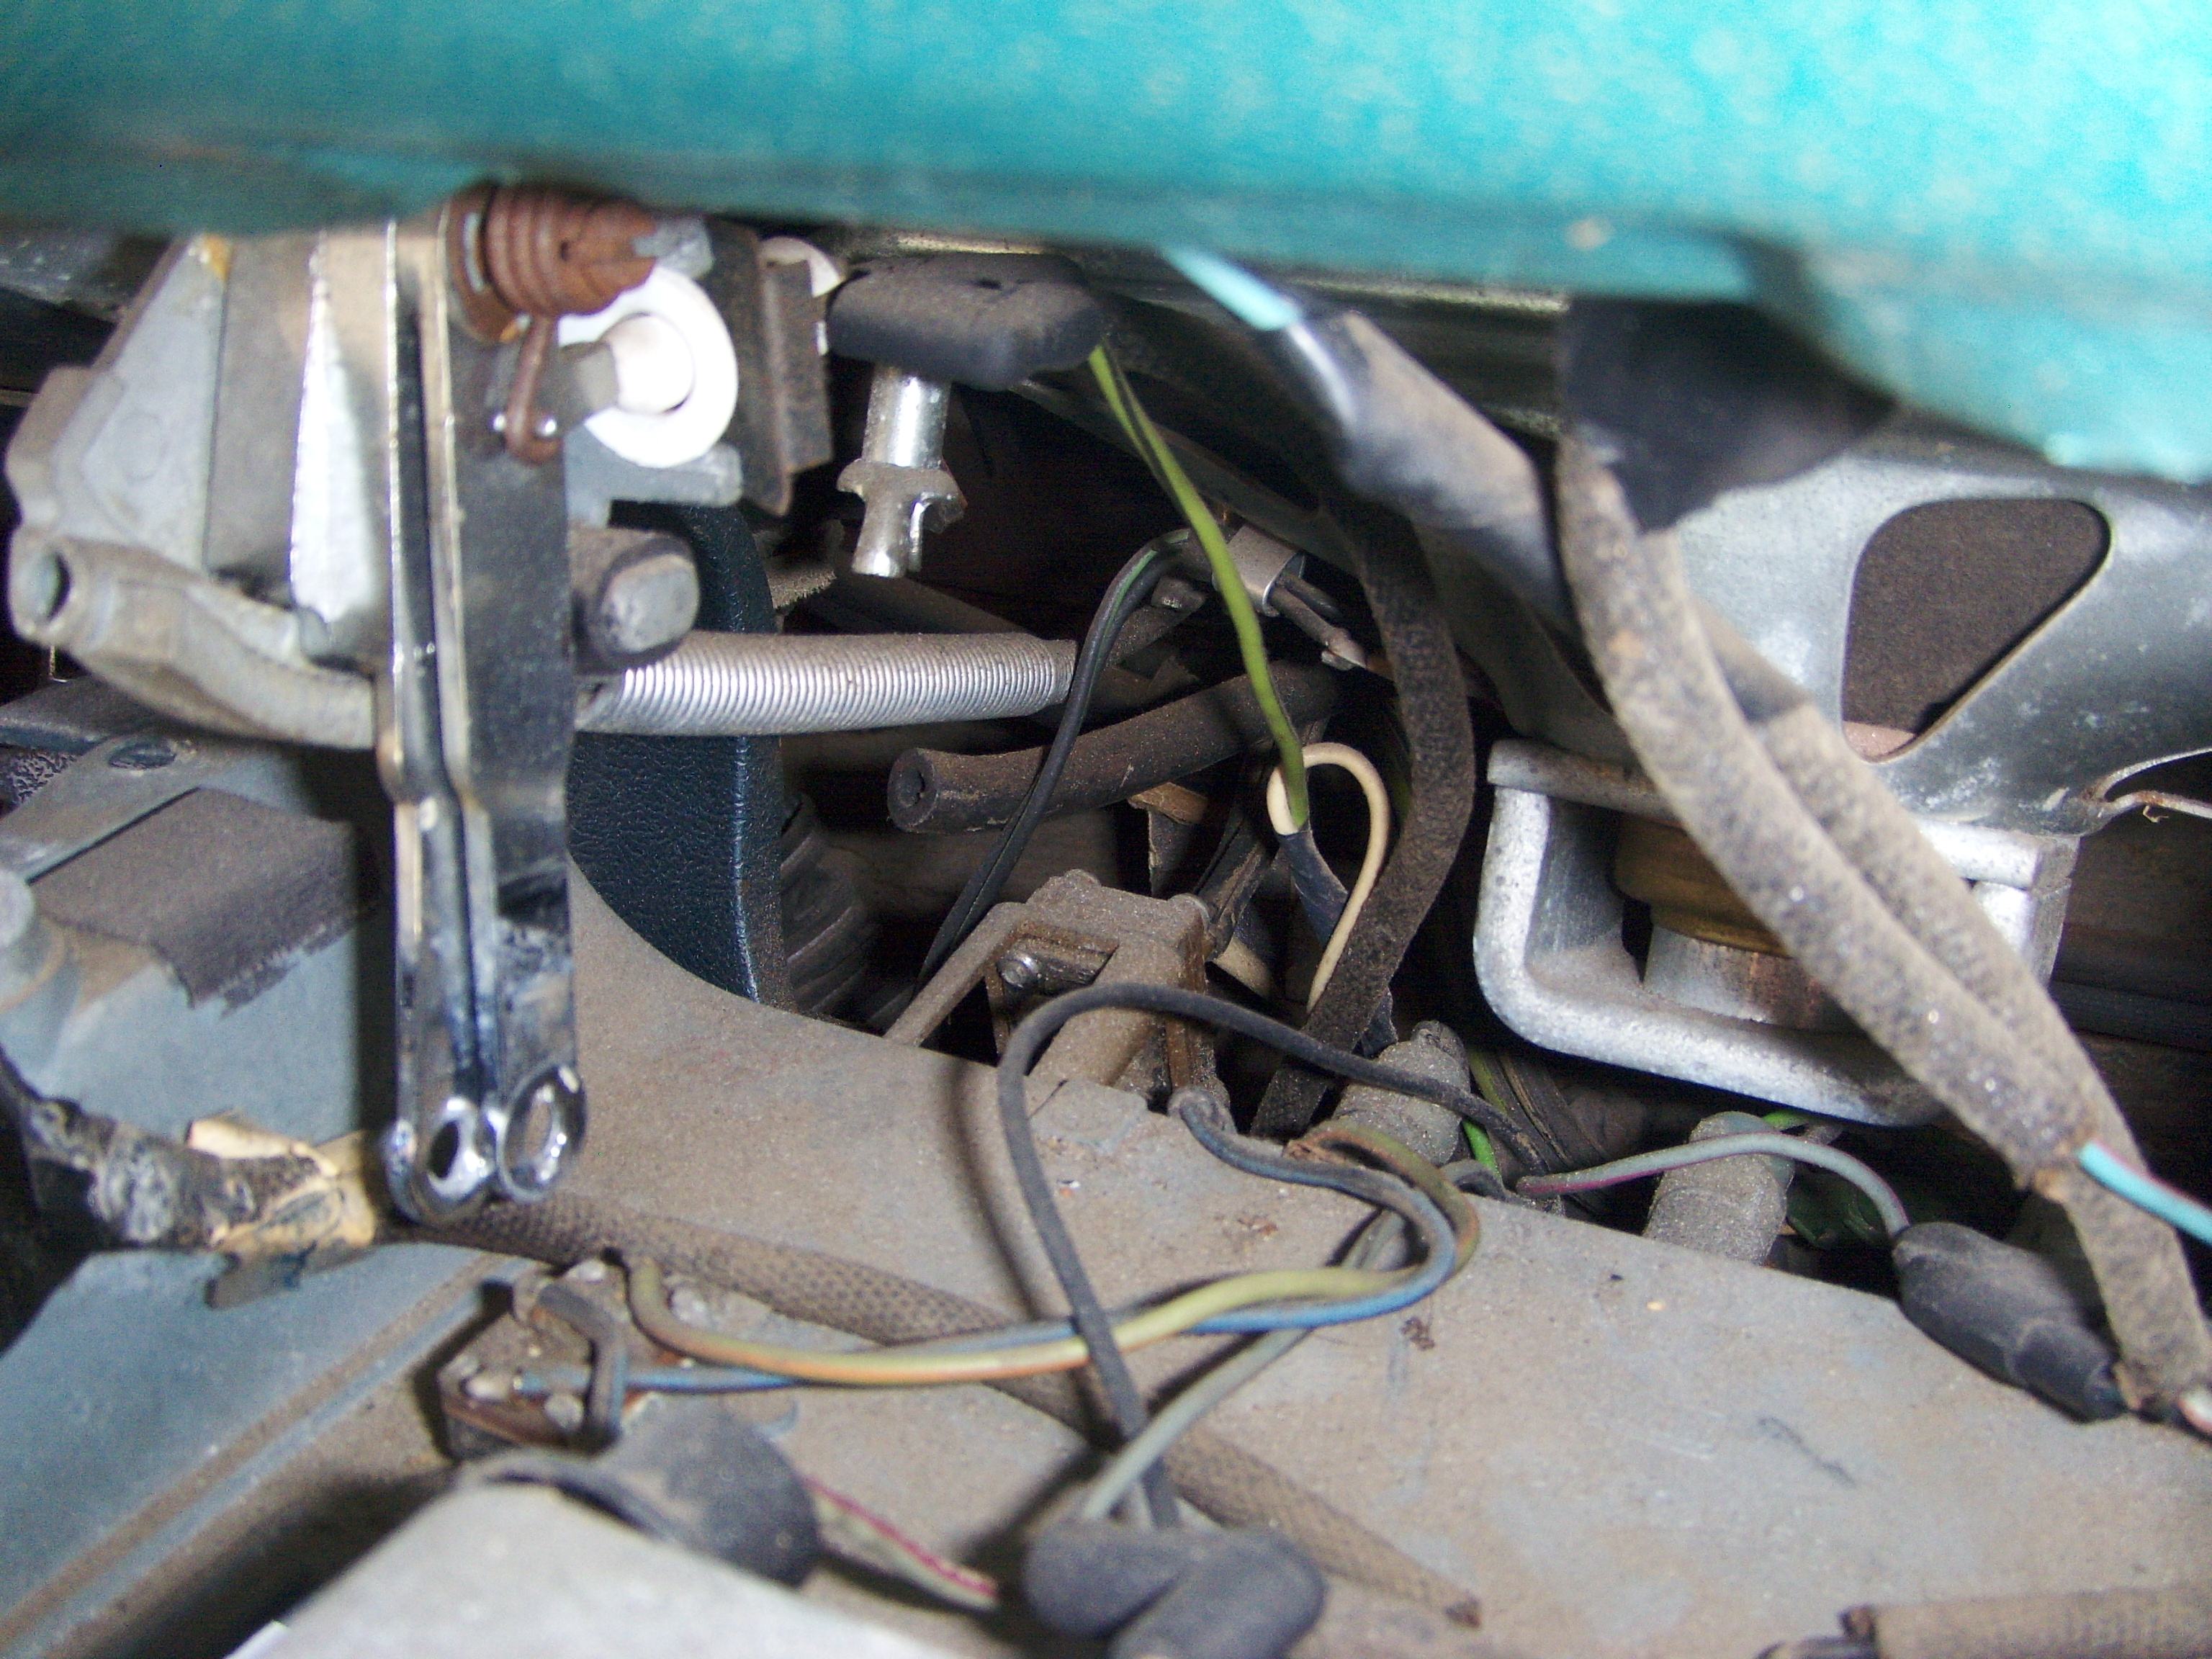
I ran a ground wire to the negative battery terminal. (Taking a few minutes to clean up corrosion on the positive side. Wow, that stuff develops fast.)I found a blown fuse and thought “Aha!” but it was for the back-up lamps. I replaced it, for what it’s worth, and put that circuit on the “projects for another day” list. I checked for power at the correct fuse with a test lamp, and it also tested fine. It even dimmed properly when the light switch was turned.

Well, with power at the fuse, the lights should work! I put the car in the garage, pulled the switch, and sure enough, they did. At least for now. All I can figure is maybe there was a loose connection at the switch; pulling it and plugging it back in perhaps got things connected again.

Now, about those back-up lamps . . .

Solenoid? Solenot!

There was an unusual moment with the ‘Bird last week when the car failed to start. Odder still, because I wasn’t there at the time. (My son had the car, which is another story.) A jump across the solenoid was enough to get it running and home again, where I experienced the issue firsthand.

New solenoid
New solenoid wired up and ready to go.

Early on, I was going through solenoids like crazy. When they went, there would be no power to the car anywhere. This time, turning the key to start activated some systems (the seat belt warning light for one) but not the starter. Other stuff worked too—lights, radio, etc.

I replaced the solenoid; simple to do and cheap enough. I even replaced the aging connectors with new terminals, soldered in place. The result: no change. I was scratching my head until someone suggested fiddling with the gear selector.

The neutral safety switch!

The gearshift trick didn’t work, but I got a hand on the switch at the base of the column and pushed on the connector. It seemed tight, but it felt like the switch had been stuck—at least it felt like it snapped back into position while I was feeling around blindly. I also pulled the wiring out from under the carpeting and inspected it. Whether it was a stuck switch or a loose wire, when I turned the key again, the motor fired right up.

Flattening the carb
Sandpaper, glass, table saw. The metal on the base is very soft, took no time at all to make things better.

Cleaning out the garage last month, I came across the Autolite carb I had planned to use a year or so ago. Thinking I had nothing to lose, I pulled it apart and got some advice from the friendly folks on the VTCI forum. Working with them, I found that the baseplate was warped and there were serious defects around the seal for the secondary venturis.

I was able to patch the secondaries with epoxy putty, then used sandpaper on a flat piece of glass to flatten and straighten the base out. Once I dig up the ancillary pieces (linkage, choke tubes and the like), I’ll take another stab at installing and running it.

Summer Tweaking

New cigar lighter connector. I also tapped into this circuit for the "clock" feed to the stereo head unit.
New cigar lighter connector. I also tapped into this circuit for the “clock” feed to the stereo head unit.

Summertime is drive time, even here where the weather is almost always nice. I haven’t been on any really long trips with the Thunderbird, but have had numerous runs in the thirty to fifty mile range (including one to look at a 1962 F-100 I eventually bought), and the car has run superbly—no overheating, odd noises or hiccups whatsoever. I feel like I could drive it as long as I please; a nice feeling when I look back at where this all started.

However, even on short trips it was hard not to be annoyed by a few loose ends not wrapped up in the spring, so I took some time this weekend to tweak a few items.

First was the cigar lighter. When I put the dash and console back in, the push-on power lead wouldn’t stay in place. It was just worn out, I suppose. I finally cut the old connector off and soldered on a new fitting. Two screws and the assembly was back together. I don’t smoke a lot of cigars in the car, but it is nice to have a way to charge up the phone, especially if I am going any distance.

A little shocked at how easily this went back together.

The second item was a piece of unfinished business courtesy of the glass company that sealed up the windshield a few months back. They left out a screw in the trim piece above the driver’s side window, which allowed the plastic trim normally hidden underneath to droop. I put this off because sometimes taking the trim apart just makes things worse. After a while, though, the sag was obvious, embarrassing and rapidly getting worse. After removing the trim, the plastic internals went on with little trouble. I was surprised to find that the trim went back on easily—I even found a decent replacement screw in my box of spares.

This coming fall I expect to tackle suspension, front a rear. The car rides ok as it is, but rattles and squeaks beyond all reason.

Rolling Again

I took last Wednesday off and devoted it to a final push. My goal, get the car back on the road. I started the morning with a helper, bleeding the brakes (yet again—more on that later) then started wrapping up loose ends: the last valve cover, engine compartment braces, hooking up the heater control cables, etc. I also welded spacers and bolts to the driver’s seat brackets to make the installation easier and a little safer.

Permanently adding a spacer and bolts to the driver's side seat brackets.
Permanently adding a spacer and bolts to the driver’s side seat brackets.

Since I was about to hide all the wiring behind the left radio access cover (necessary to support the ignition switch), I spent some time wiring up an aftermarket stereo. It requires one always-on power lead and another from a switched source. I took the hot lead from the cigar lighter and looked for the feed wire powering the existing radio. The wiring diagram says it is blue/yellow, which I found, but I couldn’t confirm that it had power. Instead, I tapped into the power feed for the heater blower motor.

To test the power leads, I had to hook up the battery. I was the first time in months the car had seen power, and it was nice to see at least part of the car come alive. The turn signal was ticking and the blower motor came on, as did the courtesy lights–all good things. (Though I spent a few minutes pondering why I couldn’t turn the courtesy lights off until I realized that the light switch must be in the on position.)

The lower valence of the dashboard on the driver’s side is probably the most puzzling part of the whole assembly. It took me a while to line everything up and get it screwed down—it didn’t help that a lot of the screw holes have been stripped over time. In the end, it was not difficult once I figured out how it all tied together.

Passenger side, all buttoned up.

For difficult, the clock pod takes the prize. I did that earlier in the week, and it’s a four-handed job: one to hold the pod in place (and not scratch up the newly-painted dash), two to connect the many wires that feed into it (and don’t have a lot of slack to them, either) and another to get the screws started. Four screws hold the pod on, each threaded into a blind “speed nut.” The nuts in the back holes don’t have much metal to clip to. Three times I tried to get one of the rear screws threaded on, and three times the nut slipped off its mount and fell into the recesses of the dash. Finally, I decided that three screws was plenty and another attempt was only likely to cause damage, especially in the mood I was in.

By the end of the day Wednesday, the carpet was fully trimmed and the driver’s seat was in. I only had time to sit there for a moment, contemplating, before other responsibilities called me away.

Friday afternoon, I was able to install the steering wheel, spray a shot of starting fluid into the carb and turn the key. Happily, the engine fired on the first try. I backed into the driveway where spilled brake fluid burned off the exhaust for a while. None of the new gauges registered at first, except the ammeter. Once I got down the road a block, the oil pressure gauge came to life and the temp needle crept up a bit. The gas gauge never moved, but it may just be stuck from non-use.

The shakedown run was very short and slow—the brakes were mushy and the pedal was right down on the carpet. Clearly, there is either a lot of air left in the system or something else is amiss. I am considering having the brakes professionally inspected and bled.

Duct, Duct . . .

I still figure to be about two weeks away from backing down the driveway.

The three remaining ducts, all with some problem or another
The three surviving ducts, all with some problem or another

Space in the garage is gradually clearing out as parts are being assembled, but the real change will come when the dash goes back into the car. That monster has been lurking in the garage for far too long–as has the old doppelganger, which is heading for the scrapyard when this is all done.

Moving the old dash around the garage, I managed to damage both the defroster ducts, which were made from cardboard originally, but have transformed into a brittle, crumbly substance. The new dash had one duct left on it, also damaged. Reproductions are produced, but they are about $100(!) new, about a third of that for good used, so I’m making an attempt to restore what I have. They are hidden, so don’t have to look pretty.

A little paranoid about moving the wiring from one dash to the other.

My initial thought was to reinforce the ducts with fiberglass and resin–which would probably work, but I was steered in the direction of epoxy instead of resin, potentially thinned down with acetone. In theory, it will penetrate the old cardboard and bond better.

The same person also directed me to TAP plastics for materials. I stopped by to get some epoxy in bulk and discovered it was a DIY candy store: full of tools and materials for projects I hadn’t even thought of yet. I left with epoxy . . . and a few “extras.”

Over the last week the new dash was painted/dyed, the instrument cluster was installed and the stainless trim was snapped back on. I also pulled the wiring harness off the old dash. I will replace the light bulbs and repair the wiring at the alternator gauge, then tap into the harness for power to a modern radio/head unit. With the restored ducts and the replaced wiring, the dash will be ready to go back in the car.

Masking, dying and painting the dash.

Paint and Polish

The clock pod pieces, waiting for reassembly--in the right place an correct order.
The clock pod pieces, waiting for reassembly–in the right place an correct order.

Since my last post, I’ve finished up the final bit of welding on the passenger side floor pan. There’s normally a little smoke after welding, but when I finished up the plate on the tunnel, smoke continued a little too long. Investigating, I found a nice fire going up by the transmission. Apparently, there was quite a lot of grease and oil built up in the transmission tunnel. and the heat from welding was enough to light it up. Luckily, I had the foresight to keep a bucket of water handy. A wet rag quickly doused the flames.

Completing the floorpans was a huge milestone. A day or two after they were done, I was able to pick up the dashboard, clock pod and other miscellaneous parts from the body shop where they were painted. They did an excellent job with the paint and even though the vinyl shows its age, the dash looks relatively fresh and new.

Restored Clock pod
The finished clock pod. Upside down, but you get the idea.

I set about reassembling the clock pod first. I have two of these, so I used the best parts from each, polishing and cleaning as I went. The best chrome pieces on hand still have a bit of pitting, but the finished product is far better than the original.

I was very pleased with the way the instrument cluster and speedometer came together as well. Again, it’s not perfect, but with the restored numbers, new paint, decent chrome, and  unobtrusive upgrades (like repainting inside the pods), the finished product has the feel of almost, but not quite, like new.

The speedometer and instrument cluster mated together again.

This week’s challenge will be removing the wiring harness from the old dash, restoring it (there are some cut wires and other issues) and installing it in the new location. After that, I’ll need to figure out what to do about the defroster ducts, which were made from cardboard. They were very fragile and were damaged while the dashboard was moved around my shop. I don’t think they are reproduced, so I will need to fabricate some kind of replacement.

At this point, it appears that I am about three weeks away from my first drive in months.

Dashing Around

It seems like most of the work on my “dash project” has very little to do with the dashboard itself, at least so far.

Booster and master cylinder, out of the car once again.

One of the first things I had to do with this car was install the brake booster assembly when it was returned from the rebuilder. I remember that as being difficult, but not impossible. Getting it out of the car, even with the dash out was, well, difficult still, but not impossible.

I pulled this unit because the brake pedal is awful close to the floor in normal braking. One culprit may be an out of spec adjustment where the master cylinder meets the booster. I pulled the two units apart, and it does look like someone took the time to mate them together properly. When I reassemble them, I’ll watch to see that the plunger (from the booster) fits into the piston on the master cylinder with close to zero tolerance. The pedal feel may be the same when it’s back in, but I’ll have the satisfaction of knowing that it is normal for this car.

The not-so-special bolts. These should taper in the middle to allow oil flow.

It’s easier to get the booster out if the valve cover on the driver’s side is removed. When I pulled it, I noticed that the cover was pretty dry on the inside, as if not much oil was getting up to the top of the motor. I posed the question on the VTCI forum and learned that special bolts should be used to allow oil up into this area. I pulled a couple out and found that mine were not special at all. A friend from the club offered up a set, which I’ll install when they arrive. Hard to tell at this point is damage has been done from the lack of proper oiling, but I don’t think so.

Test lettering the old speedo with a silver leafing pen.

I did do some experimenting with the actual dash this week: I picked up a silver leafing pen to touch up the lettering on the speedometer. The pen holds liquid paint that’s applied with a metered tip. It’s pretty easy to control once you get the hang of it. I practiced on the old unit and despite a little bleed at first, was pretty pleased with the initial results. After practicing along the rest of these numbers, I’ll tackle the replacement.

Took longer to get around to this than I thought, mostly because the car has been running so well, and I was so reluctant to take it out of service.

Finally, though, the small, annoying problems started to add up. Most of my gauges were out. There’s an odd squeak in the brake pedal (and they feel a little mushy). There’s no heat (and it’s almost winter again). The neutral safety switch is just a tiny bit out of adjustment.

The twin exhaust cleared the leaves off the driveway when pulling the car into the garage.

Not to mention, I’ve got this replacement dash kicking around my garage and I’ve tripped over it more times than I’d care to admit.

So, finally, I pulled out the manual, found the relevant instructions and set to work. The first item is pulling out the seats, something I did in the driveway–I have room to work in the garage, but can’t open the doors widely enough to get the seats out.

With the seats out and the car in the garage, I began digging into the dash far enough to get to the six bolts that hold it to the firewall. The center console has to come out, as do the visors and the headliner trim all the way to the rear windows. The clock pod, with its cables, vacuum lines and wiring, need to come out. And so does the cowl–that louvered piece of sheet metal at the base of the windshield (easier than it sounds).

The view inside with the dash out.

Those six bolts? Took a while to find them, and we needed the replacement dash as a reference before figuring it out.

At the end, the eight or so electrical plugs that connect the dash wiring to the car stood between me and a dashless car. Those things aren’t meant to come apart, and they put up a struggle.

In the end, I was triumphant, and the old dash is now resting uncomfortably in the driveway.

Tomorrow, I’ll be digging down to the heater core and measuring out a mile of vacuum line to replace.

Miles to Go

This is getting to be a routine: make some repairs, push the envelope a bit more, find more issues . . . rinse and repeat.

I did some fairly lengthy freeway driving this week with the Bird and it was pretty cool tooling down the road under sunny skies. I discovered that right around 65mph most of the vibrations smooth out and the ride is relatively comfortable.

C4SF-B--the carburetor that came with the car originally.
C4SF-B–the carburetor that came with the car originally.

It is, however, hardly the epitome of luxury at that speed. Suspension bushings are probably the second order of business. First, there is a vibration in the engine–felt mostly in the steering wheel at certain rpm’s–that I haven’t been able to figure out. Guesses range from the harmonic balancer to fouled plugs to a burned valve.

Also clear now is that the aftermarket carburetor I have on the car is not suited for the type of driving I’m doing. (It would certainly work better in a performance-oriented setup.) I’m still seeing difficult hot starts, some surging at speed and poor mileage, so I ordered a remanufactured carb, correct for my year and model, from a vendor on eBay.

Interior view of the old courtesy light relay.

On one of my trips this week, I stopped by a shop that specializes in new old stock parts. There, I picked up a “good used” relay for the interior lights. Plugged it in, and they are working normally, which really helps to bring life to the car.

Yesterday, I also installed the stock throttle linkage, including the transmission kick-down, which has been missing this past year. Today, I’ll be working to refurbish the center console: reattaching a chrome trim element that has broken free (and rattles like crazy) and bringing the “Fasten Seat Belt” reminder light back to life.

Courtesy Gremlins

The courtesy (or map) lights have never worked since I bought my car. It’s disconcerting not to have the light come on when the door is open, like having the light burn out in the refrigerator. It can also be hard to find the right key in the dark.

Yeah, that switch isn't gonna work.
Yeah, that switch isn’t gonna work.

The former owner was working on this issue shortly before he sold the car to me. I don’t know how far he got, but I did know that the door activated switches were bad. I replaced both, as well as some faulty wiring on the passenger side door jamb.

Still no lights. Dang.

There was a trickle of voltage at the light sockets, but not enough to illuminate the bulb, so I pulled the overhead console out to trace the wiring. Power feeds into a small switch you can use to turn the lights on manually. The wiring looked fine, so it appears that the switch has failed. I’m not sure yet if I can get a stock replacement, or if I will need to just bypass it.

Hey, a loose vacuum line. At least the last one of these I found had been plugged.

While behind the dash, I found a collection of loose vacuum lines–supposed to be connected to the power door locks. I reconnected them, plugging a vacuum leak I didn’t know I had and potentially fixing the lock system.