No Stopping Me Now

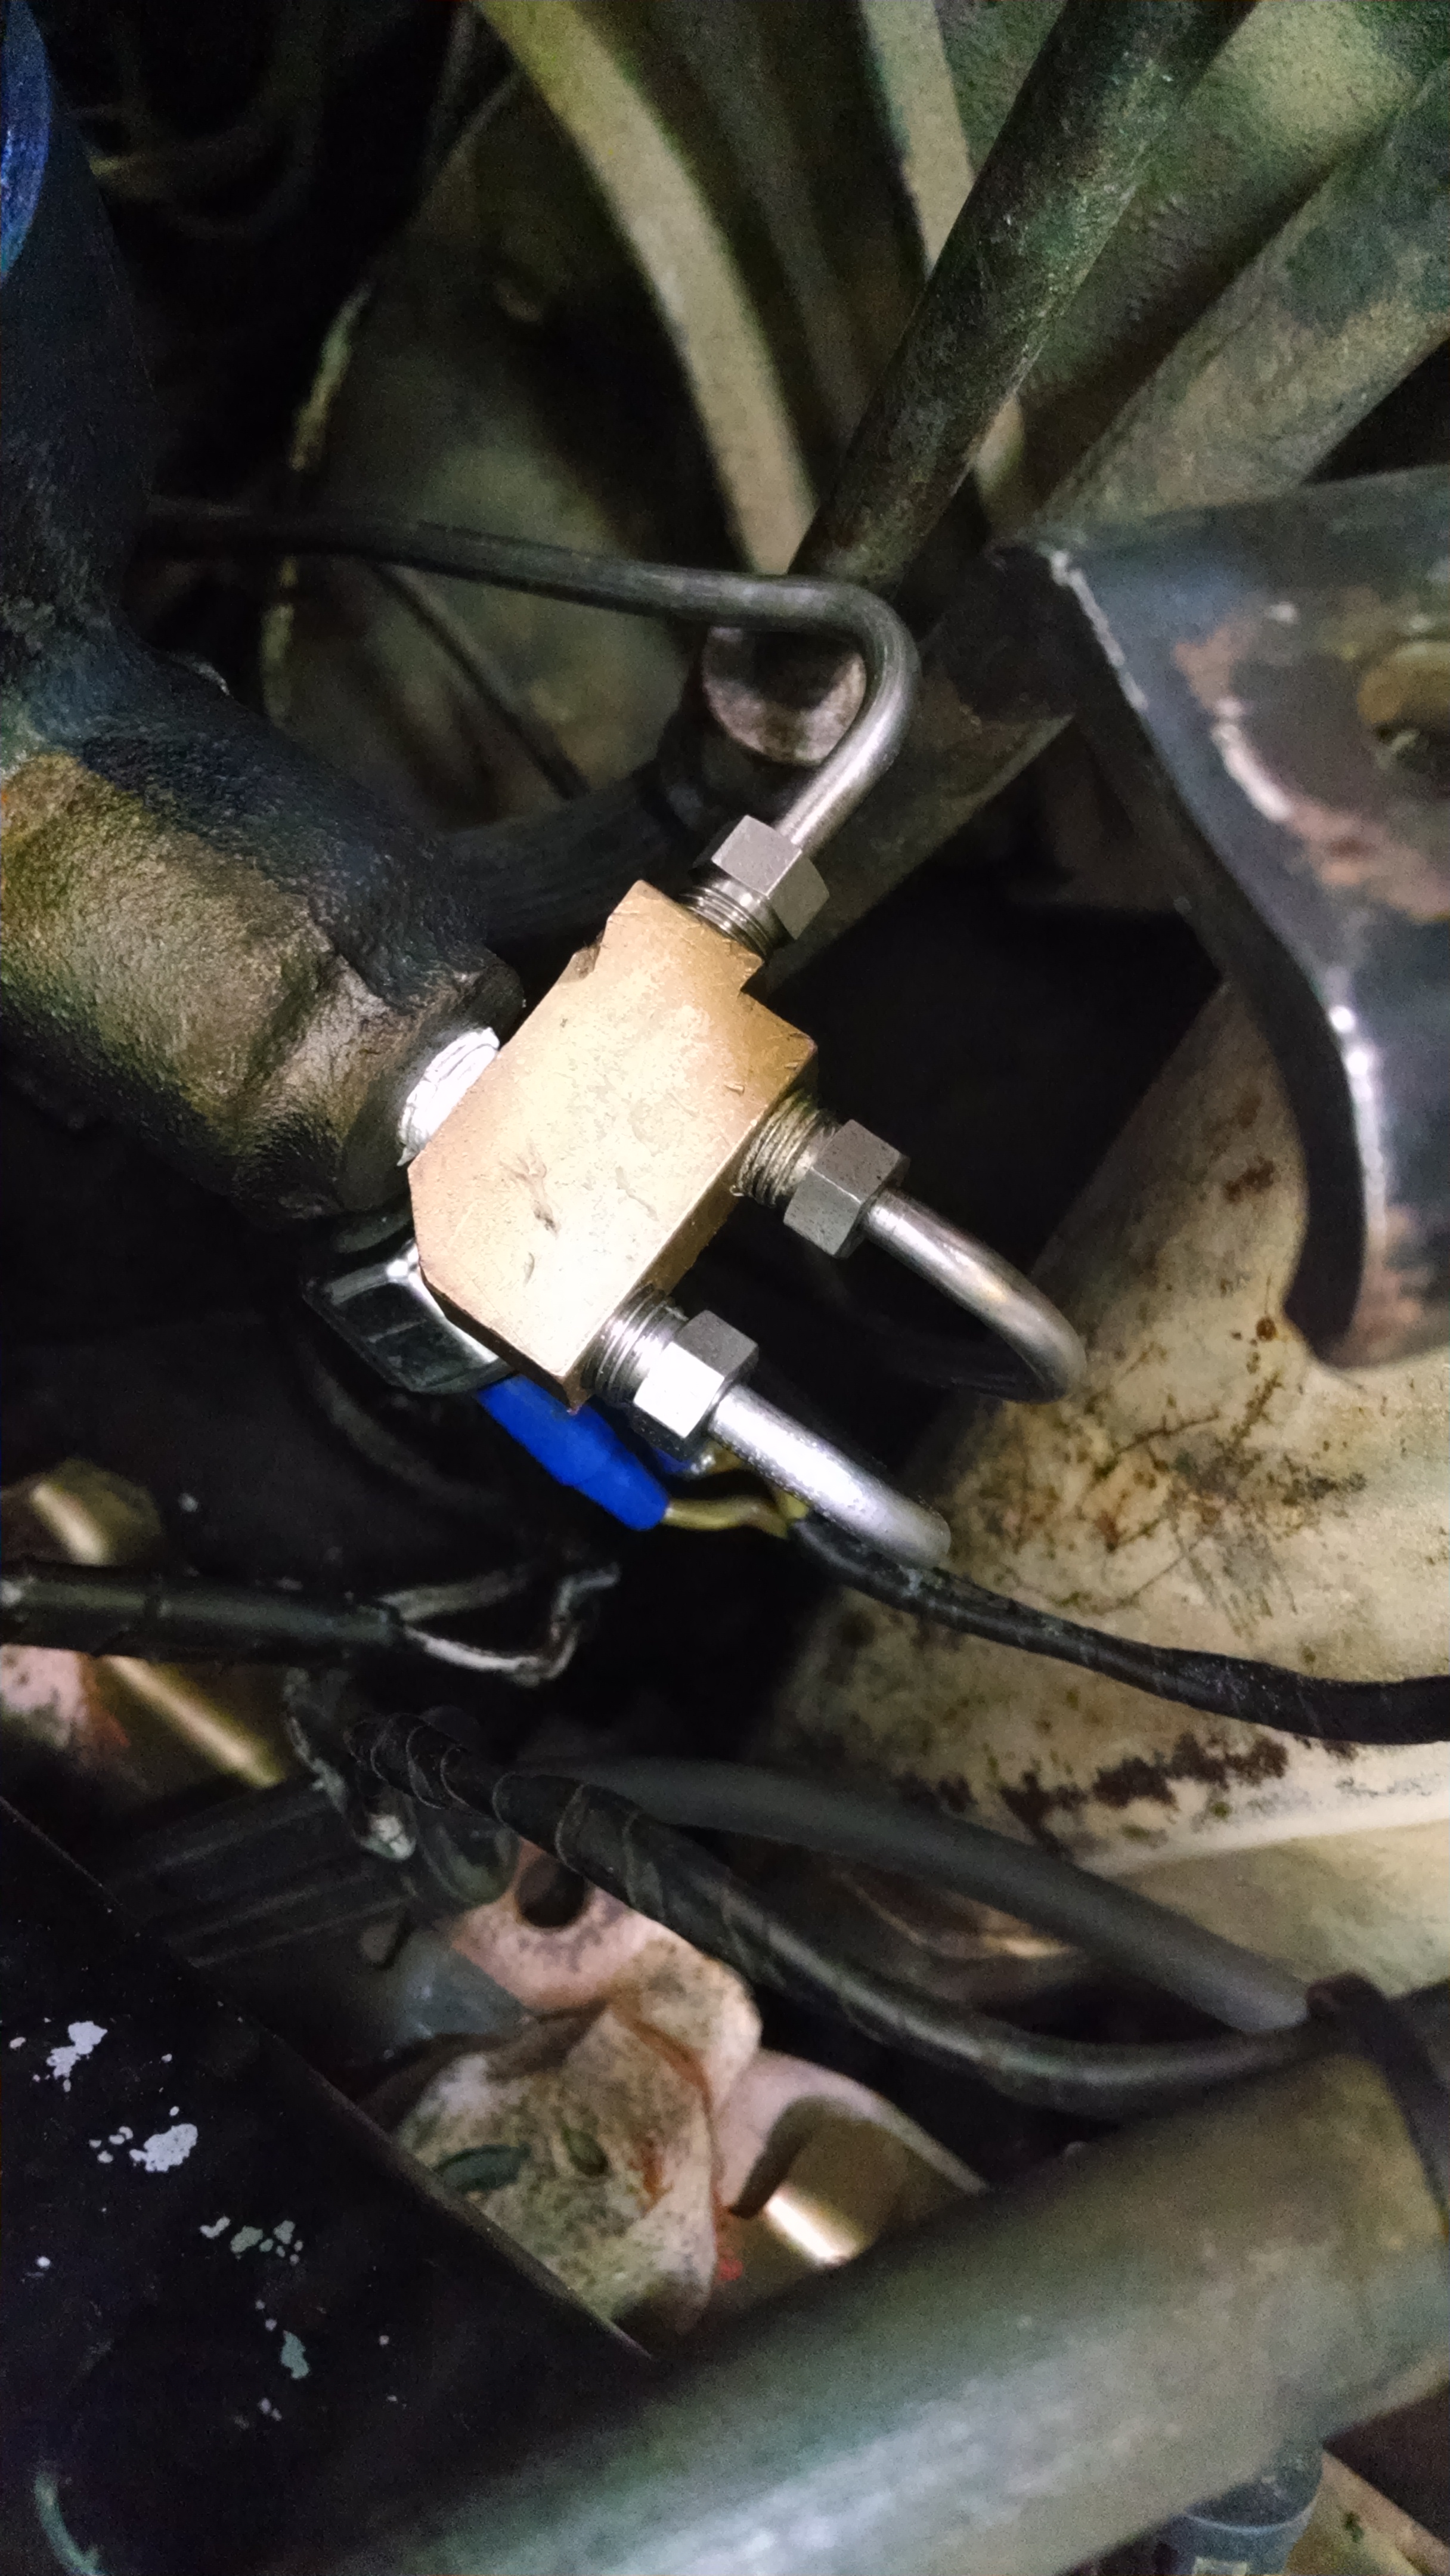
The brake system on this car is about as simple as it gets, but I find myself returning to it over and over trying to get things to work right.

My son and I bled out the brakes yet again about a week ago and went for a test drive. Good news was that the gas gauge sprang to life after filling the tank, so for the brief drive home, I saw 4 working gauges for the first time.

A Box 'o Bearings. I've never installed bearing races before, so this should be interesting.
A Box ‘o Bearings. I’ve never installed bearing races before, so this should be interesting.

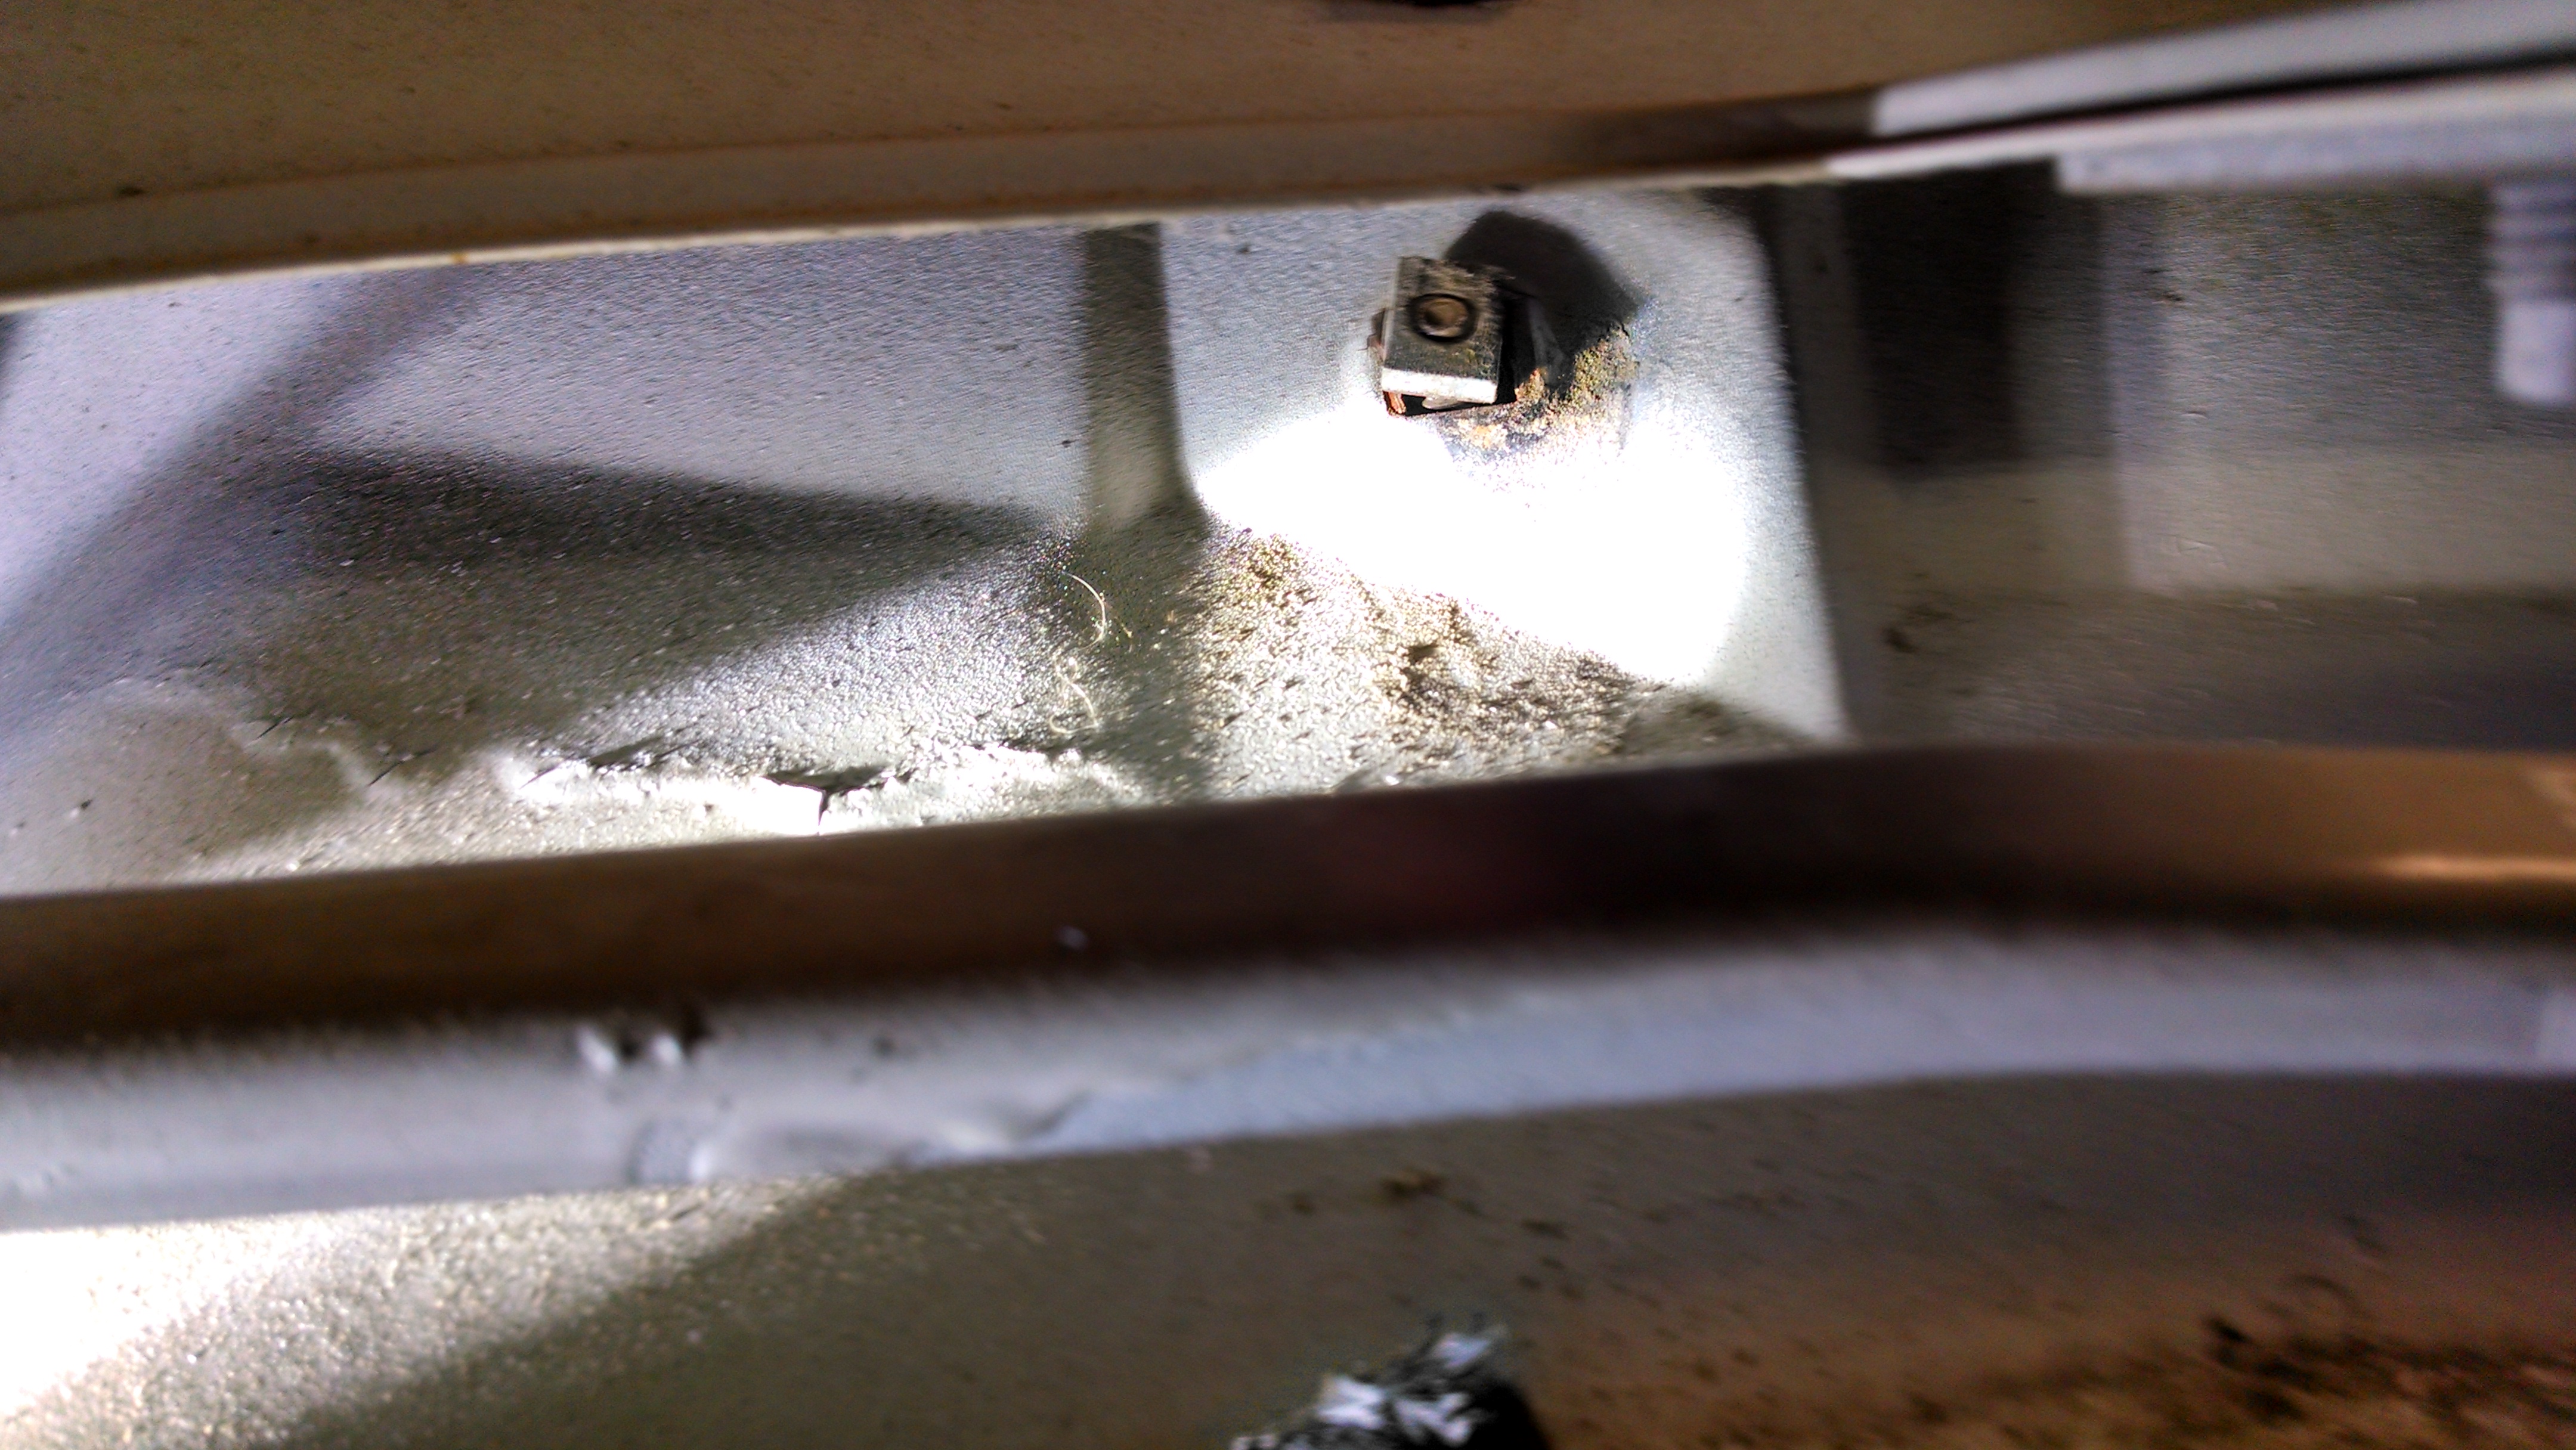
Bad news was that the brakes were still spongy and low. I tested them out in an empty parking lot and in a simulated emergency stop, the car slowed in a stately manner, then eventually came to a rest. No exactly what I was looking for. Back in the garage, I was able to push the pedal slowly to the floor with or without the engine running. No leaks in the system, though some fluid is escaping out the top of the cap. It feels as if the seals in the master cylinder have completely failed.

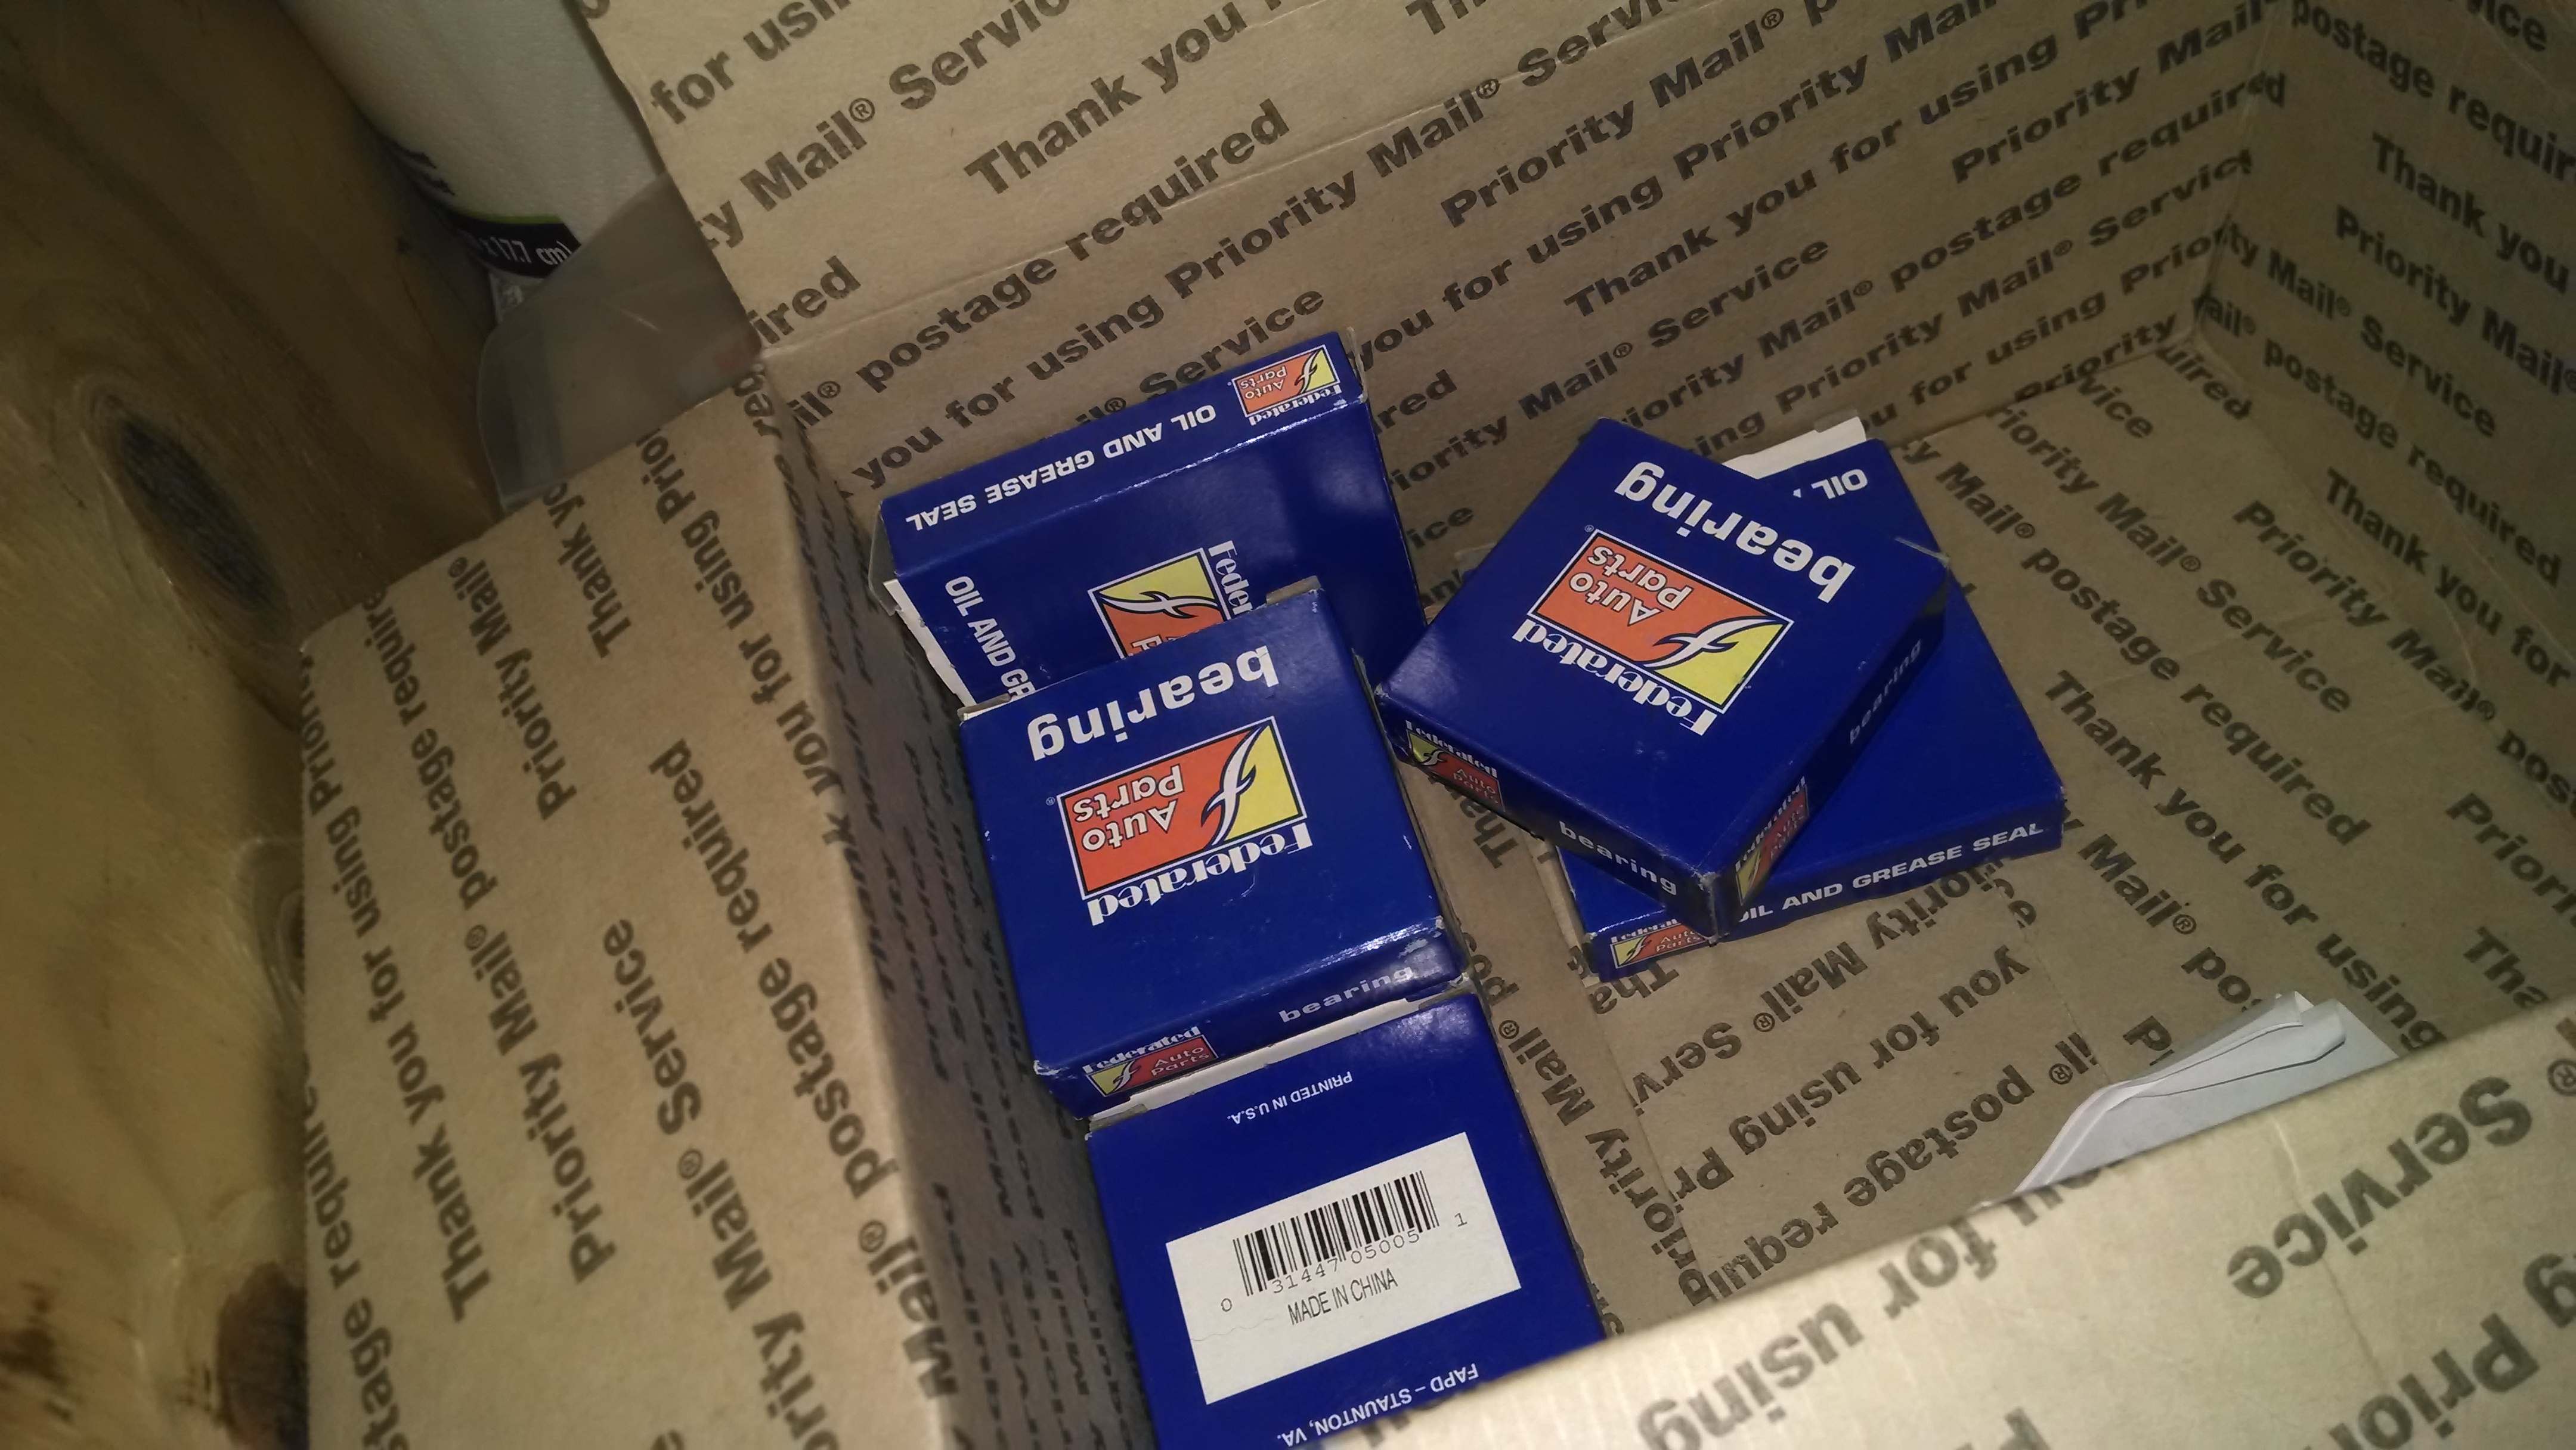
So .  . . since brakes are important, I’m replacing yet more components. The local parts store sold me a new (not rebuilt) master and some rear brake shoes. I added these to some new front shoes I already had, then ordered new drums and new self-adjusters for all four wheels, which arrived (in a very heavy box) a few days ago.

Right now, I’ve got an impressive stack of parts waiting for me in the garage. For good measure, I also located the front wheel bearings and races I bought some months back and through them into the mix.

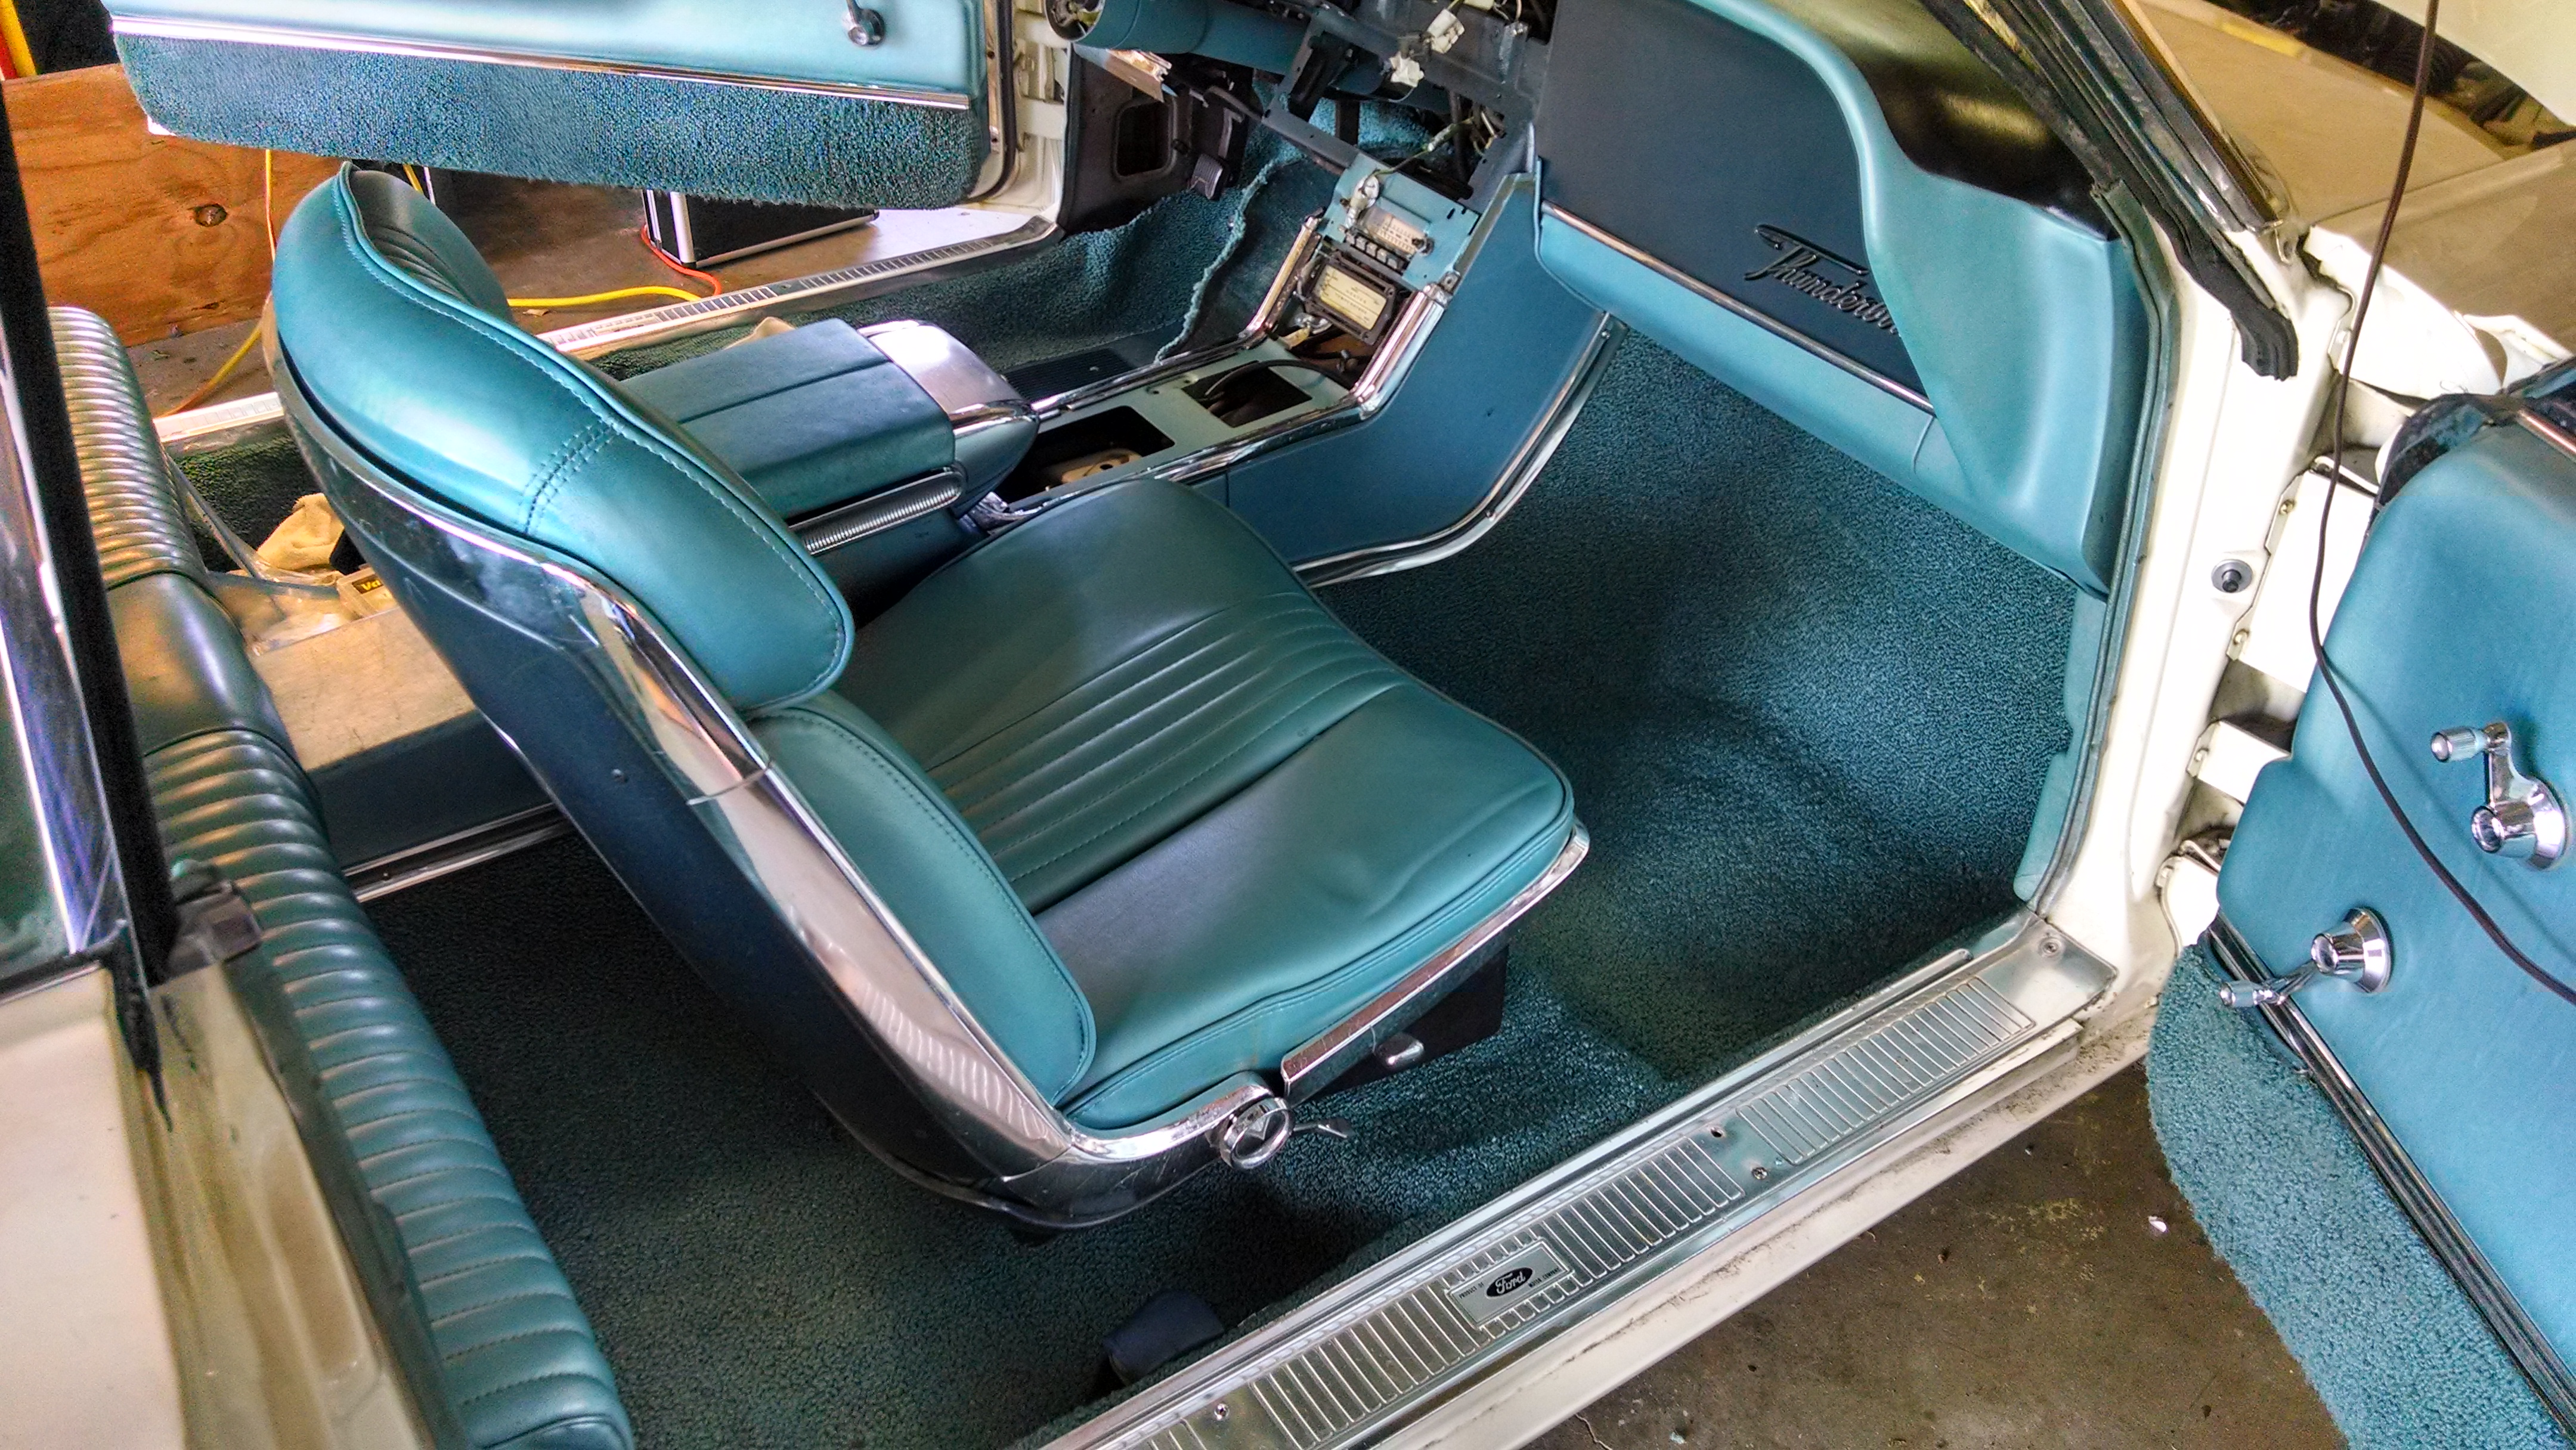
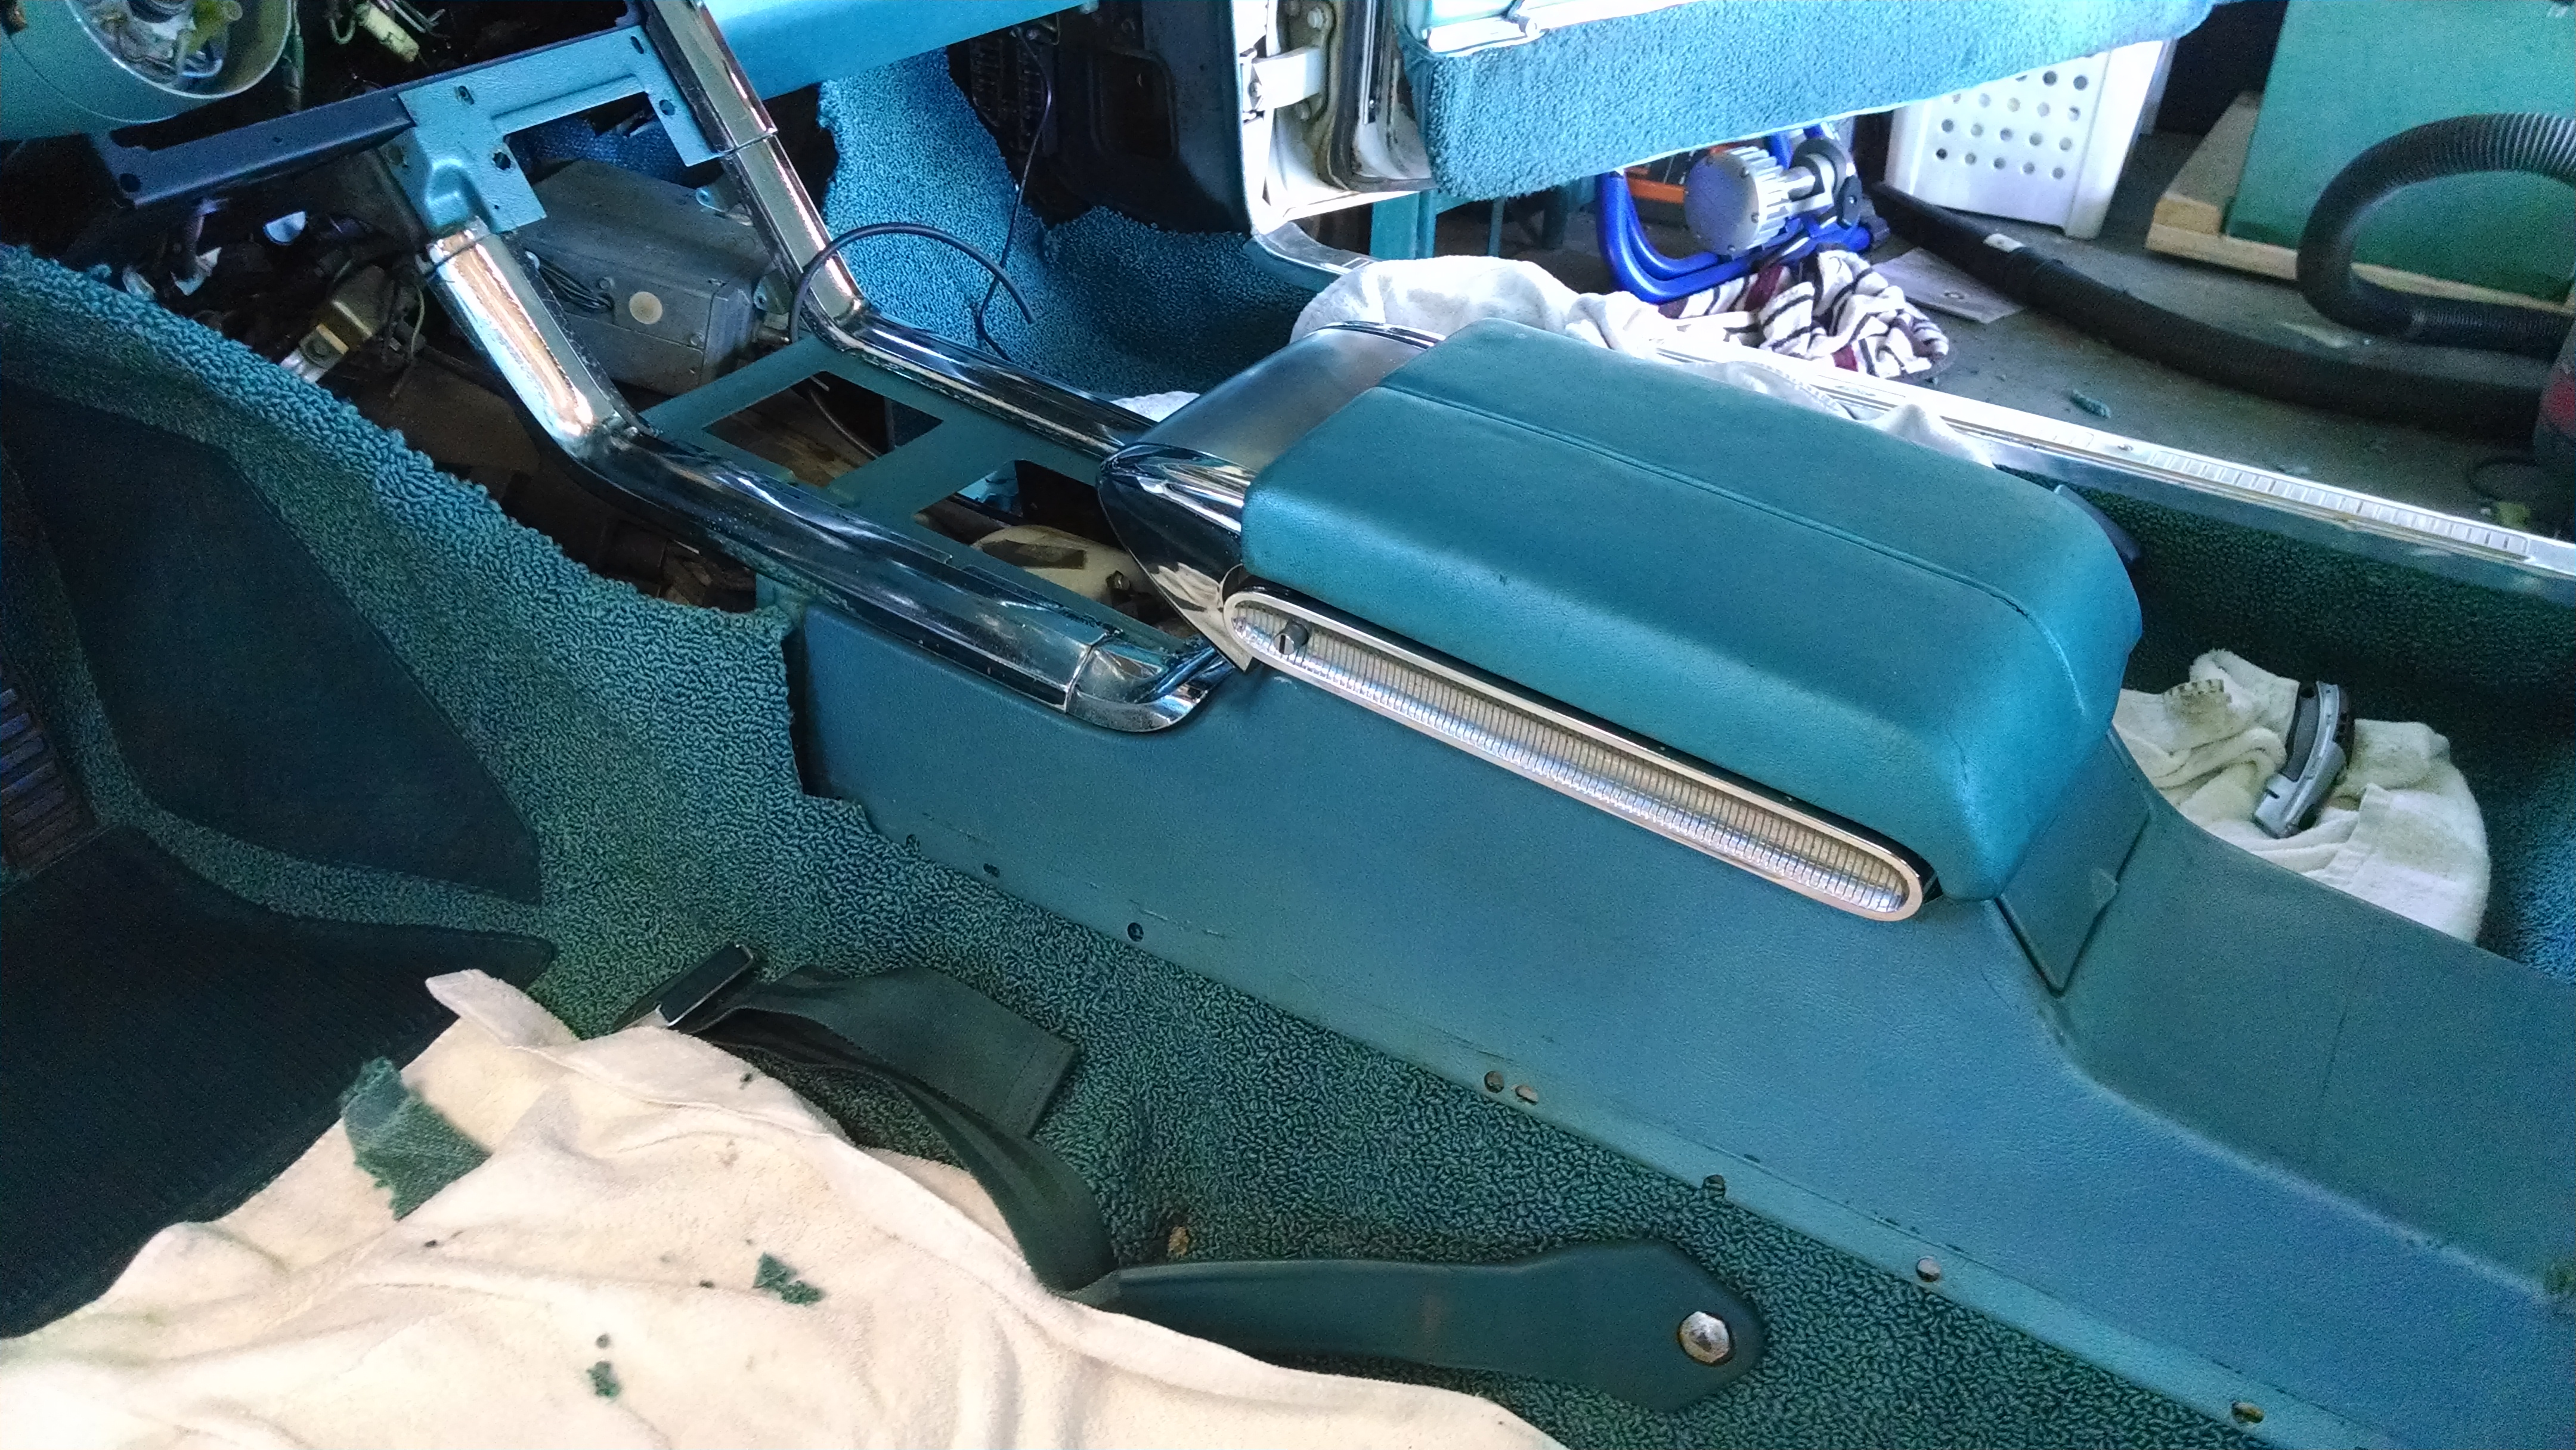
I find it important to remind myself now and again that this is a dashboard replacement project.

I dreaded cutting a hole in this piece, but once I got going, it was a straightforward process.

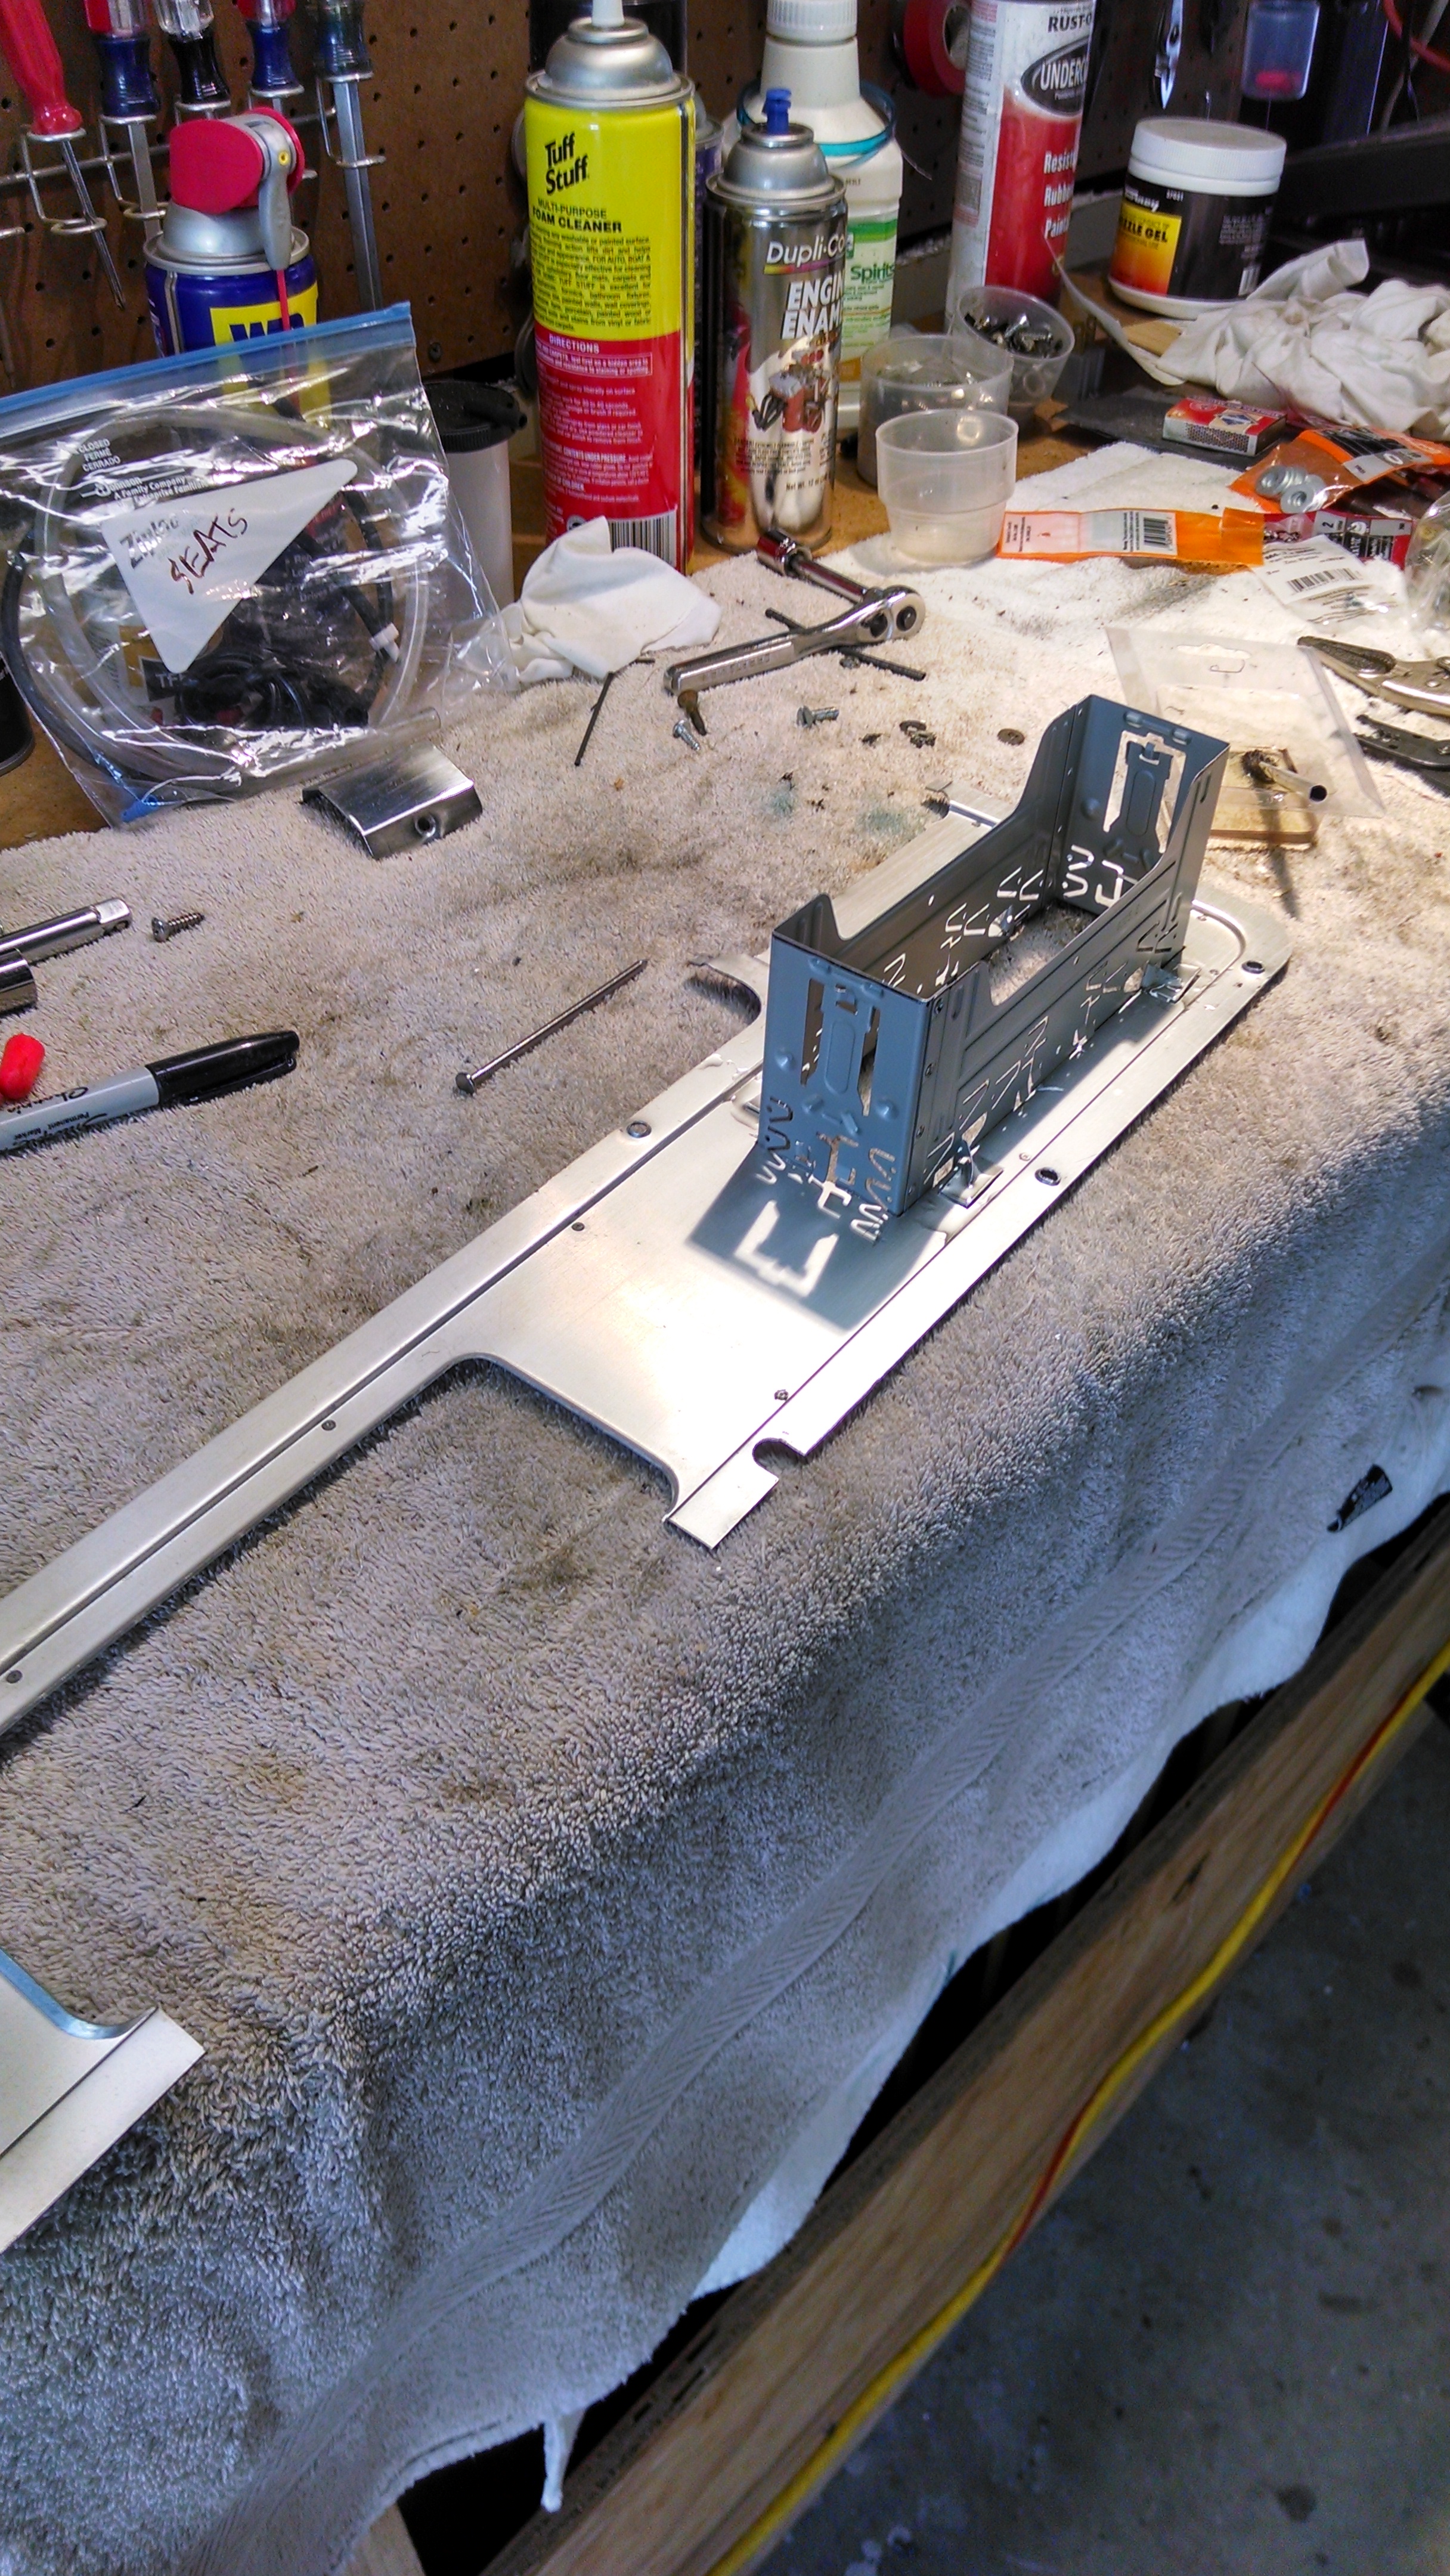
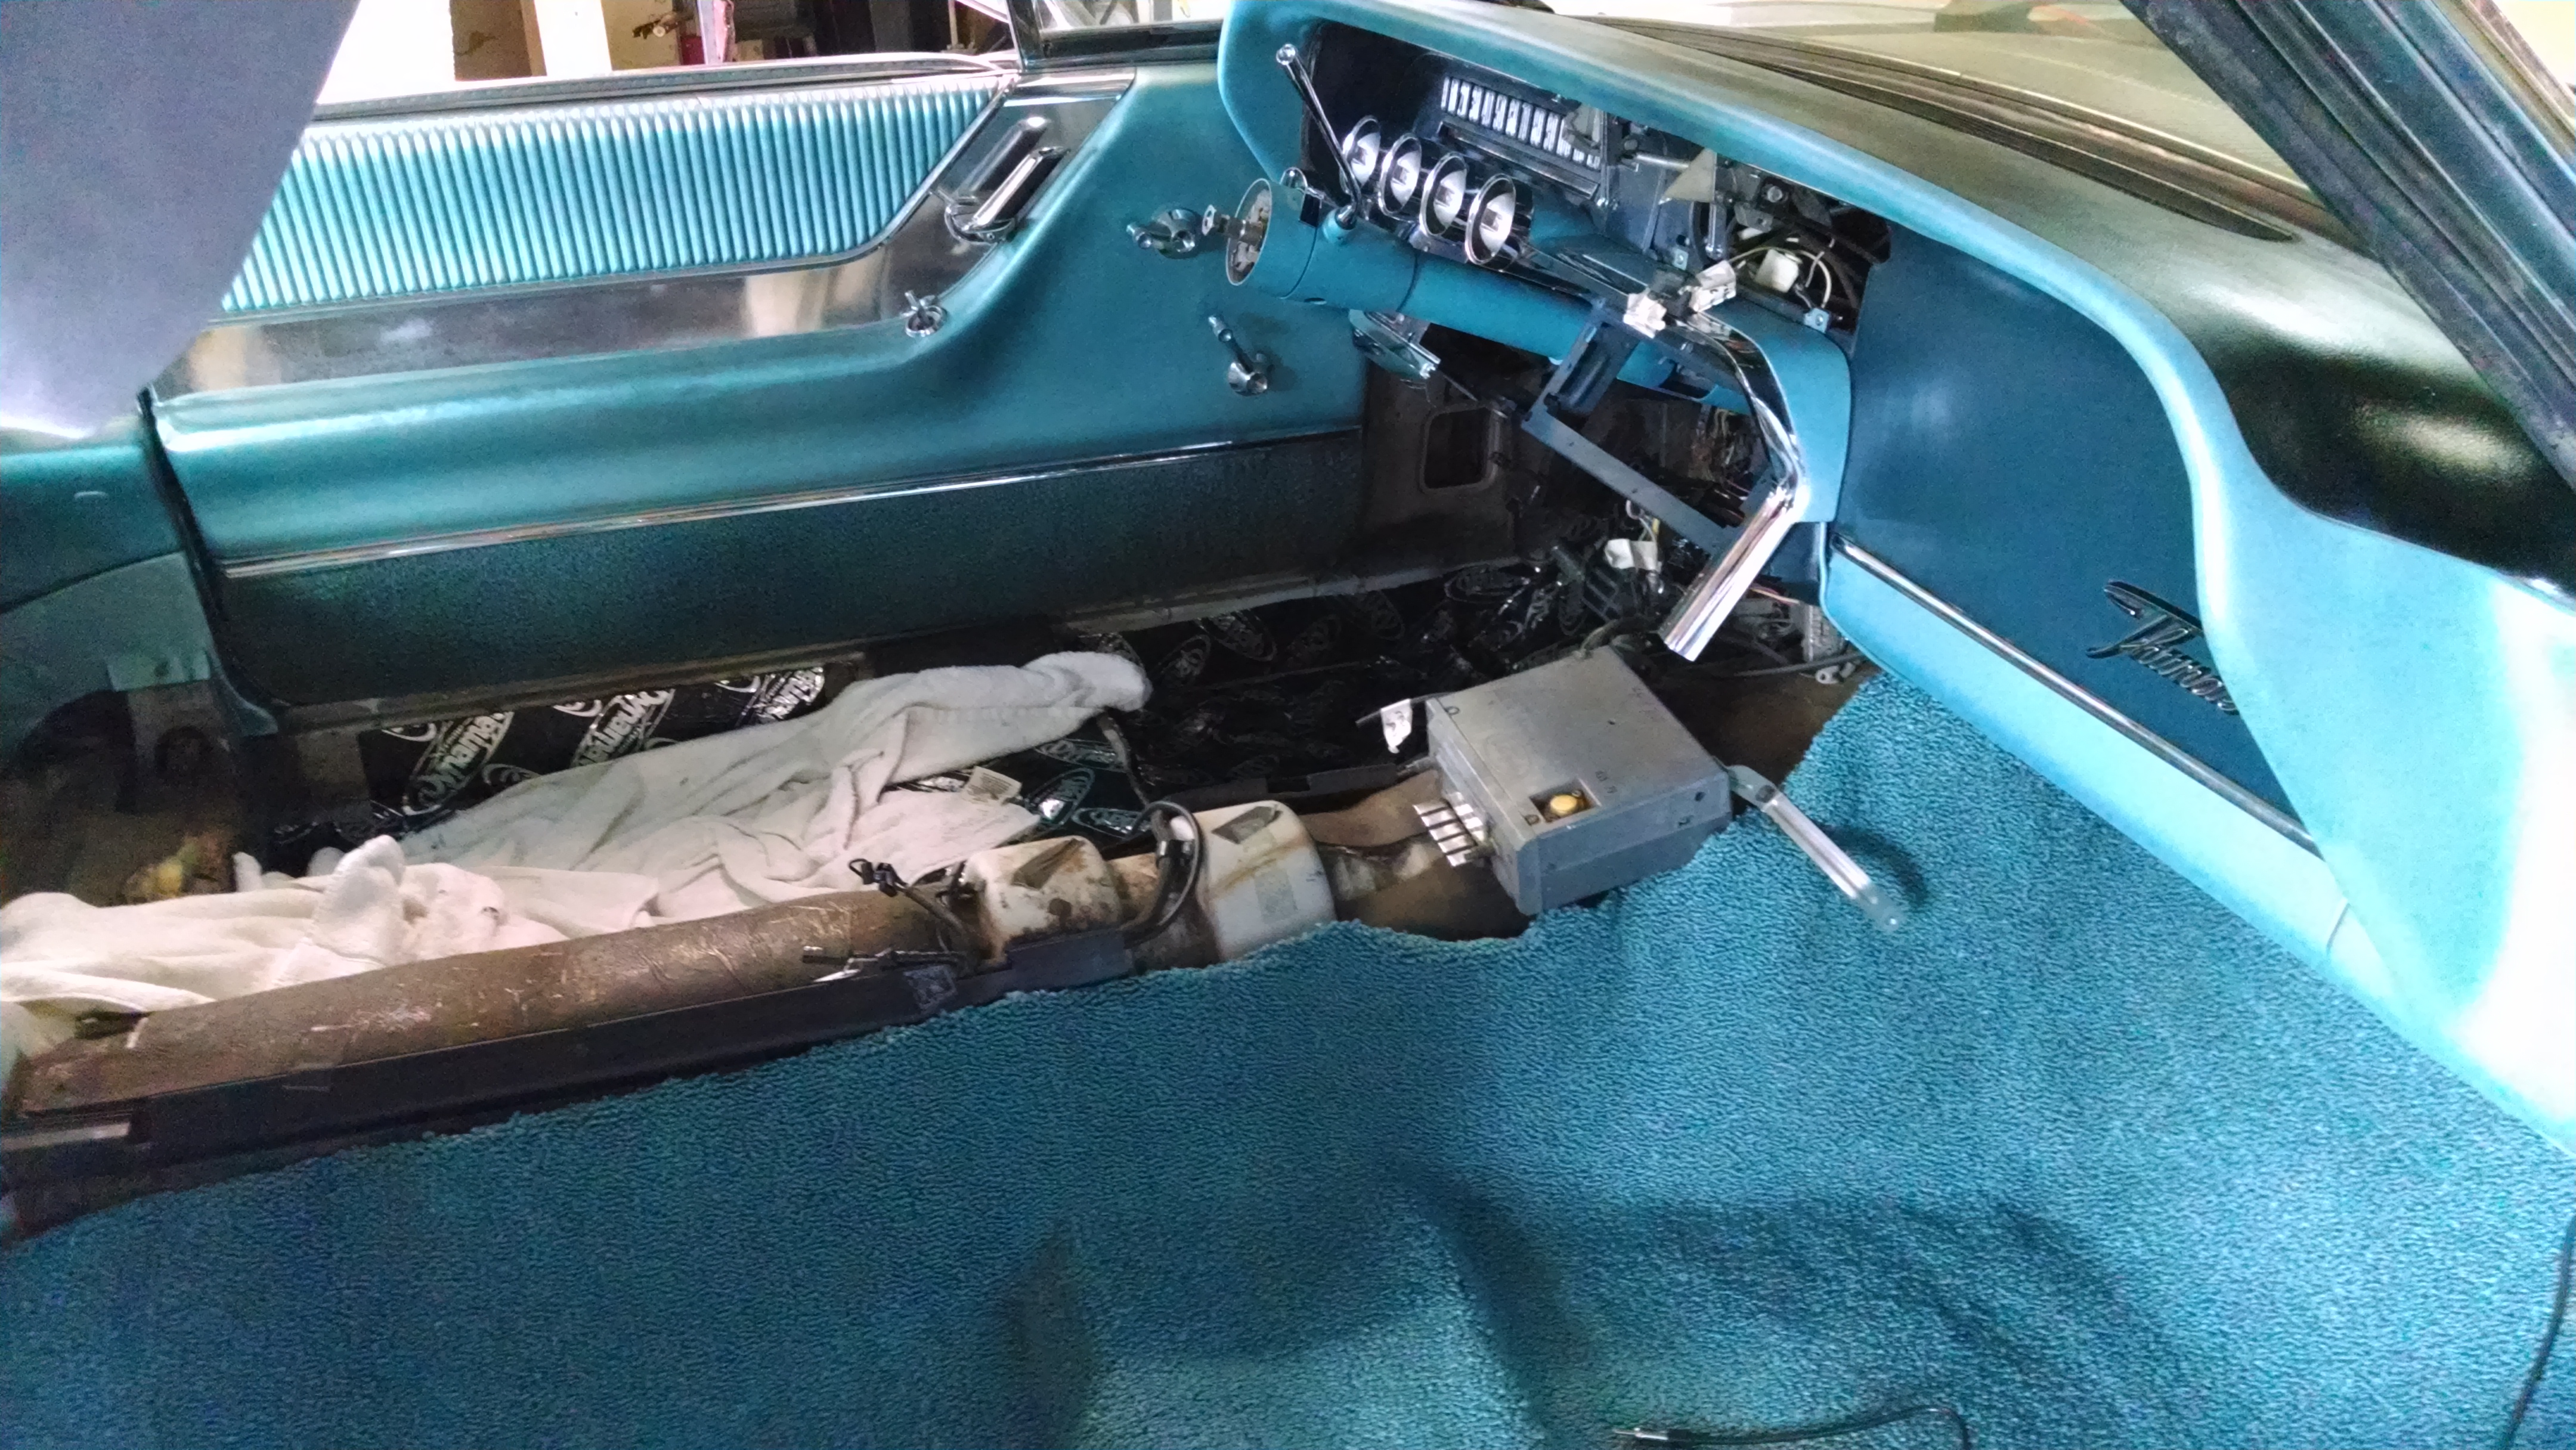
Inside the car, I have all but two trim pieces installed. One evening last week I pulled out my second best dash fascia panel and cut an opening in it for an aftermarket stereo. I used a grinder with a cutting wheel for the rough opening, then used a file and a Dremel tool to sneak up to the correct size.

Whoever designed the bracket for modern stereos didn’t count on it being mounted to sheet metal. The hold down tabs don’t hold the bracket snug with such thin material, so I shimmed it with some of the waste aluminum and epoxied the whole thing together so it won’t rattle around.

Solid brakes . . . and tunes. That’ll be nice.

Rolling Again

I took last Wednesday off and devoted it to a final push. My goal, get the car back on the road. I started the morning with a helper, bleeding the brakes (yet again—more on that later) then started wrapping up loose ends: the last valve cover, engine compartment braces, hooking up the heater control cables, etc. I also welded spacers and bolts to the driver’s seat brackets to make the installation easier and a little safer.

Permanently adding a spacer and bolts to the driver's side seat brackets.
Permanently adding a spacer and bolts to the driver’s side seat brackets.

Since I was about to hide all the wiring behind the left radio access cover (necessary to support the ignition switch), I spent some time wiring up an aftermarket stereo. It requires one always-on power lead and another from a switched source. I took the hot lead from the cigar lighter and looked for the feed wire powering the existing radio. The wiring diagram says it is blue/yellow, which I found, but I couldn’t confirm that it had power. Instead, I tapped into the power feed for the heater blower motor.

To test the power leads, I had to hook up the battery. I was the first time in months the car had seen power, and it was nice to see at least part of the car come alive. The turn signal was ticking and the blower motor came on, as did the courtesy lights–all good things. (Though I spent a few minutes pondering why I couldn’t turn the courtesy lights off until I realized that the light switch must be in the on position.)

The lower valence of the dashboard on the driver’s side is probably the most puzzling part of the whole assembly. It took me a while to line everything up and get it screwed down—it didn’t help that a lot of the screw holes have been stripped over time. In the end, it was not difficult once I figured out how it all tied together.

Passenger side, all buttoned up.

For difficult, the clock pod takes the prize. I did that earlier in the week, and it’s a four-handed job: one to hold the pod in place (and not scratch up the newly-painted dash), two to connect the many wires that feed into it (and don’t have a lot of slack to them, either) and another to get the screws started. Four screws hold the pod on, each threaded into a blind “speed nut.” The nuts in the back holes don’t have much metal to clip to. Three times I tried to get one of the rear screws threaded on, and three times the nut slipped off its mount and fell into the recesses of the dash. Finally, I decided that three screws was plenty and another attempt was only likely to cause damage, especially in the mood I was in.

By the end of the day Wednesday, the carpet was fully trimmed and the driver’s seat was in. I only had time to sit there for a moment, contemplating, before other responsibilities called me away.

Friday afternoon, I was able to install the steering wheel, spray a shot of starting fluid into the carb and turn the key. Happily, the engine fired on the first try. I backed into the driveway where spilled brake fluid burned off the exhaust for a while. None of the new gauges registered at first, except the ammeter. Once I got down the road a block, the oil pressure gauge came to life and the temp needle crept up a bit. The gas gauge never moved, but it may just be stuck from non-use.

The shakedown run was very short and slow—the brakes were mushy and the pedal was right down on the carpet. Clearly, there is either a lot of air left in the system or something else is amiss. I am considering having the brakes professionally inspected and bled.

Bled Out

There are two key components left to complete before I get the car started up again: the brake system and the ignition switch.

A complete suite of stainless steel lines.

I bench-bled the master cylinder before I installed it in the car, then got the new brake lines hooked up (after a little massaging and reworking to get them lined up). The rear brakes bled out just fine. The fronts are a pain, though–the bleeder screw is difficult to access and I haven’t found a good, clean, leak-free way to manage the fluid coming through during the process. The right front wheel cylinder didn’t take long, but on the left, the bleeder screw was jammed tight and the flats were stripped off.

The only way to replace it is removal of the drum, brake shoes and backing plate. Once off, a new screw was a special order from the parts store and a day wait for it to arrive–though I am glad they carry the item. It would have taken even longer to order it via mail.

It didn’t occur to me that while the bleeder screw was out (being used for comparison at the parts store) that the brake fluid was seeping out of the system, slowly but surely.

Doh!

The carpeting, starting to come together. The seat belts were surprisingly difficult to reinstall.

The new bleeder screw went in yesterday, followed by reassembly of the front hub. I’ll have to bench bleed the master again, then bleed the whole system once more. It will, however, be nice and clean.

Inside, I got the carpet down and installed the center console–cleaned up a bit, but not painted. The carpeting is a finicky, tedious process. I really didn’t want to undercut it, so I went slow: cutting a little, test fitting, cutting some more, re-fitting, etc . . . until it seemed about right. The old carpet had a buckle on the driver’s side, just forward of the door jamb. I never could get it to lay flat and it would pull away from the side of the footwell over time. The reproduction carpet is a little too true to the original–I have the same buckle and am not entirely sure what to do about it.

No tricks needed to get the console installed, just some care wielding it in tight spaces.

With the console in, the rear seat is back in place. With a few trim pieces on the passenger side, I can get that seat back in, too. Also, the console ties into the dash (of course), and the supports are now back in place to install the ignition switch.

Details, Details.

I was on a roll this week.

Dynamat installation in progress. I left the original sound insulation in place on the transmission hump.

I started with the Dynamat last Sunday; it’s a simple cut, peel and stick task, but time consuming–it took me most of the day. As it turned out, I had just about the perfect amount in the box I ordered. As you can see in the photo, the exposed side is silver with a black pattern: the perfect camouflage for tools. Set one down and it disappears in a cloak of invisibility. I spent a lot of time later in the week feeling around for tools that were in plain sight.

I finally pulled the new carpet from the box and laid it out. The carpet is molded to fit the flooring, but not cut to size. That’s probably a good thing in the long run, but it means that the carpeting will be more of a chore than expected–lots of trimming and fitting, not to mention finding and cutting holes for things like seat bolts and the gas pedal.

Over the course of the week, I reinstalled the steering column (deja vu!) and got the mounting bracket for the clock pod back in place, which required scrounging around for six good, original speed nuts (found seven) and a trip to the hardware store for correct sized screws. Removing that pod is the first step in a lot of dashboard repairs, so it gets removed a lot. Over time, the fragile speed nuts get stripped or the original screws are lost, leaving a hodgepodge of fasteners and a sloppy-looking dash.

Test-fitting the new carpet. Installation is a project all by itself.

Yesterday, I spent some quality time on my back under the steering column. The swing-away mechanism got adjusted and I hooked up the wires for the turn signals. Some of the bullet connectors were pulled off, so there was some splicing to do. I also ran a ground wire to the column and hooked the shifter to the transmission. Finally, I put in the brake booster back on and bench bled the master cylinder.

Under the hood, I got the master cylinder installed on the booster and replaced the booster’s check valve (old one broke off during removal: ug). With all that in, I swapped out the valve train bolts and installed the valve cover on the driver’s side. Over on the passenger side, I removed the hose I was using to bypass the heater core and hooked the heater up properly. (Now I just need to remember to add more coolant to the system when I get the engine fired up again.)

Steering column back in place. Still not an easy task.

At the end of the day, I hooked a trickle charger up to the battery. I would hate to get it all done only to find that the battery charge was too low to get the car started again.

I still have carpet, seats, the clockpod proper and a valve cover to get installed (not to mention tasks like bleeding the brakes) but it’s looking like this week will be the tail end of this project.

Re-Dashified

My insulator finally arrived on Friday and I popped it in place Saturday afternoon. With that, I couldn’t think of anything to do except put the dash back in the car. With a little help from my wife (“Are you sure you want me helping with this?”) it was about a 30 minute job to get the unit in place.

The caged nut, uncaged.

Most of that time was spent dealing with a caged nut that had come–as is often the case–“uncaged.” There are basically six bolts holding the dash in place: two at the bottom corners, two that screw in from outside, under the cowling, and two that screw into the firewall from inside the car (accessible through the hole where the clock pod will fit).

Those last two screw into nuts that I assumed were welded into place on the firewall. In retrospect, I don’t know what holds them on. Maybe paint.

Reinstallation in process.

One broke free while I was trying to get the bolt started. I located it under the cowling, right up under the base of the windshield. I couldn’t see it directly, but could take a photo to see what was going on. I used a thin pair of lock pliers to hold the nut in place while I tightened from the inside. Hopefully, it will never need to be removed again.

With the dash in place, I started the process of reconnecting wires, and ductwork underneath. It seemed like a bewildering array of parts when it came apart, but familiarity and experience makes it look much simpler now.

I will tackle the rest of the Dynamat and new carpeting before I install the steering column, then the brake booster assembly. When that is complete, I can button up the valve covers and turn the key.