
Over the last couple of weeks, I’ve been working steadily on the valve covers. I’m guess that for some, removal involves a good whack with a hammer; both of those I bought had some otherwise unexplainable dents. After cleaning them up inside and out, I straightened the metal as best I could, though it’s tight work up inside the dome. I also removed the wiring harness tabs, as I like to run the ignition wires along the front of the engine to get a cleaner look.
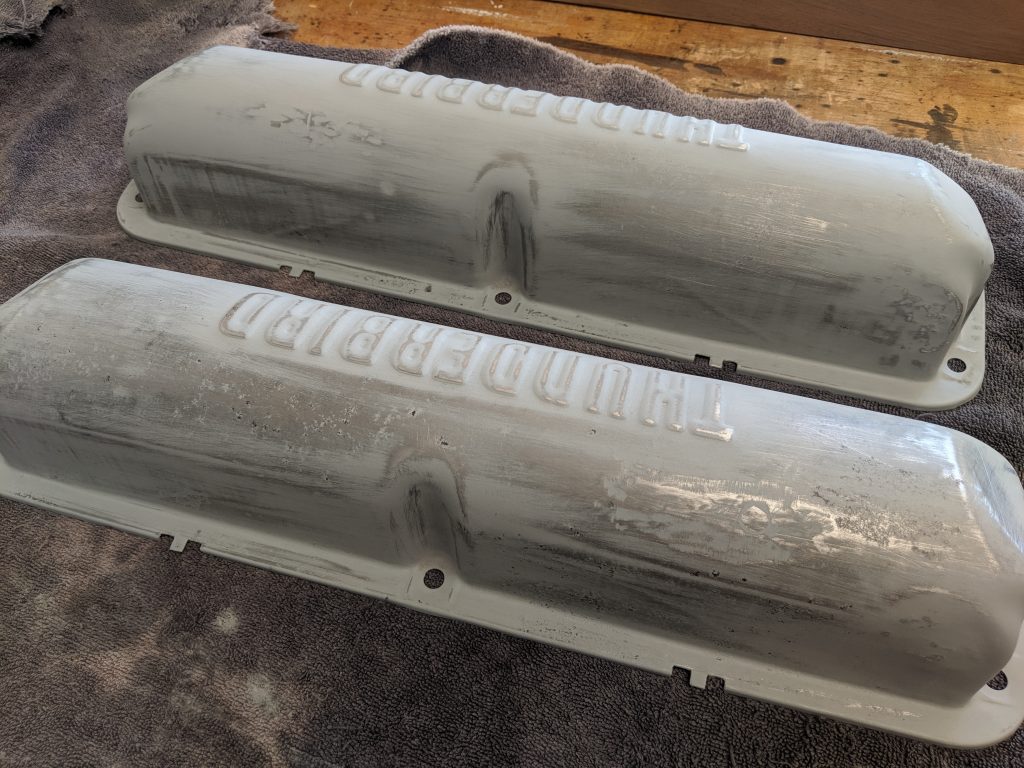
I was pretty happy with the end results. After multiple coats of high-build primer (sanding between each), I ended up with a decent, if not perfect finish. I’ll be spraying the motor with POR-15 engine paint, but I’m not certain it’s compatible with the primer I used on the covers. Instead, I’m using rattle cans paint, which requires many coats to get a decent finish. I still have a few more to go before they’re ready for installation.
I also dragged out the manifold, cleaned it up and scraped down the mating surfaces. With the lifters in place, I made a small lifting block to attach to the carburetor studs, hooked it up to the hoist and settled it onto the heads. Once it was torqued down, I installed the rocker arm shaft, but as I snugged it up, I noticed that none of the valves were properly depressed.
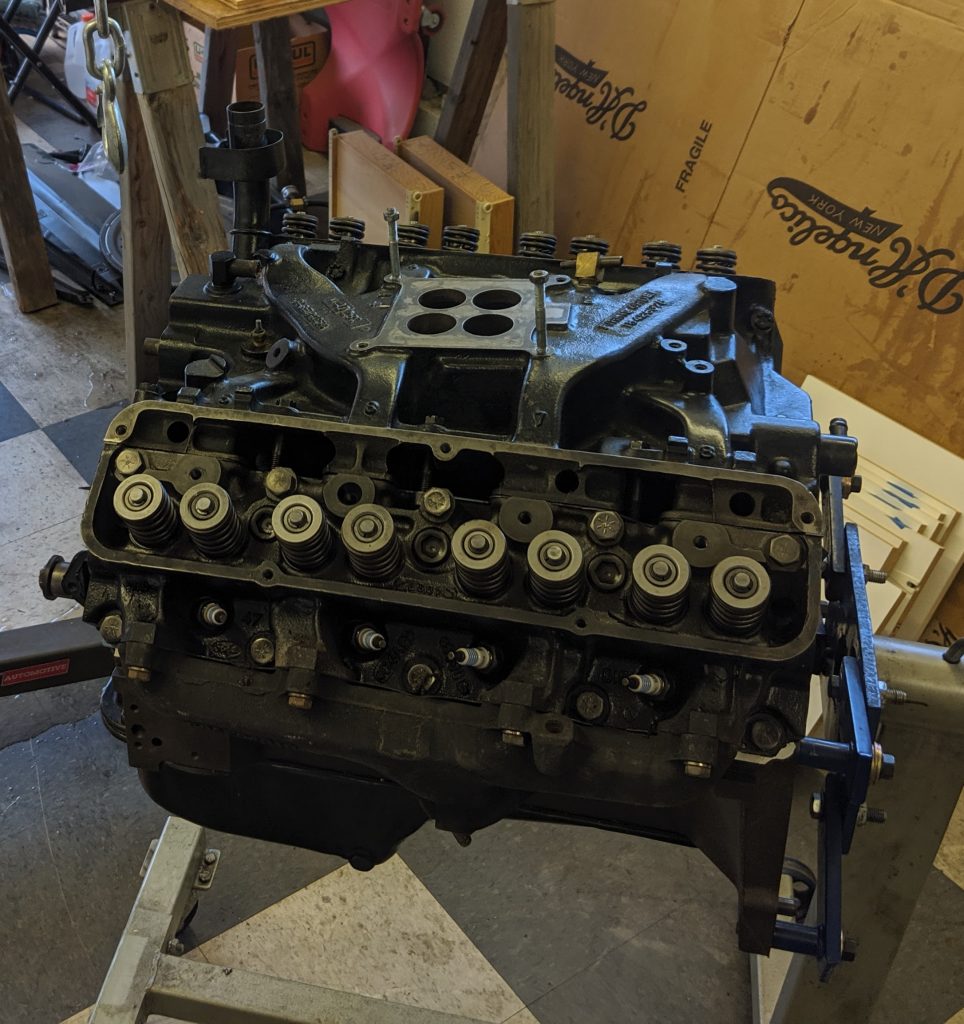
I feared that somehow the camshaft had slipped and had visions of removing the lifters—undoing an entire day’s work.
I had held off installing the camshaft end plug, as the engine stand made it difficult to reach. Looking at the last cam journal (where the plug ought to be), I could see that the shaft was a few millimeters too far back. It didn’t seem far enough out to let the lifters slip off the lobes, but I opted to fix a known problem first before digging deeper into the motor.
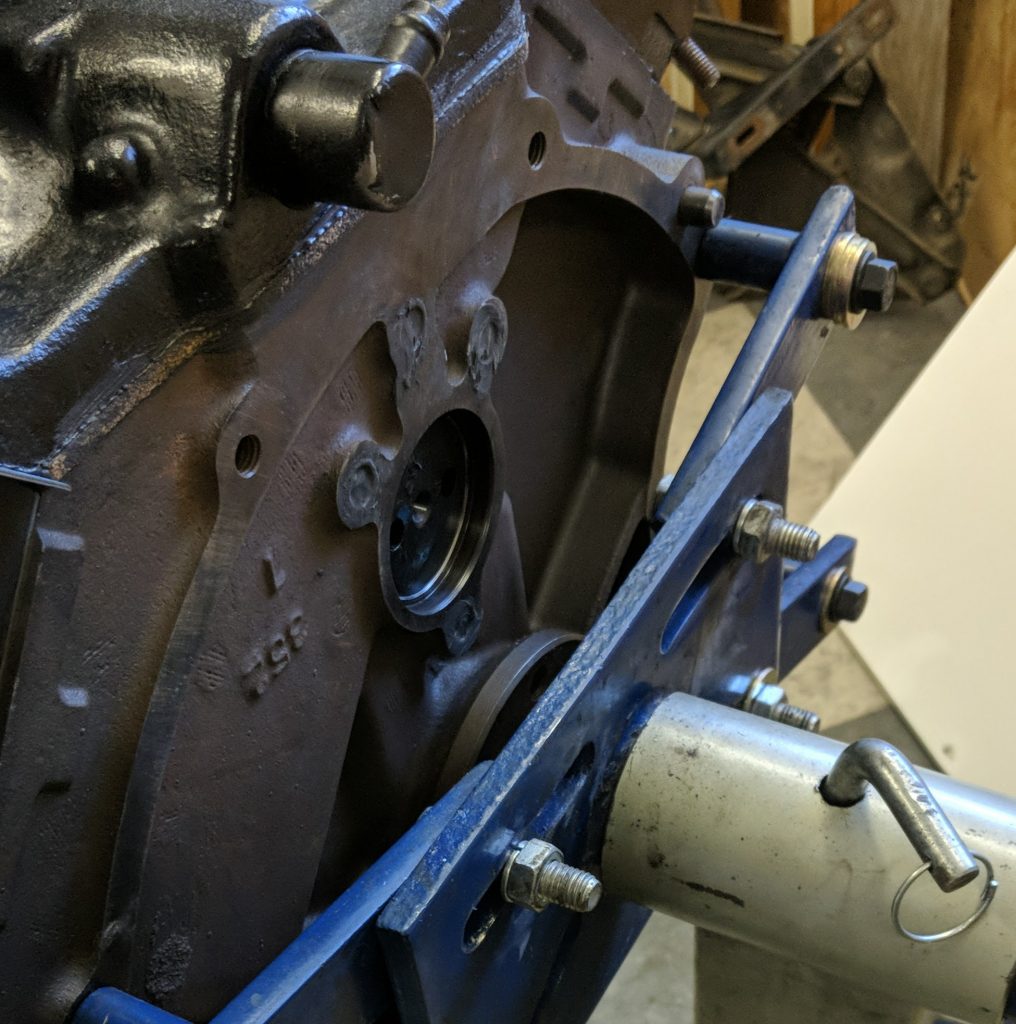
I was already prepared to remove the timing cover (installed last week) as I had forgotten the little oil slinger that fits on the end of the crankshaft. With the timing chain also removed, I used the cam sprocket to get the camshaft properly aligned. It spun freely and I was able to confirm the lifters were in place by watching the pushrods move as I turned it.
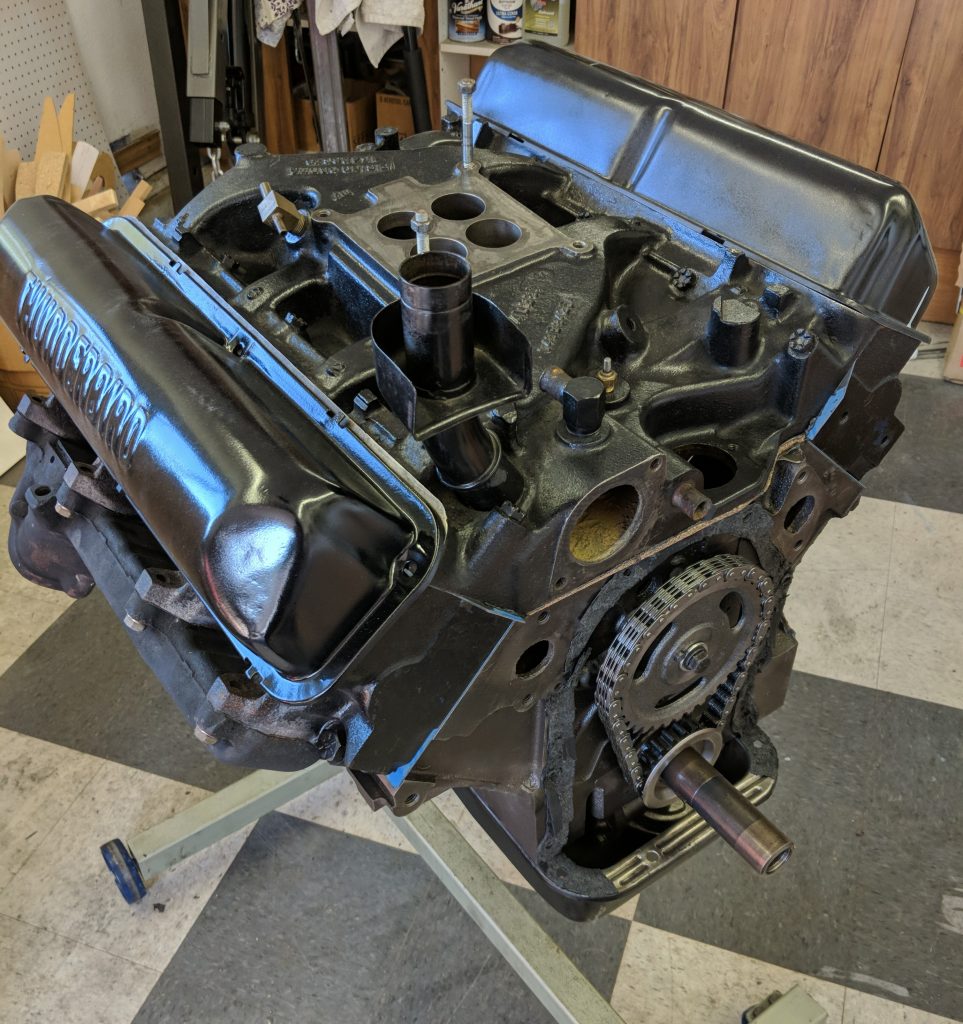
After that, the rocker shafts went in and I reinstalled the timing chain. I need a gasket set to get the timing cover back on, but in the meantime the engine is essentially assembled. I’ll be turning my attention to cleaning the engine bay, touching up the paint and getting the motor installed, hopefully before the end of October.