Column Redux

One wire at a time. The last couple were a little stubborn.

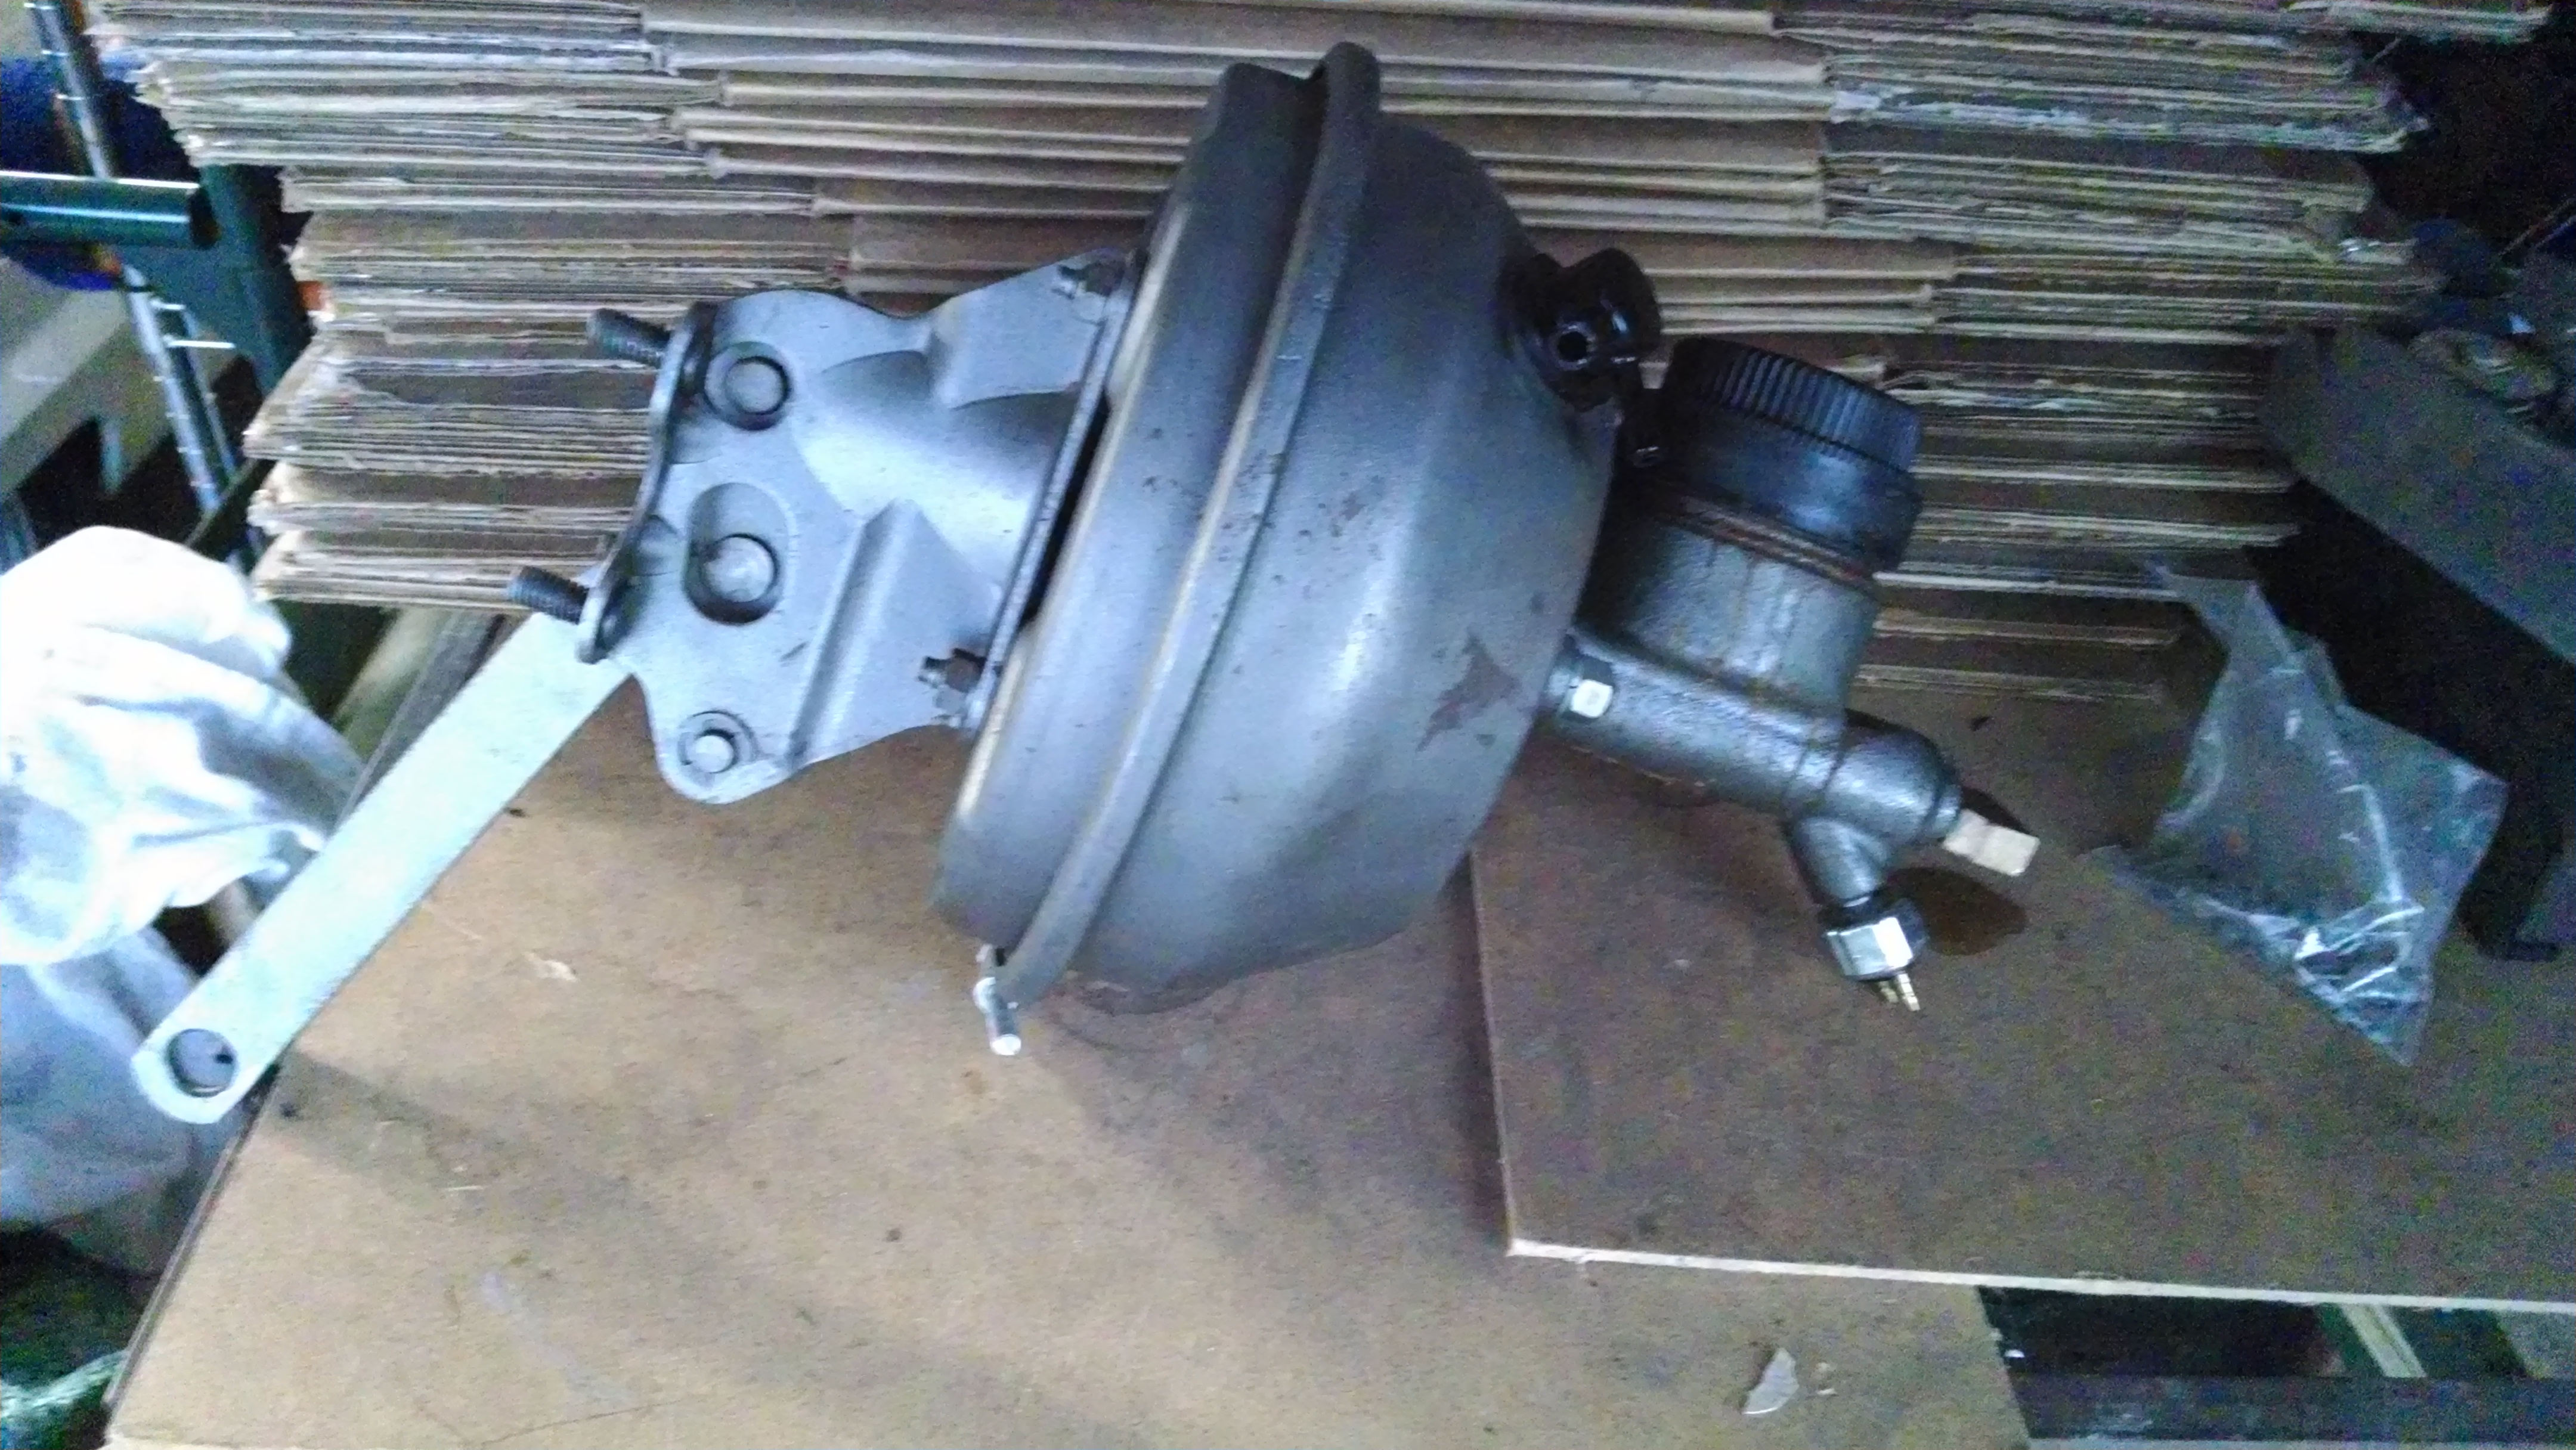
The holiday week–and nearly summer-like weather–meant I had a quite a lot of time to spend in the garage. I made slow, steady progress on the steering column and actually wrapped up this portion of the project yesterday.

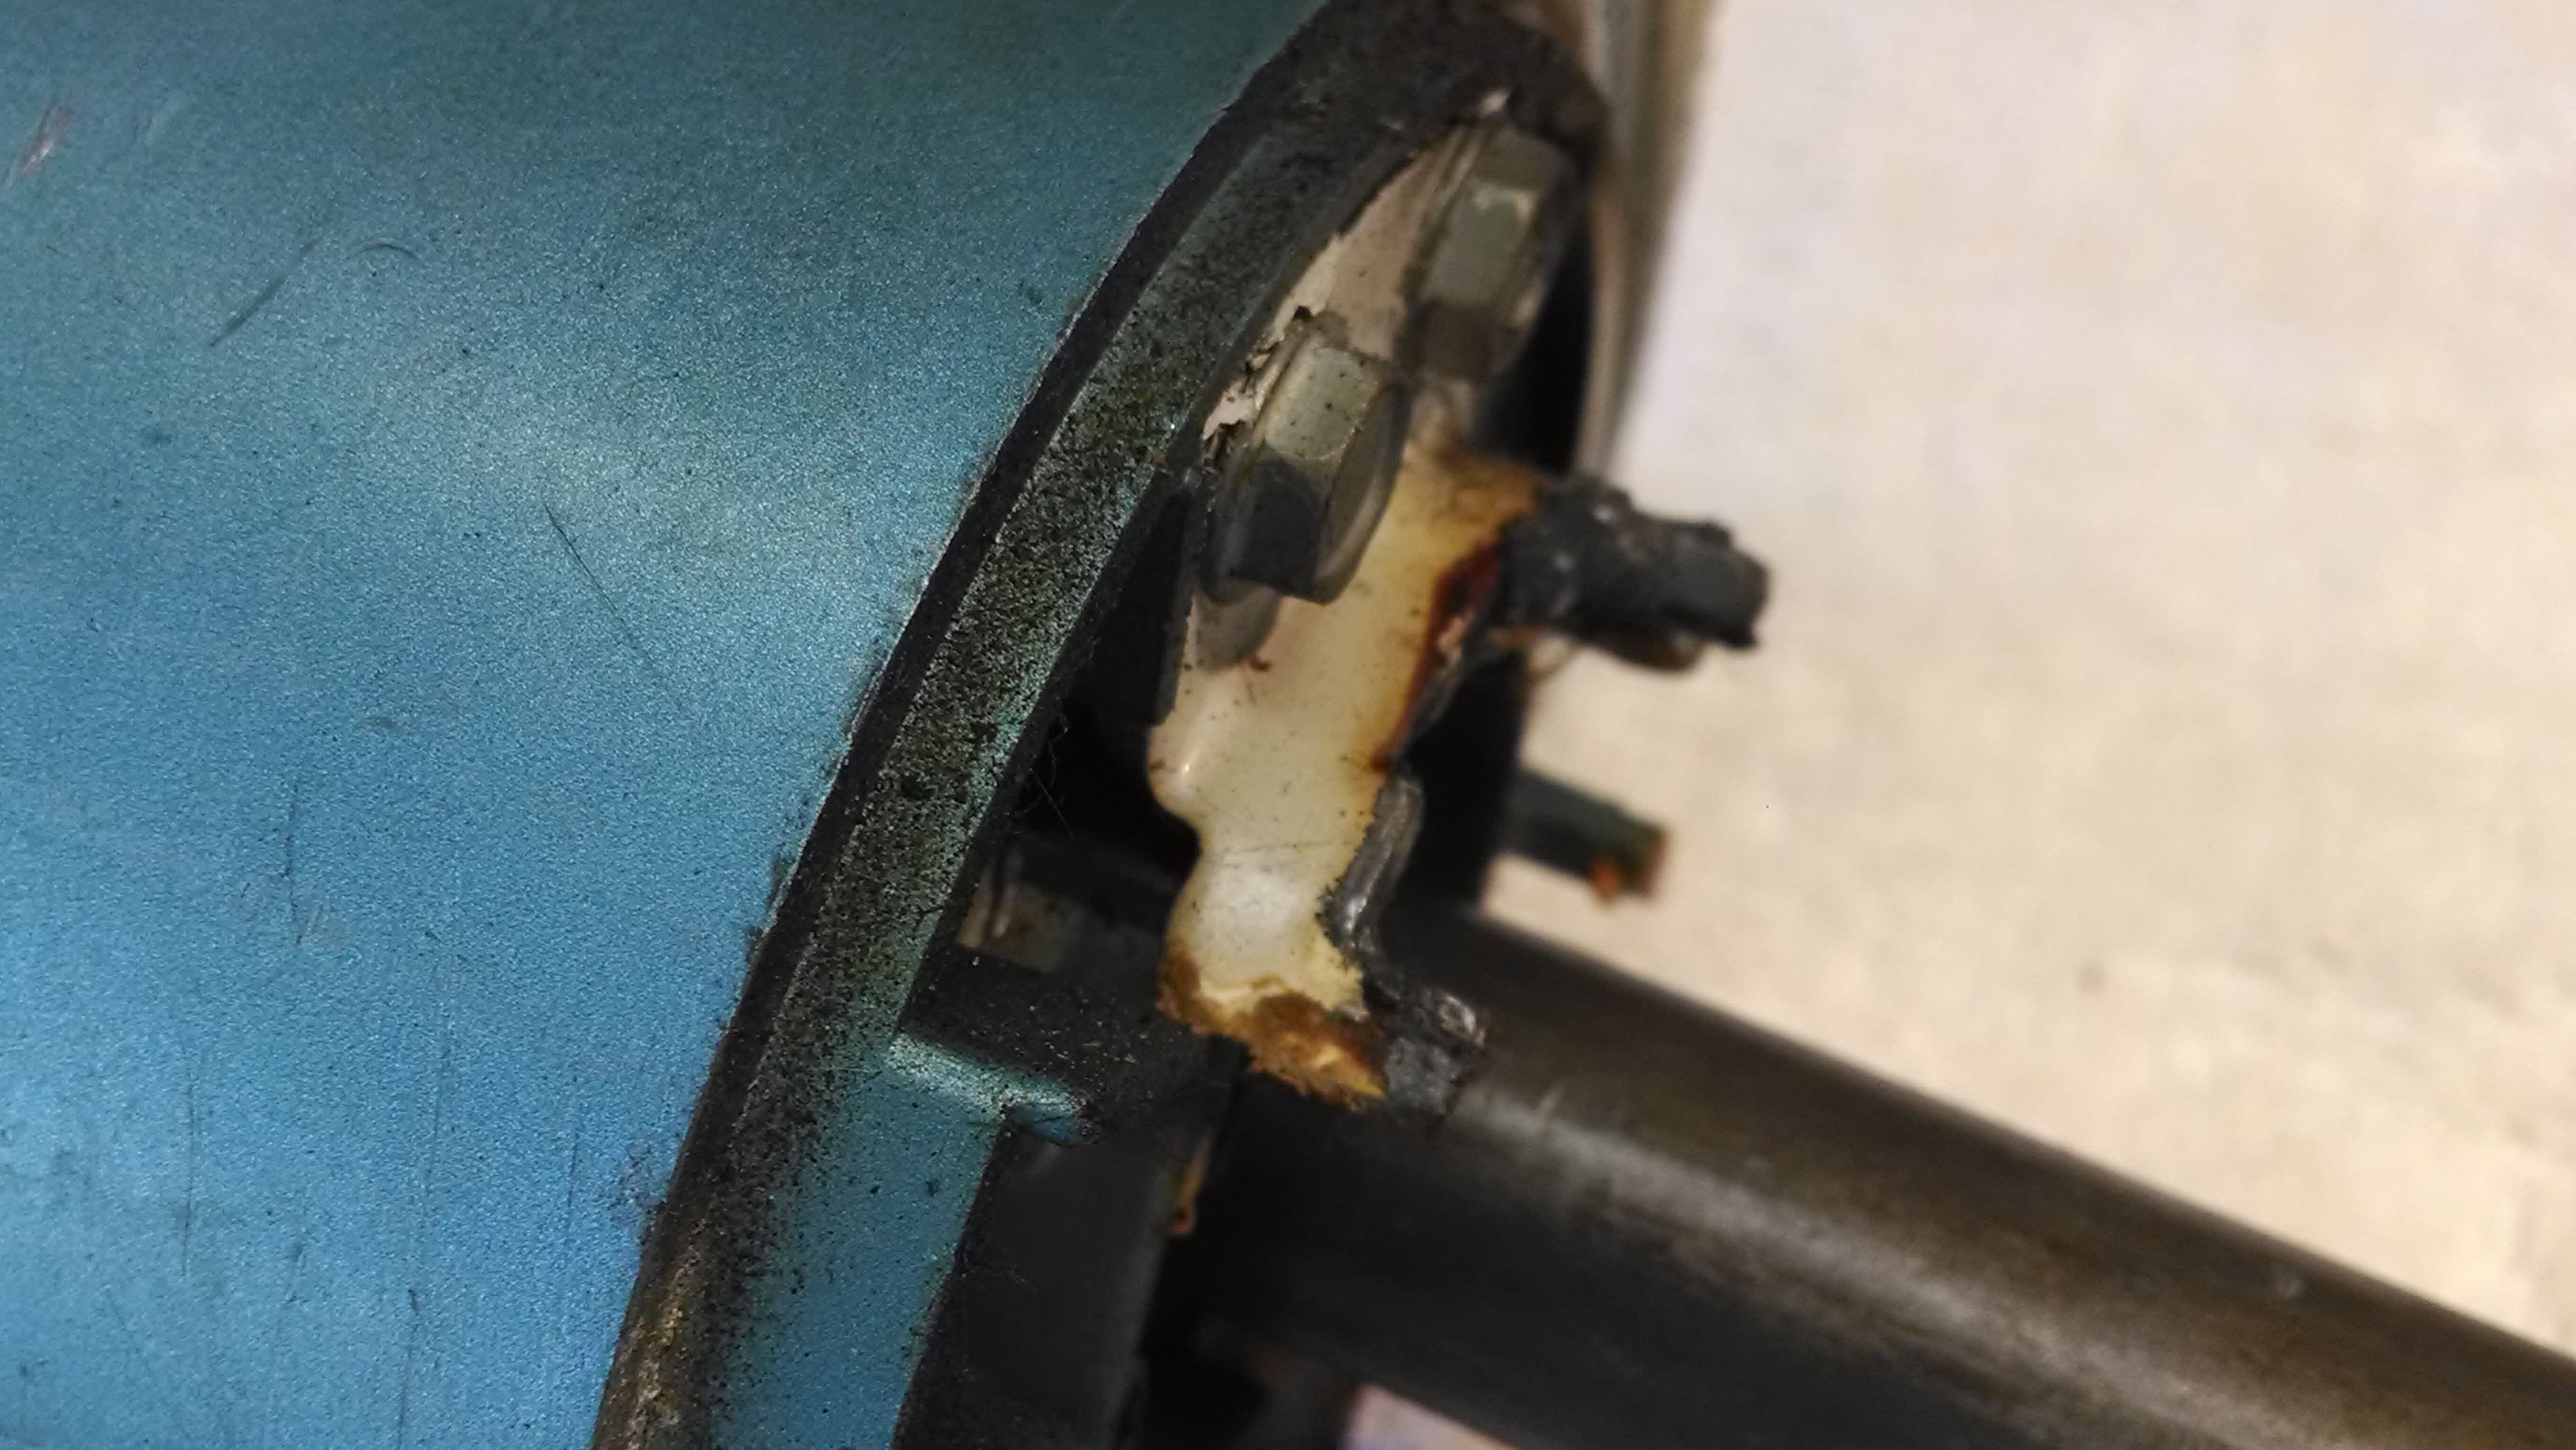
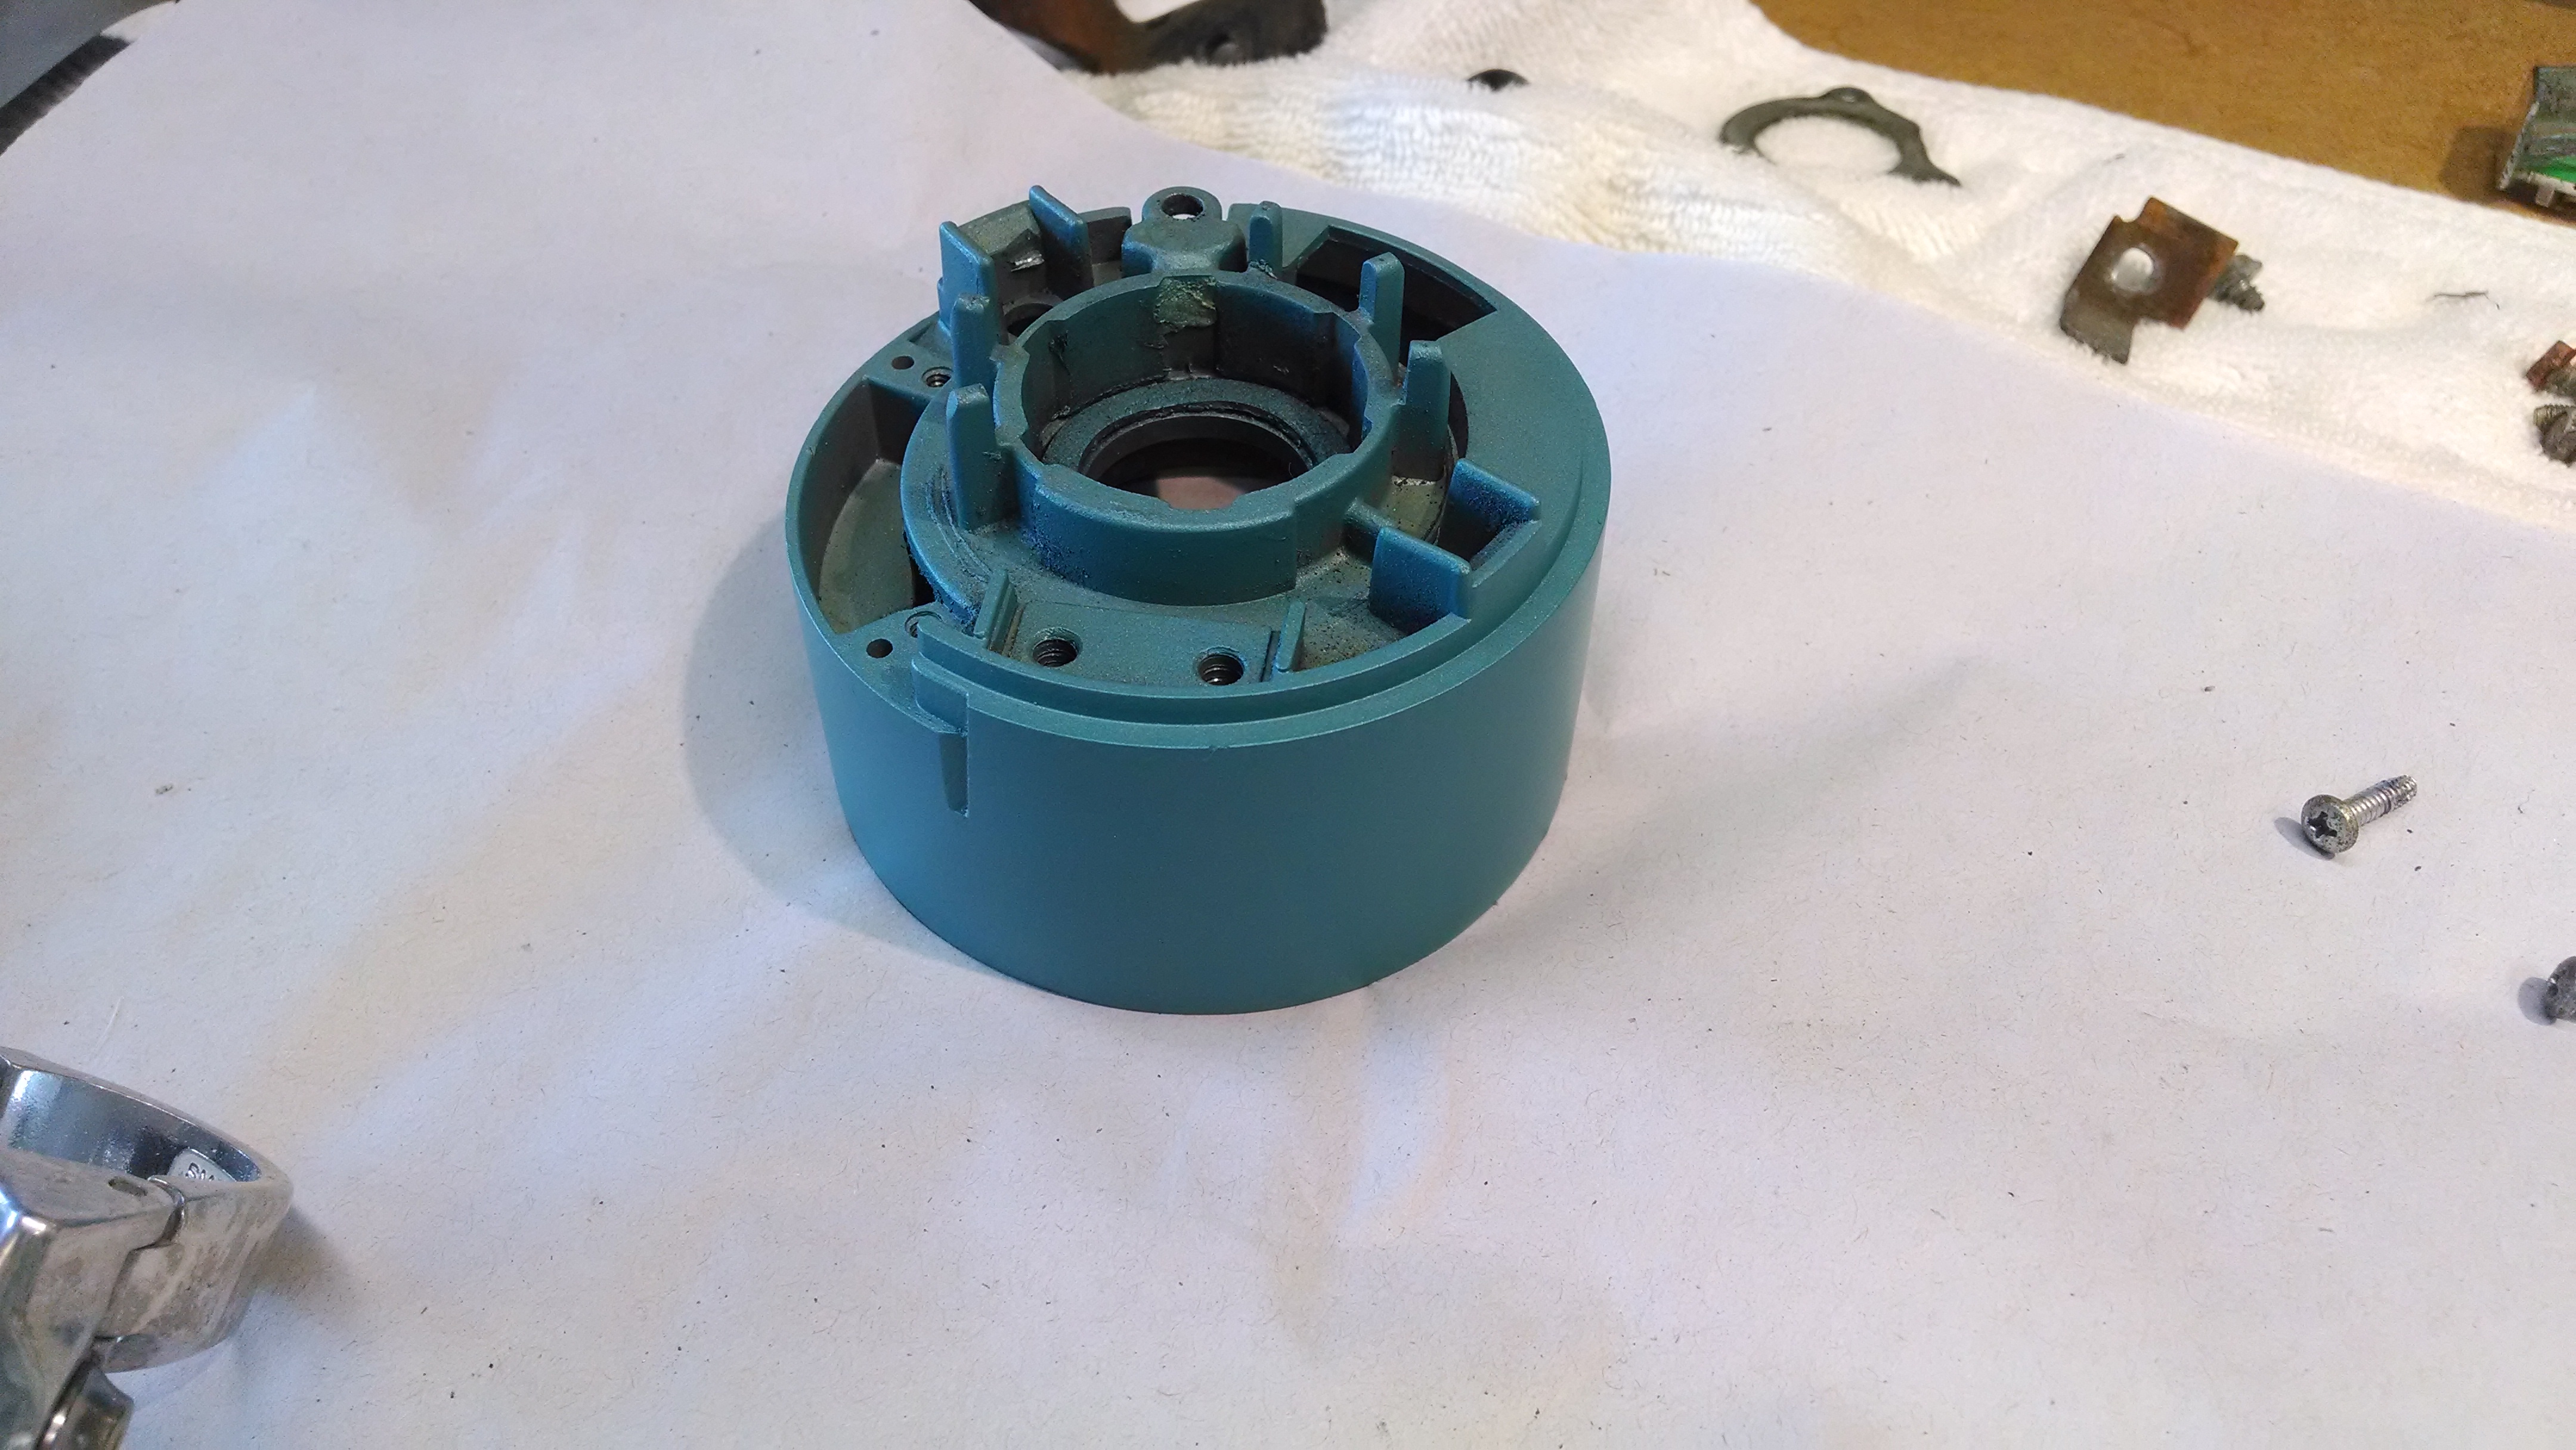
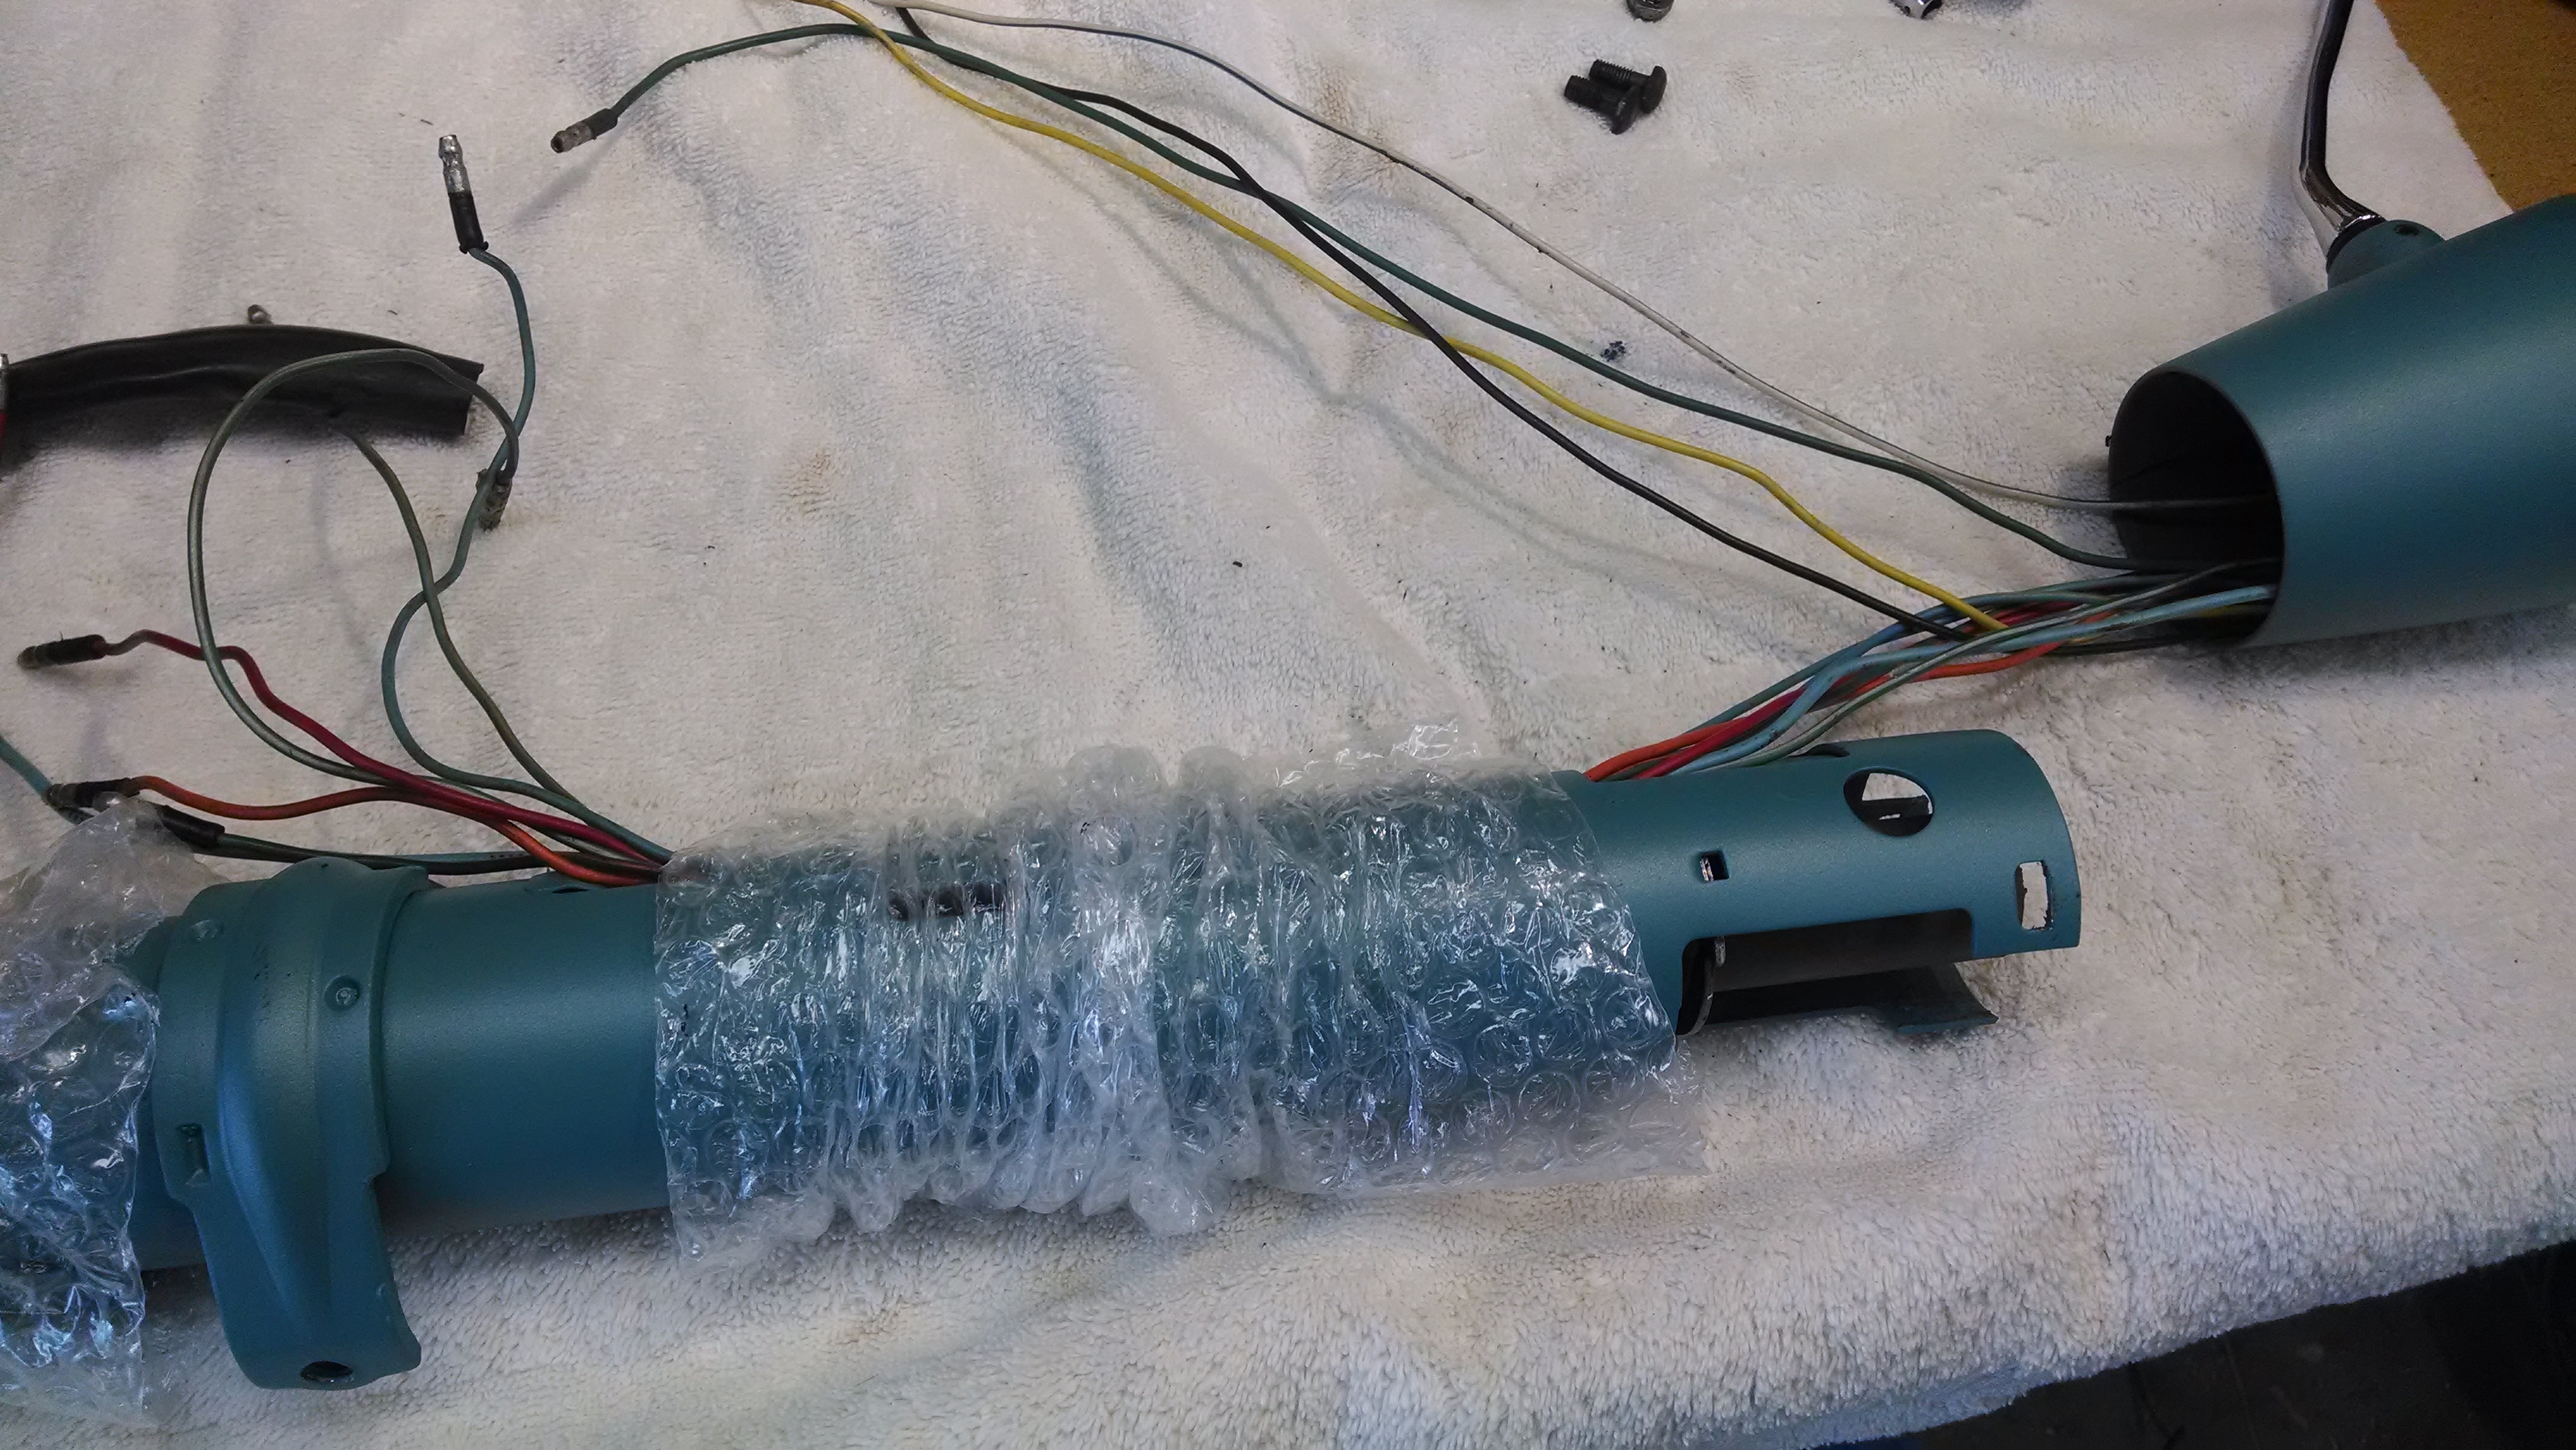
The color coat on the steering column came out terrific. I wrapped it in bubble wrap after it cured to help protect it while I snaked in the wires for the turn signal, horn and light. The first time through this process, about two years ago, I remember the reassembly as a very frustrating ordeal. This time, while not mistake free (Oh, the wires go in through the shift collar?) I enjoyed putting it together.

Nicely restored, for a driver.

I am very pleased with the final result–not concourse, but nice for a daily driver. I am hopeful that the finish will hold up to the rigors of everyday use. Right now, it’s wrapped in a towel on the shelf, awaiting installation.

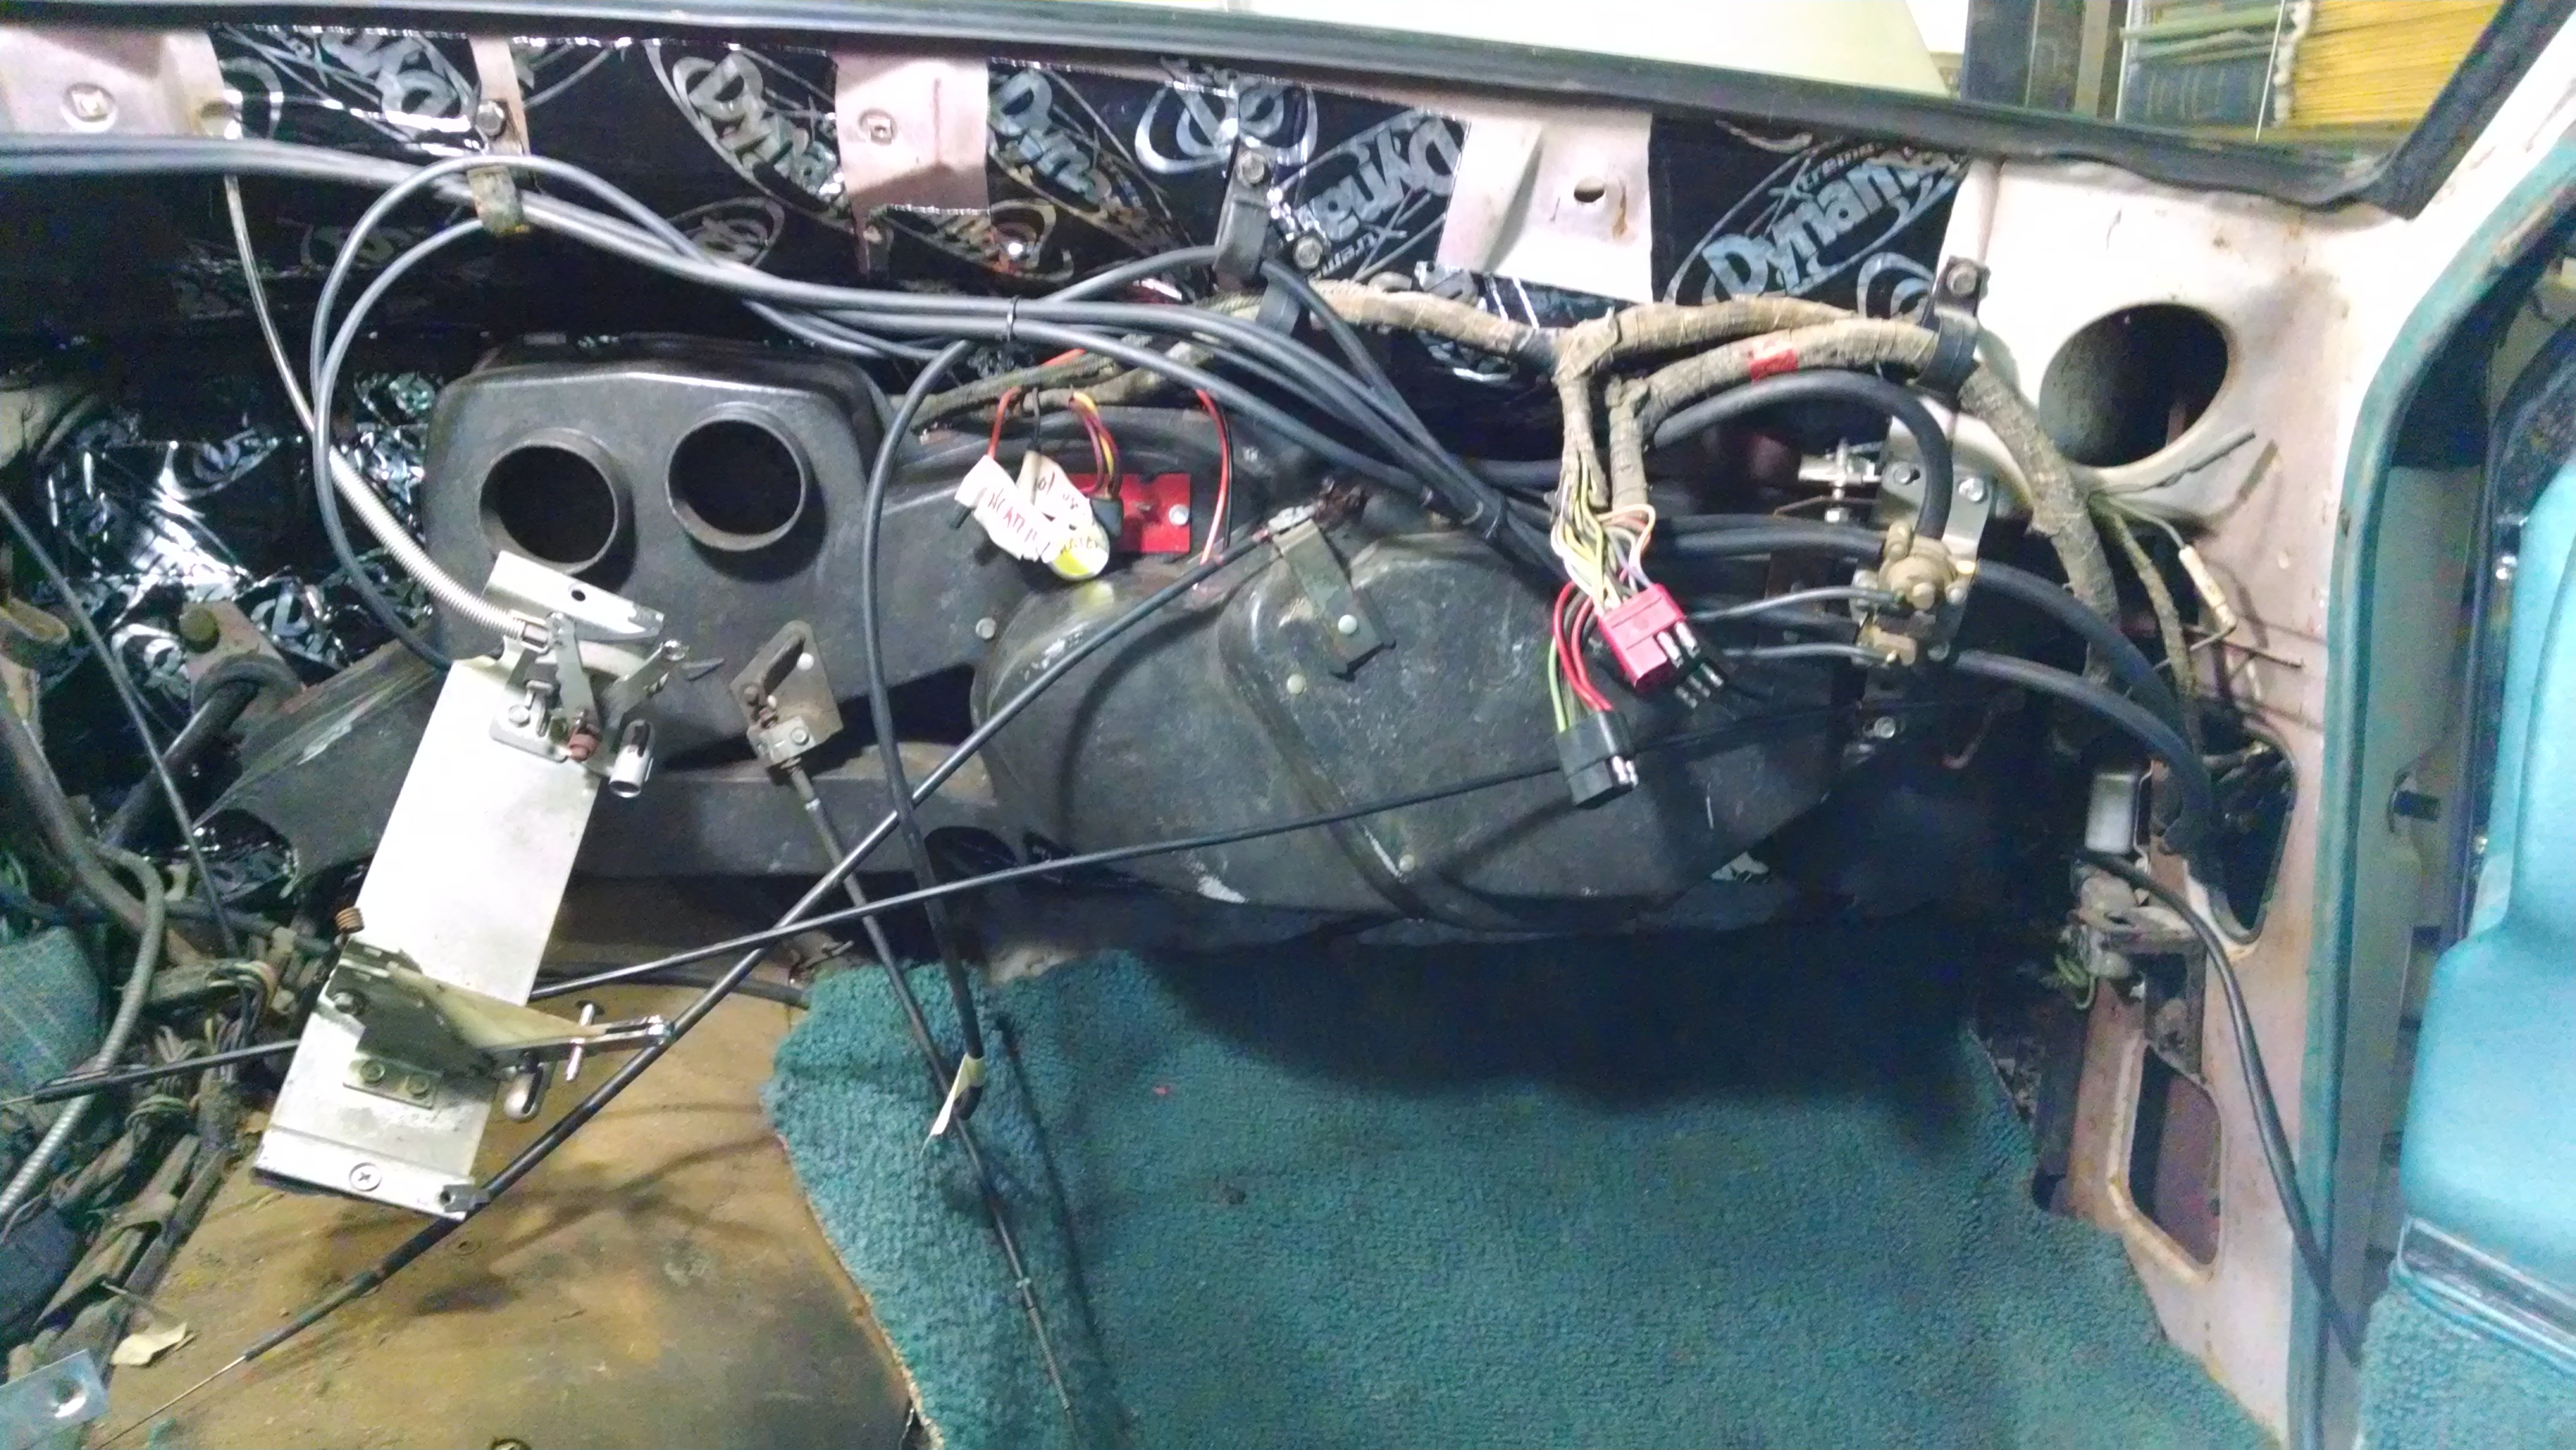
For that, I’ll need to have the new floor pans welded in.

I spent most of my time yesterday prepping my shop for welding and making room for the little welding cart I plan to build. By this morning, I had the welder set up and ready to go, except for the correct welding tip. I was supposed to get three different sizes in the box, but I got two of one and one of anther. Naturally, the one I need is the one that is missing. However, it’s a common item I should be able to pick up at the local hardware store later today. With luck, I’ll have a few test beads done by the end of the day.

Two Columns

Yet another ground-down shift detente plate.

I pulled apart the new column, which came with the “new” dashboard and it was in pretty decent shape. The bearings were good and the old centering cone at the bottom was still there. It has a good deal of rust, however, and the bottom bushing was missing. Whatever car it came out of was experiencing sloppy shifting, of course, and someone had gotten into it to grind down the shift detente plate in what I’m sure was a futile effort.

I buffed the paint off two sections of the column and am working my way back up with self-etching primer and a color coat to match the interior. The primer, a Rustoleum product, has been easy to apply and appears to adhere well. (Got the tip on this paint from the welding discussion on the VTCI forum.)

Newly painted shift collar. A decent color and sheen match.

The color coat, which is only on one part so far, looks great. The color is a good (-enough! The entire interior has faded unevenly over time) match and the sheen is excellent. The spray paint–the only color match to come in a spray can–is actually meant for plastic and vinyl, so I’m a little worried about adhesion. I applied three mist coats over the primer, and well, it didn’t slide off. So far, so good. I can probably handle it tomorrow and get a better sense for how durable it is. In the end, it is a spray paint, so it won’t be as hard and long-lasting as the original.

Christmas week is coming up. I need a welding mask, some rod and angle iron to make my first test welds–going to attempt to build up a little rolling welding cart as a start.

Hmmm. Where did I put that fire extinguisher?

A Deep Dive

We meet again . . . but this time the advantage is mine!

It was a cold week here in NorCal–much colder than we’re used to and cold enough to keep me out of the garage much of the time. With a little warming on Saturday, I was able to get the brake master cylinder back on the booster, checking that the plunger adjustment was correct. The vacuum nipple on the booster broke off when I removed the vacuum line, so this is not quite complete yet. I’m making a (final?) list of small items to order when I start to wrap up this project, and setting this aside until I have the last part.

I also had time enough yesterday to remove the steering column, a job that is incredibly easy with the dashboard and booster out of the way. It took me about an hour, with most of that time devoted to looking for my 7/16″ wrench (and swearing at myself for not putting it back). While working down by the steering box, I found a socket that I dropped (and lost) when I did this job last, over a year ago.

I will be combining the best parts of my old column (bearings, shifter) with the best parts of the new column (turn signal switch) and installing it when the dash is back in to avoid scratching the cleaned-up column with the heavy ungainly dashboard.

Now I just need to learn how to weld!

While waiting out the cold snap, I decided to purchase a welder. In the long run, it will be cheaper (and more fun) to do bodywork repairs myself rather than depend on a shop for the work. After a great discussion and many good tips on the VTCI board, I ordered a mid-range MIG welder from Longevity. I also visited a local welding supply shop, where I will be able to purchase safety gear and consumables like shielding gas and wire.

Floor pans, I figure, are a great place to start–they are non-structural and my welding, which may be a little unsightly at first, will be permanently hidden under the soundproofing and carpet. With the column out, I only need to pull the old carpet and fuel line to start the floor pan repairs. Once they are done, I’ll have reached the turn-around point on this project and reassembly will begin.

Dashing Around

It seems like most of the work on my “dash project” has very little to do with the dashboard itself, at least so far.

Booster and master cylinder, out of the car once again.

One of the first things I had to do with this car was install the brake booster assembly when it was returned from the rebuilder. I remember that as being difficult, but not impossible. Getting it out of the car, even with the dash out was, well, difficult still, but not impossible.

I pulled this unit because the brake pedal is awful close to the floor in normal braking. One culprit may be an out of spec adjustment where the master cylinder meets the booster. I pulled the two units apart, and it does look like someone took the time to mate them together properly. When I reassemble them, I’ll watch to see that the plunger (from the booster) fits into the piston on the master cylinder with close to zero tolerance. The pedal feel may be the same when it’s back in, but I’ll have the satisfaction of knowing that it is normal for this car.

The not-so-special bolts. These should taper in the middle to allow oil flow.

It’s easier to get the booster out if the valve cover on the driver’s side is removed. When I pulled it, I noticed that the cover was pretty dry on the inside, as if not much oil was getting up to the top of the motor. I posed the question on the VTCI forum and learned that special bolts should be used to allow oil up into this area. I pulled a couple out and found that mine were not special at all. A friend from the club offered up a set, which I’ll install when they arrive. Hard to tell at this point is damage has been done from the lack of proper oiling, but I don’t think so.

Test lettering the old speedo with a silver leafing pen.

I did do some experimenting with the actual dash this week: I picked up a silver leafing pen to touch up the lettering on the speedometer. The pen holds liquid paint that’s applied with a metered tip. It’s pretty easy to control once you get the hang of it. I practiced on the old unit and despite a little bleed at first, was pretty pleased with the initial results. After practicing along the rest of these numbers, I’ll tackle the replacement.

Behind the Dash

After much gathering of parts and mental planning, things are starting to come together inside the car.

The heater box, restored and ready to install.

I finished up the restoration of the heater box, including some “rust-converting” paint and a thorough cleanup on the outside. With the new core, new seals and new motor, it should perform like it did from the factory.

I wanted to get the heater box back in the car before disassembling the next item on the list. The loose parts are starting to pile up, limiting the workspace in the garage. Getting it back in, though, meant replacing the vacuum lines and sound insulation first.

Vacuum lines are simple to replace . . . once you have the proper size in hand. There are three sizes of vac line in this car, together adding up to about 35-40 feet, even on my low-option car. Most parts shops I went to with sample hoses just eyeballed the size and sold me “what looked right.” I went along with this for a while, quickly amassing quite a lot of wrong-sized tubing. I finally struck gold at Napa Auto Parts–they had a large selection and lines in quantity. While I was there, I also bought a pocketful of bulbs to replace every light in the dash.

The heater unit back in place. The black and silver behind it is the Dynamat insulation.

The old sound deadening was falling off in places and brittle in others. Most of it is pinned in place and comes off easily. I tore it off in chunks, tossing it out the window as I went. I bought a large box of Dynamat–peel and stick soundproofing–through Amazon. The trick with this stuff is to get good adhesion to the sheet metal. I scoured the surface with steel wool then finished up with denatured alcohol. The firewall and cowl have a lot of screws and irregularities, so I had to apply a lot of small pieces to get good coverage.

When done, I had better quality insulation, and it’s installed in more places than stock. I plan to install more along the entire floorpan. That, with the elimination of the rust holes in the floor should go a long way towards bringing the bird back to luxury standards.

The heater box went back in yesterday after a short struggle, freeing up some space for the next item: the brake master cylinder and booster.