Making Headway

Over the last week, I dragged the heads out from underneath the workbench. (Sheesh . . . they didn’t get any lighter over the last six months!) and set about prepping them for install.

The old gaskets came off easily enough with a new, sharp blade in the scraper. I was surprised at the amount of carbon build up in the combustion areas. These heads were professionally rebuilt and have less than a thousand miles on them since then.

You can see the carbon build up with half the combustion chamber scraped. The cracked cylinder was cleaner than the rest, probably from the steam.

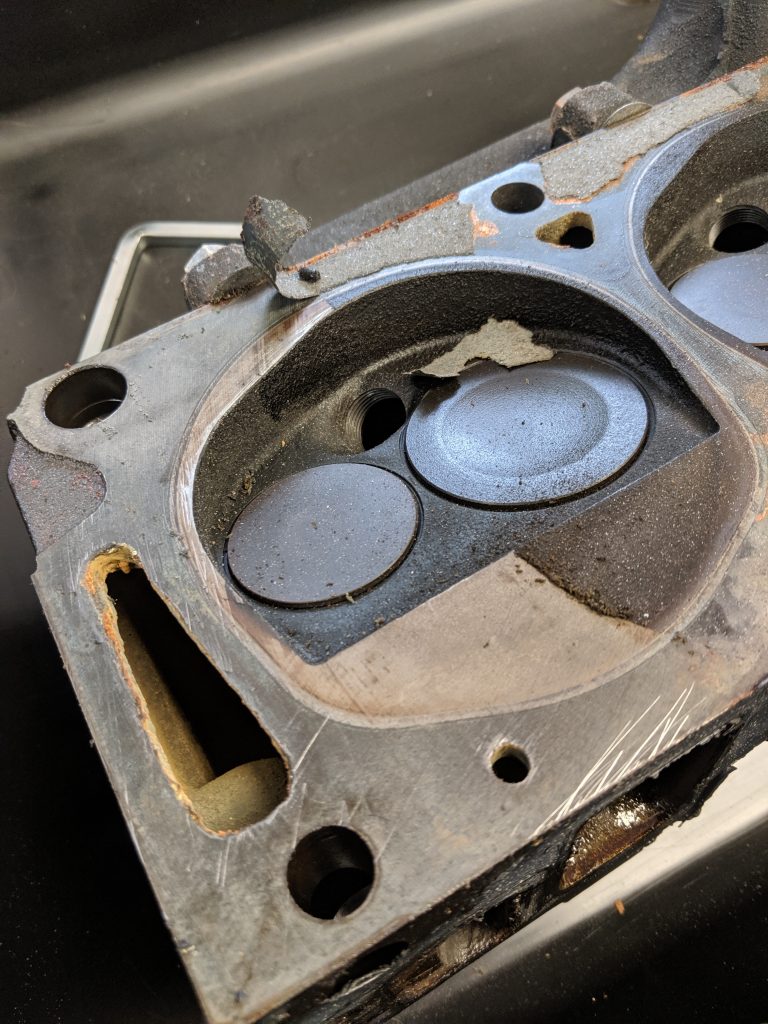
On the first head, I used steel wool and acetone to clean up the recessed areas around the valves. I wasn’t wild about cleaning up the metal fragments, and a little nervous that I might miss some. For the second effort, I used a 3M grey pad with acetone, which worked just as well but without all the worry.

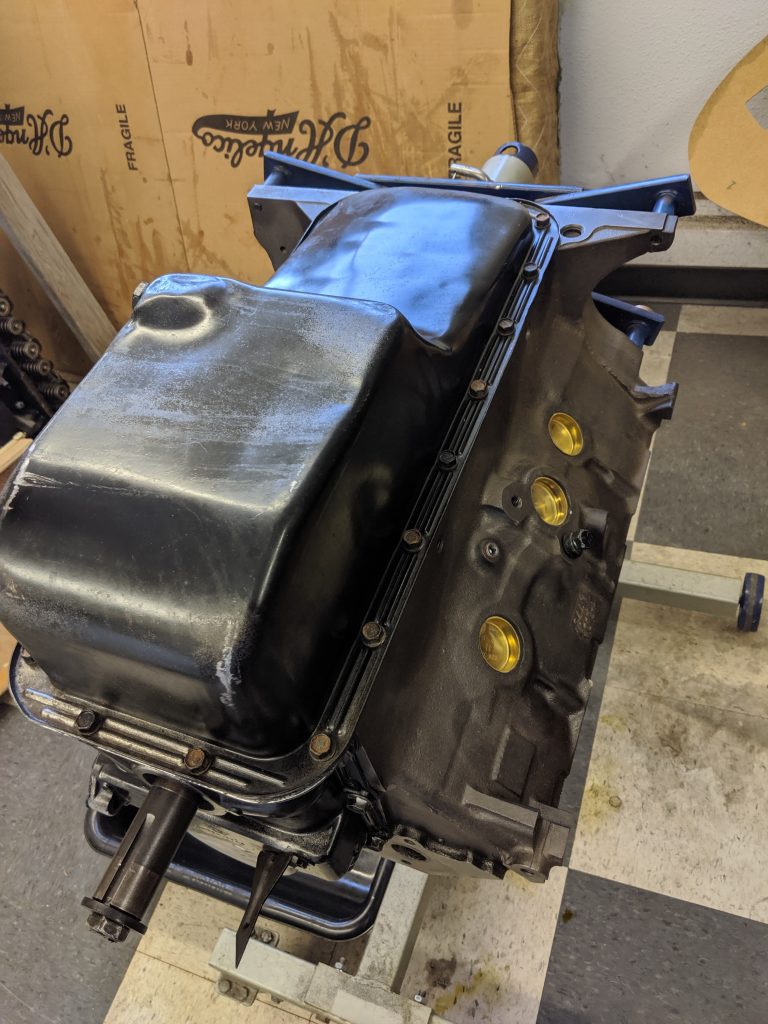
Installation was routine. I ran the head bolts through a wire wheel to ensure the threads were clean. The block, of course, was professionally prepped, so no need to worry about the threads there.

With the block starting to look like an engine again, I started looking around for new valve covers. (Mine were destroyed in the disassembly.) Good originals are getting a little hard to come by, especially the early ones with no PCV vents. Cheap, highly suspect knock-offs are readily available online for less than $50. Pristine restored covers can be had from Bird Nest for $200, but that seemed a tad excessive to me.

My originals, which these will replace, were once sandblasted, which left them pitted. These have some rust and a few dents on the back side, but they should clean up nicely.

I did find a good pair from a junkyard used parts supplier for only $50 each. Or so I thought! They turned out to be truck parts with the “Powered by FORD” imprint instead of Thunderbird, which is, of course, far classier.

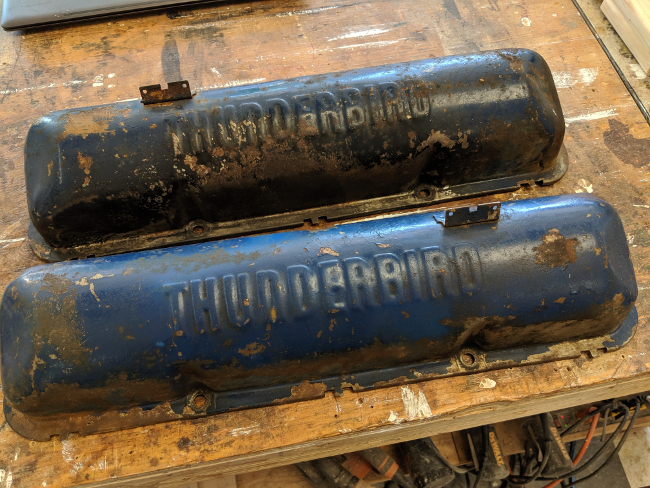
A decent pair turned up just in time on eBay, and they were little more than the truck units. They arrived a few days ago, and I hope to begin working on them this weekend.

It’s Been Too Long

I’ve got a lull in my schedule for the next month or so and am determined to get the T-Bird out of the driveway and into the garage before things pick up again. A home renovation project consumed much of my time earlier this year, so my engine rebuilding space has been doubling as a storage and staging area for tile, drywall and even a bathtub.

Evil sludge.

How long has it been? I dug out the oil pan and went to work attacking the sludge stuck to the bottom, thinking to myself, “How did this get here?” It took a moment to remember that, oh . . . the block was cracked.

What is even the function of this baffle?

I did my best to clean underneath the baffle using a thin stick, rag and acetone. Coarse steel wool took off the staining and scoured the remaining gasket sealer off the flange.

The timing chain cover got similar treatment, though it wasn’t nearly as gunky. The front seal was still pretty new, but since I had a replacement, I pried it out and drove in the new one.

When installing, I used a thin layer of gasket sealant, following the instructions to the letter: install with the sealant wet, bolts just snug, then come back in an hour to torque.

Just about ready to flip this over and install the heads.

There’s really not a lot left to do with the motor, but once assembly is done, there’s plenty of cleanup in the engine bay, not to mention some iffy wiring that should be replaced.