Rinse and Repeat

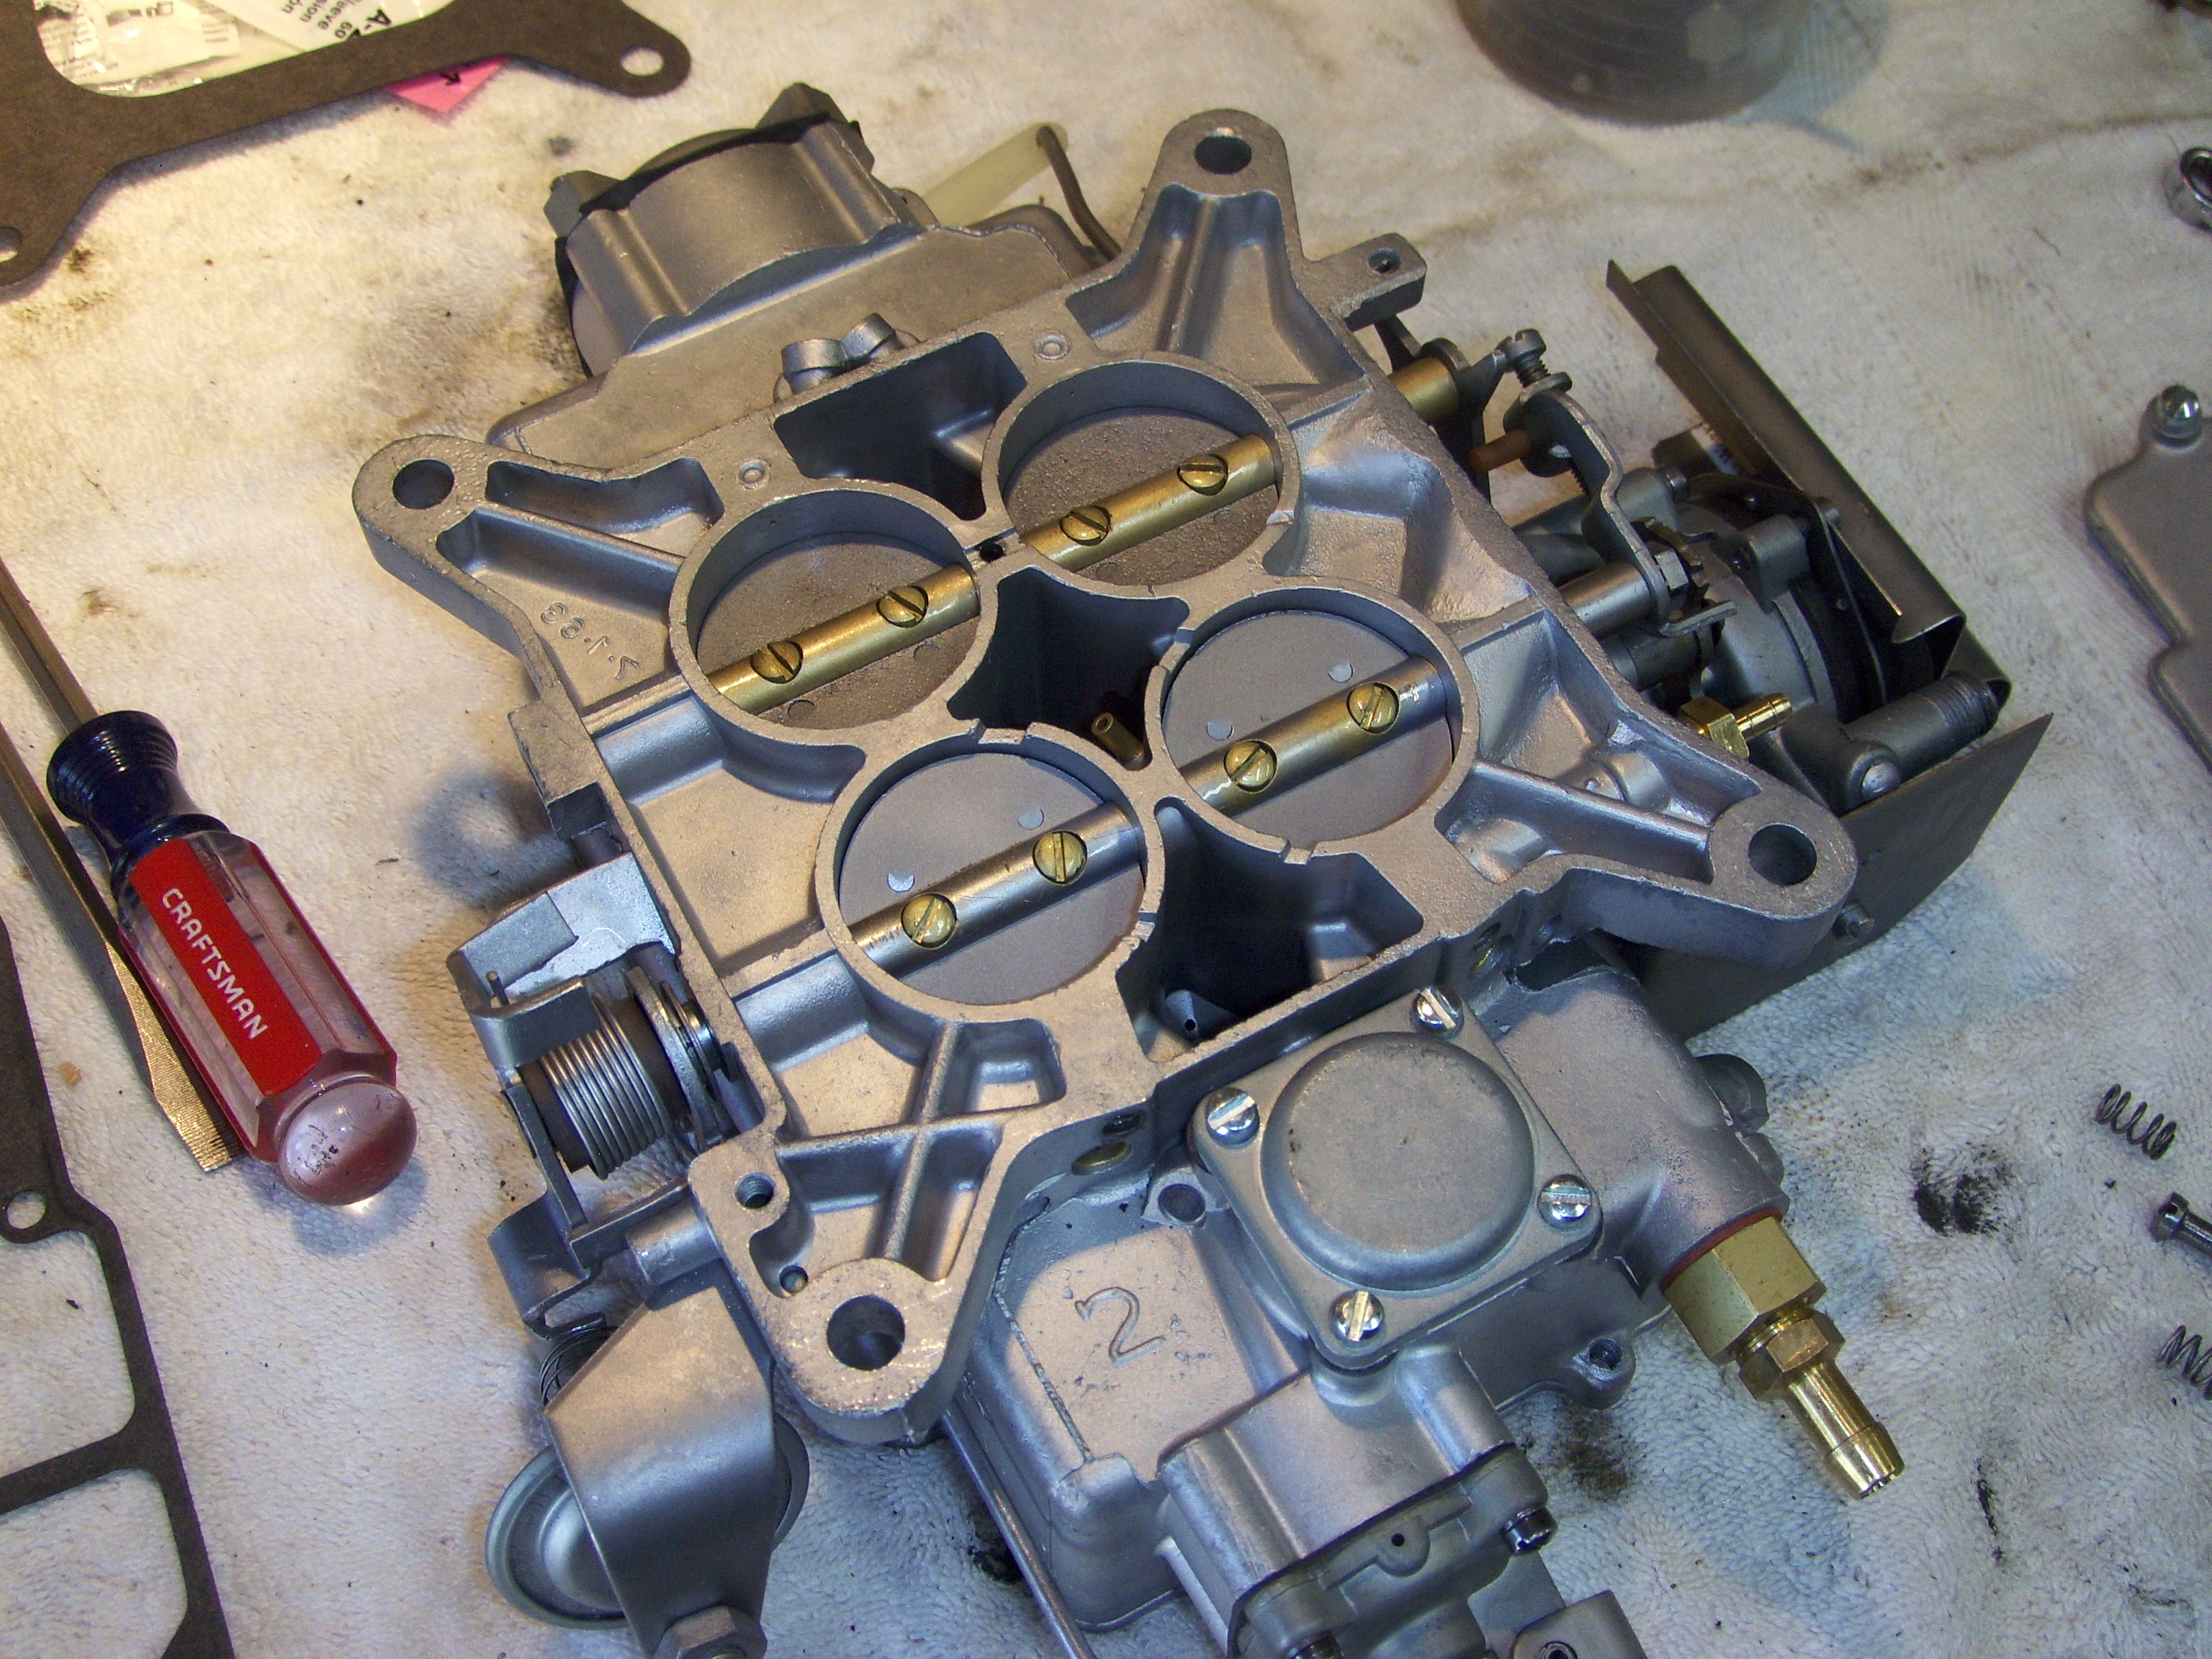
I exchanged numerous emails with my carburetor rebuilder last week. After eliminating several possible issues, he asked that I clean out the idle circuits. I pulled the venturis off as instructed and blew a copious amount of carb cleaner through them, though they did look pretty clean.

Cleaning the carb.
Cleaning the carb.

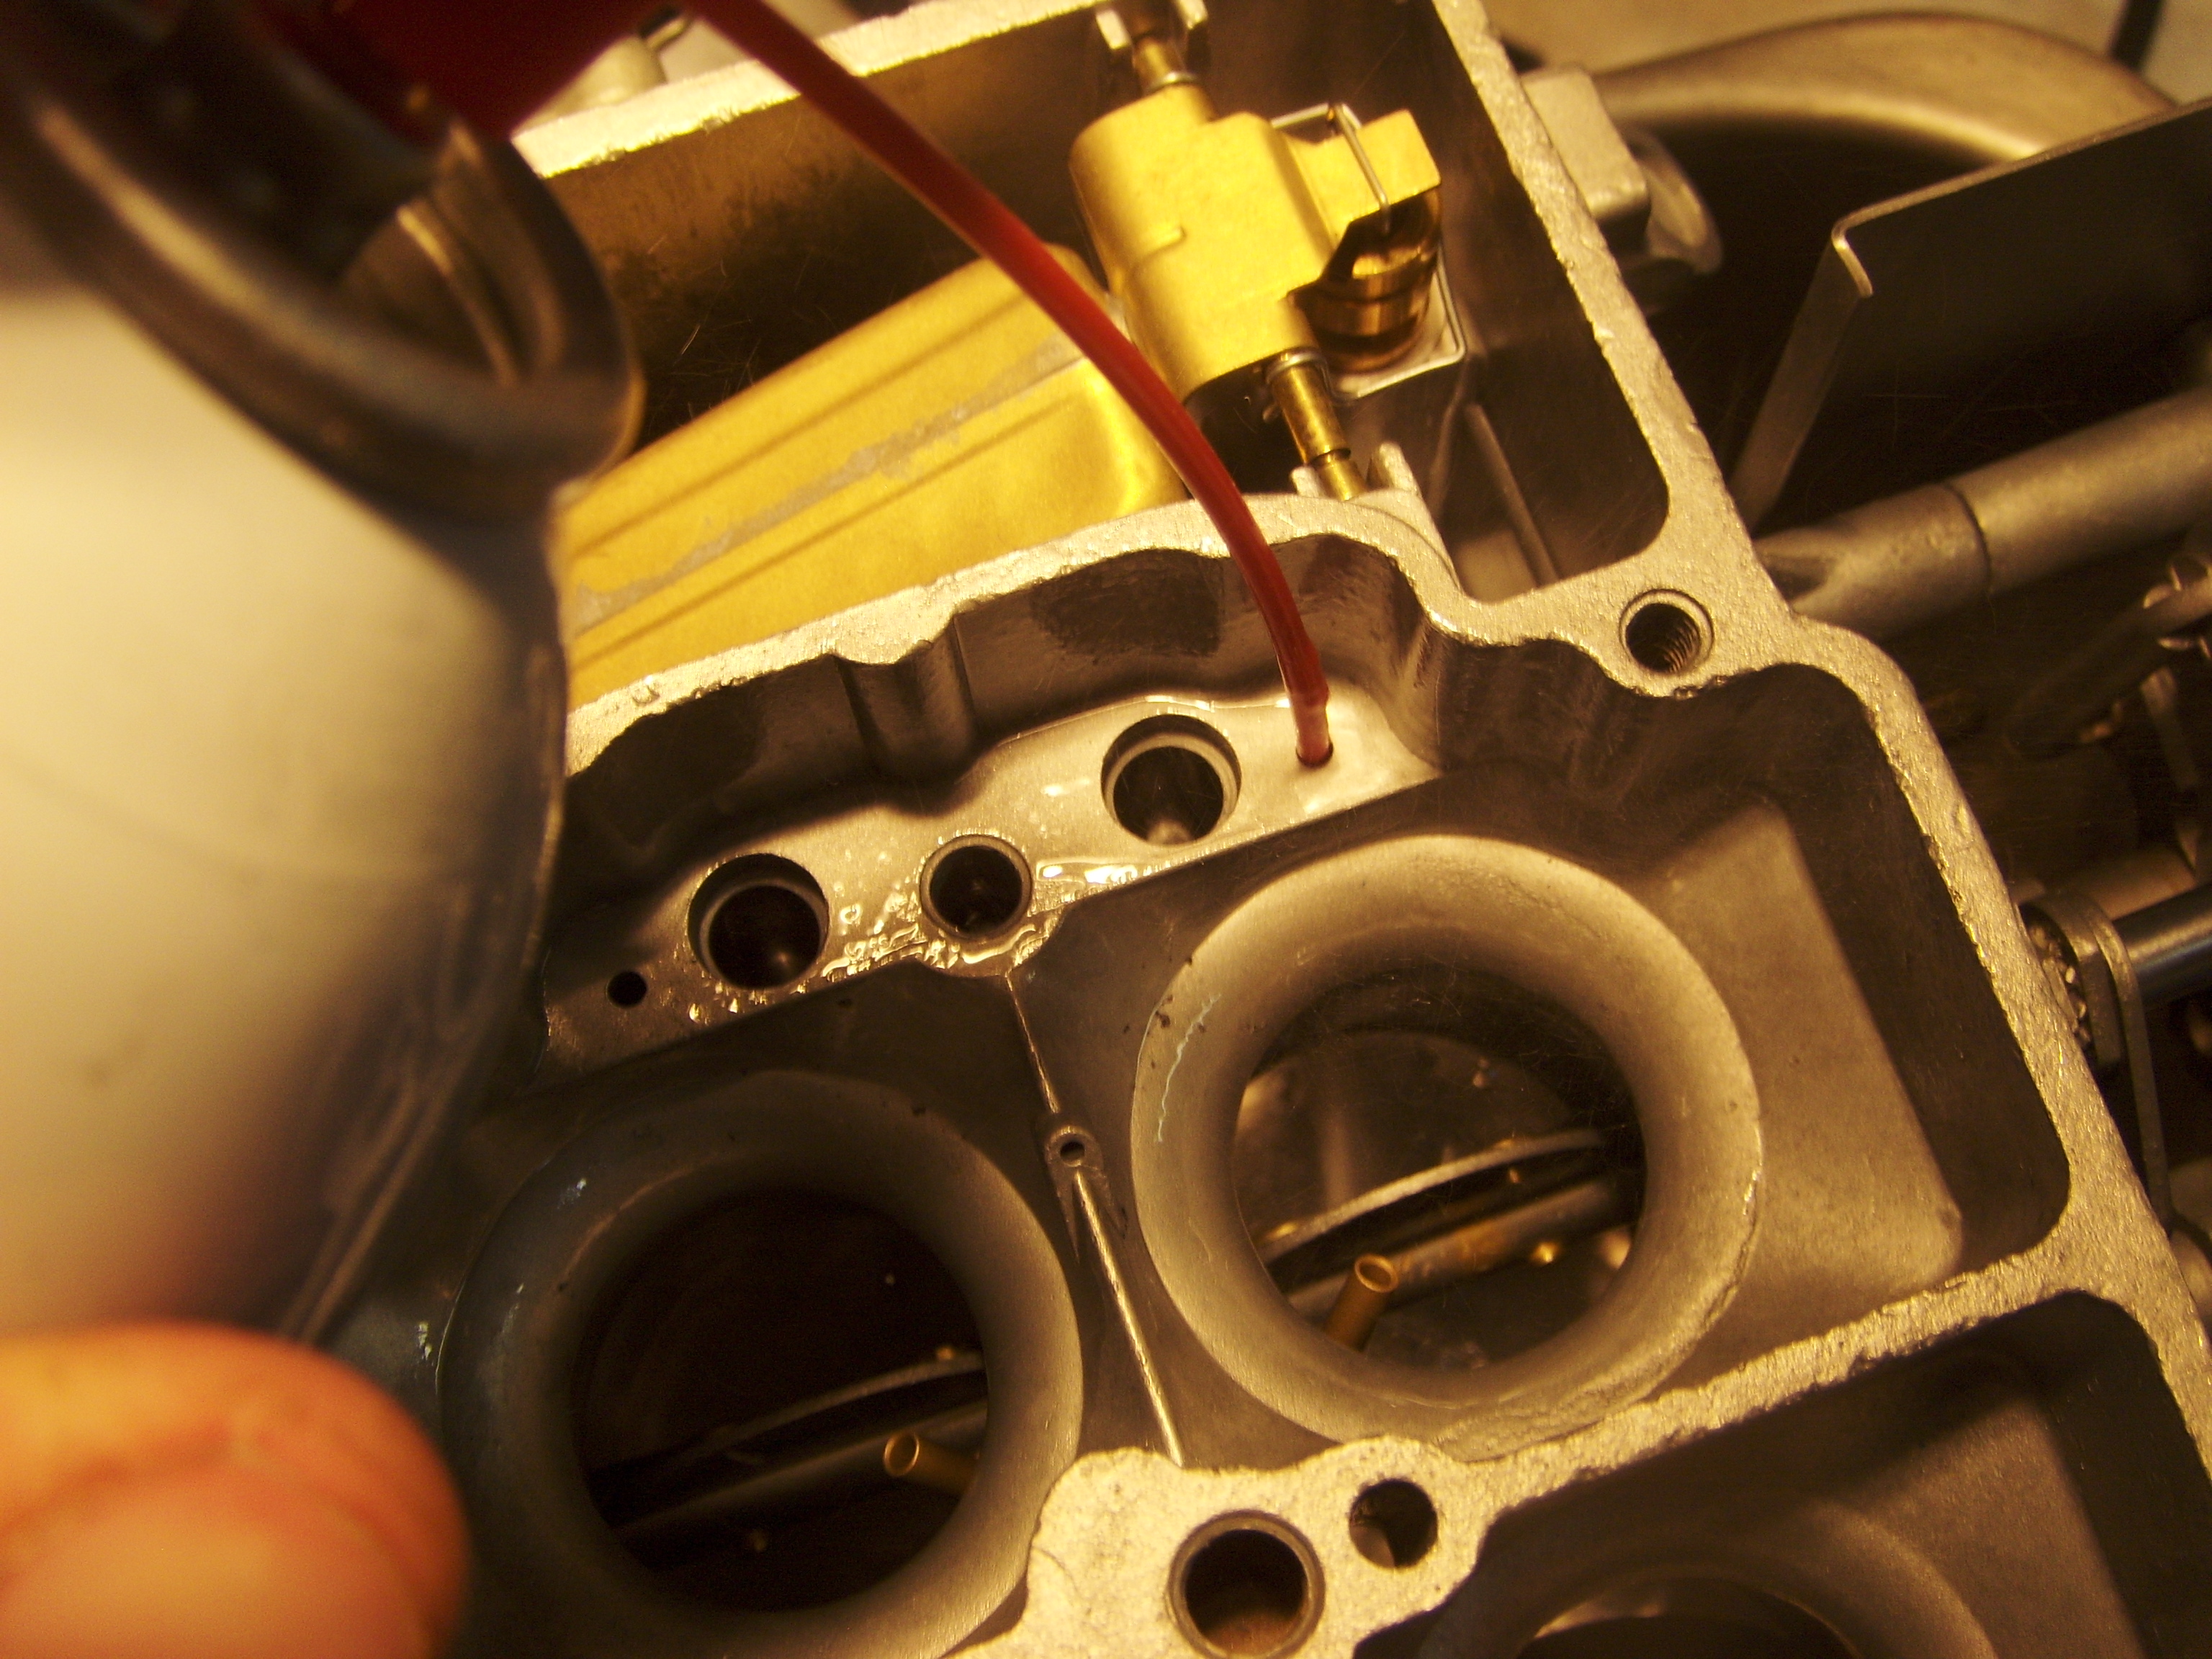
I also double checked the main jets and triple-checked the float level. Examining the baseplate, I agreed with the rebuilder that it was flat enough to expect a good seal against new gaskets. In any case, it appears that dressing it properly would require removing quite a bit of the linkage and the throttle plates. I’ll only try that after installing new gaskets (I got a couple this week).

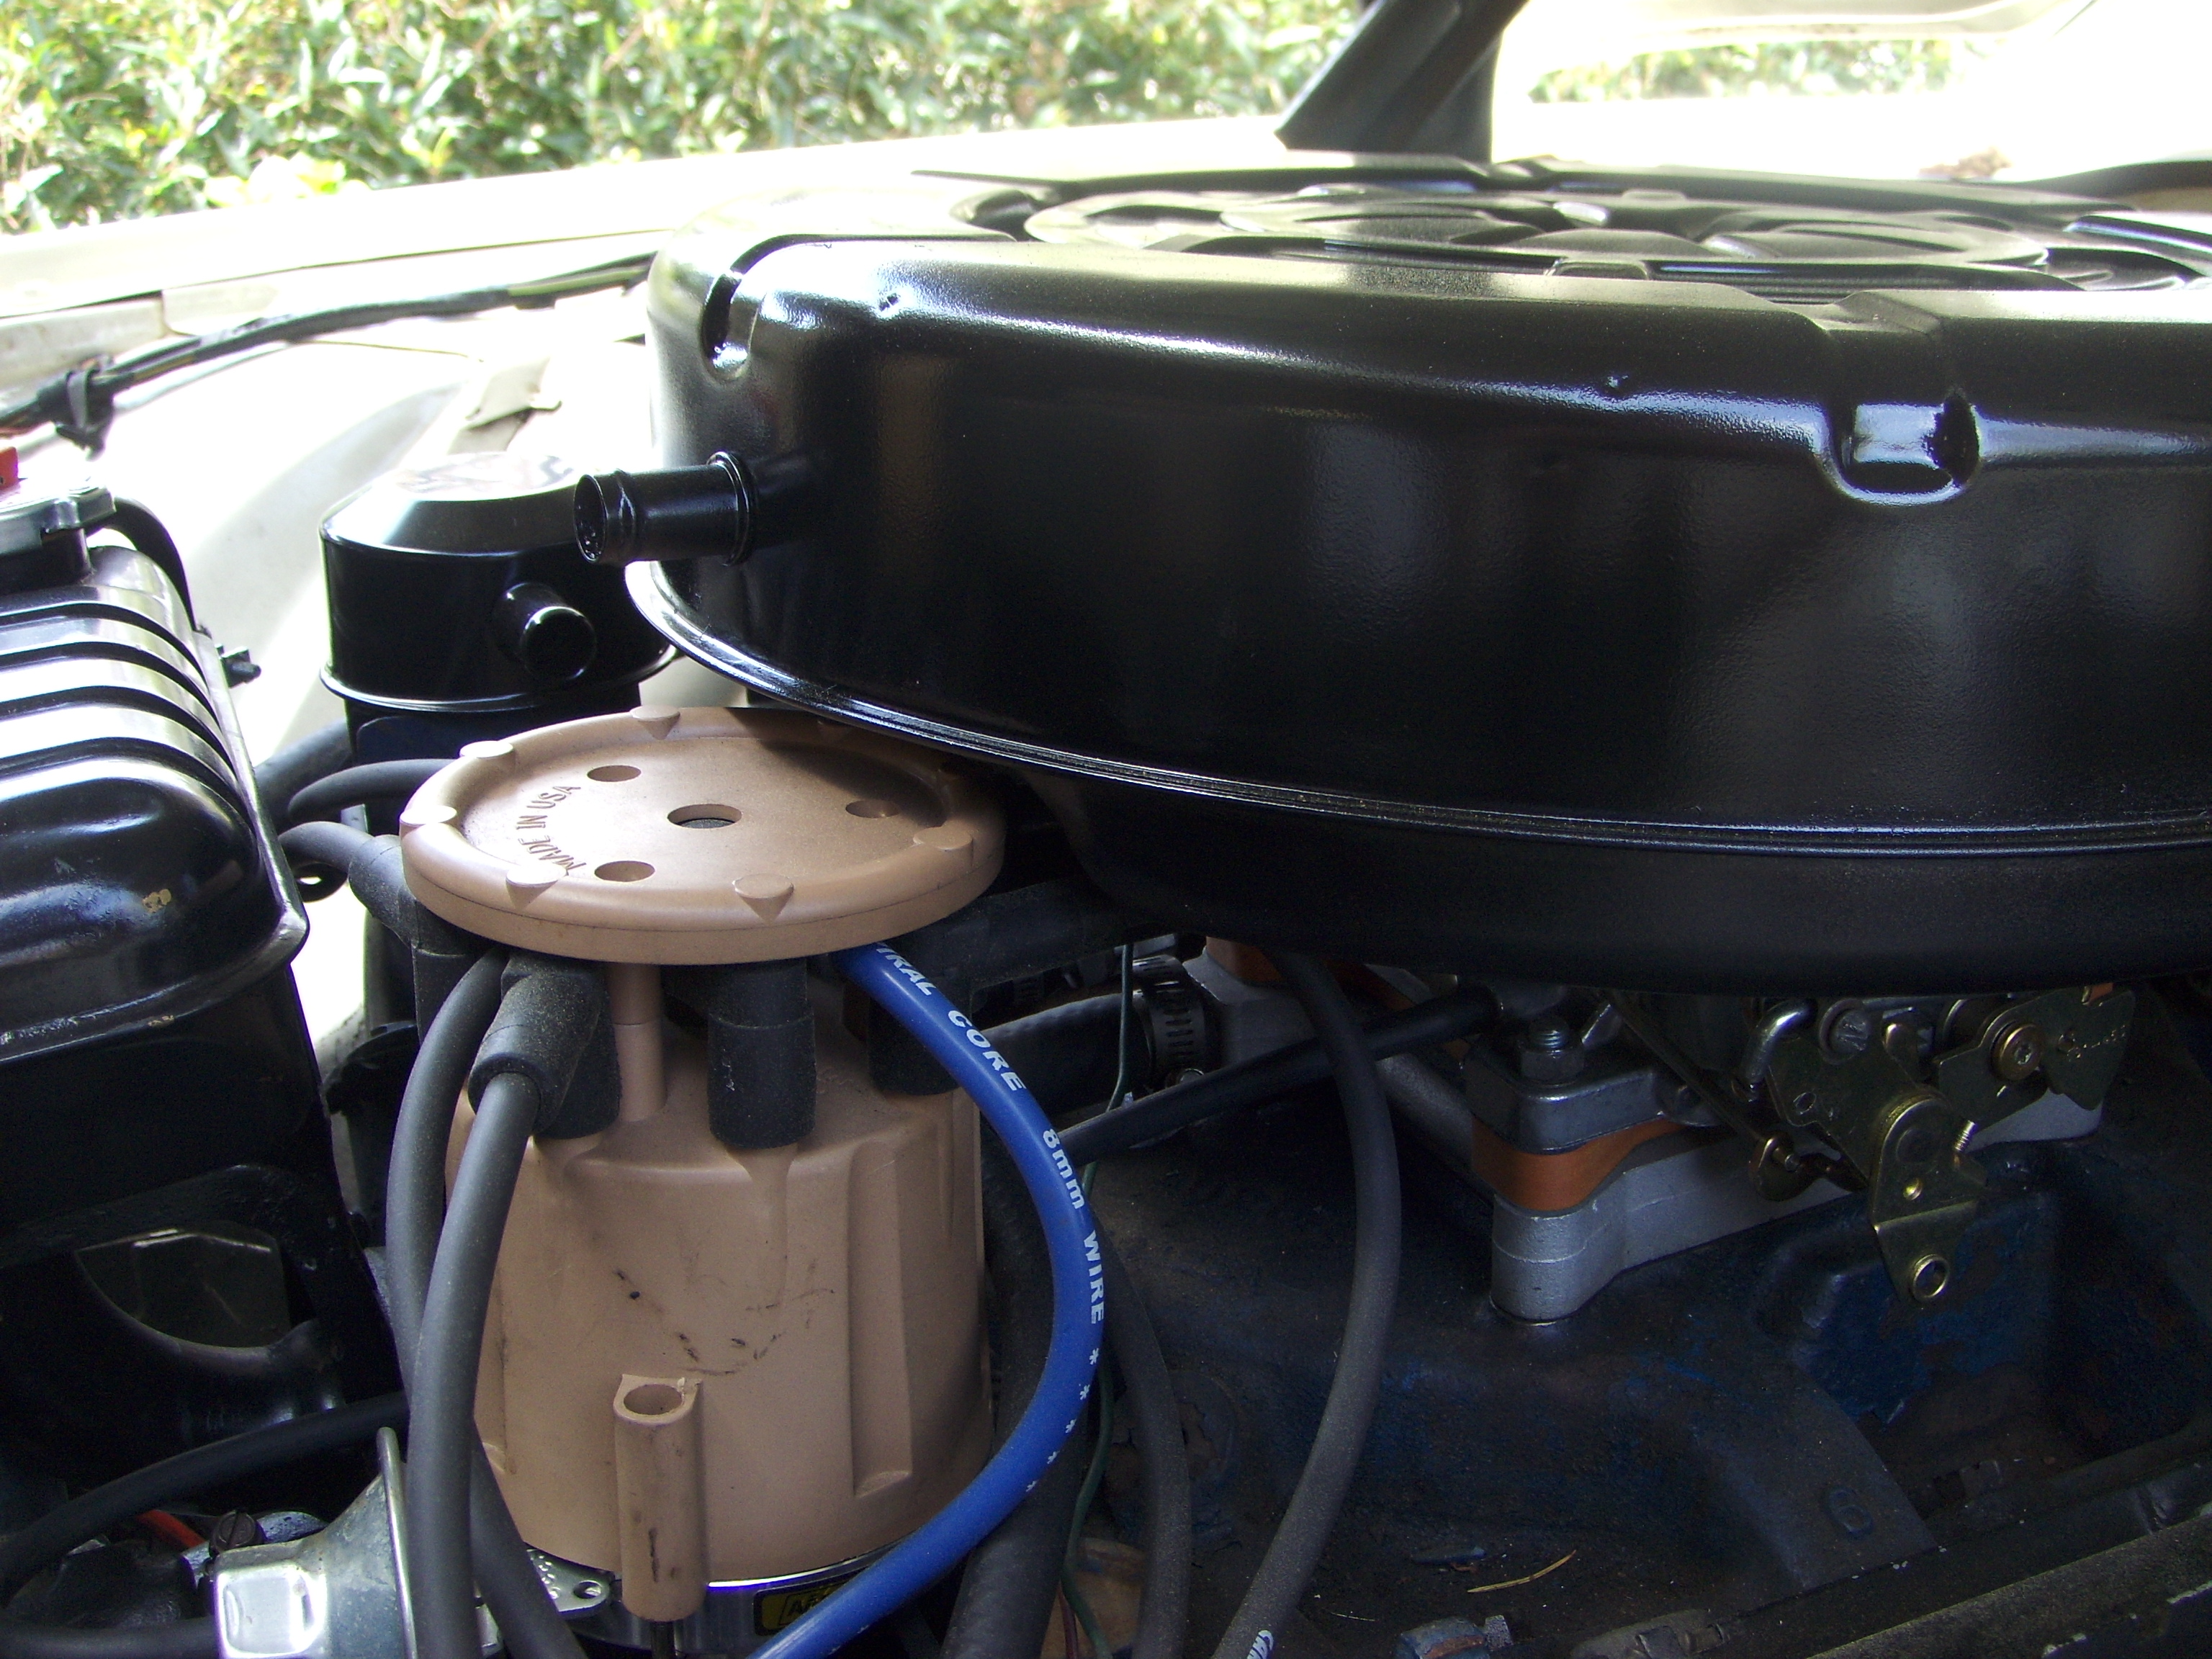
Rapidly growing weeds meant that I spent much of my weekend in the garden, not in the shop. I didn’t have enough time to actually test the re-cleaned Autolite. I may have an hour or two during the week, however, to swap them and try again.

This rear seat back cleaned up very nicely.

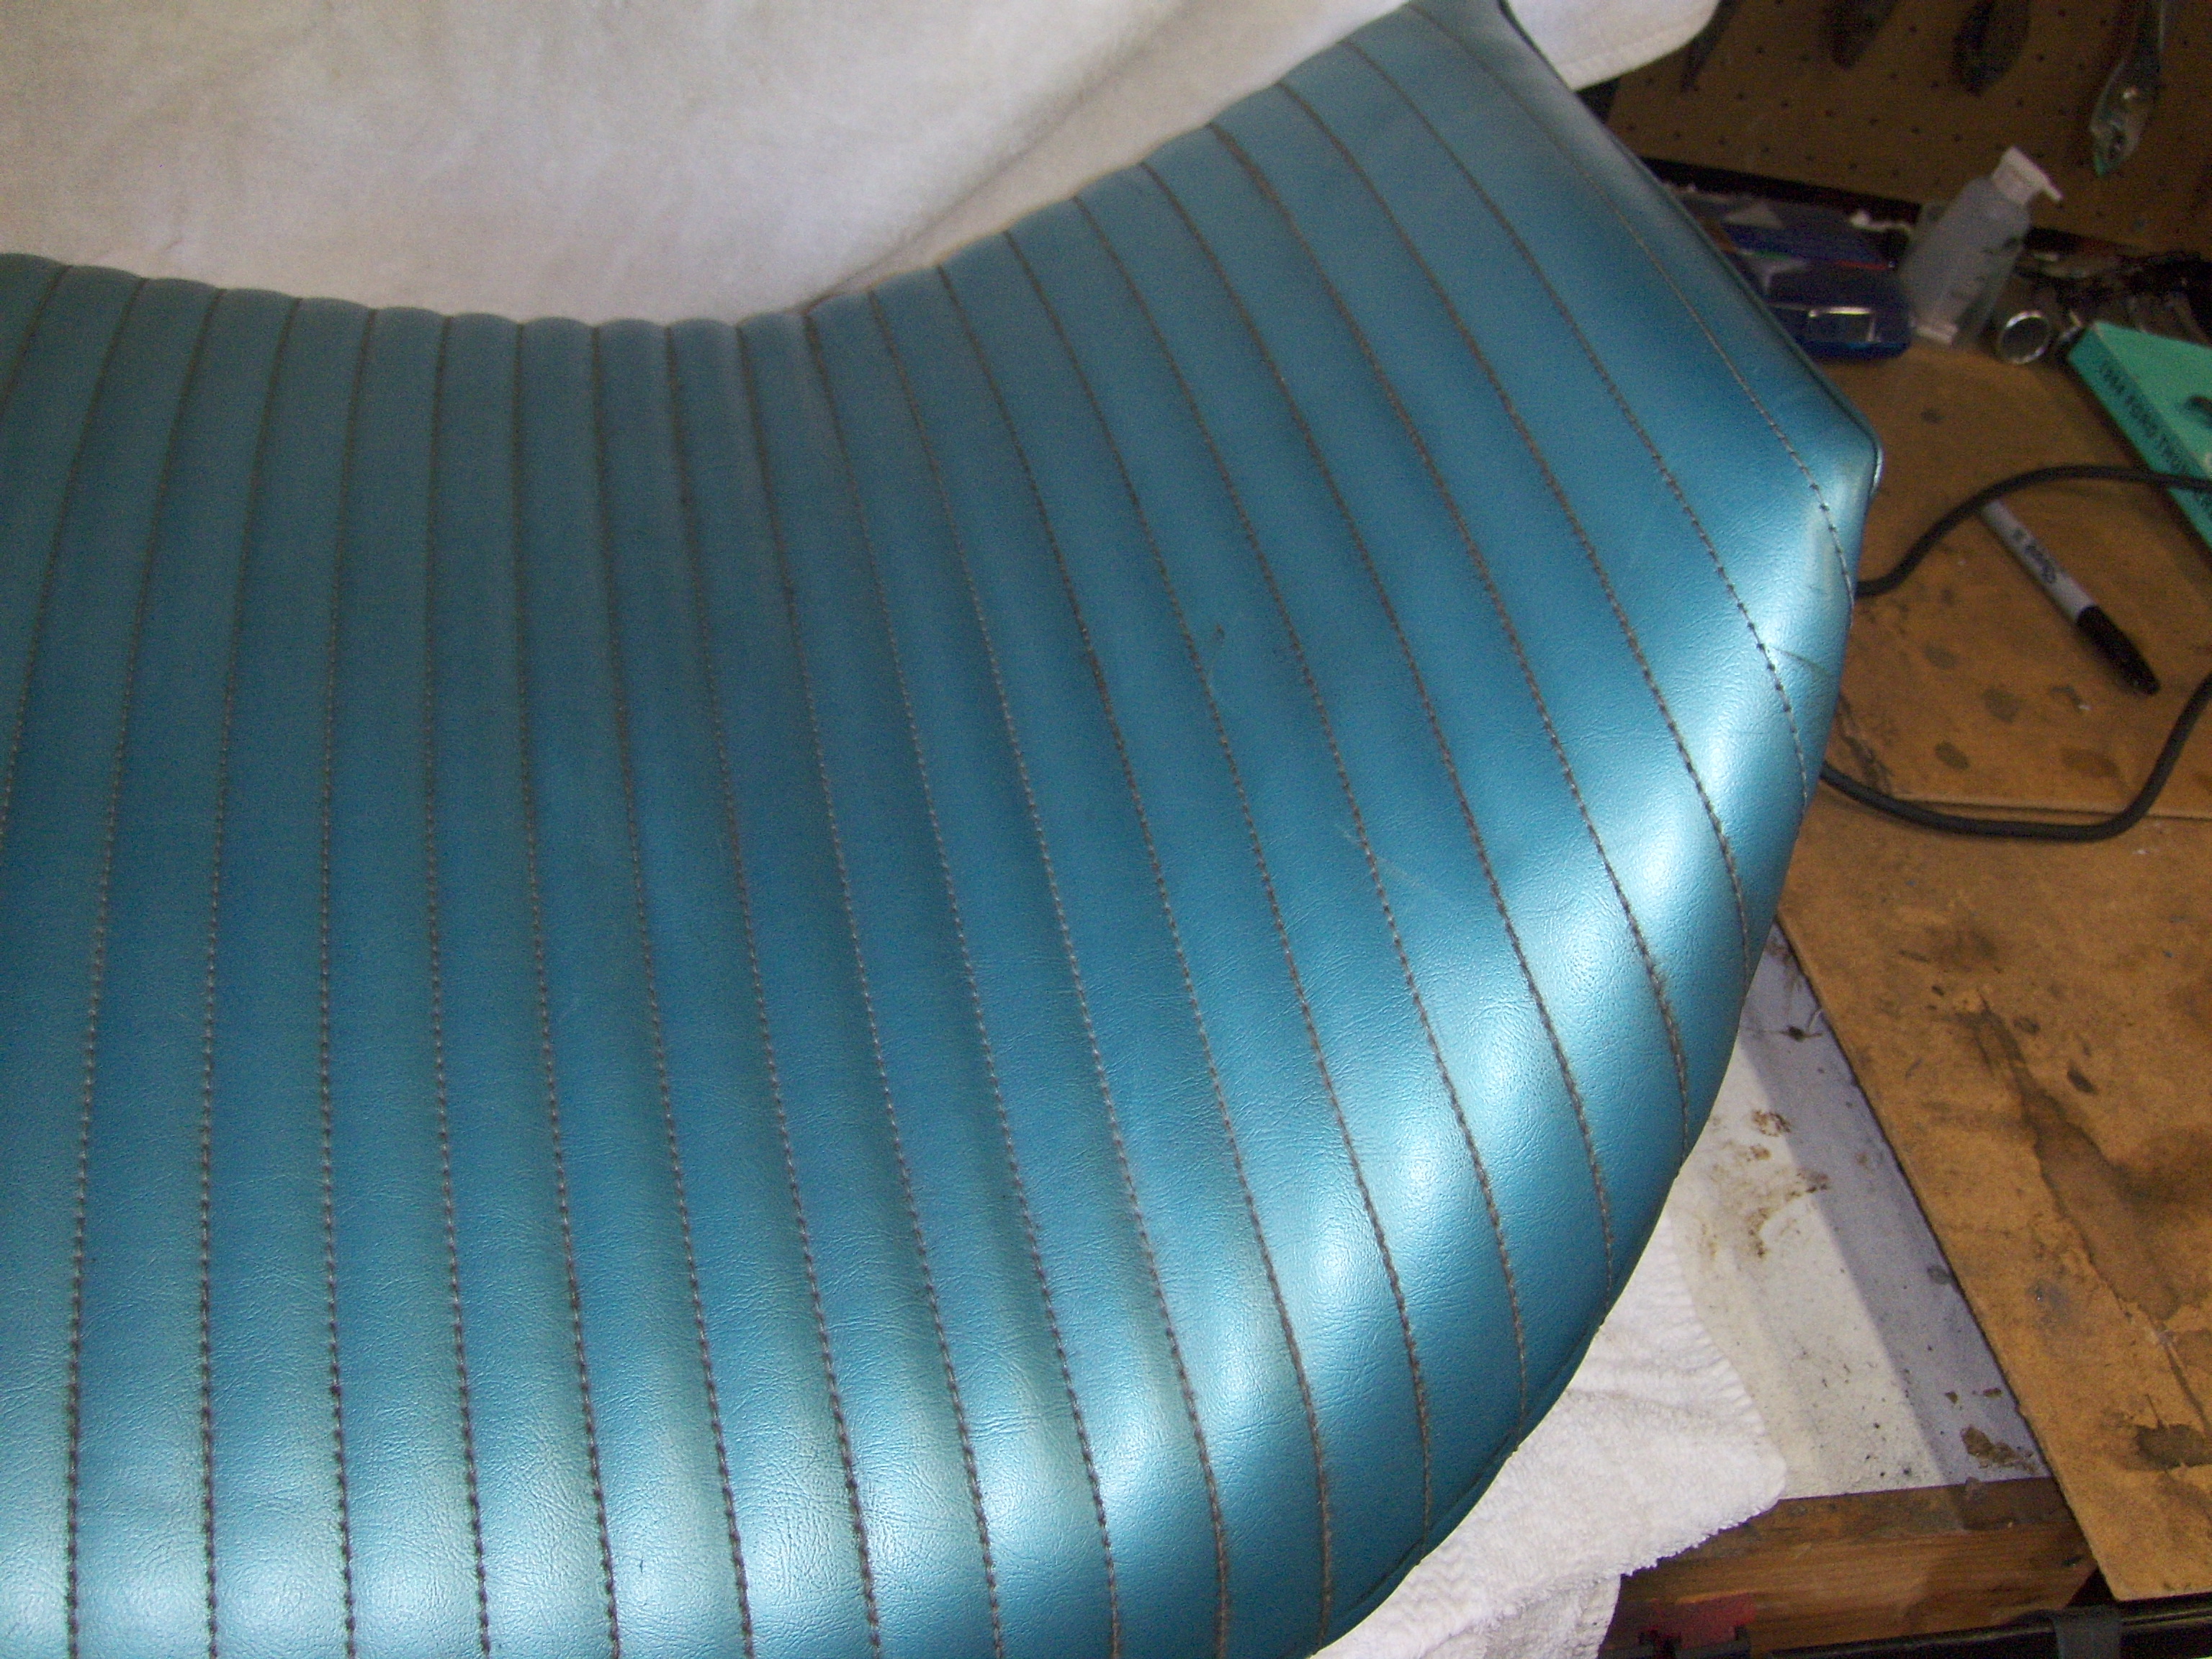
I did get a chance to clean up the back seats I bought a few weeks back. One I got the crud off them, I discovered that they are considerably better than the seat backs I have in the car now. I also salvaged a new glove box lid and steering wheel hub. Neither is perfect, but both are much better my originals. So far, $100 well spent.

Yesterday, I found someone else looking to sell an entire dash, including a decent dash pad–also in turquoise. Could be just what I need to get started on the dashboard rebuild. I’ll be taking a look at it in person in a week or so.

Carburetor Roulette

I removed the Edelbrock carburetor yesterday afternoon and replaced it with the new/old Autolite unit I’ve been prepping to install for some weeks now. The carb went on well and looked, not surprisingly, like it belonged there. I had a little trouble with the choke tubes that I ultimately decided to ignore. I was able to start the car with little trouble, but it ran very poorly–wouldn’t idle at all.

I'll be getting to know this carb a little better in the next few weeks.
I’ll be getting to know this carb a little better in the next few weeks.

I suspected a vacuum leak and checked for loose hoses. Finding none, I suspected the re-used gaskets. Swapping them out had no effect, however. I finally ended up pulling the carb off and replacing it with my trusty Edelbrock. On the bench, I noticed that the Ford has a fairly rough base plate (could be causing a vacuum leak) and a bent idle mixture screw (another possible culprit).

I will need to clean up the base–that’ll involve disassembly–and get a replacement screw. In the meantime, I’m back where I started.

All dressed up.
All dressed up.

Not having a new carb to dial in today, I pulled out the fender skirts that have been banging around the garage. They needed a little modification to clear the tire/wheel combination I’m running. That done, I put ’em on and went for a quick spin on this beautiful spring day.

All in the Prep

With paint, they say, the quality is all in the prep work. I’m beginning to think that’s true for most projects, not just finishes.

The distributor is just too tall for the original-style air cleaner.

I went to assemble all the bits and pieces for me carburetor swap this afternoon. There were a lot, and I came up one short–the compression fitting for the heat riser tube. A small piece, mislaid somewhere no doubt. I decided not to plunge into the project without everything I needed at hand.

Instead, I took another look at the air cleaner assembly. I worrying about the orientation of the air horn on it, I had overlooked that it bumps into the taller-than-normal aftermarket distributor.

Clearly, more preparation was in order. No original-style air cleaner is going to work as long as I keep the distributor, so I modified my aftermarket air cleaner to work with the choke heater system the Autolite carb requires.  Now–I’m sure–everything is ready for the carb swap–probably later this week.

Air is drawn into the choke--via the exhaust manifold--from this nipple attached under my aftermarket air cleaner.
Air is drawn into the choke–via the exhaust manifold–from this nipple attached under my aftermarket air cleaner.

Since I didn’t swap out the carb, I finished a few smaller jobs under the hood: replaced the PCV valve and the vacuum hose to the brake booster. On a test drive to the hardware store (for the compression fitting I need), the motor ran smoother than normal. It’s likely the old vacuum line was leaking.

A week ago, I found someone advertising miscellaneous interior T-Bird parts the same color as mine. It was a nice find–lots of usable trim pieces that will come in handy when I start the dashboard rebuild later this summer. I also scored an entire back seat in better shape than my own.

Vintage Breathing

Lots of rust and a few dents to clean up on the replacement air cleaner.

Since I posted last, the T-Bird has been running problem free reliably and I’ve been able to put about 1,000 miles on the odometer. A year ago this time, I had serious doubts that I would ever see a month with no need to get under the hood.

With warm weather here, I’ve had the windows down and driven pretty much anywhere I need, the furthest distance being a 45 mile round trip. Summer is going to be a blast.

During the lull I’ve been assembling all the parts I need to install the “correct” vintage Ford carburetor. An air cleaner assembly has been secured, cleaned and painted, as have the various accouterments for the choke. In addition, I picked up a new PCV valve and a new heater hose.

I used a Dremel tool to cut the baffle off the top lid of the air cleaner.

The air cleaner has been a bit of an adventure. There are no part numbers stamped on them, and a wide variety were produced every year. For a California car, I need one with two fittings, one for the choke heater and another for the crankcase breather. I found one that fit the bill, but it is a slightly lower profile than the original.

Inside, there is a series of baffles that serve no discernible purpose. In fact, they look like they would impede airflow pretty well. I cut one of them off, and may remove the other if I get a chance in the next few days.

Cleaned up, it looks pretty good; I suspect it will do the job until the right piece comes along.

Next weekend, I should have a day free to swap out the existing Edelbrock for the new/old Autolite. After that, cruising is on the agenda.