Under Cover

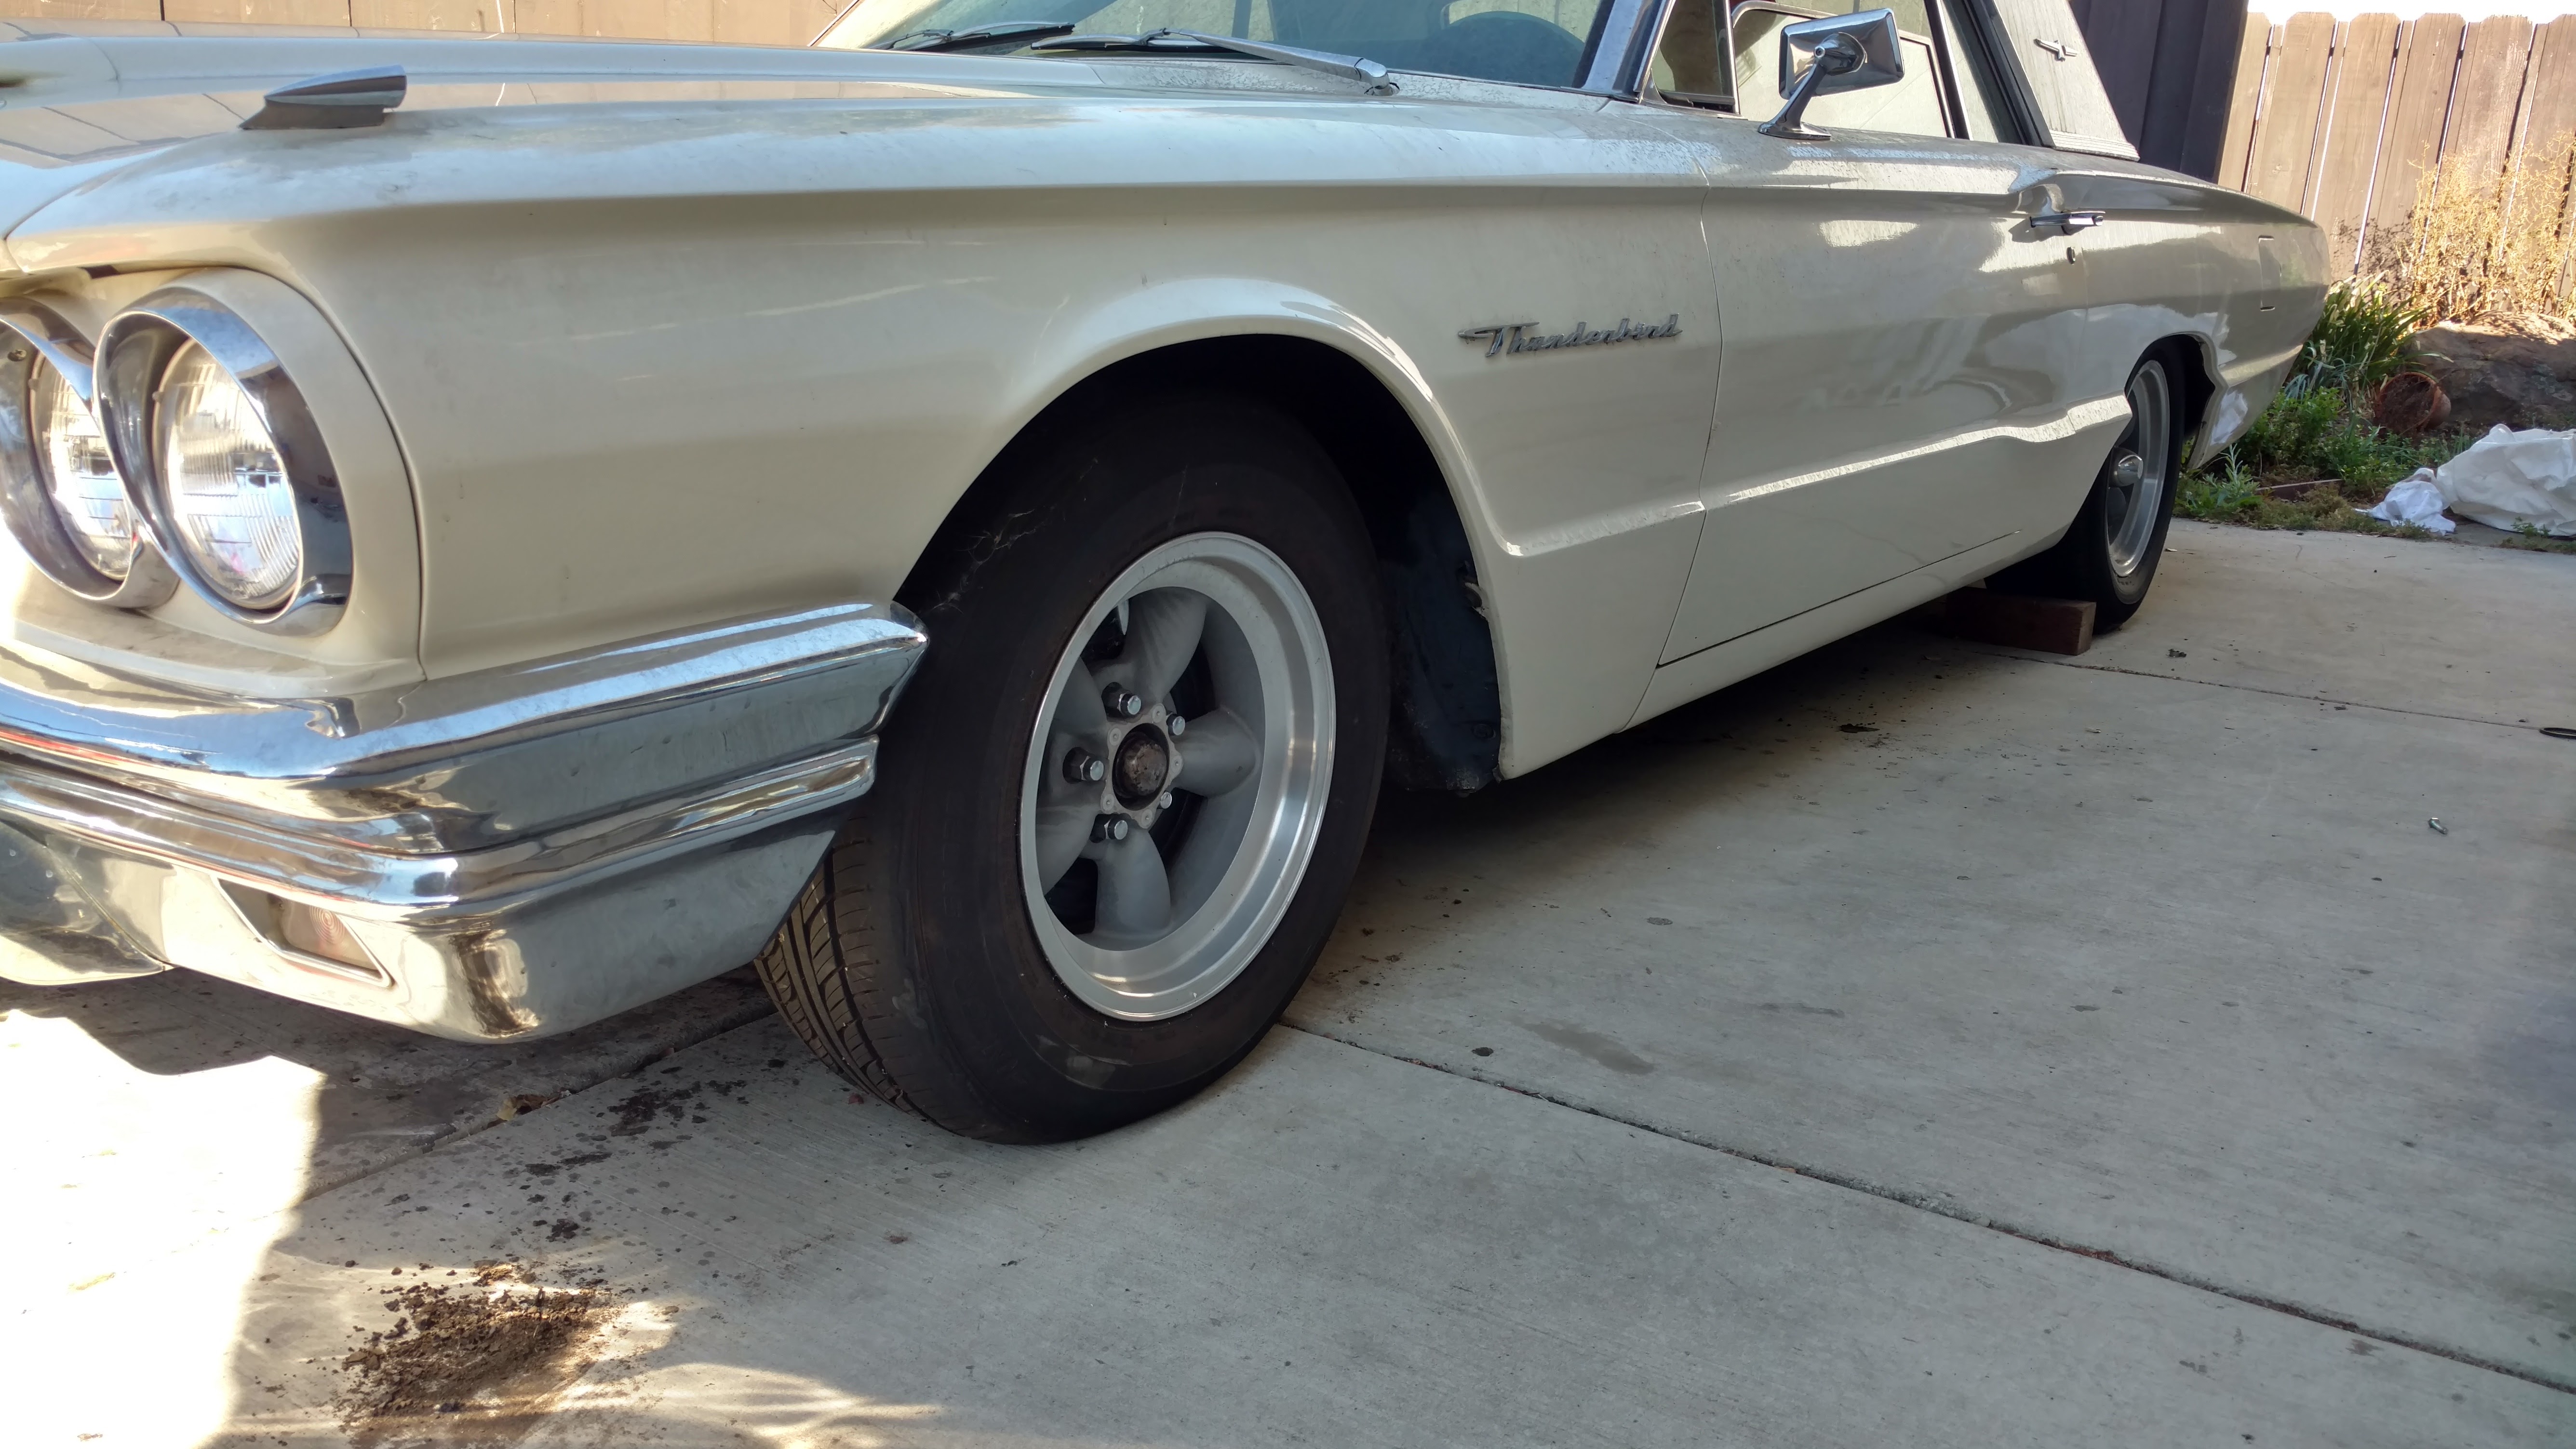
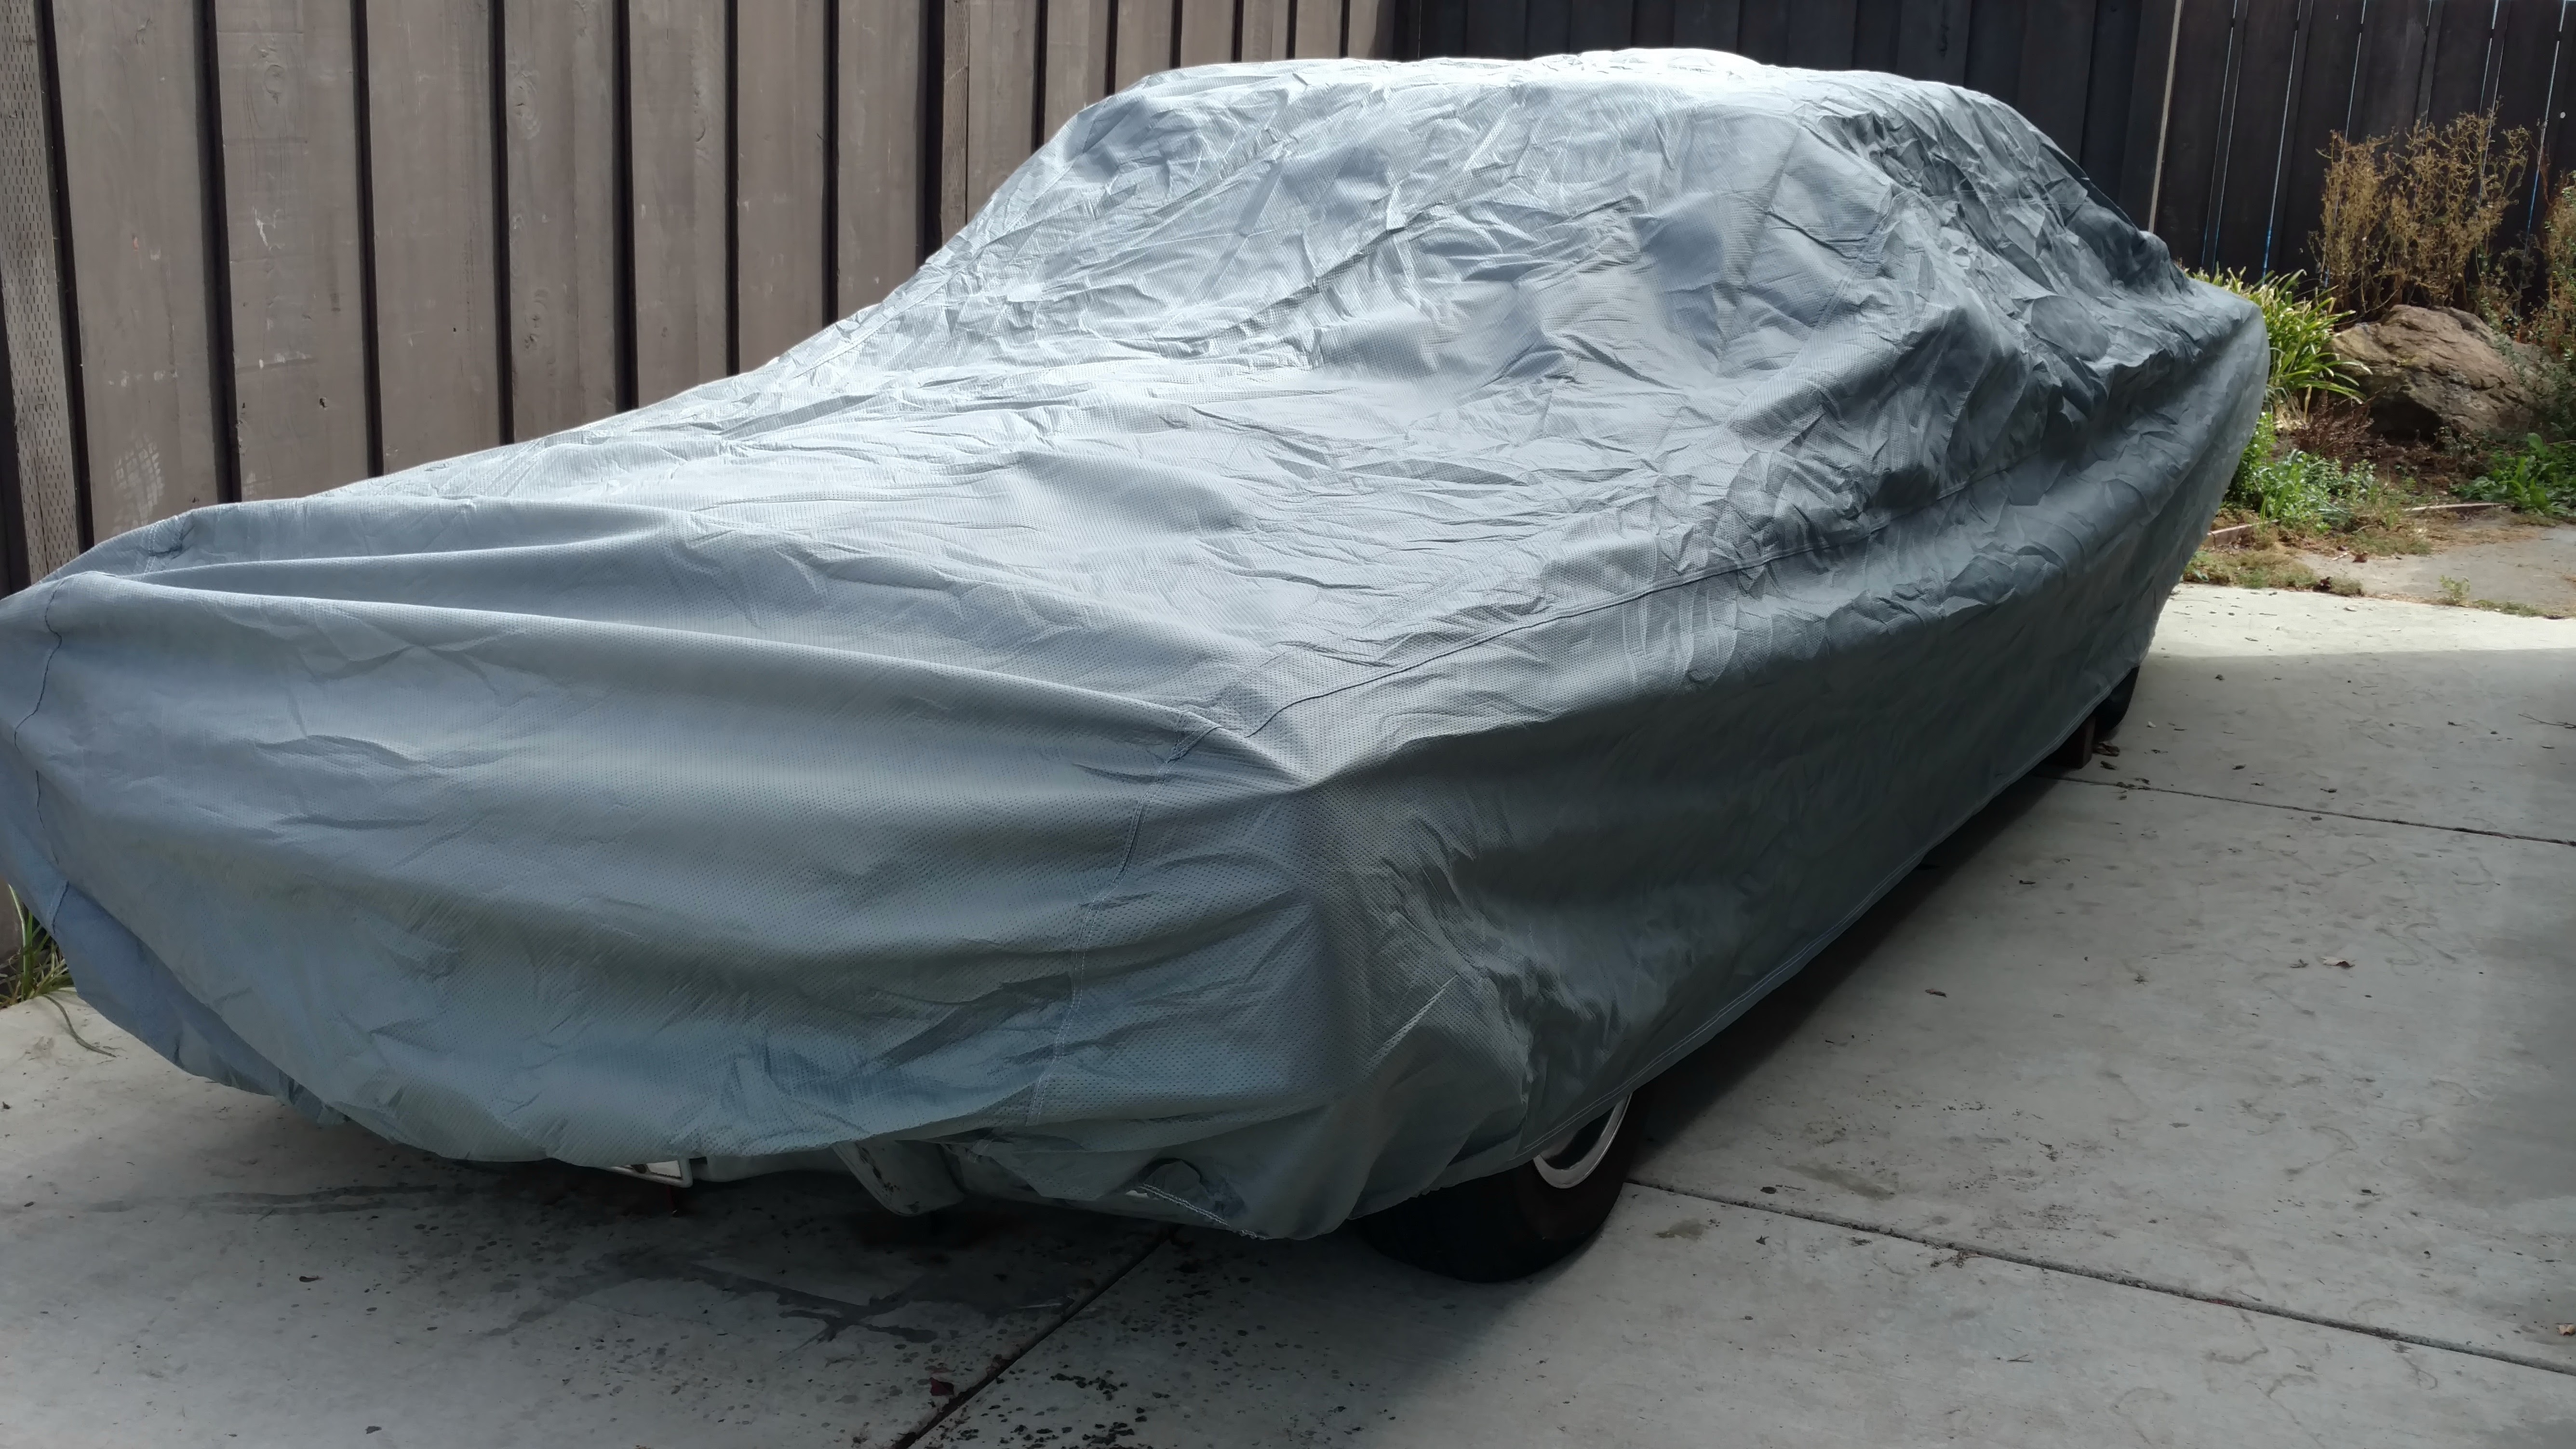
Shortly after I got the engine installed, an unusually heavy early-season rainstorm appeared in the forecast, and I had a choice between rushing through the final steps of the engine and suspension project or preparing for the coming weather. (The car’s interior is reasonably weather-resistant, but I still have a considerable leak into the trunk.) I hated the idea of rushing things at the end, so when I found a reasonably priced car cover (only $40!), the deal was sealed.

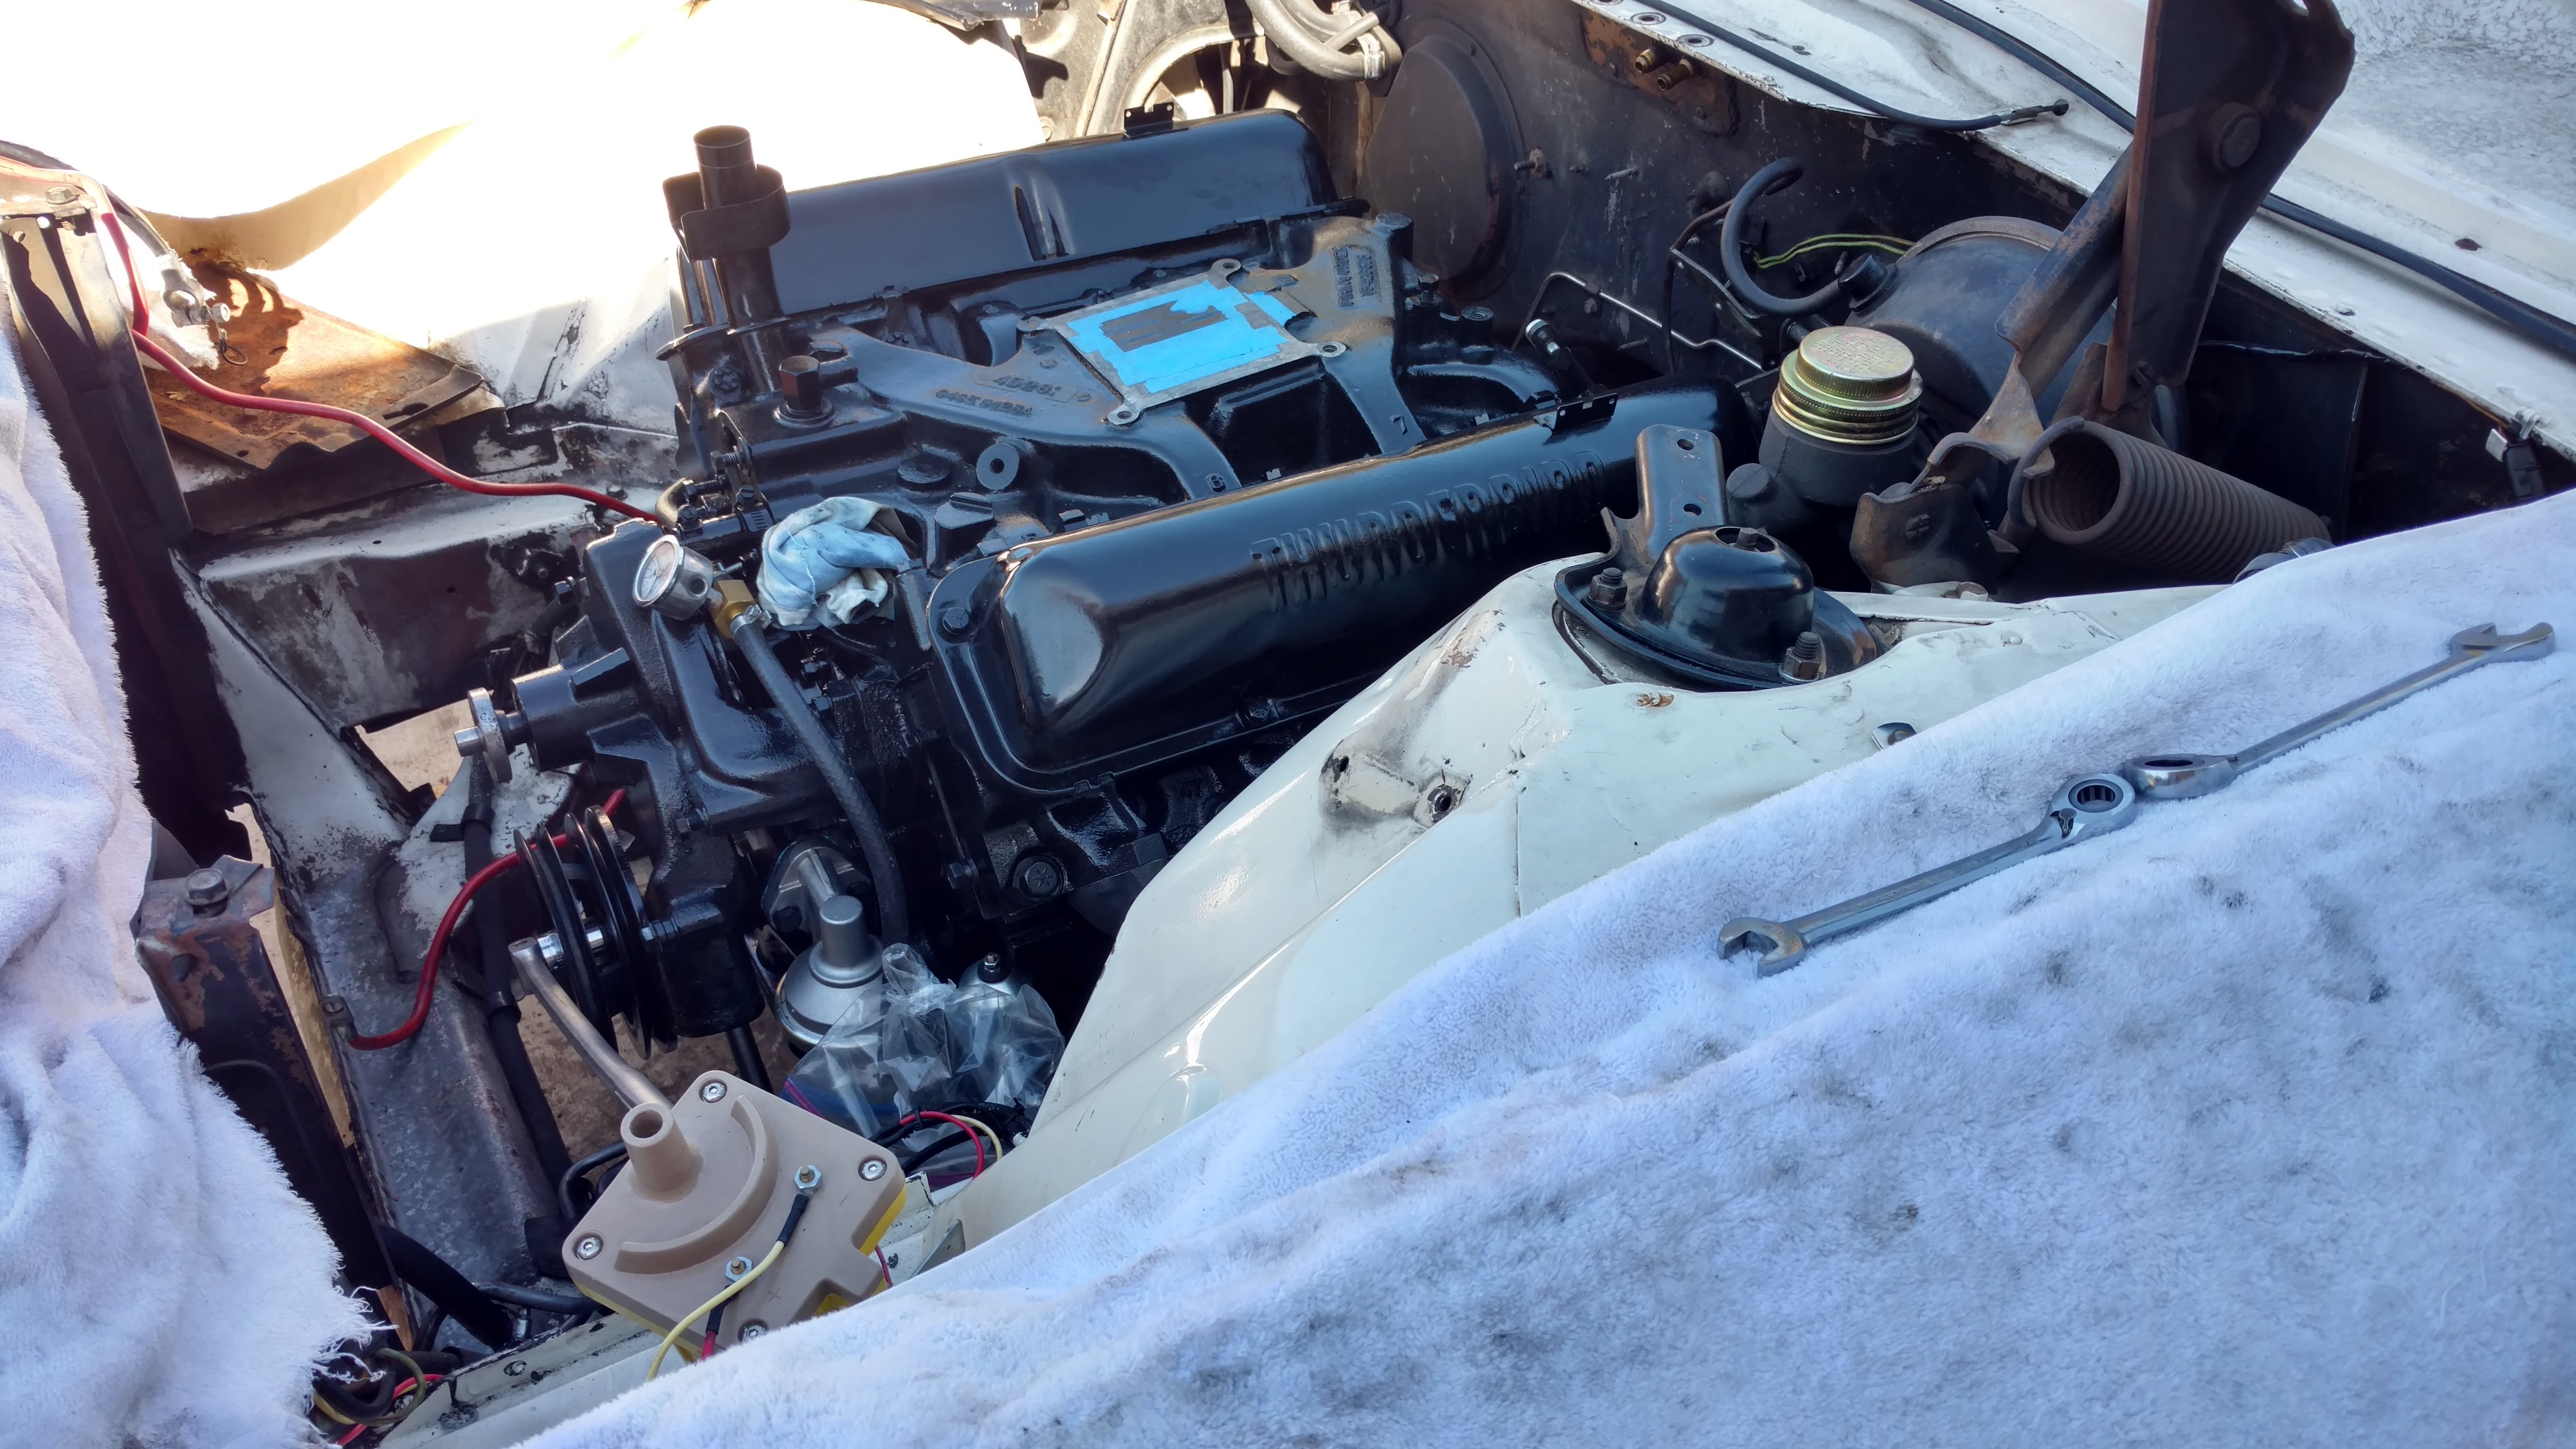
I spent the week cleaning oil-caked parts, painting those that had never been off the car and occasionally repainting items that I’d done before, but have seen some wear and tear over the years—like the braces that run from the shock towers to the firewall.

PCV system, before . . .

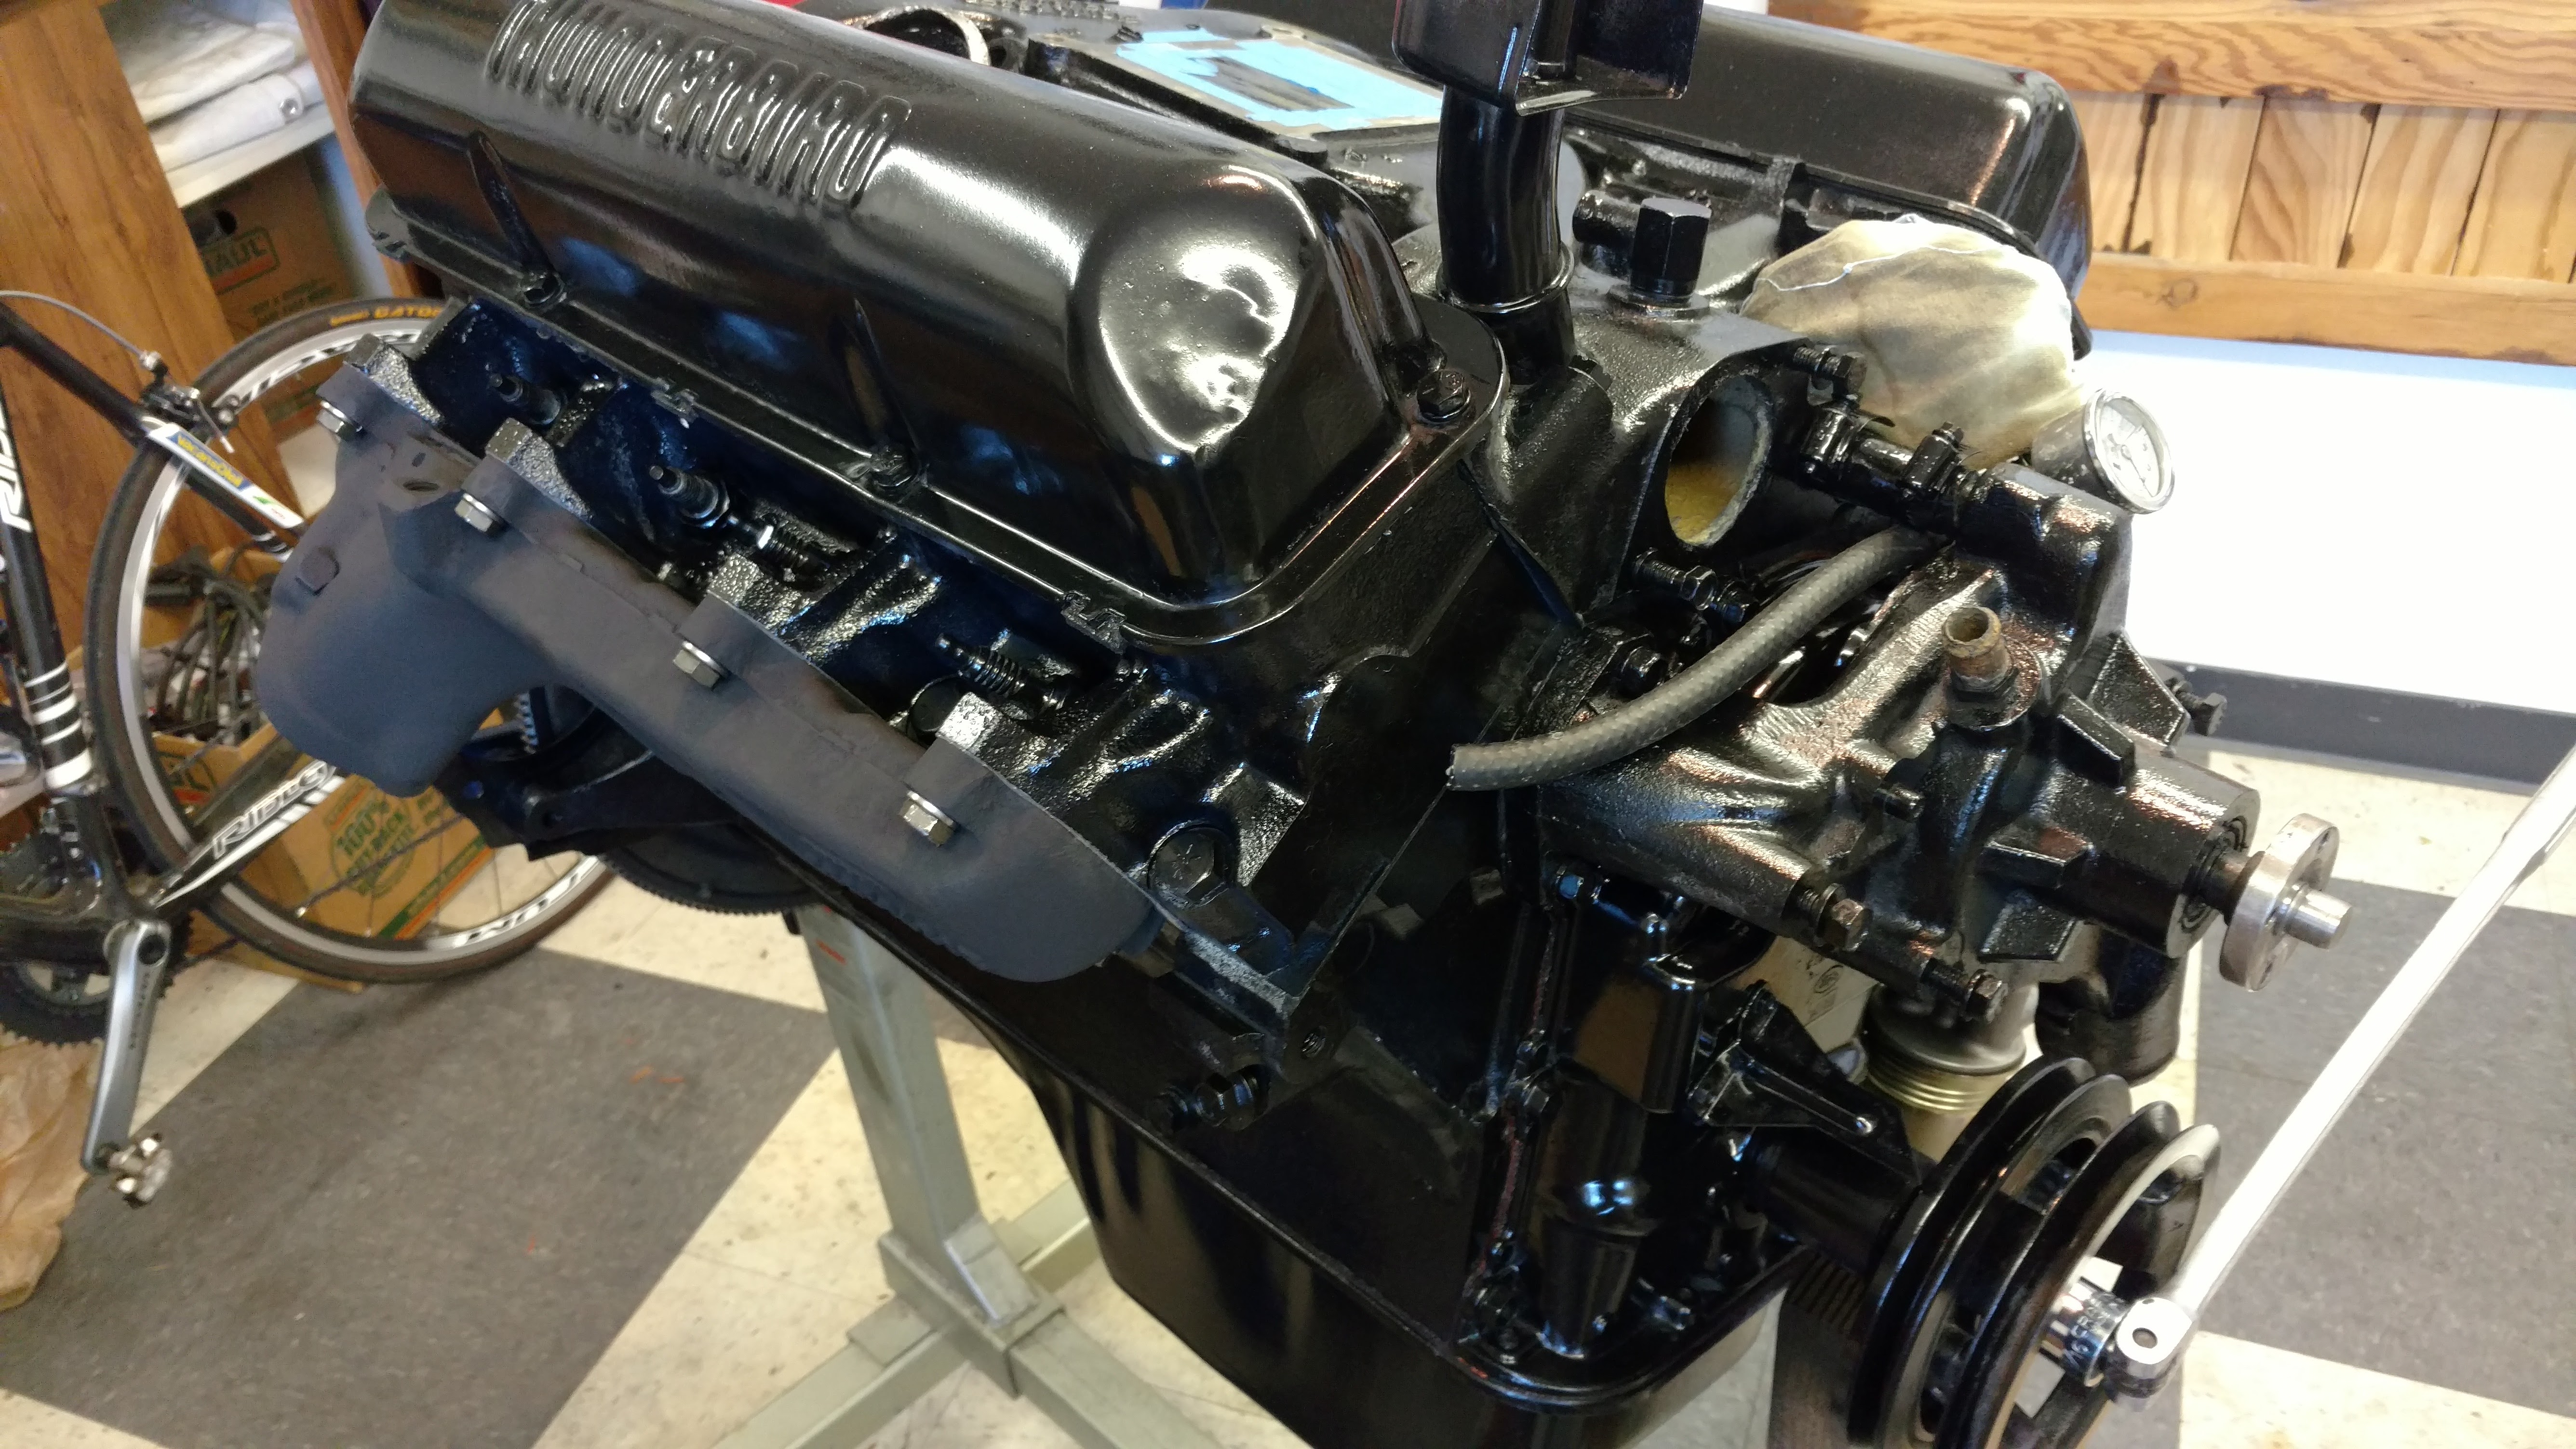
Working steadily over the week, I closed up the motor some more by installing the carb, new spark plugs and the distributor. The most difficult task was the small shaft under the distributor that drives the oil pump. Originally, I think, there was a snap ring installed on these to hold it in place. Mine doesn’t have that, and it simply fell out when I turned the motor over while on the stand. I thought it would be easy to drop it in again. Instead, it landed slightly askew in the recess, too far down to be removed and in a spot too narrow to reach with most tools. I could  touch it with a skinny flat-bladed screwdriver, but didn’t have the leverage to straighten it up or pry it back out. Finally, I used the distributor itself to ease everything into place. Everything seemed to seat properly, but it’s one of those things you can’t verify visually. I’ll have to wait until the motor is ready to turn over before I know for sure that all is well.

. . .PCV system, after.

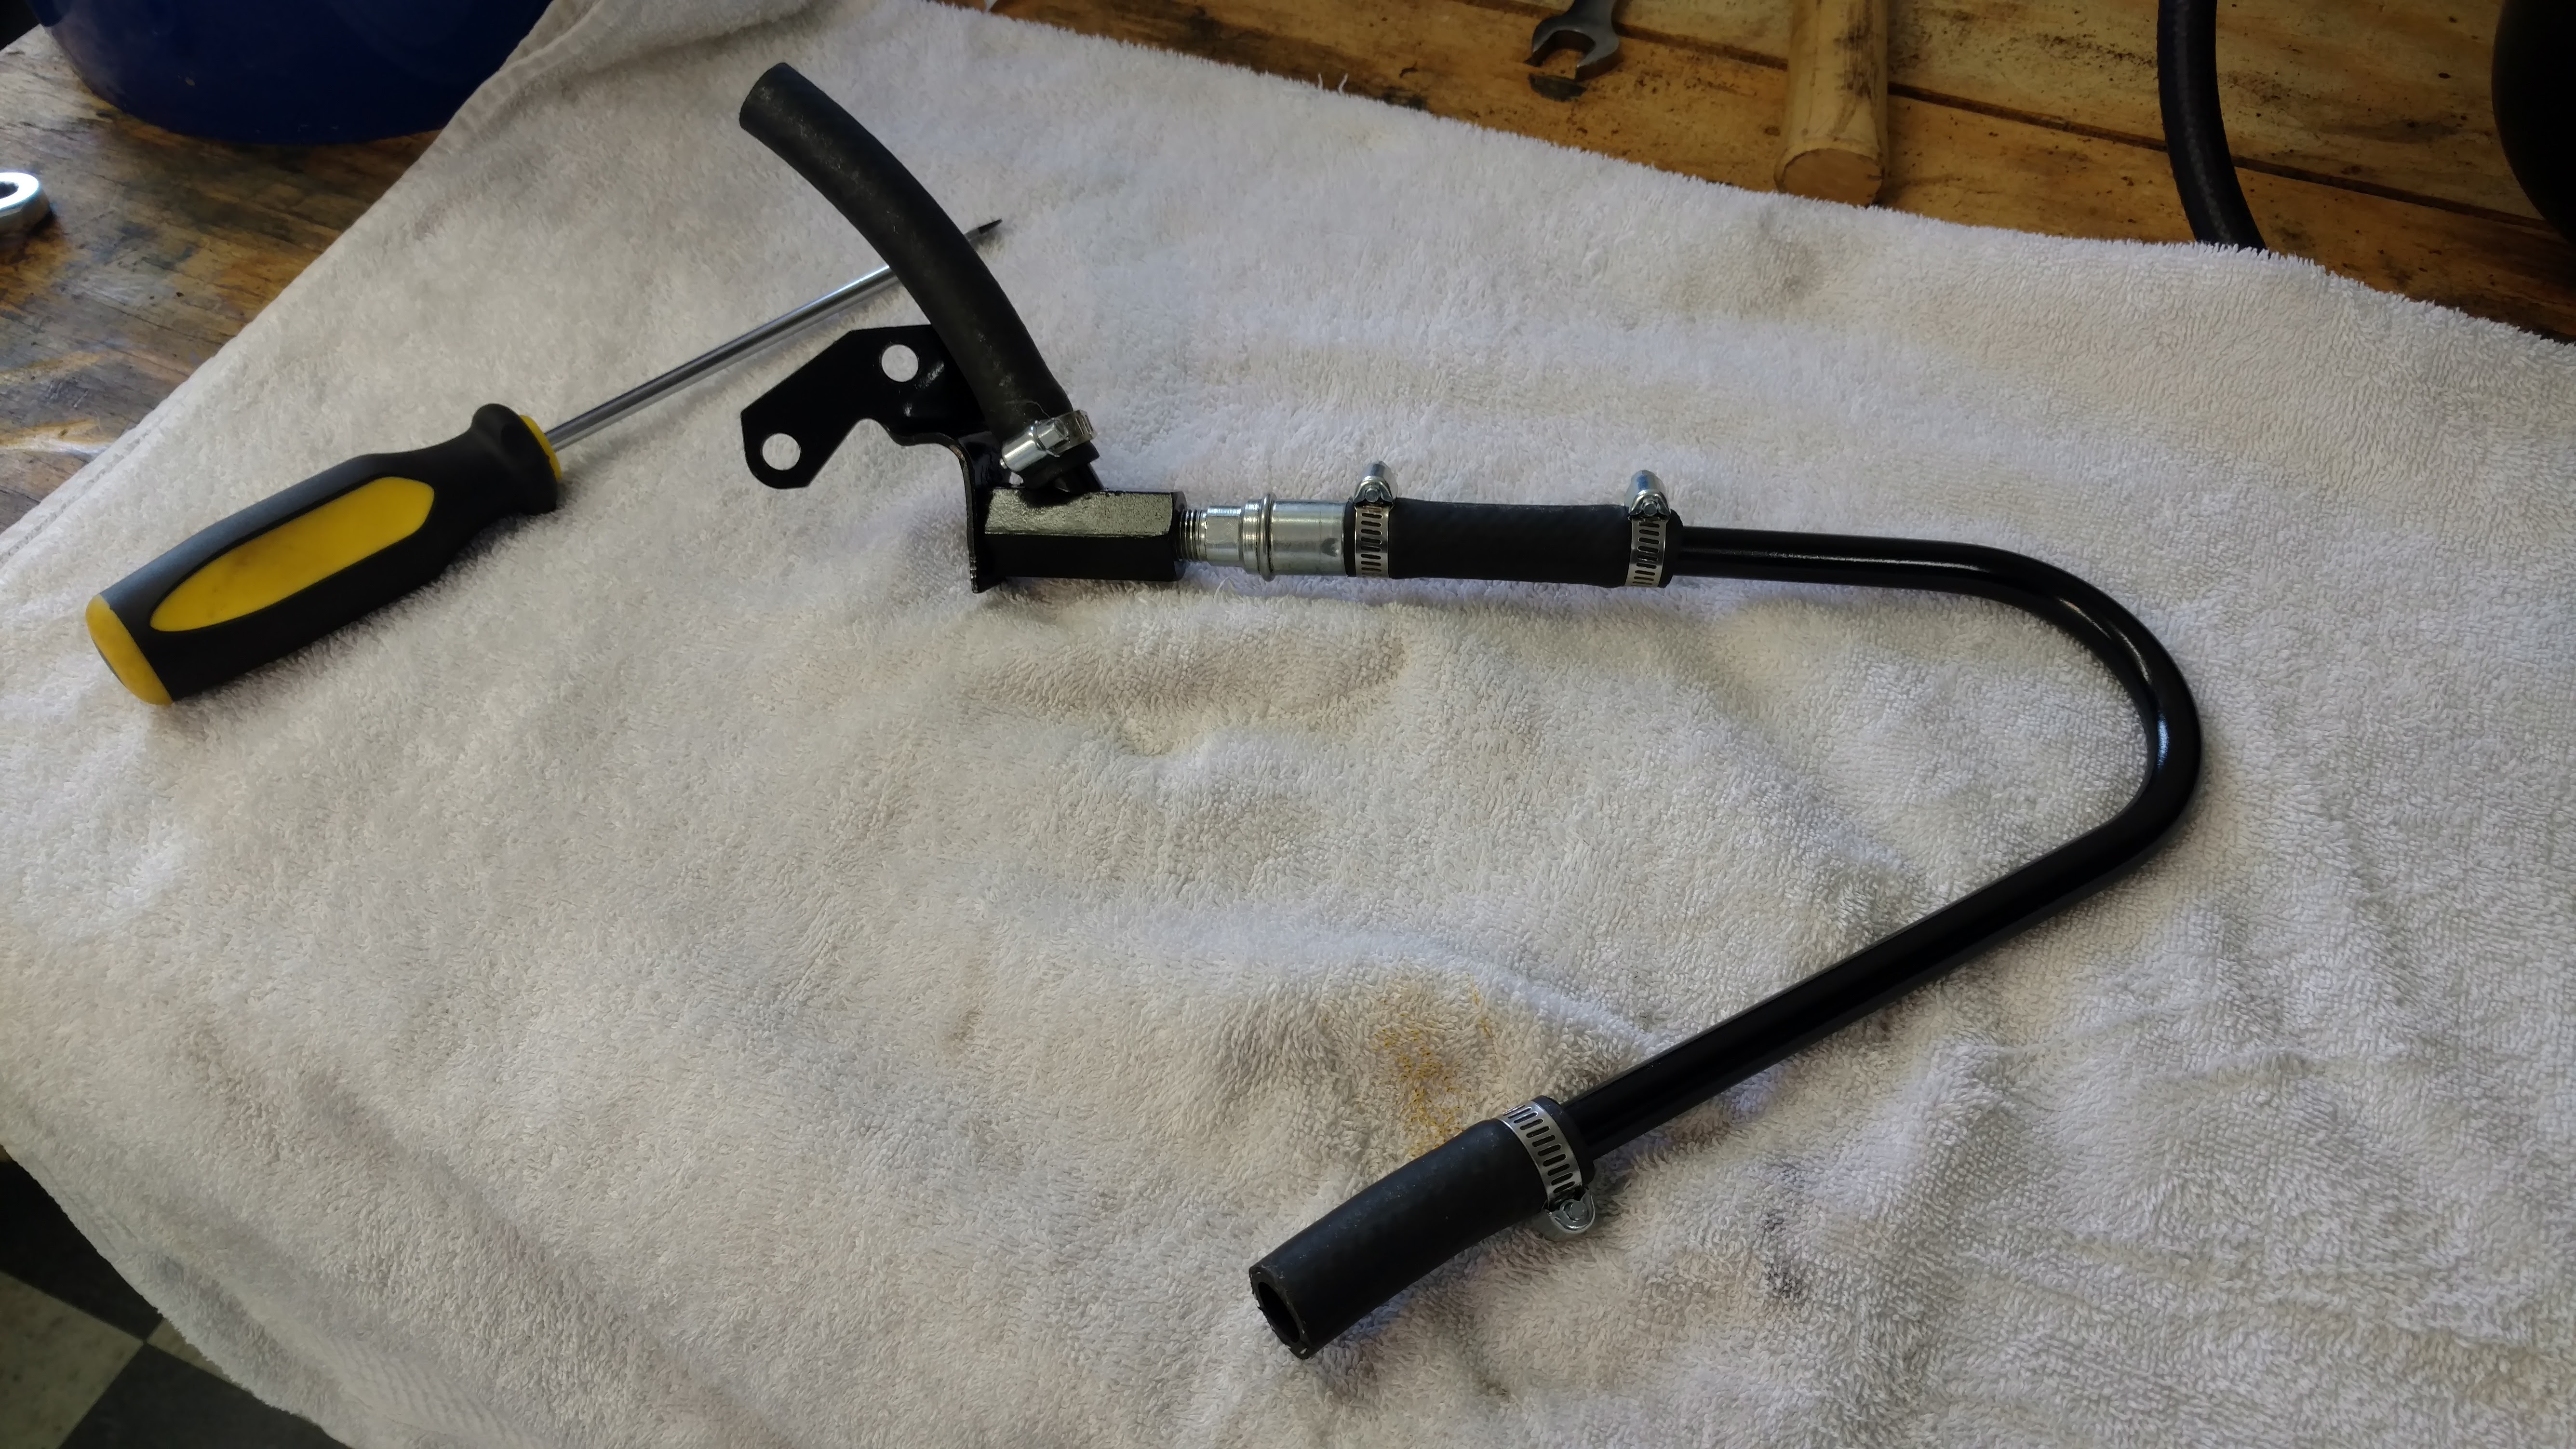
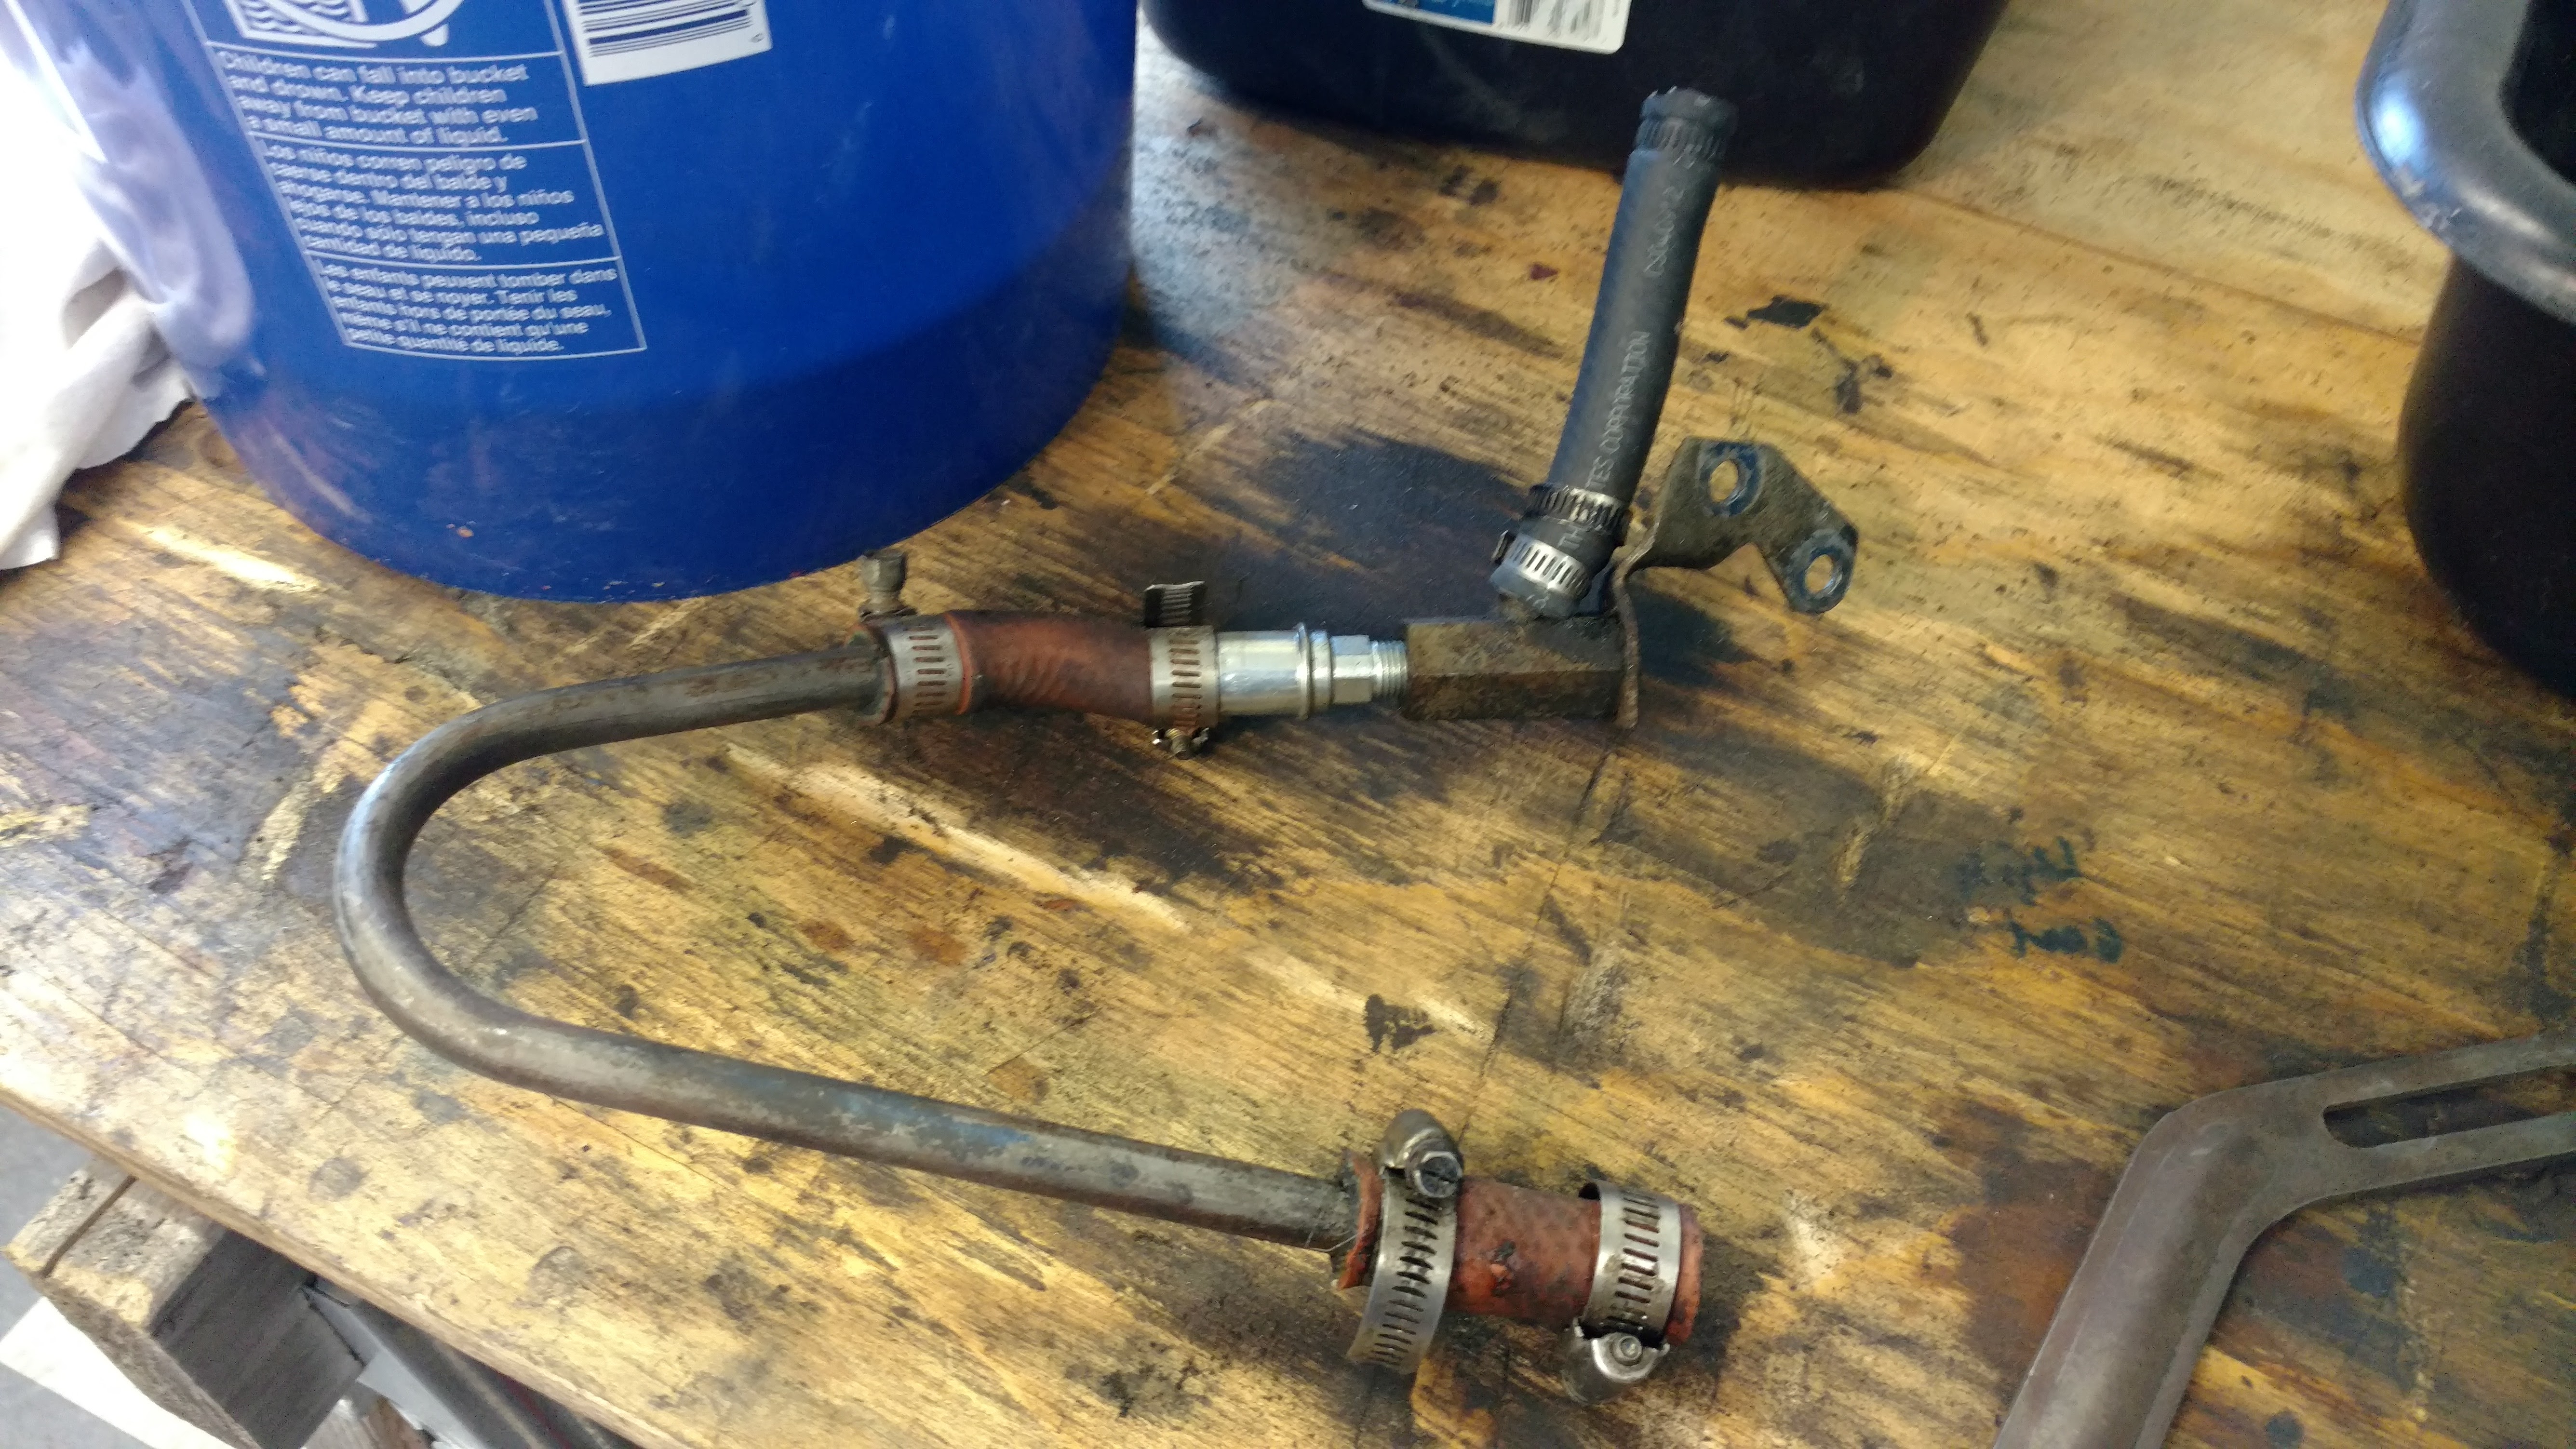
I also struggled with the dipstick tube. The one on the engine was in two pieces connected with a short piece of rubber fuel line. I bought a replacement and tried to install it after the motor was back in. The tube is a press fit and a pretty tight one at that. It’s curved, so tapping one end with a mallet doesn’t drive it in; it can’t be twisted in either—too many things interfere. I finally resorted to a grinder and file to shave the tube down a bit, then installed it with some sealant. I now understand why someone would cut the thing and install it the way it was. I’m not sure my way will be better, leak-wise.

While the garage would be better, this will do in the short term.

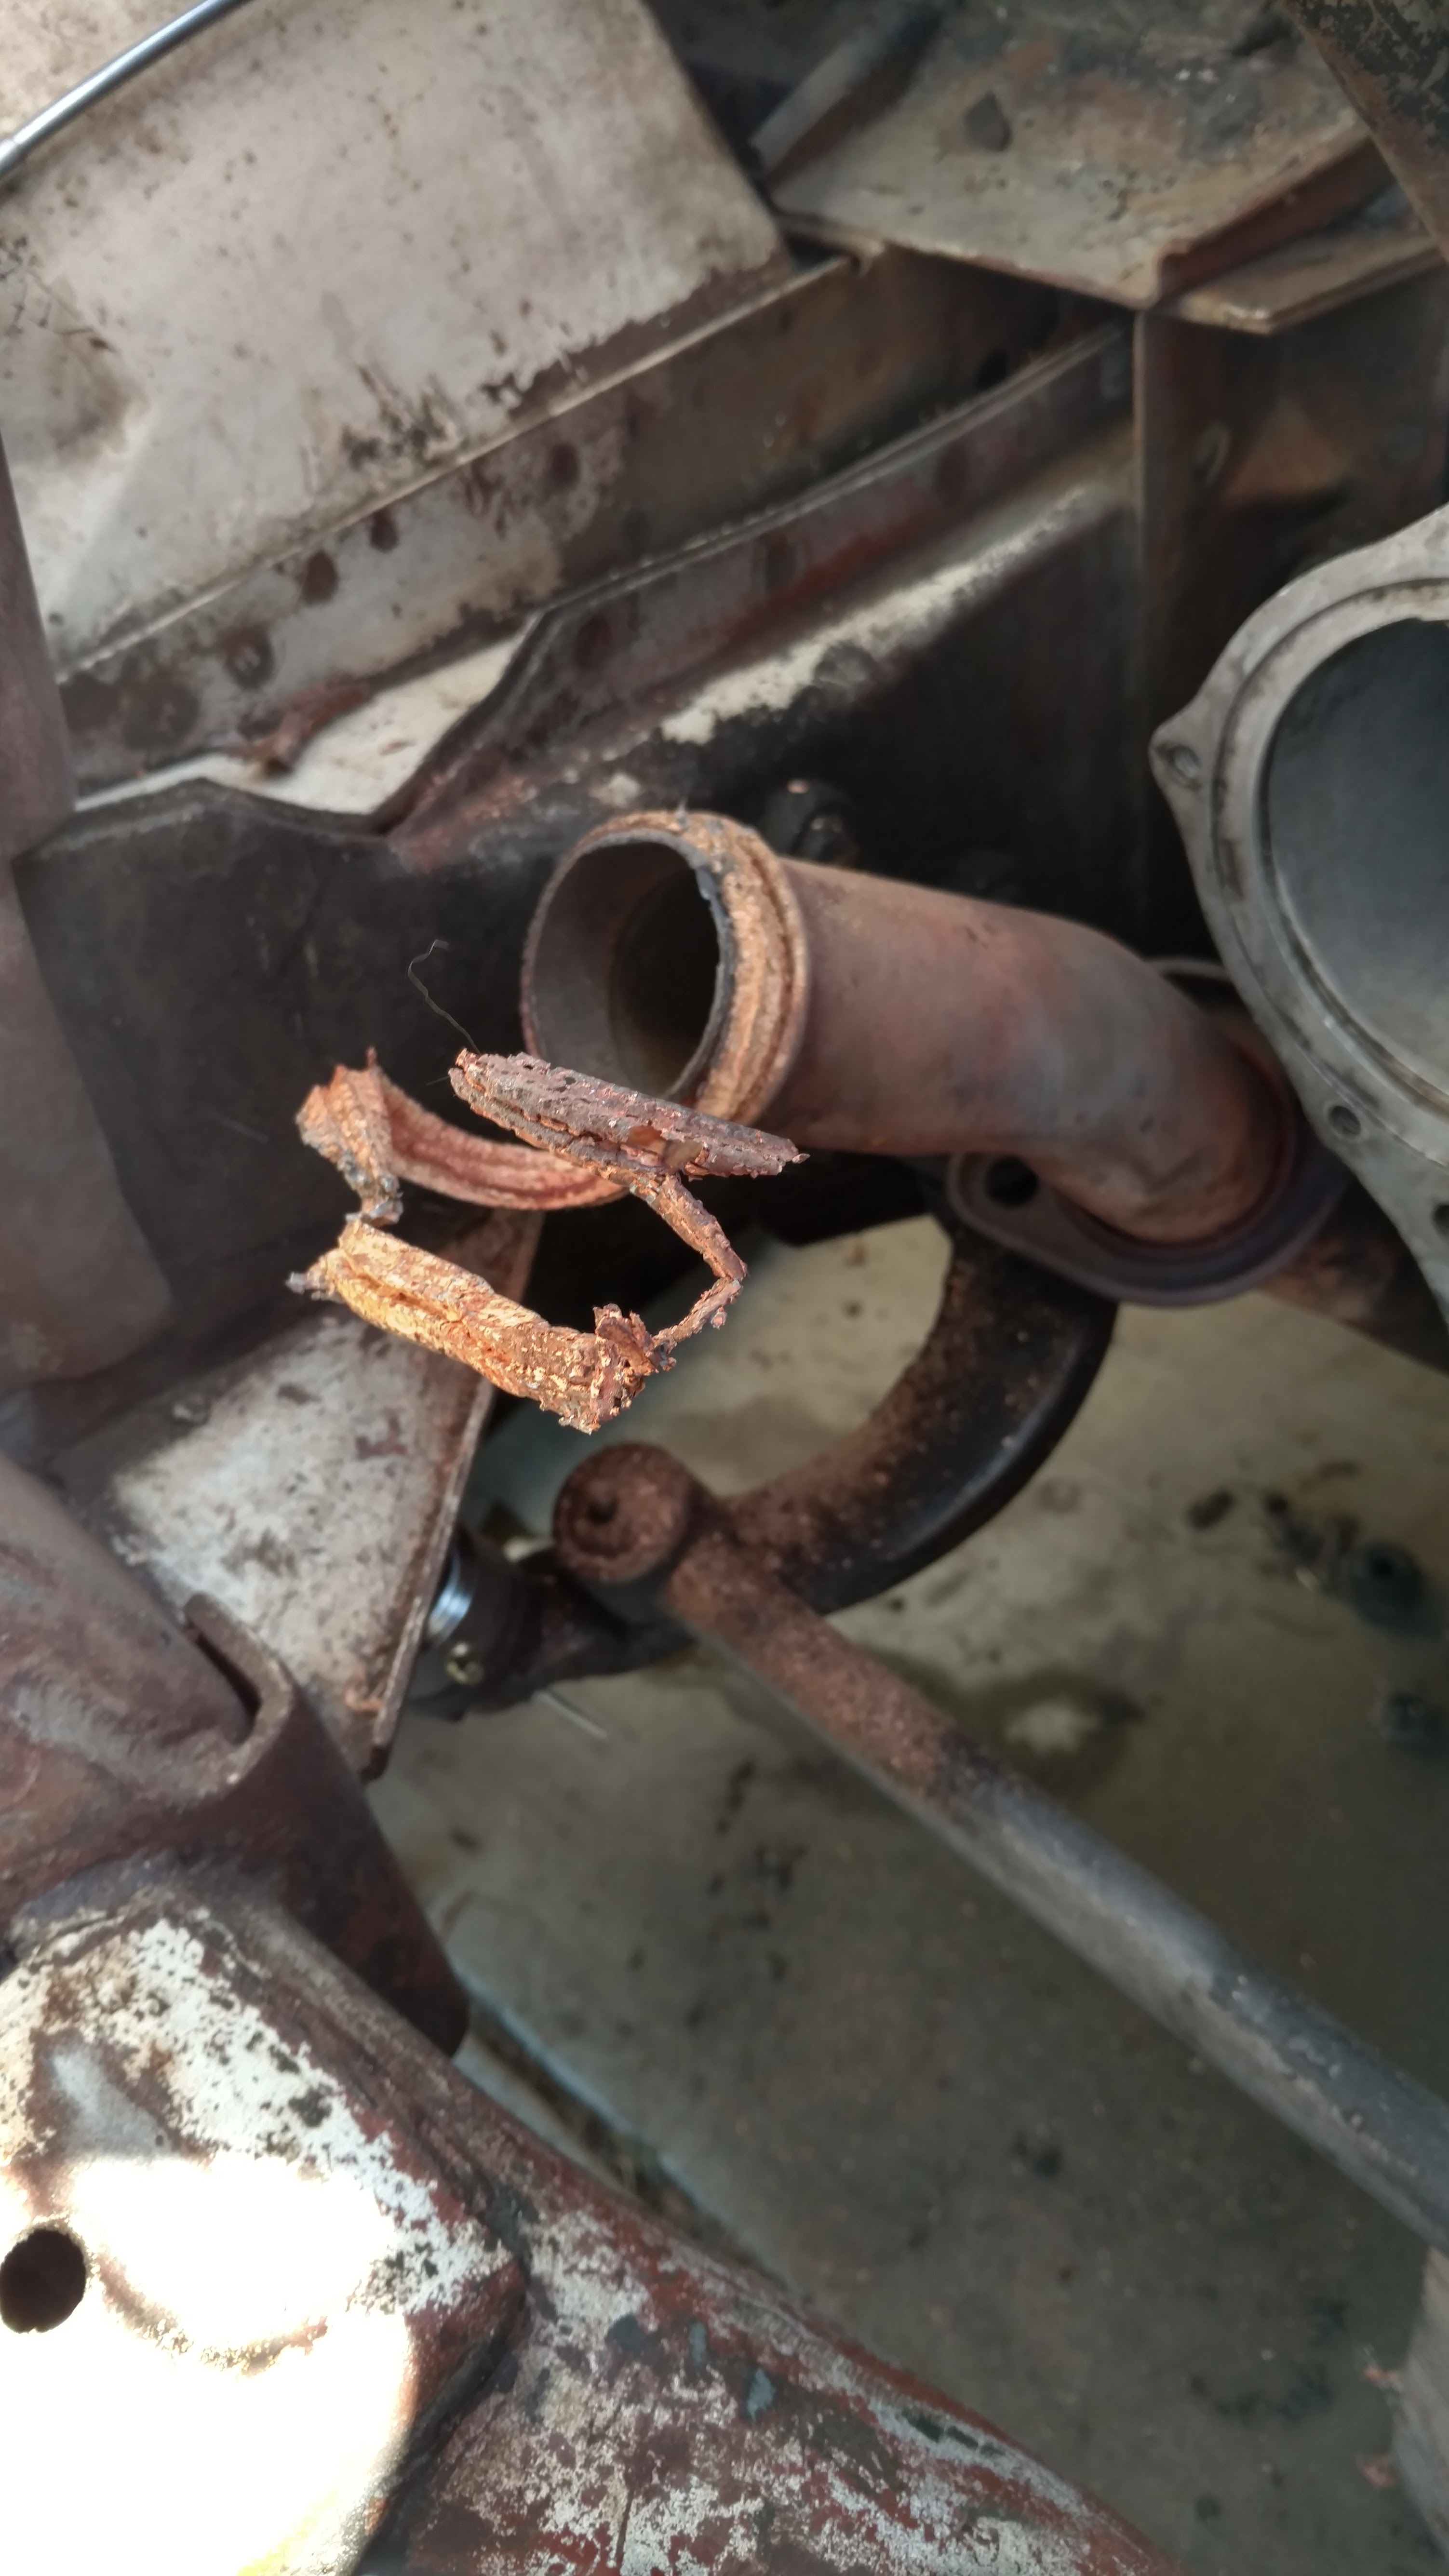
By the time the rain started, I had the alternator, radiator, fan, pcv system and other items installed. I still need to crawl under the car to get the exhaust hooked up and starter installed. On top, the power steering pump is cleaned and ready to go, including all new hoses.

Re-Engined

I broke out the compressor and spray gun last week and shot the motor with a coat of black engine enamel, then followed up with high-heat paint on the exhaust manifolds. With those installed, it was time to get the motor back where it belonged.

Ready to go with a coat of fresh paint.

On the day of installation, I crawled into the engine bay one last time to remove the old seals around the exhaust collectors. The replacements are round, soft-metal donuts, but the old ones are some kind of metal tape. I used a chisel and a hammer to break them free, then just unwrapped the rusty mess.

Gloved hands are best for working with this.

While there, I also checked on the torque converter. Chatting with my transmission guy, I learned that it needs to be fully seated—three clicks while pushing it in—or there’s a risk to internal transmission damage when the motor is drawn up to the bellhousing.

The most difficult part of the installation was lining up the studs on the torque converter with the holes in the flywheel. I worked underneath the car while my son operated the hoist and manhandled the motor into place. (My hoist, when pushed all the way up against the front bumper, held the engine just about an inch short of the bellhousing, so there was a lot of pushing involved at the end.)


The load leveller is a huge time-saver

The first time everything mated up, I could see that the converter was not in all the way—either I failed to seat it or it got pulled partially out while trying to get everything in place. We had the lift the motor away, enough to get a hand in there and push it back into place (and then start over!)

I left the motor mounts off the block during the install. It was one less thing to line up and think about. Once we had a couple of bolts holding the motor to the bellhousing, reinstalling the mounts was simple. From there, we could drop the motor all the way down and insert the bolts at the top of the housing.

The motor back in place

The hood is heavier than it looks and is definitely a two-man job. My son lives a fair distance away, so even though we were tired, we took a stab at putting it back on. Unfortunately, we lost control of it briefly and put a scratch in the cowl as a result. Except for that minor mishap, all went well. We needed three hours, all told, to get the motor in place.

There is still quite a lot of work to do before the engine is running, and even though much of that is under the car, we took it off the stands—just for fun—to see how the new stance looks with the shorter front springs.

New stance

I don’t see a dramatic change, but it certainly looks good back on the ground. The poor bird is filthy after a few months in the elements—I hope to get it cleaned up a bit this evening.