Many people are able to run the original 4100 Autolite carb on their ‘Birds, but I’m not destined to be one of them.
Checking the float level on the 4100 as a last resort.
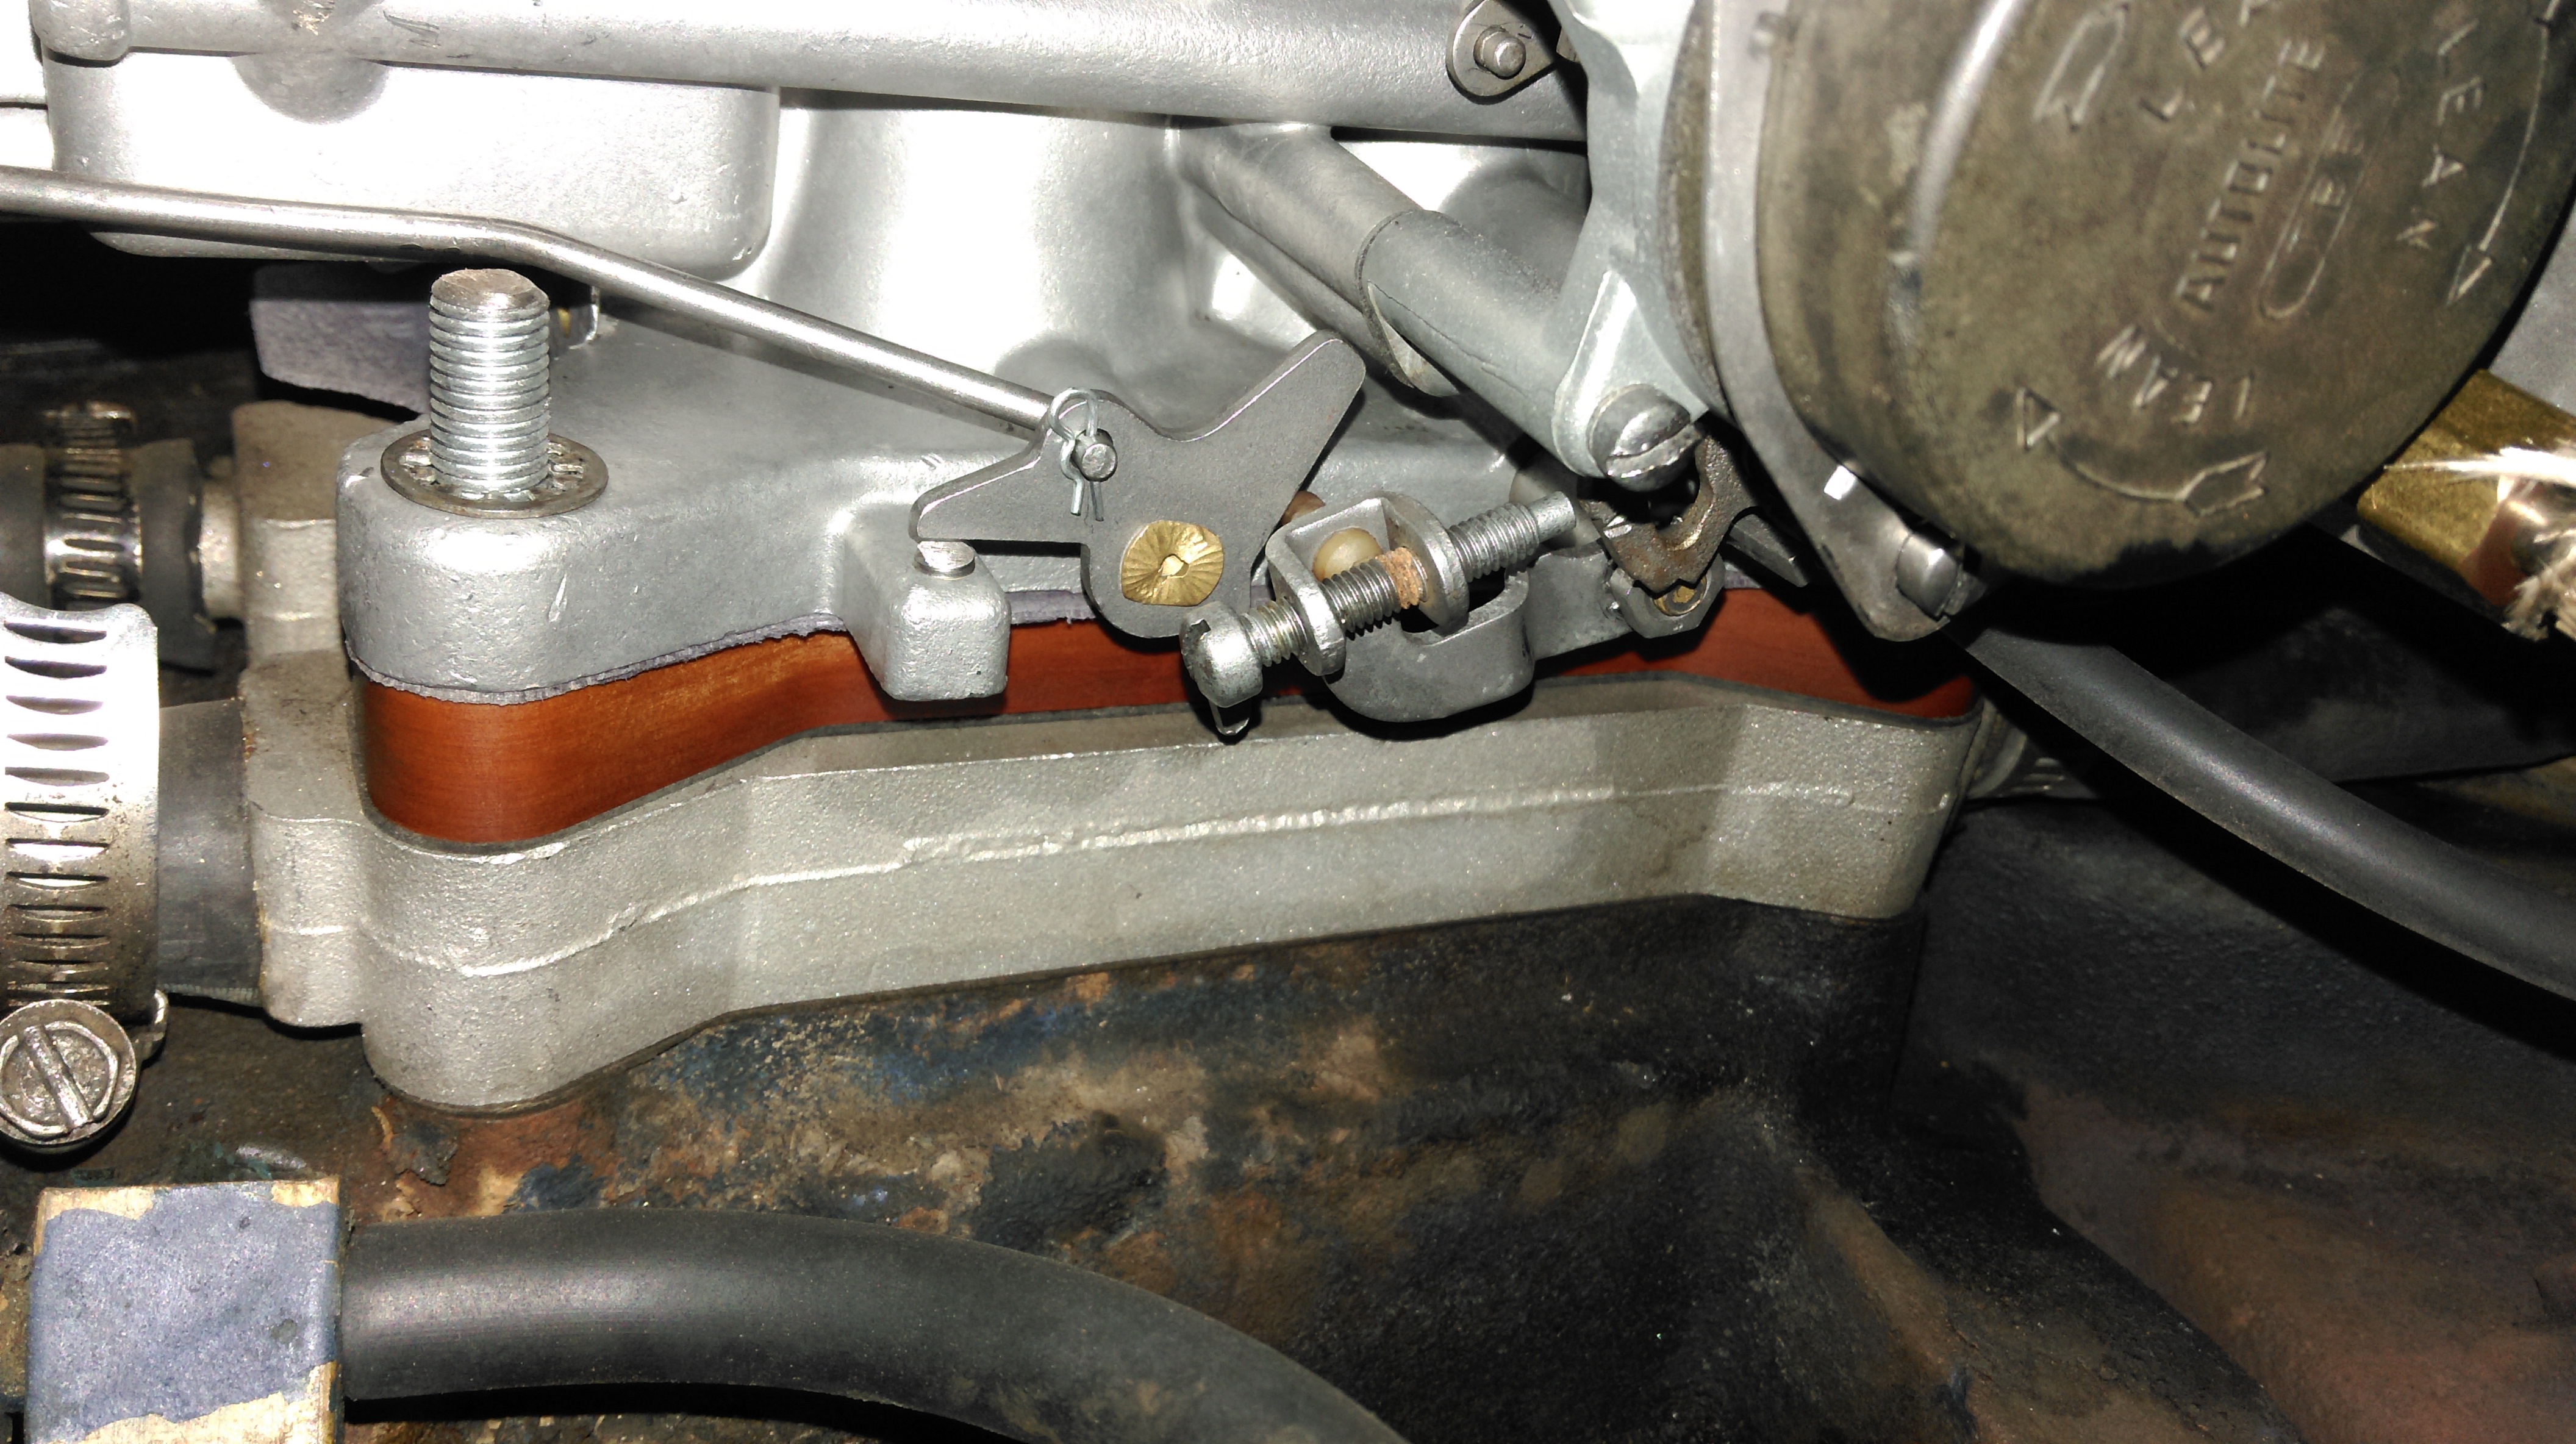
I swapped out the phenolic spacer, replaced the studs and mounted the 4100 just as it came from the factory. The results were identical to the earlier attempts: the engine would start easily, but would only run at very high revs. It ran slightly better with the idle adjustment screws run all the way out—and not at all with them most of the way in.
All the evidence points to a vacuum leak of some sort, but after all the time and energy expended—flattening and repairing the base, repeated disassembly, etc—I still have no idea where the leak(s) might be.
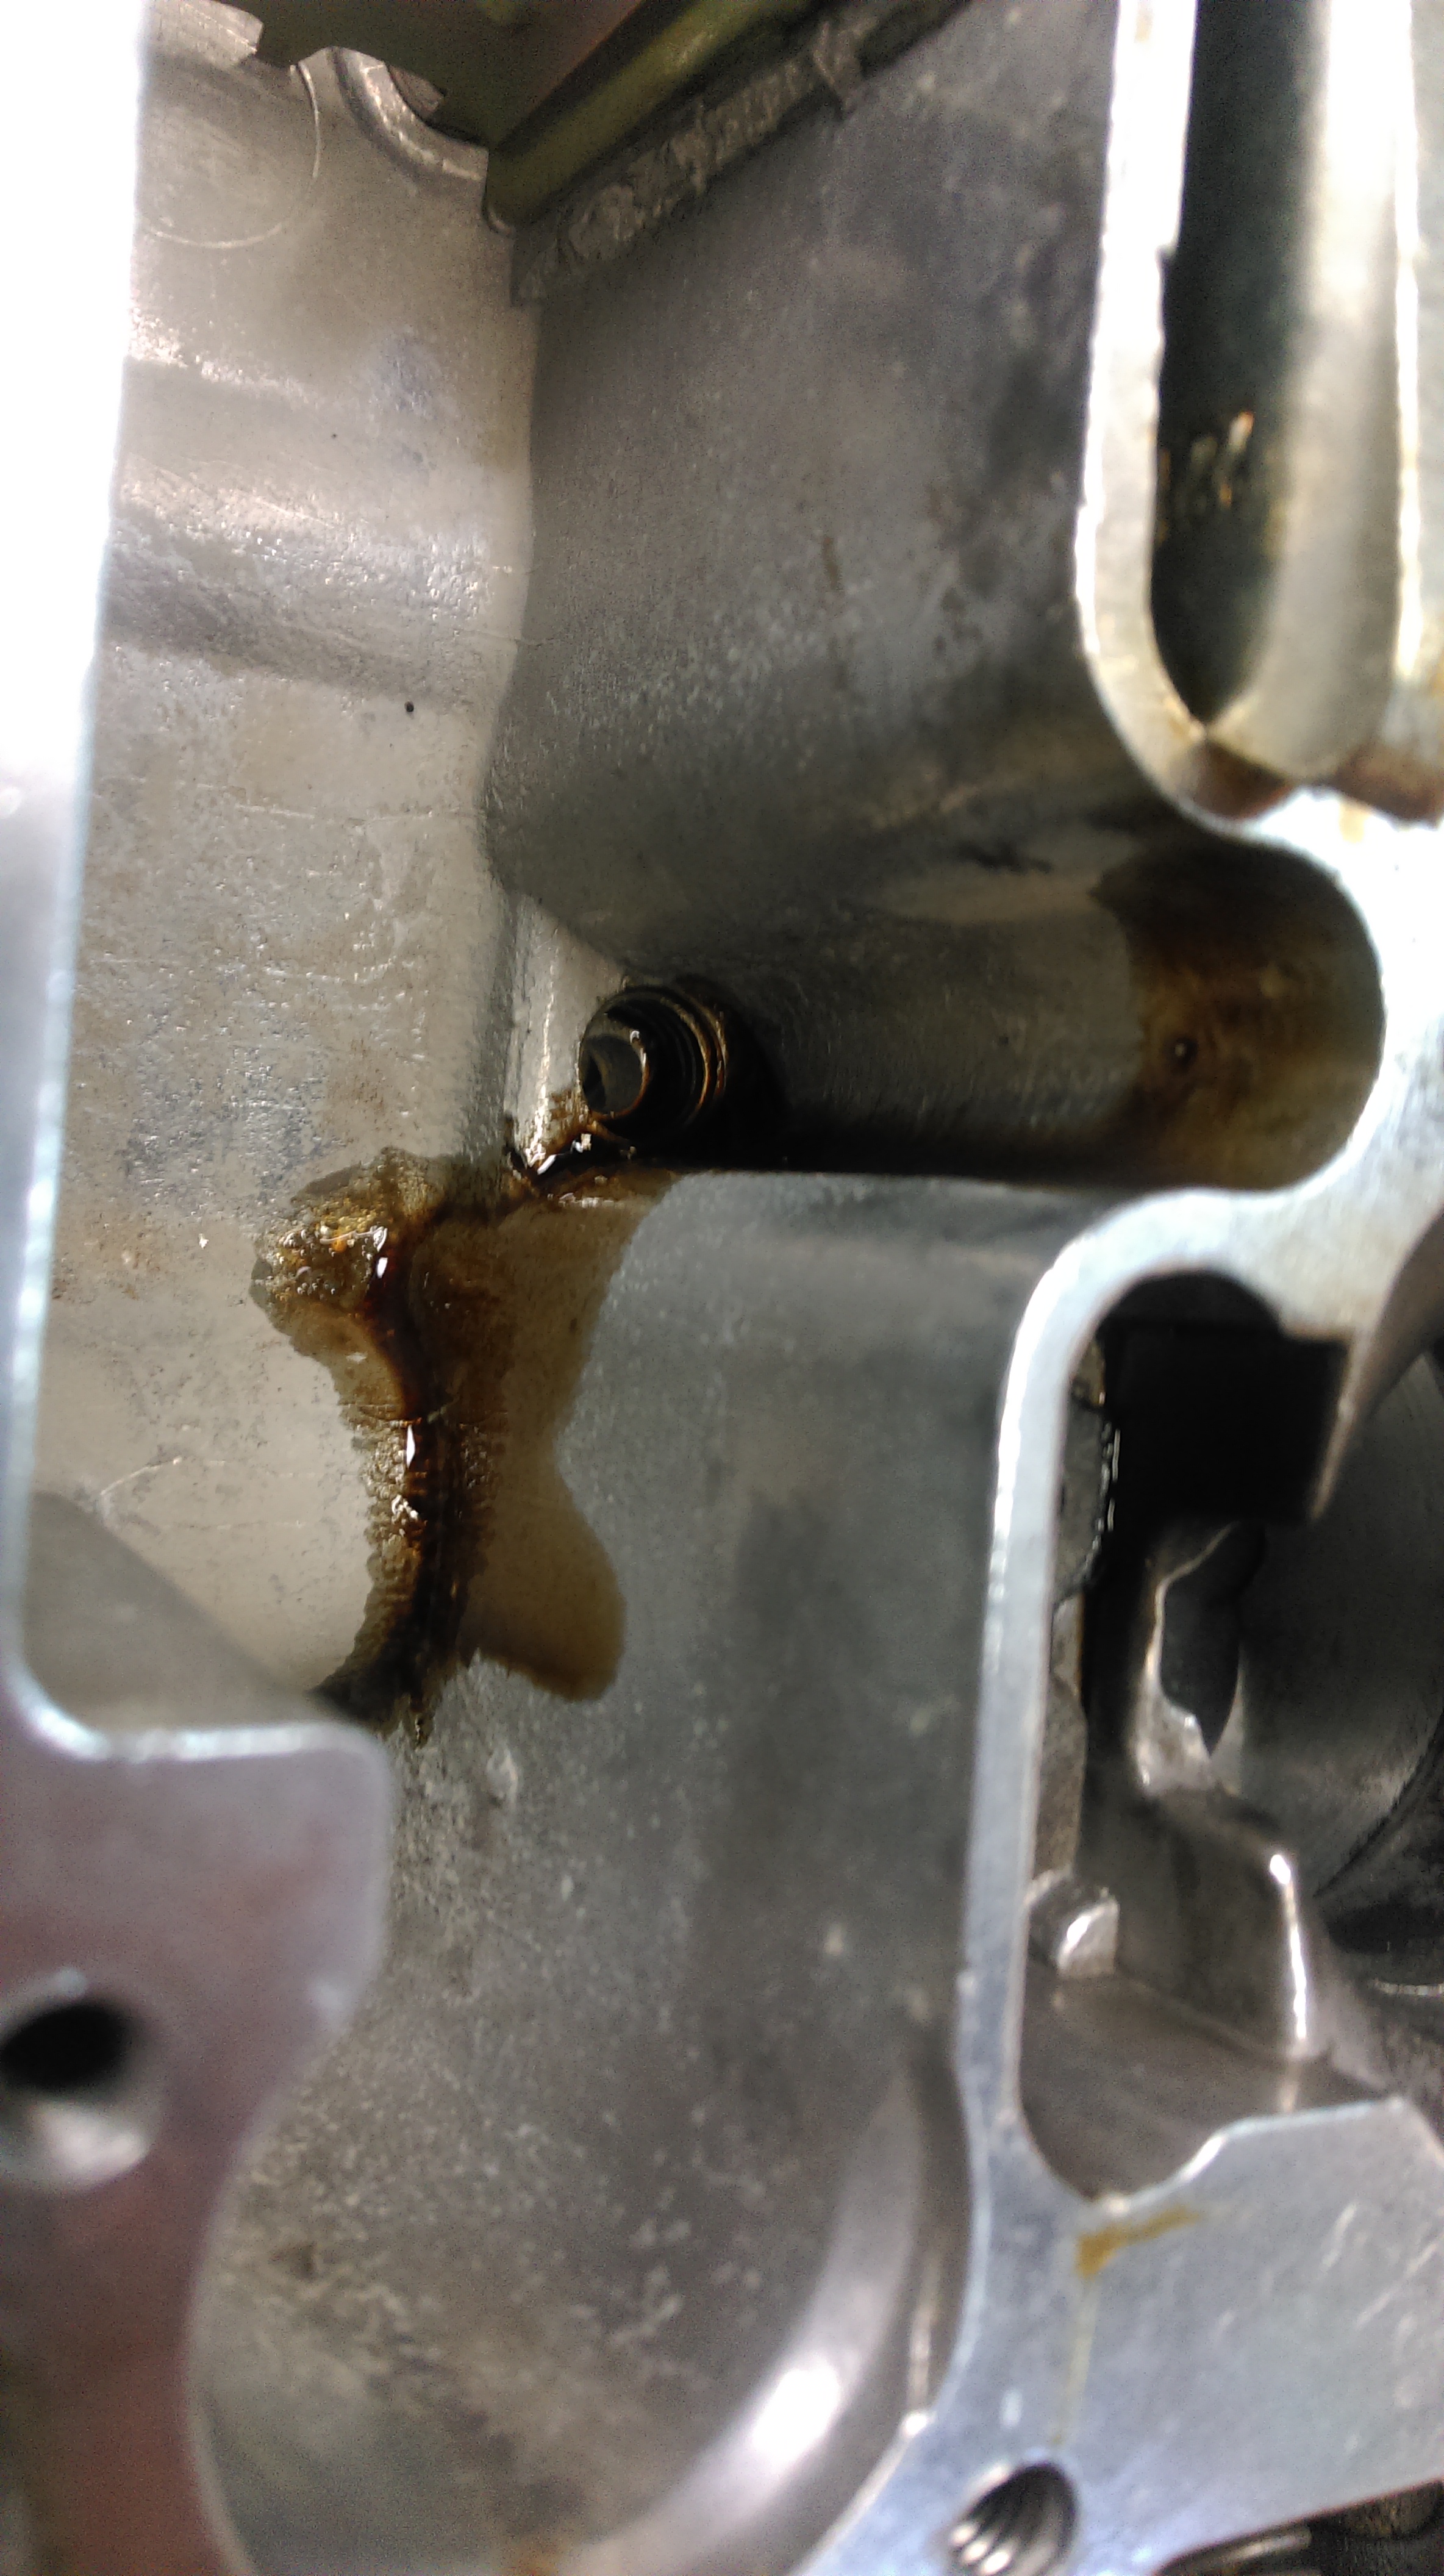
Oily goo coming out of the main jets
So, I’m done with it.
I’ll donate the carb to my son’s shop class where it can spend the remainder of its years as a learning tool.
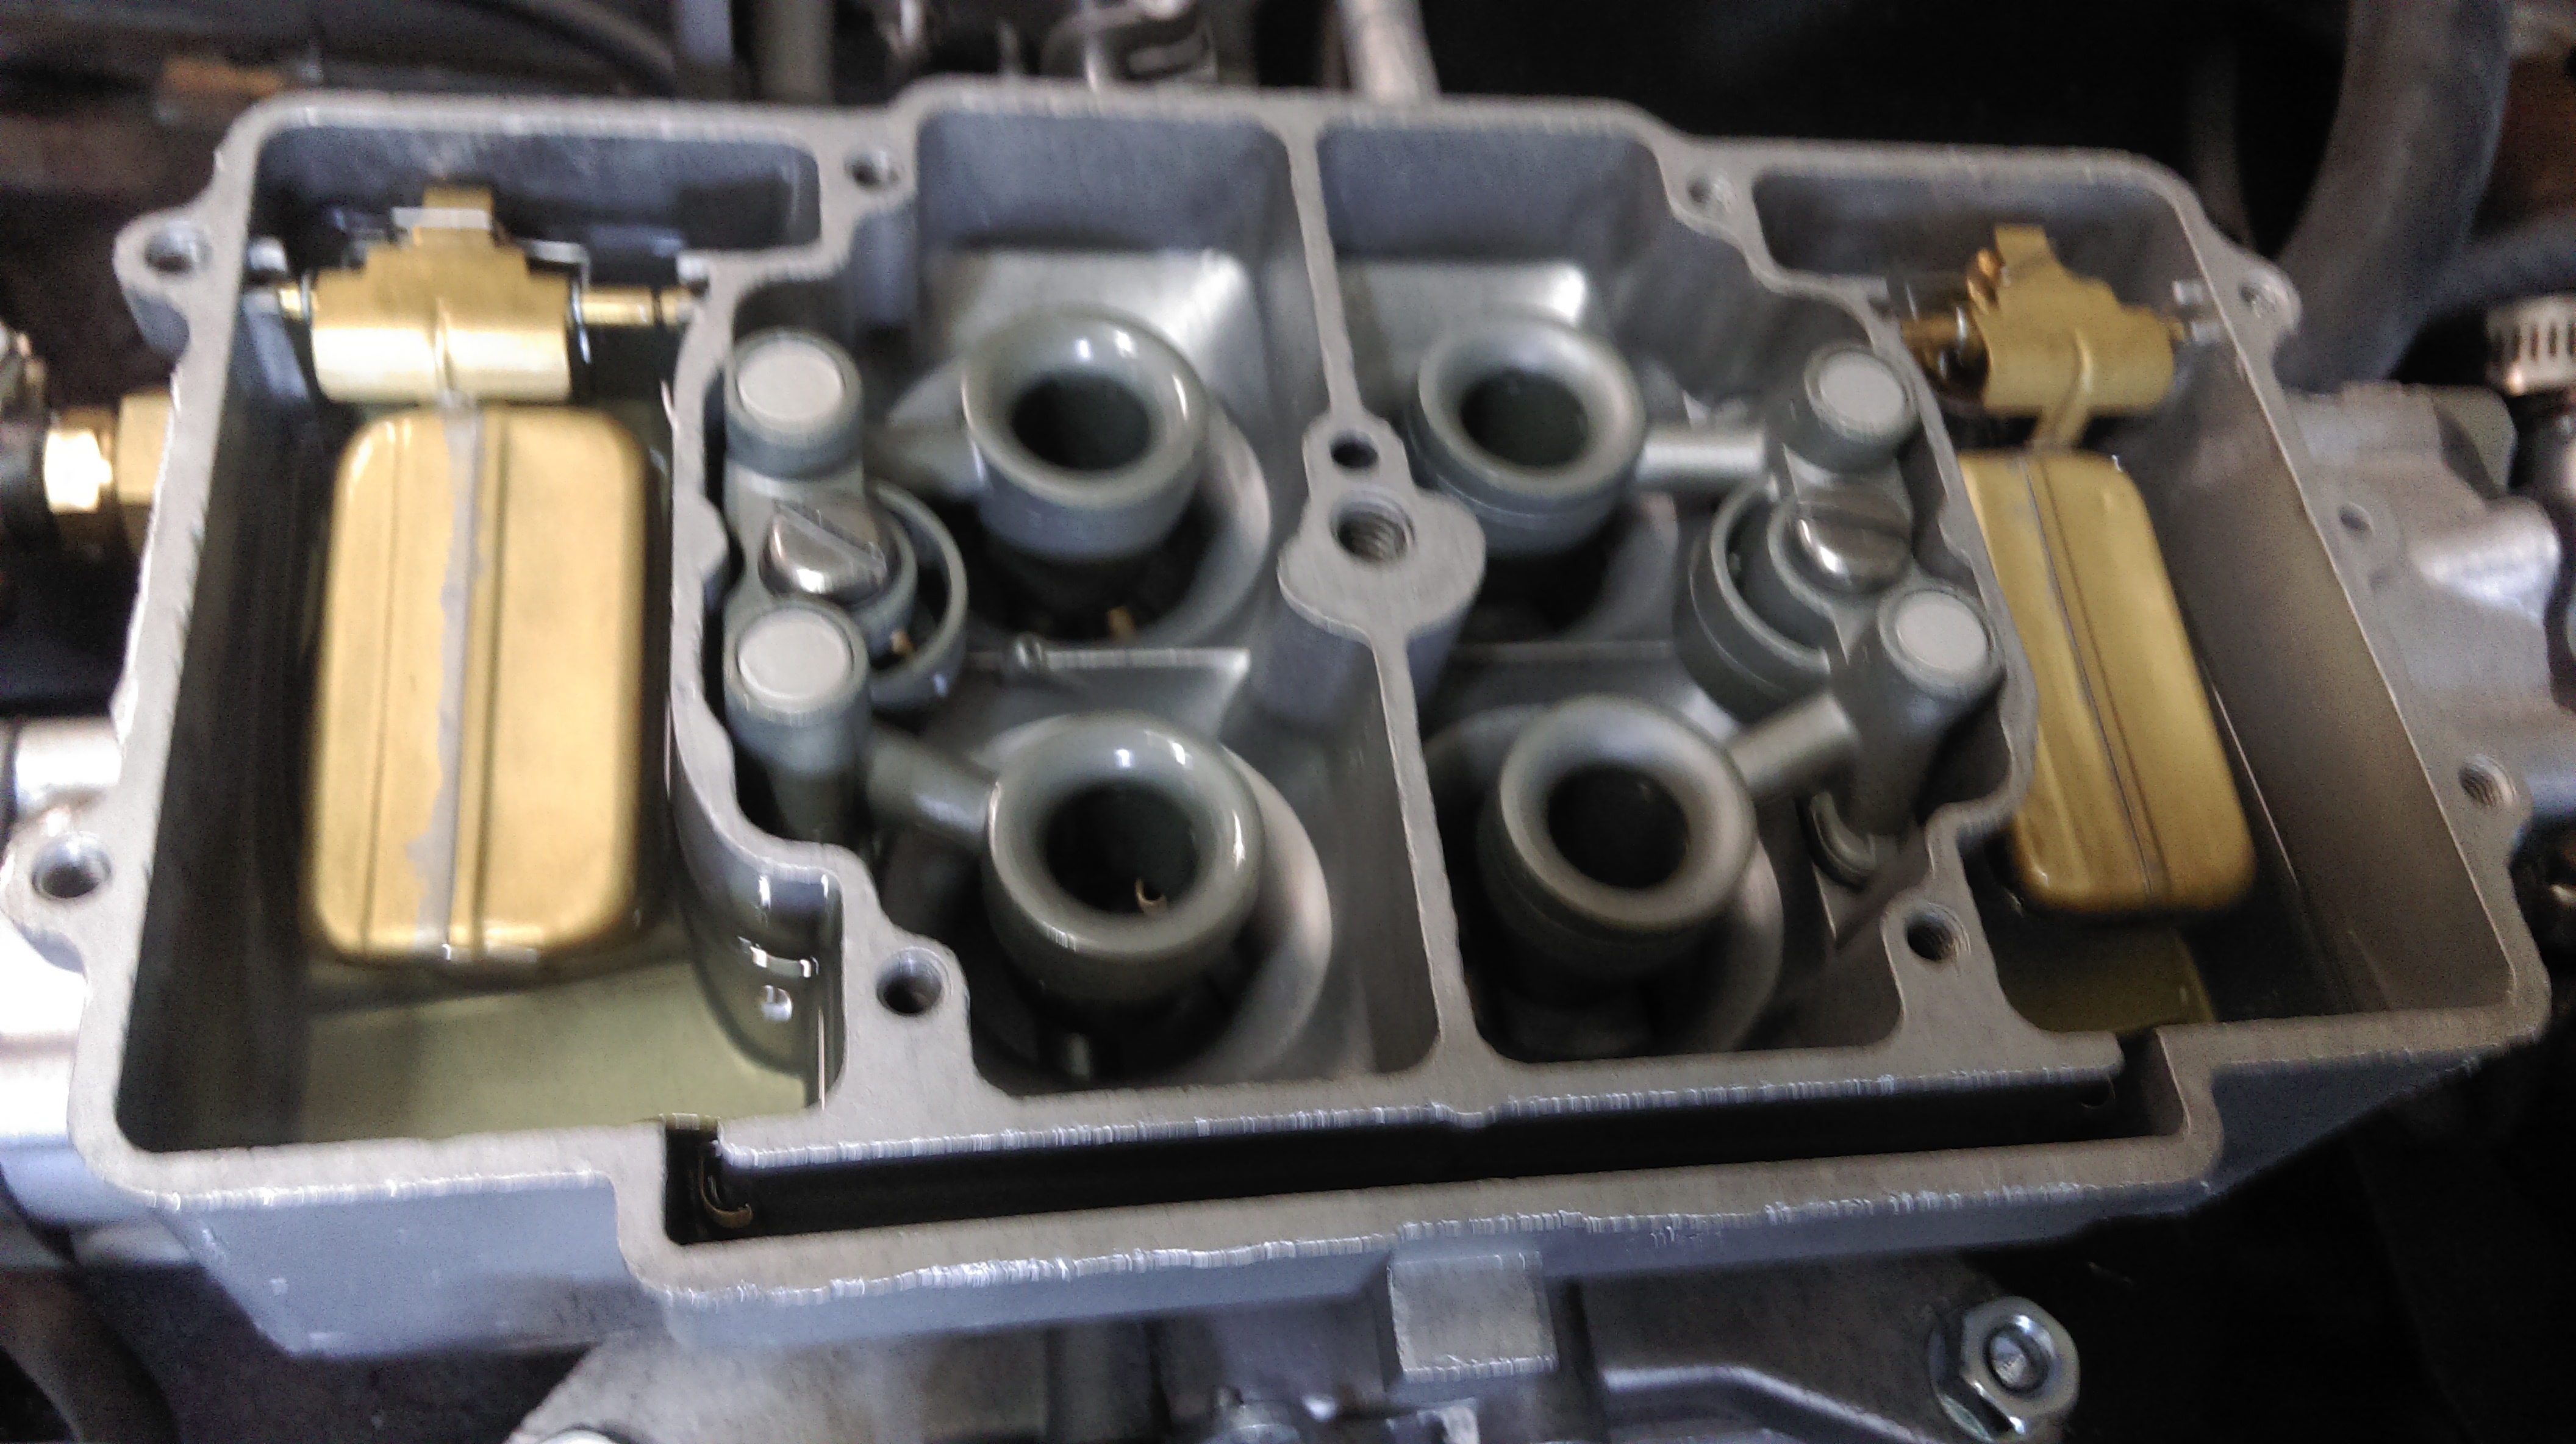
Turning my attention back to the Edelbrock, I turned it over trying to remove the check valve only to discover a thick, oily substance oozing from the main jets (and a few other places). Since there’s no way this could be actual oil, I’m assuming it’s some kind of gasoline residue—how or why I don’t know.
Parts of the carb are soaking in cleaner. The seals and gaskets look good, so I’ll try a clean-and-reassemble before I fork out money for a rebuild kit.
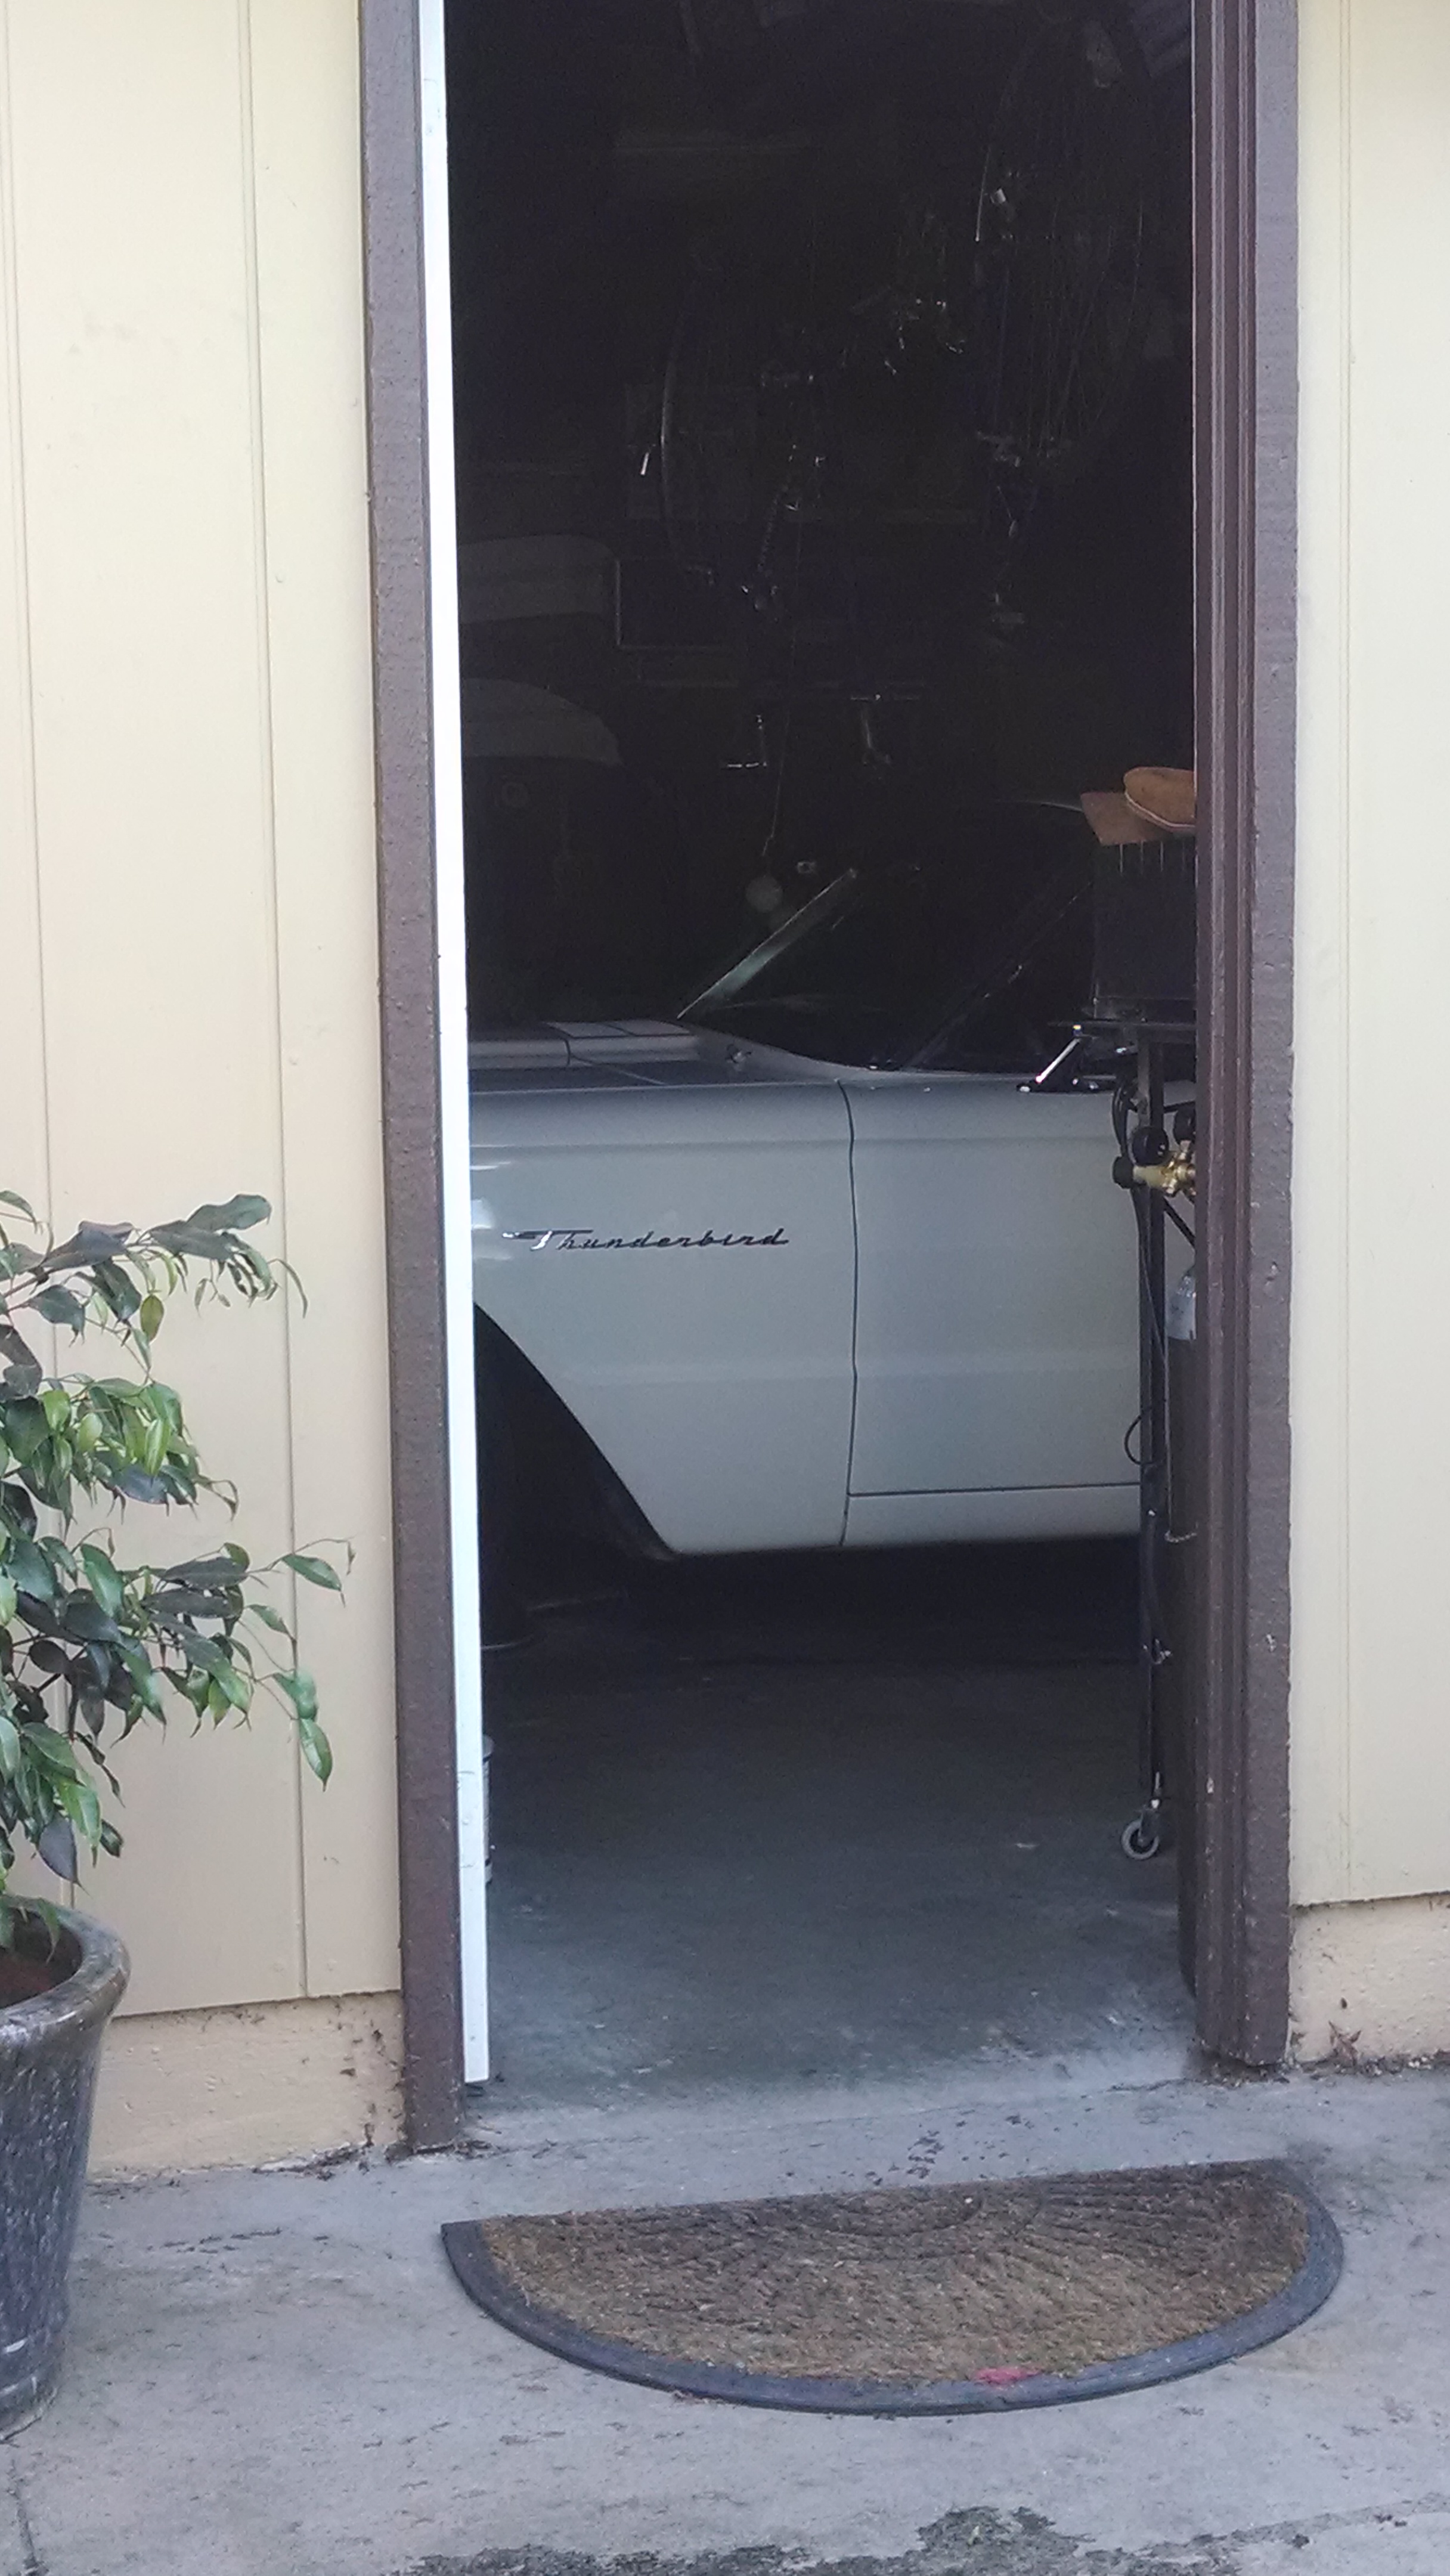
I’ve been struggling with very hard warm starts the past few months. It first, it was a fairly uncommon event, but lately I’ve been unable to start the car when it’s warm except with great difficulty. Last week, after a short 3-4 mile trip and two hours sitting in the parking lot, I cranked for 2-3 minutes with no result. I finally more-or-less flooded the carb by continuously pumping the pedal to get it running. It fired up eventually, but with enough white smoke out the back to worry the local air resources board.
Well, the car is hardly usable if I have to let it get ice cold between starts. (Cold starts are easy–go figure!) So, I took the car out of commission, pulled the Edelbrock off and—after hunting around in the garage for the miscellaneous small parts I needed—installed the Autolite I worked on a while back.
Phenolic spacer (yellow part in between) doesn’t quite fill the gap.
Starting it up yesterday, I found the same difficulty I had before. It runs, but only at high throttle. I sprayed a little starter fluid around the joint between the carb and the spacer, and it definitely has a huge vacuum leak there, which seemed a little odd since I just flattened and cleaned up the base.
Looking more closely, I noticed that the phenolic spacer I have under the carb is not a perfect match with the base of the Autolite. I haven’t pulled it off yet, but I’m betting that air is getting past the gasket where the carb overlaps the spacer.
A little hard to see the details, but there are beaches forming in both bowls.
I don’t want to cut down the mounting studs I have (in case I reinstall the Edelbrock) and I couldn’t locate any replacements yesterday, so this project is still in the works. I’m hopeful, though, that I can get the Autolite working this week.
Oh, and the Edelbrock? I pulled the top off it and found bowls full of fine sediment. Chances are the whole carb is clogged up with this stuff! Given that there’s a massive paper filter in the fuel pump (or is there?), I have no idea how this happened. I’ll be installing an inline filter this week too, I guess.
The car is running beautifully, and the driving weather has been superb. There’s little chance I’ll be taking the bird out of service for any extended projects in the next few months, but I do have a few smaller jobs waiting in the wings—just in case I have a free weekend over the summer.
New rubber for the rear springs. Less rattle on bumpy roads.
Probably at the top of this list is new rubber bushings for the rear leaf springs. I measured the stance of the car and found no droop in the rear, but I do get a lot of rattling around back there over bumps. I believe that swapping out the old for the new pretty easy project, but the prospect of stuck bolts and springs under tension have kept the new bushings in the box for some months now.
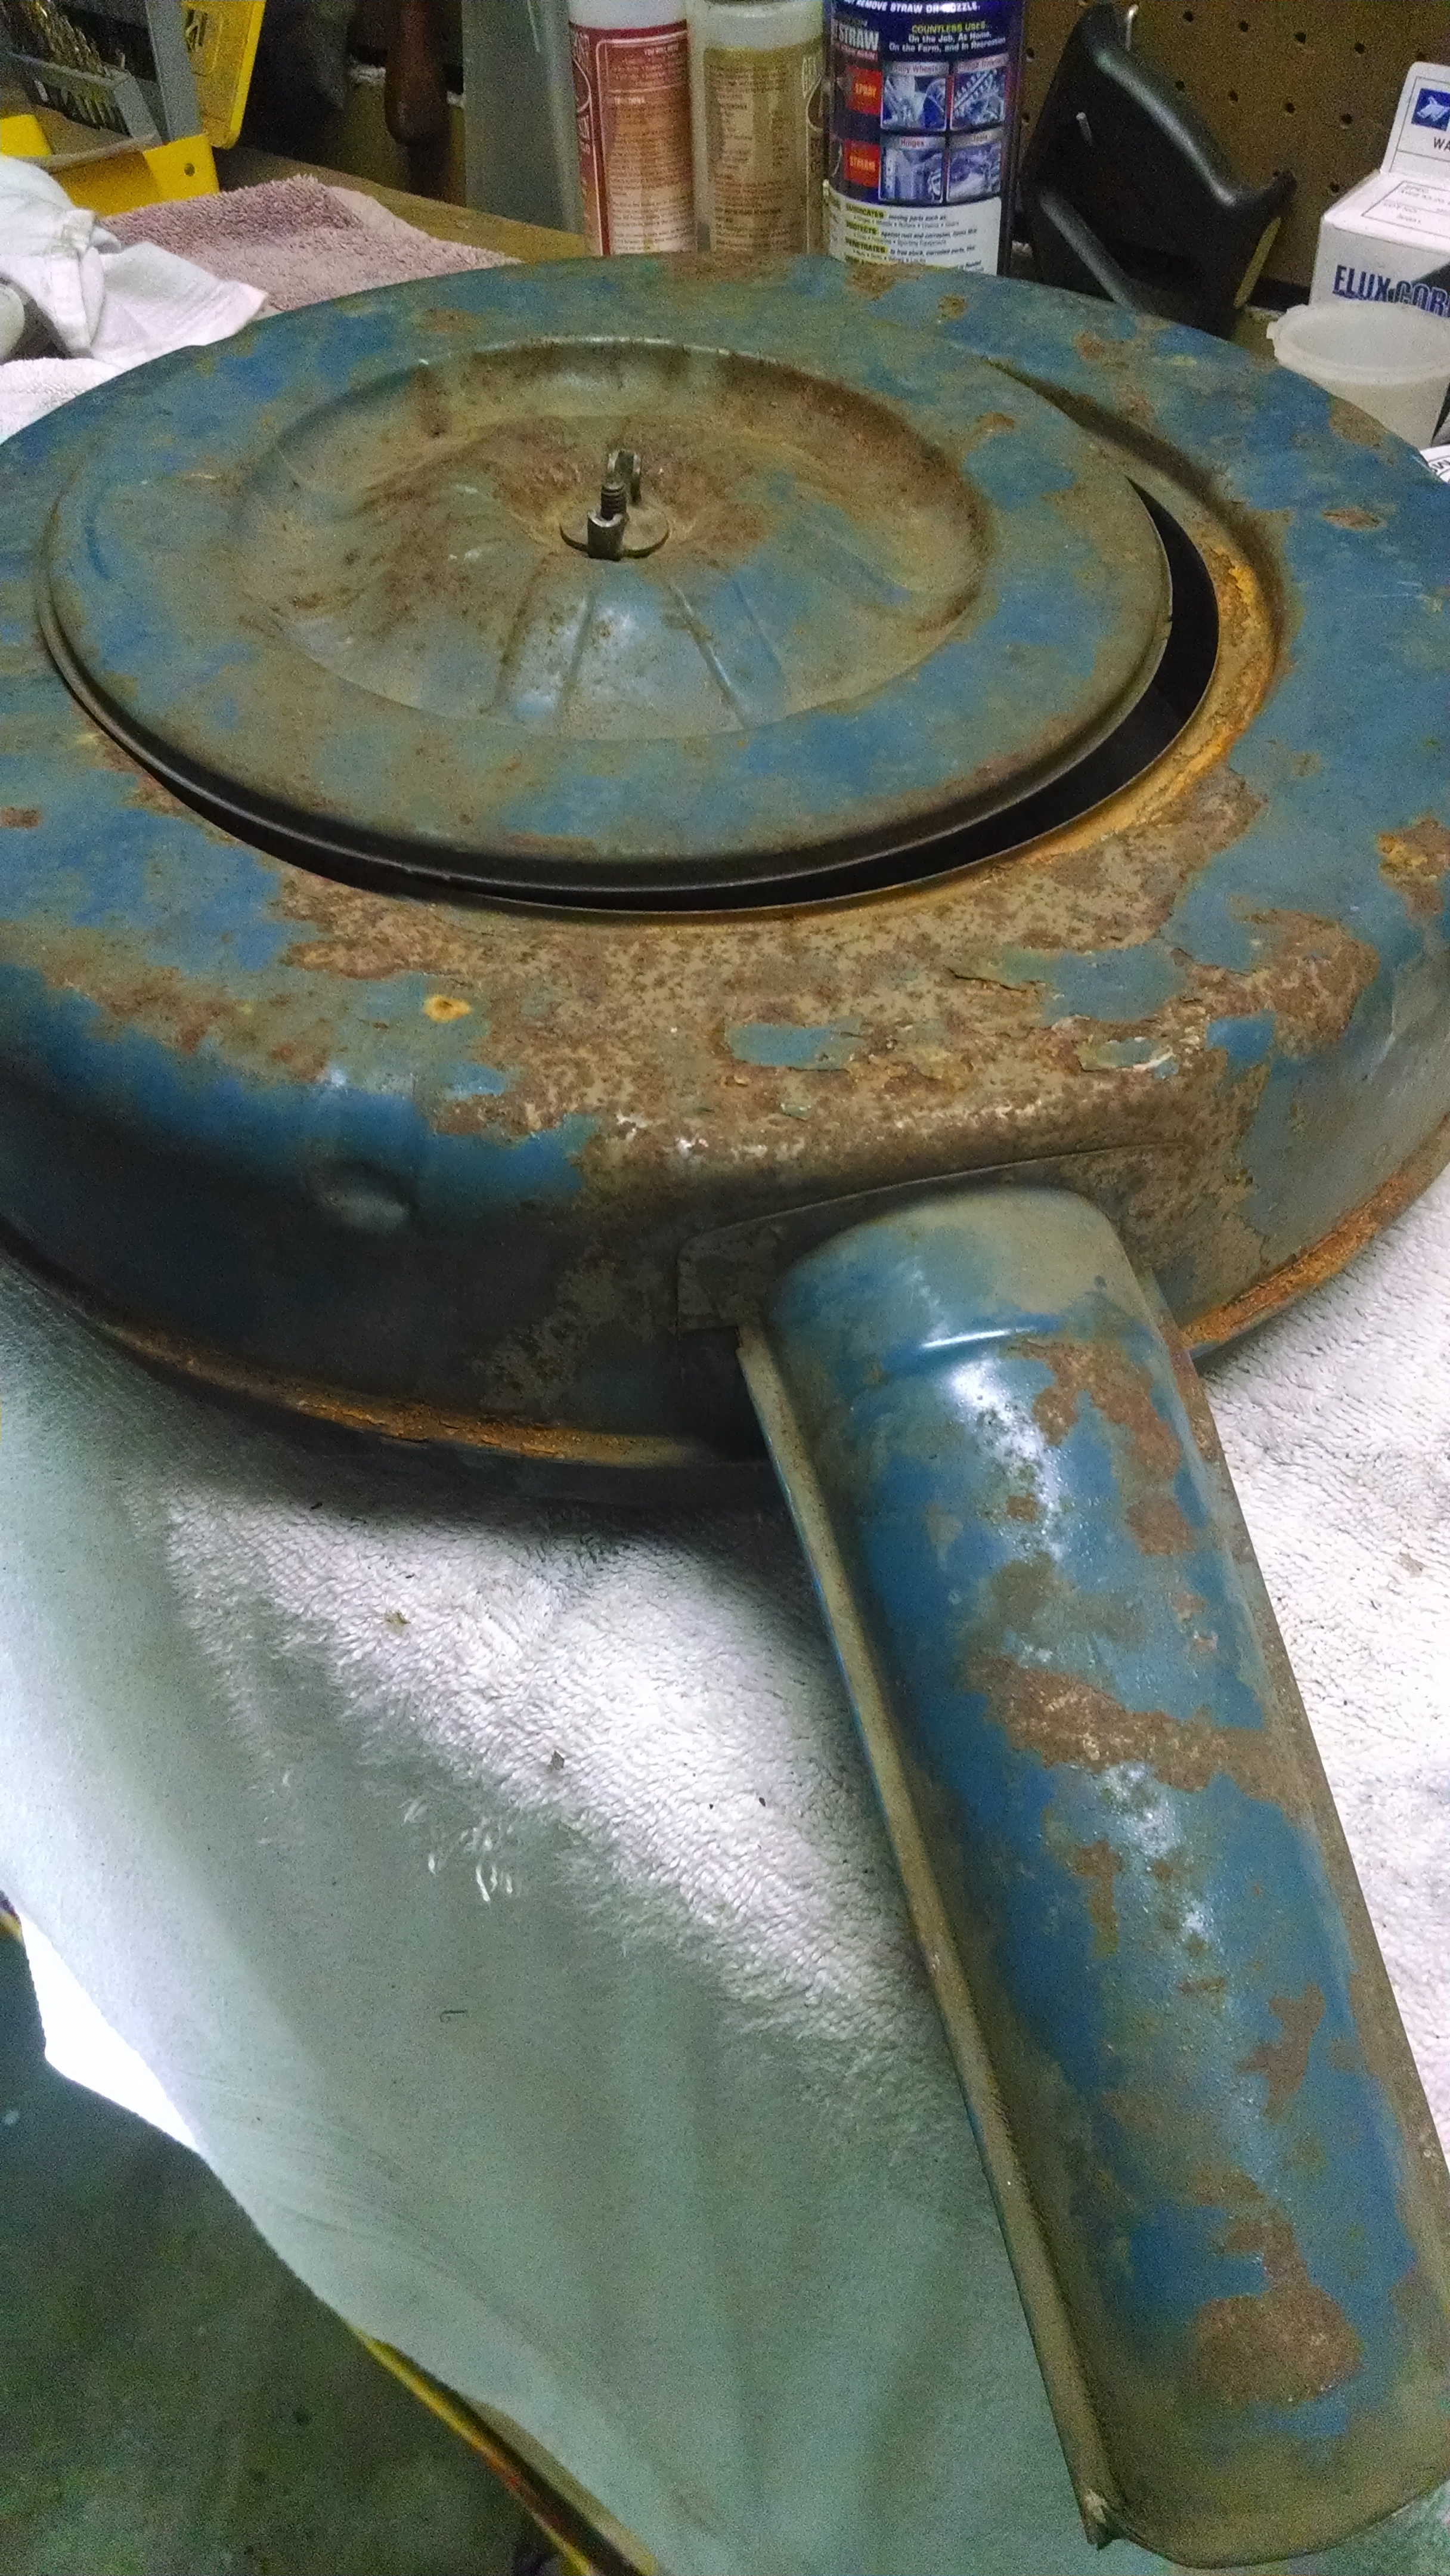
In a moment of boredom last week, I found a decent original air cleaner assembly at a reasonable price, as well as a potentially good turn signal switch on eBay. I ordered both, and they are now on my bench, waiting expectantly.
Not as rusty as the photo would suggest.
The air cleaner will take some cleaning up. With it, though, I could take another stab at installing the Autolite carb I have on the shelf. Last year, I was unable to get it to idle—an issue that should be relatively simple to trace, though I didn’t have the patience for it at the time. Bringing this all back to original would also allow me to reinstall the hood insulation, quieting the car a bit more.
I will have to be pretty bored to tackle the turn signal switch—it will take some disassembly of the column in-situ and require quite a lot of time under the dash. Still, it would be nice to have the horn working, and I’m getting a little tired of the non-canceling right turn signal.
Long-term, I’m planning to revamp the front suspension, which rattles and squeaks under the right conditions. The project will include ball joints, tie rod ends and the control arm joints. With luck, I will also have time to replace the leaky steering box.
I took the car out after dark for the first time since the dash rebuild and discovered that the bulb illuminating the gear selector was (still!) out. This bulb has never worked, and it just wasn’t worth it before to dig down and figure out why.
Also, the dead fender-mounted turn indicators got even more annoying when I figured out that the right turn blinker doesn’t reliably self-cancel. It’s one thing to be old, in an old car, but I can’t stand the thought of being old, in an old car and driving for miles and miles oblivious to a right turn signal blinking . . . blinking . . . blinking.
Oh, and the horn doesn’t work.
So, off came the wheel—no puller needed since I do this so often. The circuit for the gear selector bulb tested out fine. Changing the bulb out with a new one (with a little wiggle in the socket) and it came to life. There is probably a little corrosion in there, but I’m learning that with electrical parts, regular use is the best prevention to failure. Now that it’s working, I suspect it will continue to light up reliably in the future.
Power splitter for the front turn signals
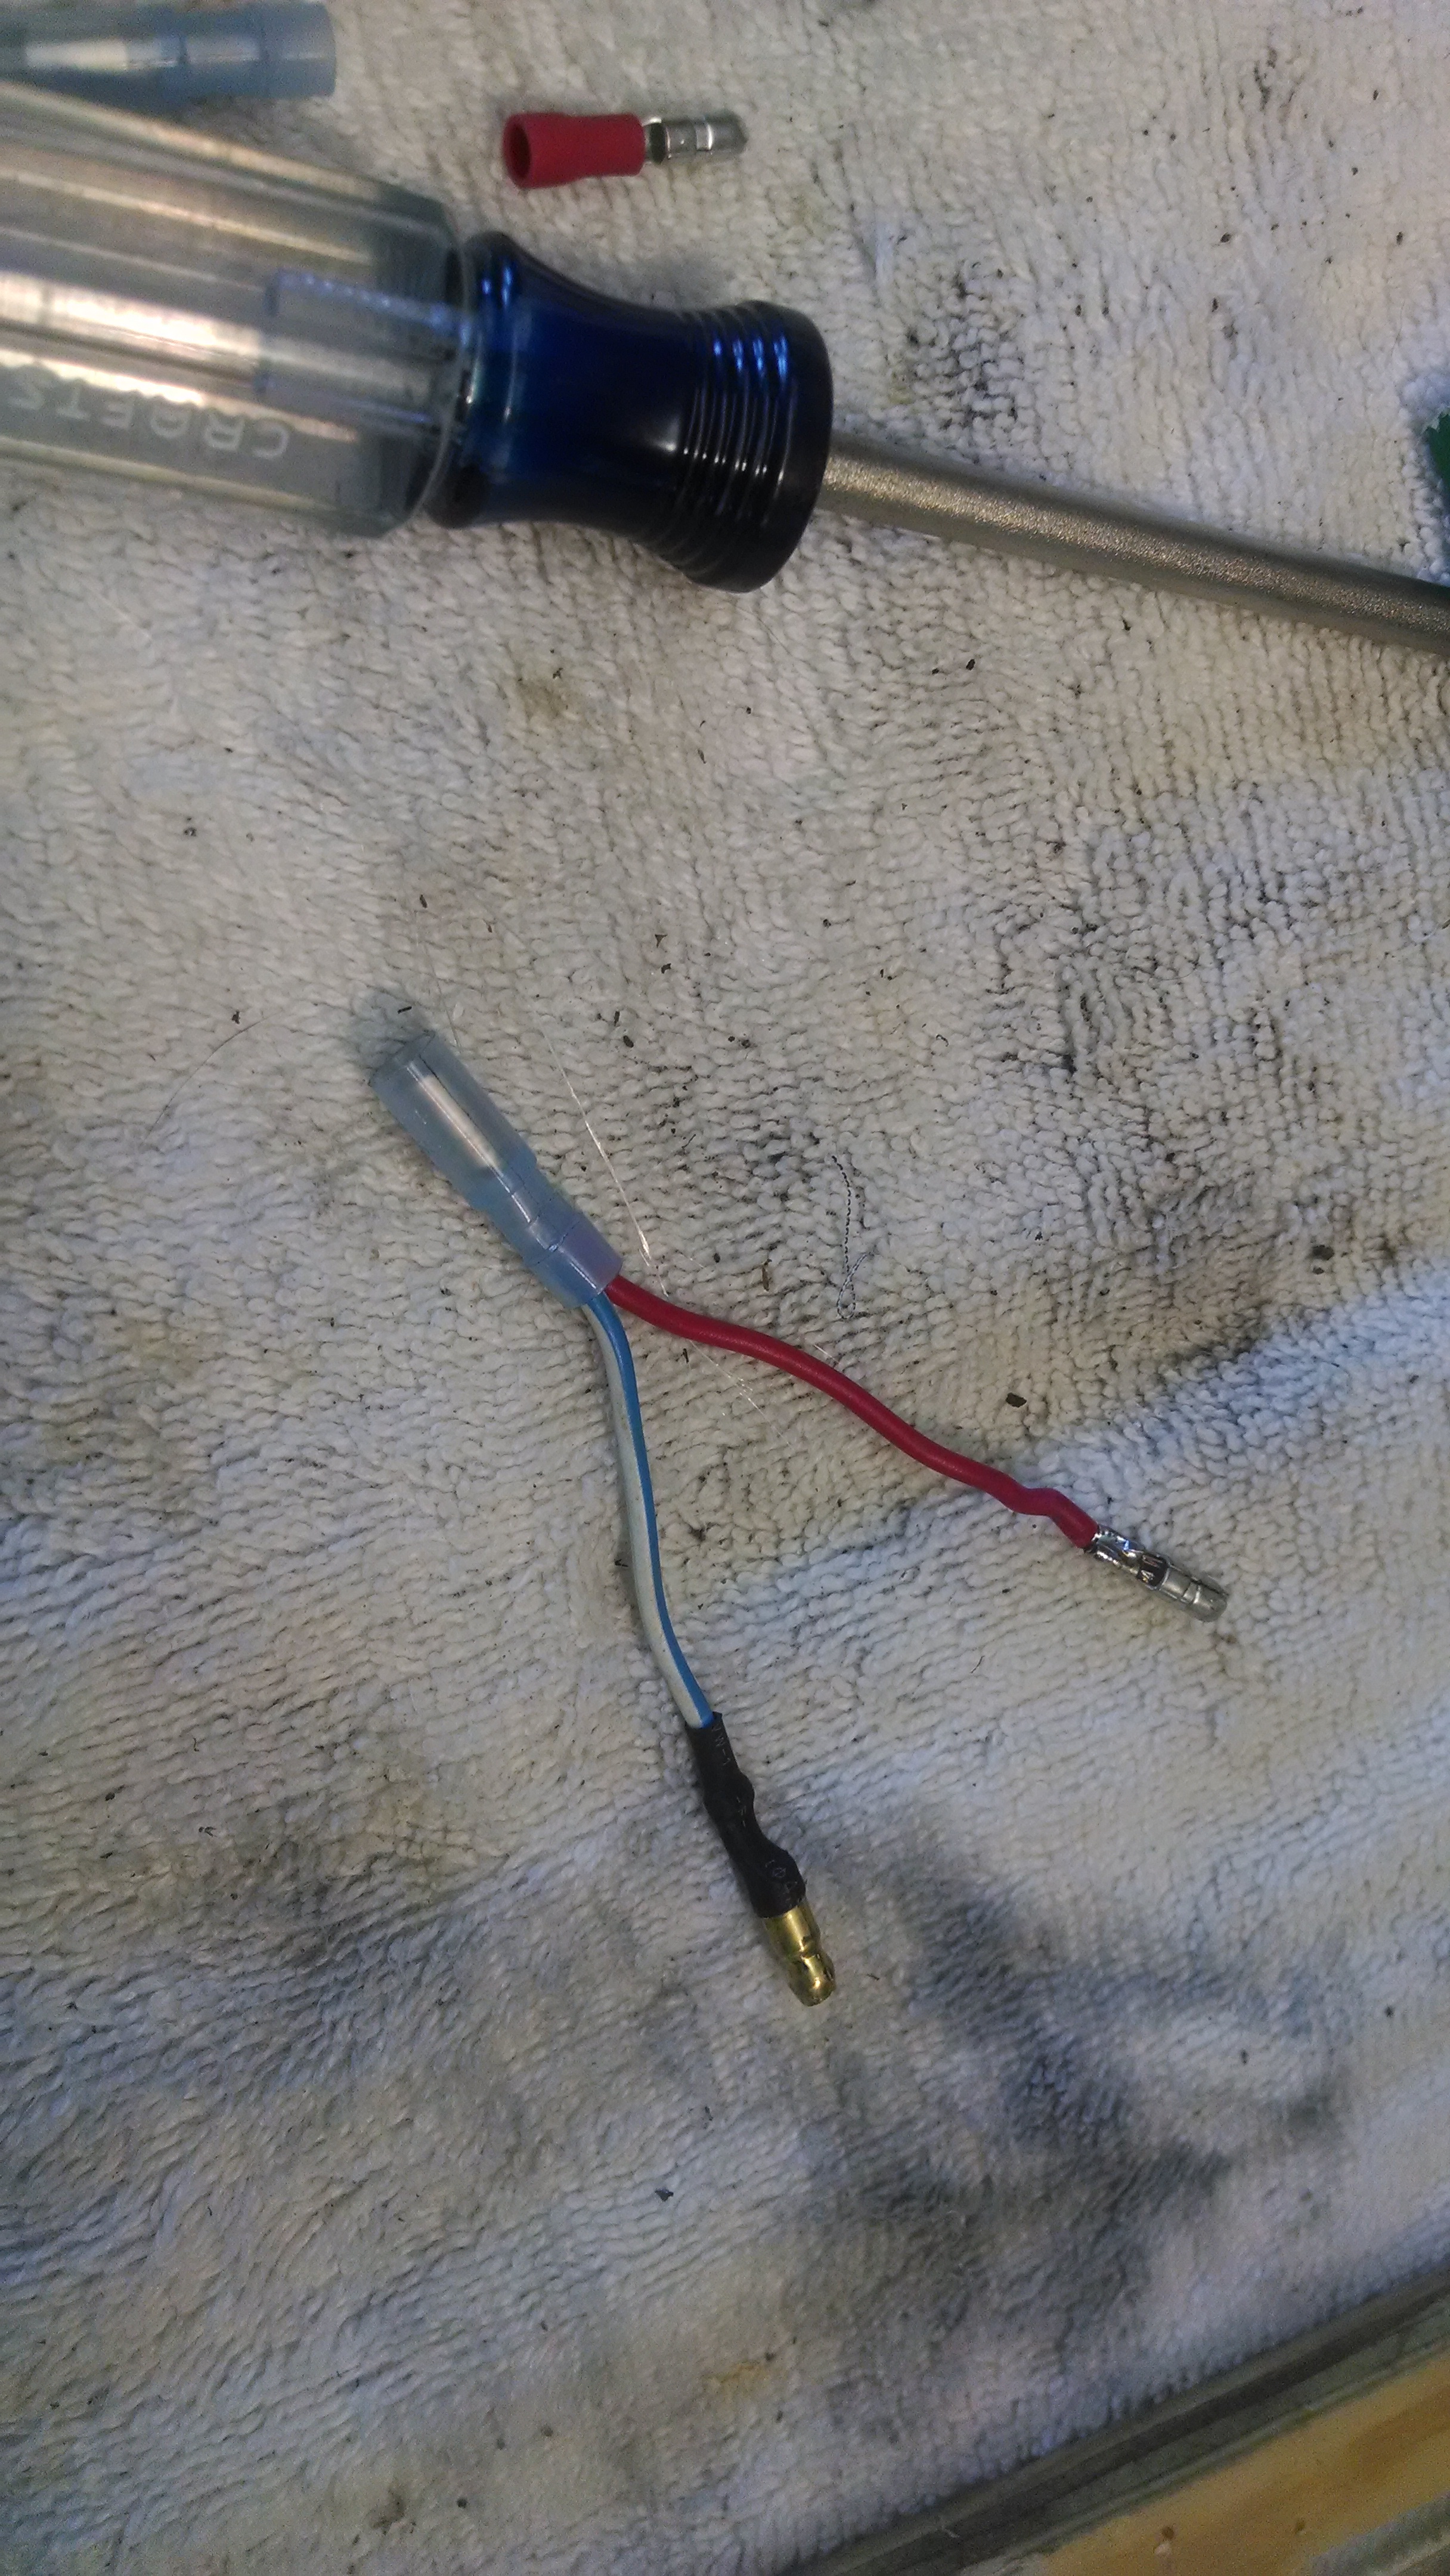
I found that, for whatever reason, the turn signal switch is not providing power down the two (yellow and red) wires that feed the fender indicators. Since the wires exist, this has to be the correct switch (the ’64 switch, I believe, is unique to this model year), so I suspect a problem in the switch itself.
The switch is riveted together, so there’s no good way to actually repair it. Instead, I jumped power from the wires that feed the front indicators to also feed the fenders—tricky work up under the dash with everything assembled. It was a simple fix with no permanent changes at all to the wiring harnesses. Nice to see the indicators light up, and to know that there’s no need to pull them off the fenders to get them going again.
I made no progress at all with the horn. The brush that makes contact with the steering wheel is jammed deep in its housing, which is part of the turn indicator switch. So, there’s three strikes against this switch: no horn, unreliable canceling and no power to two wires. Looks like I’m in the market for a better one.
This week was not really about repairs and restoration, but driving. I’ve had the T-Bird out for longer and longer drives—this week in very hot weather. Except for the gas mileage, it’s been a blast.
Old, cracked unit next to the new replacement.
Earlier this week, I loaded a bunch of scrap metal in the trunk and headed down to the recycler. There’s normally a lot of waiting around: scales on both ends, paperwork to fill out. The car sits at idle, or there’s lots of stopping and starting in the heat. Historically, that’s been a recipe for overheating or heat soak, so I was a little nervous. All my previous work on those issues is paying off, though, as I had no trouble at all.
The scrapyard is mostly frequented by trucks, of course, so the car was a real head-turner. One guy was so taken, he offered me $10k on the spot, which I politely declined.
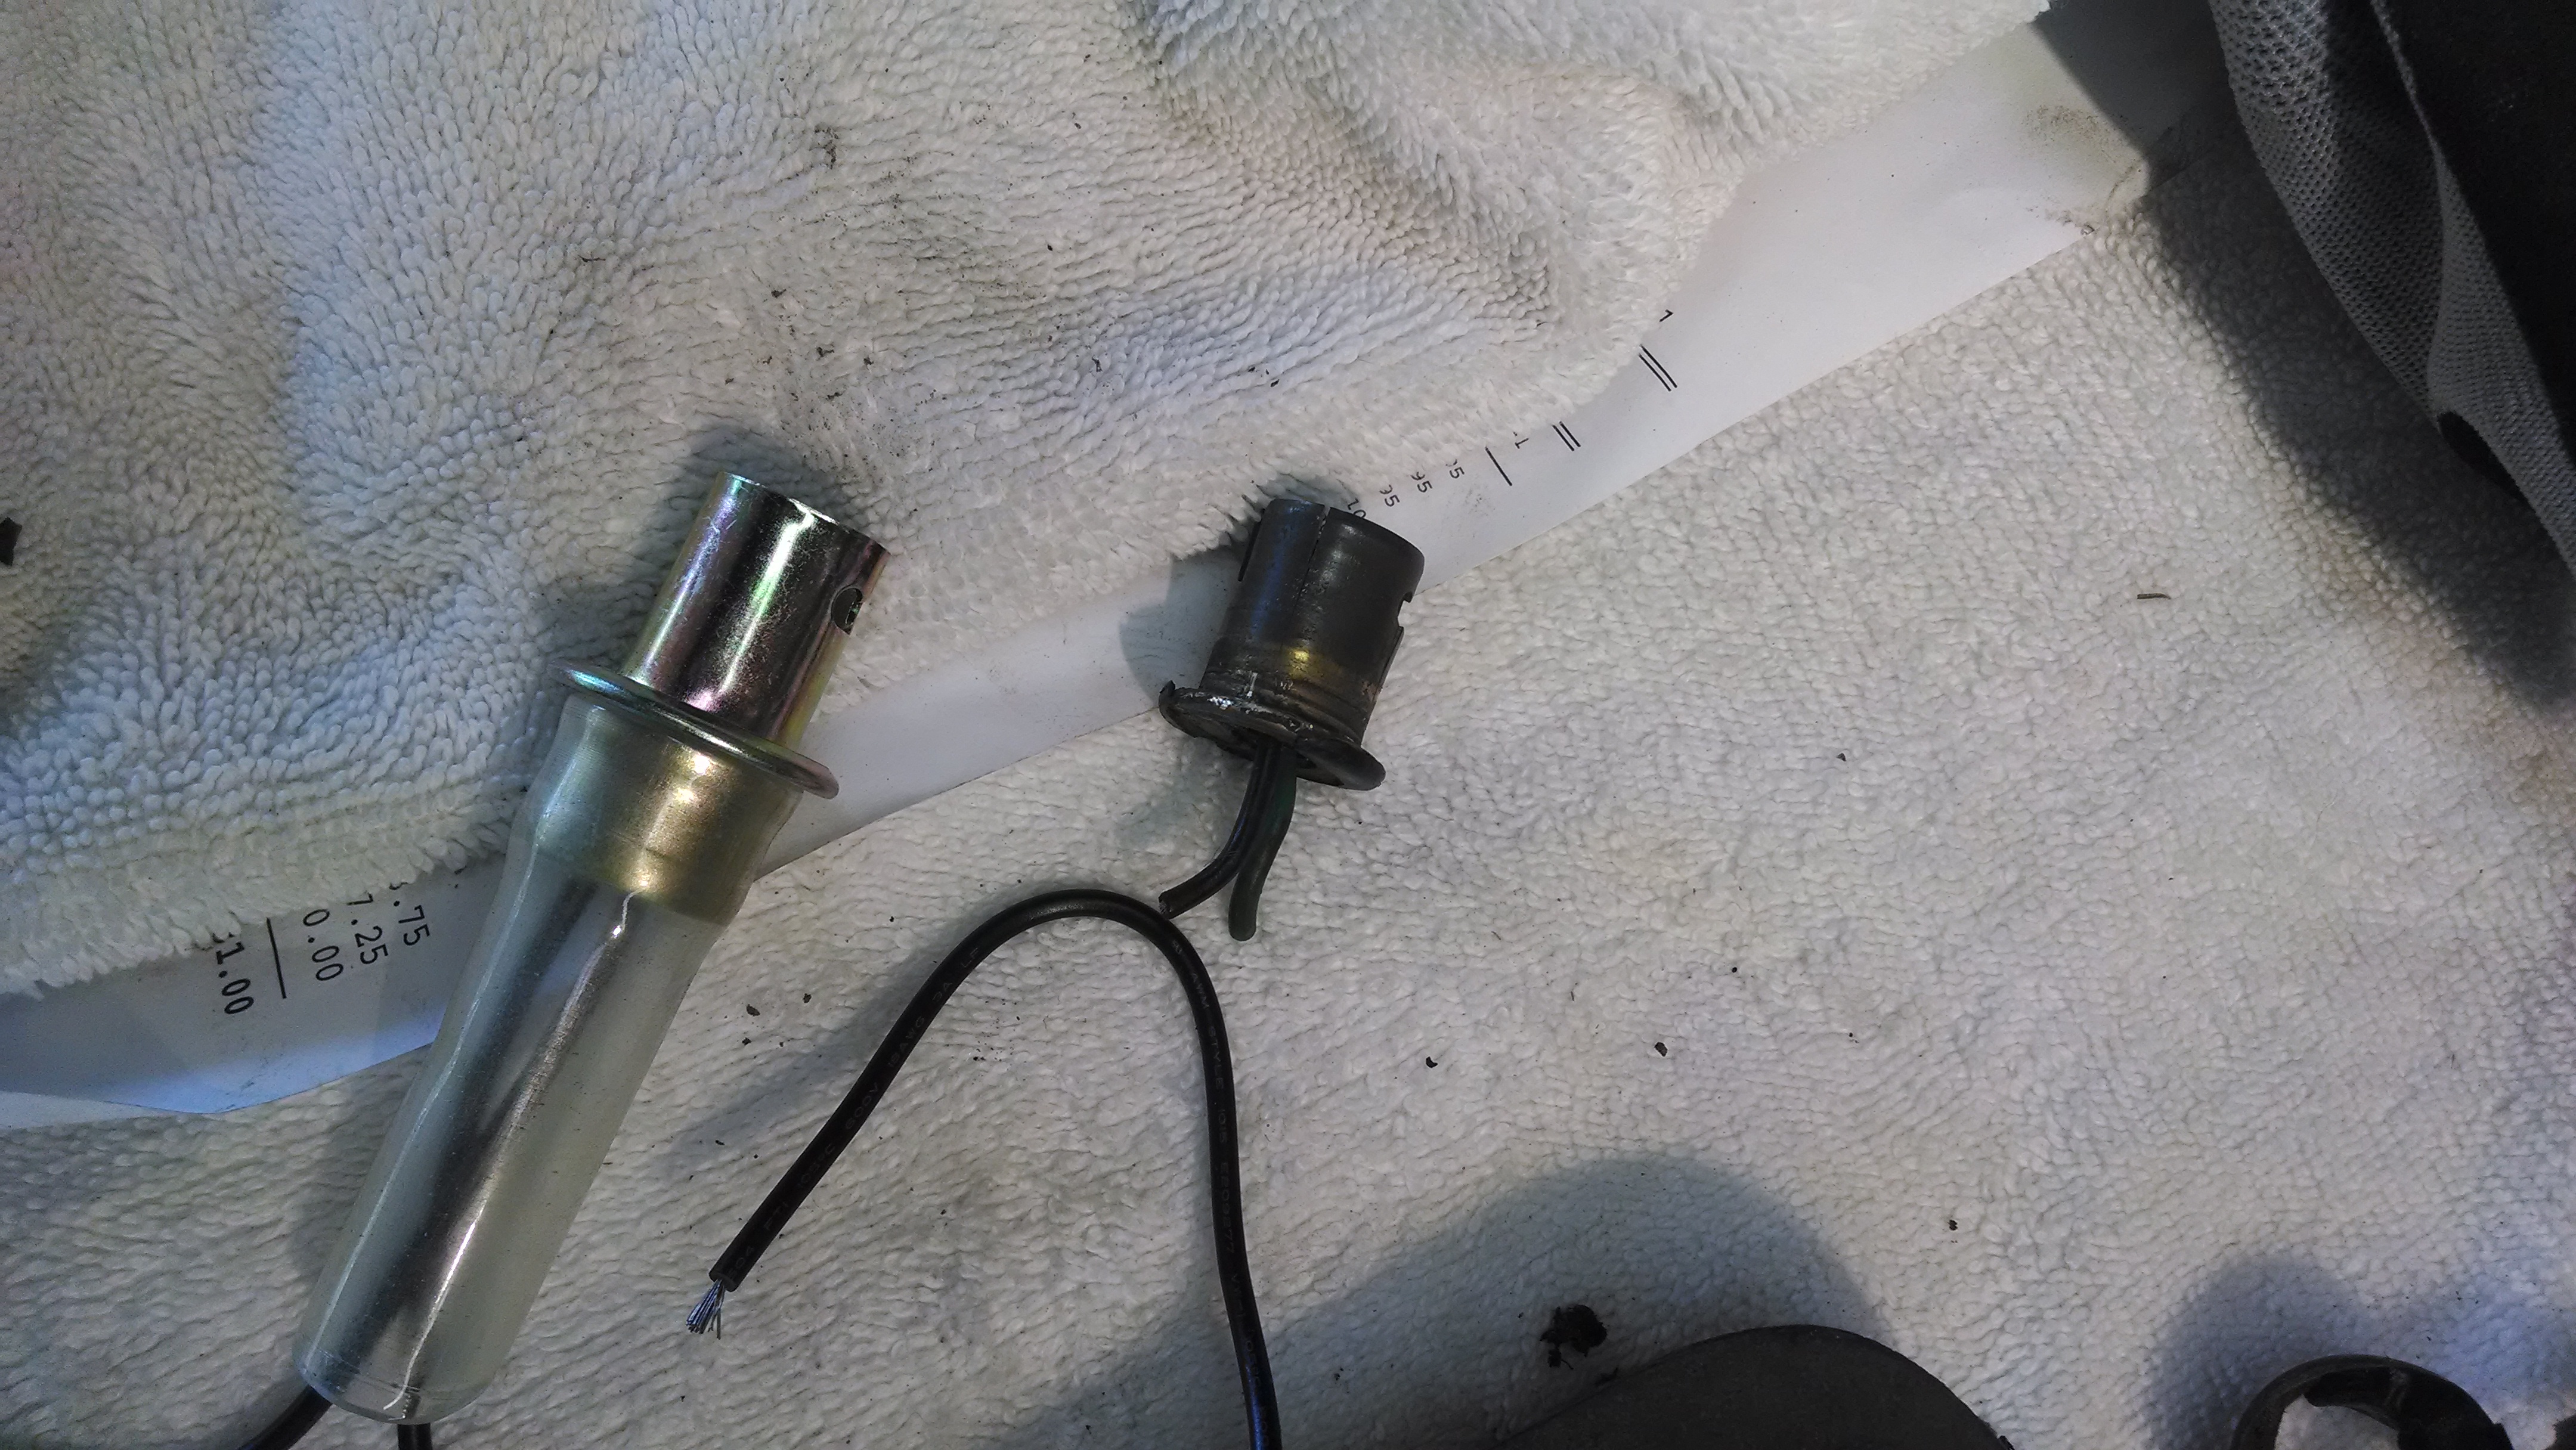
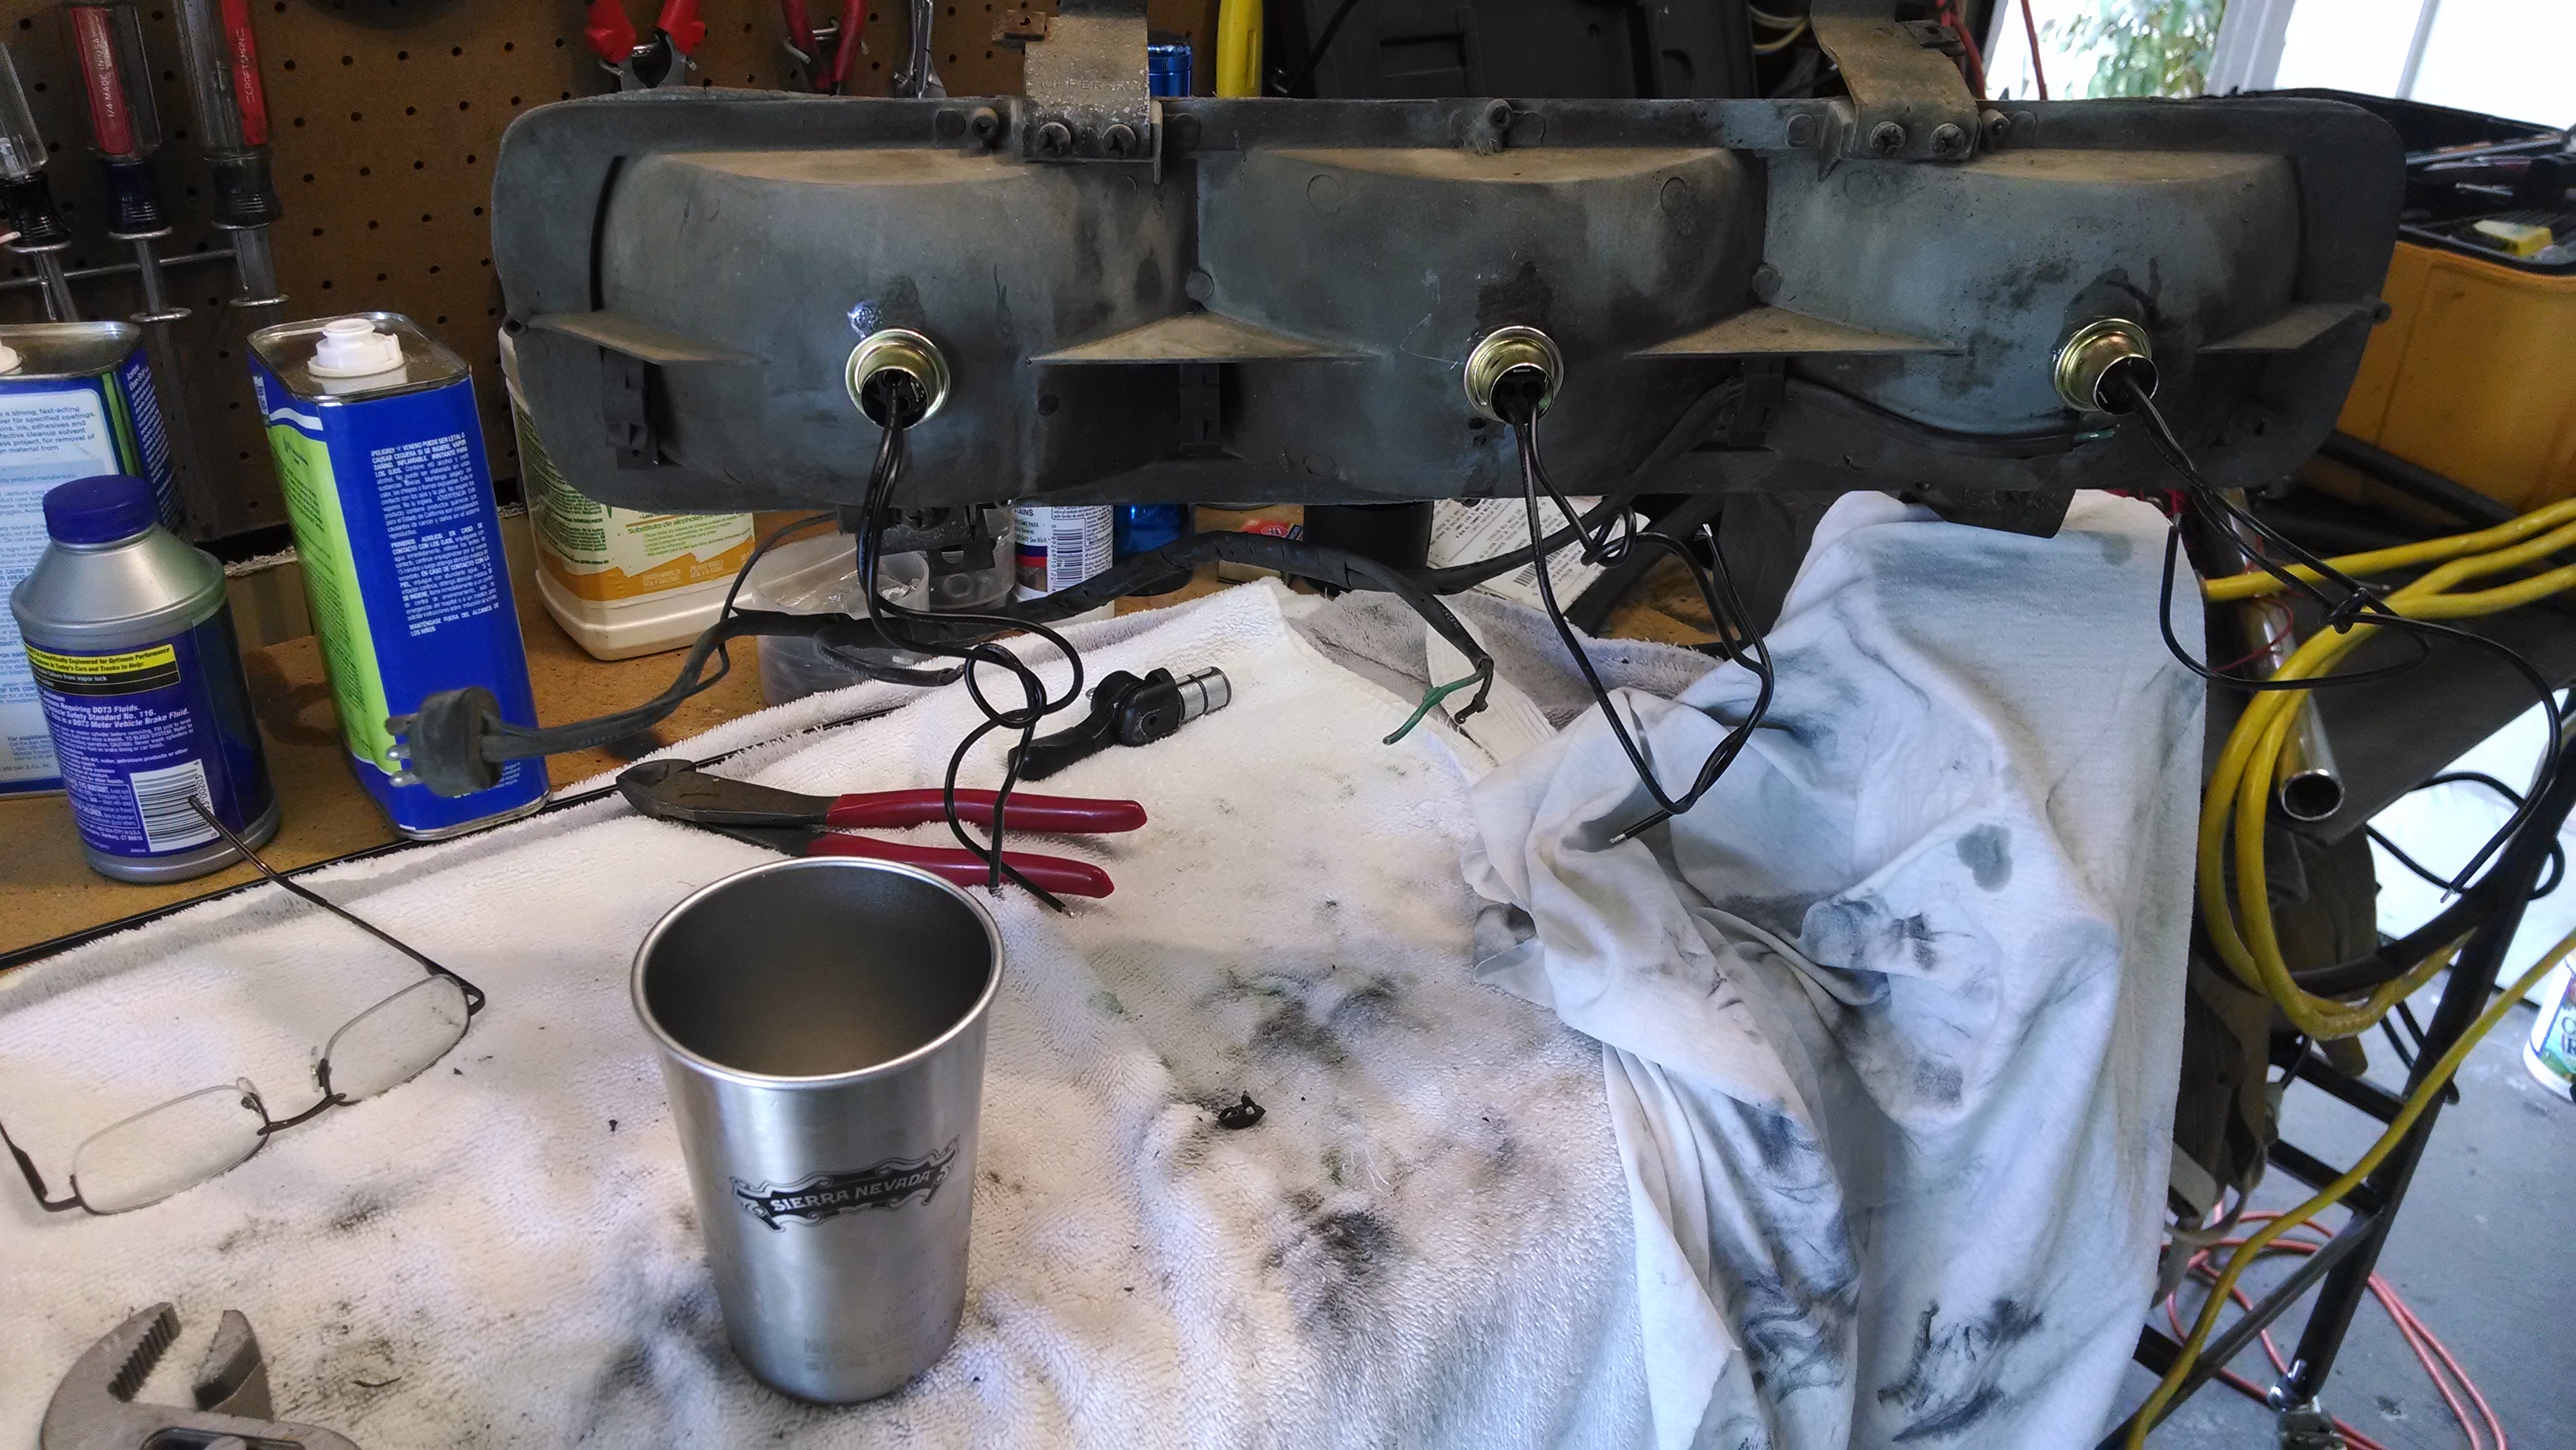
I did do some minor work on the car Saturday, replacing the sockets in the left tail light assembly. I’ve had intermittent problems with one bulb on that side not lighting up. When I pulled the lens, I found that the bulb was good, but the socket was cracked. On further inspection, I discovered that all the sockets were in similar condition and none of the bulbs were seated properly.
New sockets in, ready to be wired up.
I found replacements on Amazon, of all places and ordered three. Getting the tail light assembly off is a matter of 12 screws and four bolts—just gotta keep pulling stuff off until the taillight is free, then unplug the small harness.
The old sockets are pressed in, then held on by some kind of shrink tubing. (I’m assuming it hasn’t been touched since leaving the factory.) The new sockets did not fit tightly into the openings, which was disappointing. Installing new bulbs would easily push them right back out of the fitting. I used a rubber mallet to tap them into place as far as they would go, then ran a bead of epoxy around the joint to ensure they would stay in place.
The original wires going into the socket are green and black, one for running lights, the other for brake. The new wires were not color coded, so I had to match up the contacts with the old unit before soldering the connections. I also tested the setup when I had one done, just to make sure I didn’t get them all backwards (and have to redo it.)
Even with the slow-curing epoxy, this was a one-day job. I had the assembly back together that evening. I hated the idea of driving around with dead light sockets—it can be the difference between an old car and a cool old car.
There are two additional electrical issues to tackle in the coming weeks–the fender indicators for the turn signals and the back-up lights. Neither are working and I don’t know why. Yet.
Wrapping up some of the dash project items this week:
The flipper, all flipped into place.
I pulled the lower dash and radio access to rewire the stereo after the speaker wires checked out. Sure enough, once I ran clean power and a good ground to the stereo, the sound cleaned right up. Nice.
With all those panels already off, I readjusted the “flipper” panels (honestly, don’t know what else to call it) behind the swing away mechanism, as the push nut had popped off, making the flippers stop flipping (and just flopping). The whole area look empty and sad.
I just tell people I’m trying to cut down the weight of the car and save gas.
And, since I was on my back under the dash, I loosened the neutral safety switch and moved it a millimeter or two. Where it was, it was almost, but not quite, in place to close the vacuum connection to the e-brake in park.
Buttoning it all up, I hooked up the battery, cranked the tunes and went for a little joyride.
The flippers flipped, music sounded good and when I came to a stop in the garage, the parking brake engaged without a fuss.
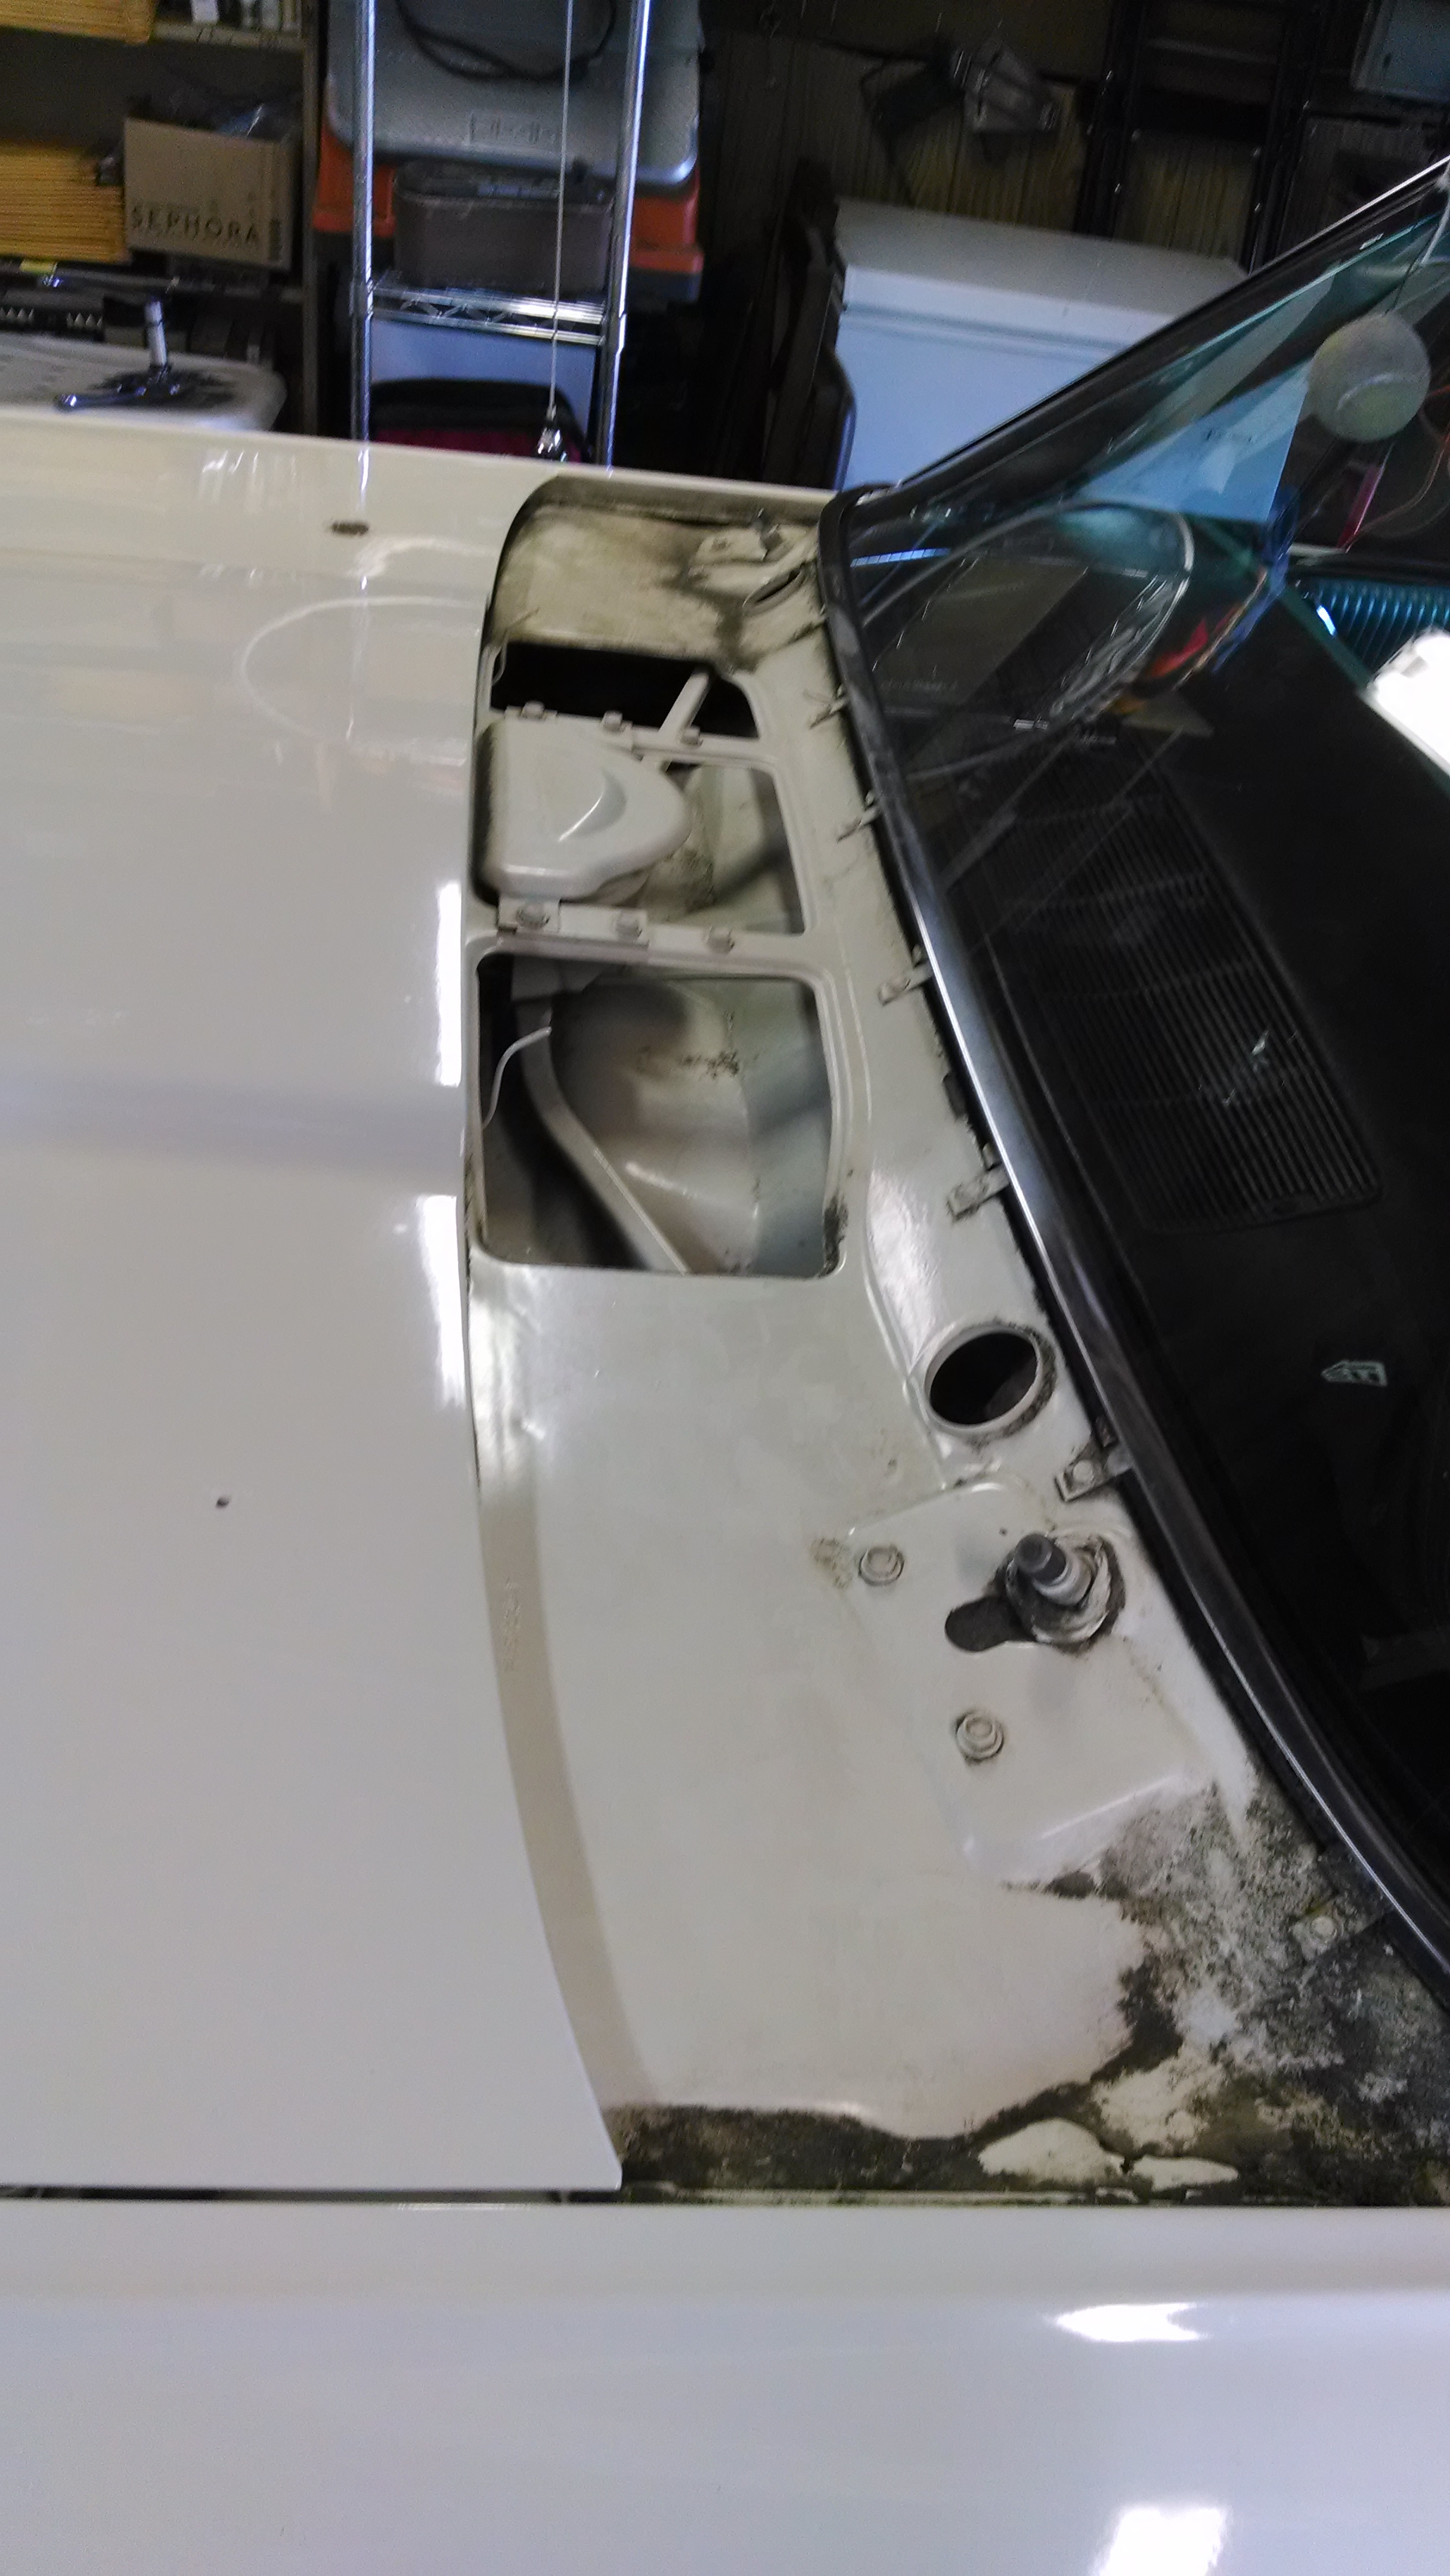
Last week, I took the bird down to the body shop that painted the dash to have them look at the windshield leak. Turns out, the last place–shock!–botched the job, and I’ll need a new windshield gasket. The new part should arrive this week, with the work done before next weekend. Had to pull the cowl for the inspection, so I’m running around for a while without it.
The next time I begin restoration work on a vintage car, I will completely revamp the brakes, booster-to-shoes, at the very beginning. Though they never failed me, until this week, it seemed like the brakes were never right.
Driving the races out of the hub. You can feel when they start to move. “Ah, I’ve got you now!”
I spent a good portion of my time early this week replacing the drums and shoes on the front axle. Getting the old drums off the hubs is an adventure in hammering–trying to get just enough force to break them apart while not quite enough force to damage the parts that are still useful. I got some great advice from the forum, which made the job manageable, if not all that fun.
Replacing the races in the hubs also required a heavy hammer–I got quite a workout this week–and a lot of patience. I was dreading this job, fearing that the hubs would get damaged or that the old races would prove immovable. As it turned out, it was one of the most satisfying jobs I’ve done on this car. Once the races get moving, the pop out pretty easily. The new races were easy to drive in (with a race driving tool borrowed from the local parts store), and from there the assembly goes together very neatly.
The new drums need to be pressed or drawn onto the hubs. It’s possible to do this on the car when installing the wheel. I tried this on one side, but it’s a process you have to take on faith–there’s no real knowing whether or not everything is drawn up tight unless everything is taken apart to check again. I figured I’d give it a couple of miles at slow speed, then disassemble to see if it’s working properly.
Test fitting the new bearings. Probably not necessary, but fun to see precision parts fitting nicely together.
I paid extra–about double–to get a new master cylinder that was really new (not rebuilt), then bench bled it exactly as the instructions stated. It installed easily, and I enlisted the aid of my son to help bleed out the brake.
One. More. Time.
I have bled the brakes so many times and with so many poor results that I didn’t even dare test them when we were done. Instead, I walked away for an hour to work out how I might handle it if they didn’t work. When I finally got up the courage to get back in the car and press the pedal, they were nice and firm–better than they had ever been, which was a tremendous relief.
Somewhere in the middle of the week, I took the time to install the three panel “flipper” fascia on the steering column for the swing-away mechanism. I should have put this in much earlier, as it’s a real pain to manipulate into place once the dash is assembled. I had to pull the left radio access and loosen the lower trim on the dash to get enough room to work.
With it finally in place, I installed the last trim panel and the aftermarket stereo, buttoned the dash back up (not for the last time, though, I’m sure), and went for a short drive, music blasting.
It was awesome. Still.
The finished product. I snapped this photo as an afterthought. I’ll take a better one later.
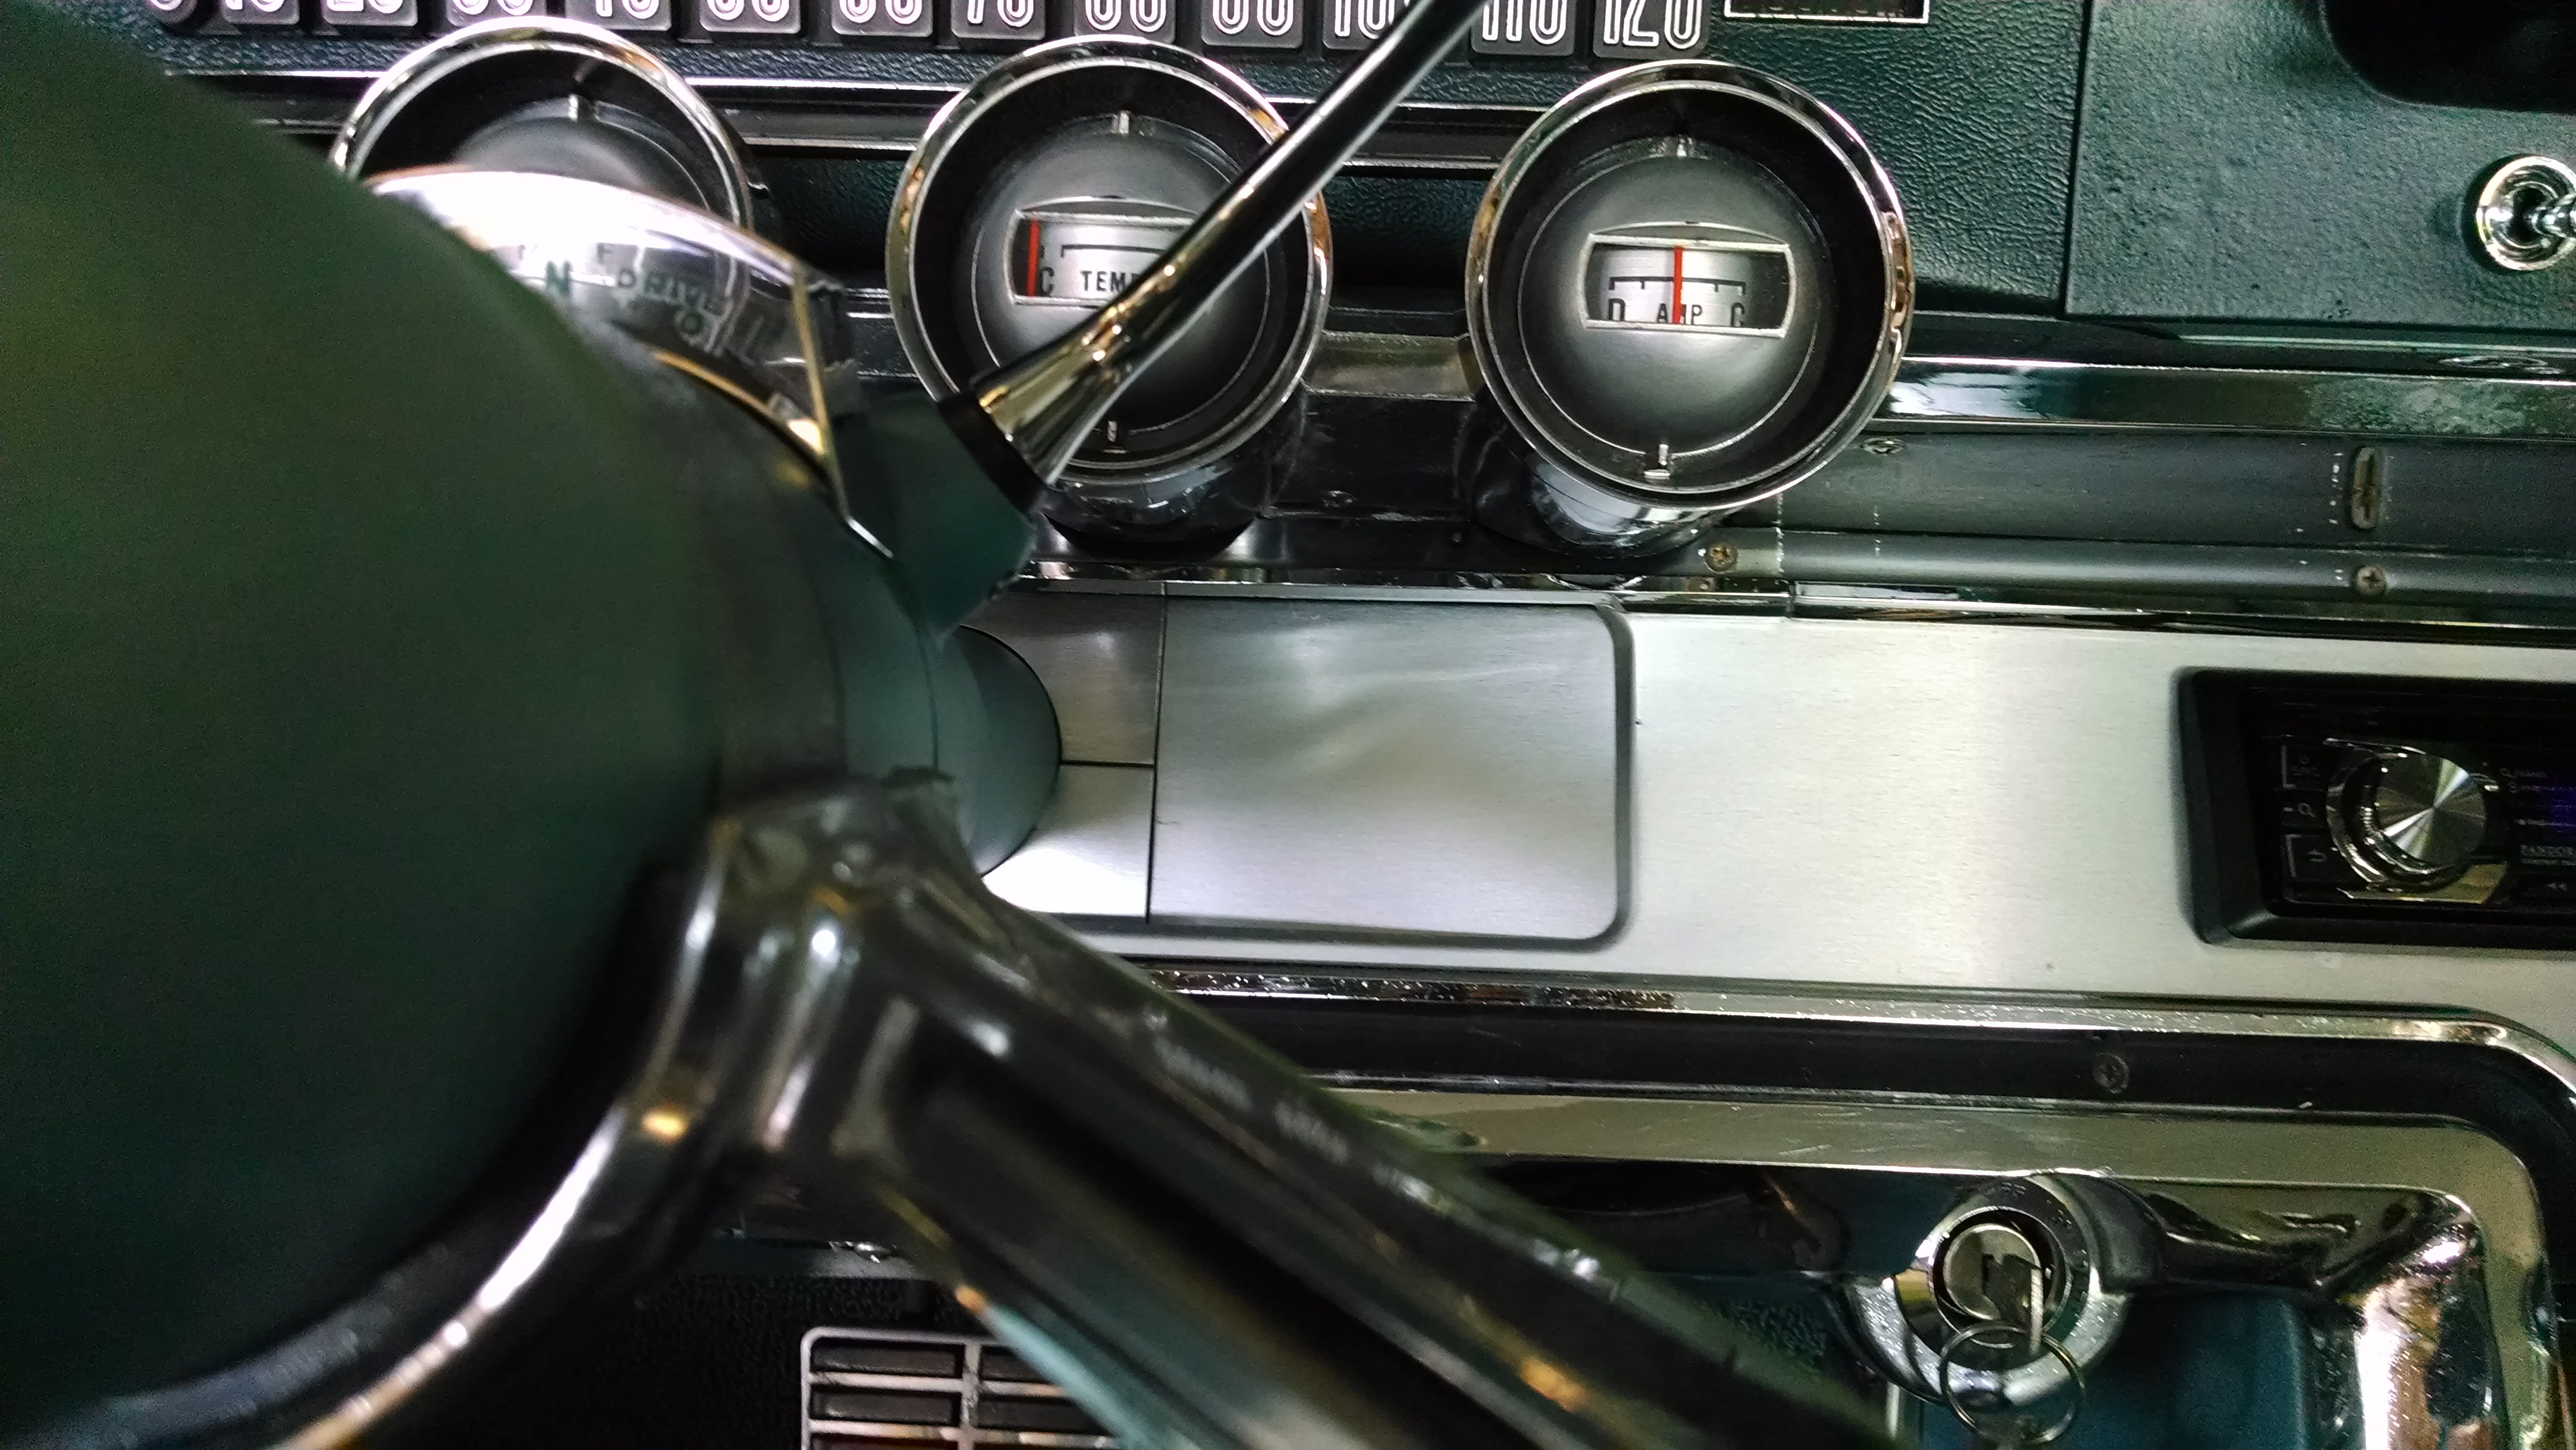
More things work now than they did before I started the project: all the gauges, the heater/defroster, left and right side vents, not to mention the audio system, improved turn signal and a vastly better looking interior.
A few things can be made to work now that the dash is in good order: the central door locks, door ajar warning light and the rear, vacuum-operated vent. When I get around to them.
Still, there are a few things that should be working, but don’t. Fortunately, I can tackle these minor issues one-by-one on a “let’s have some fun working on the car” basis instead of “sheesh, what’s it going to take to get this thing running”?
Most important is a water leak. Somewhere in the dash (dis-)assembly process, the seal around windshield was compromised. When I washed the car, a lot of water ended up on the driver’s side floor. (That’s something I plan to have fixed professionally this week.) Of lesser importance, the fender-mounted turn signal indicators don’t light up (though the regular signals work), the stereo needs to be wired to a different source (can’t run the heater blower and the music at the same time on the same circuit), and the horn brush needs to be installed (which I can do when I pull the steering wheel to center it.) Oh, and it couldn’t hurt to change the oil.
As a punch list goes, that’s a lot less than I expected. Right now, though, I’m going out for a drive.
The brake system on this car is about as simple as it gets, but I find myself returning to it over and over trying to get things to work right.
My son and I bled out the brakes yet again about a week ago and went for a test drive. Good news was that the gas gauge sprang to life after filling the tank, so for the brief drive home, I saw 4 working gauges for the first time.
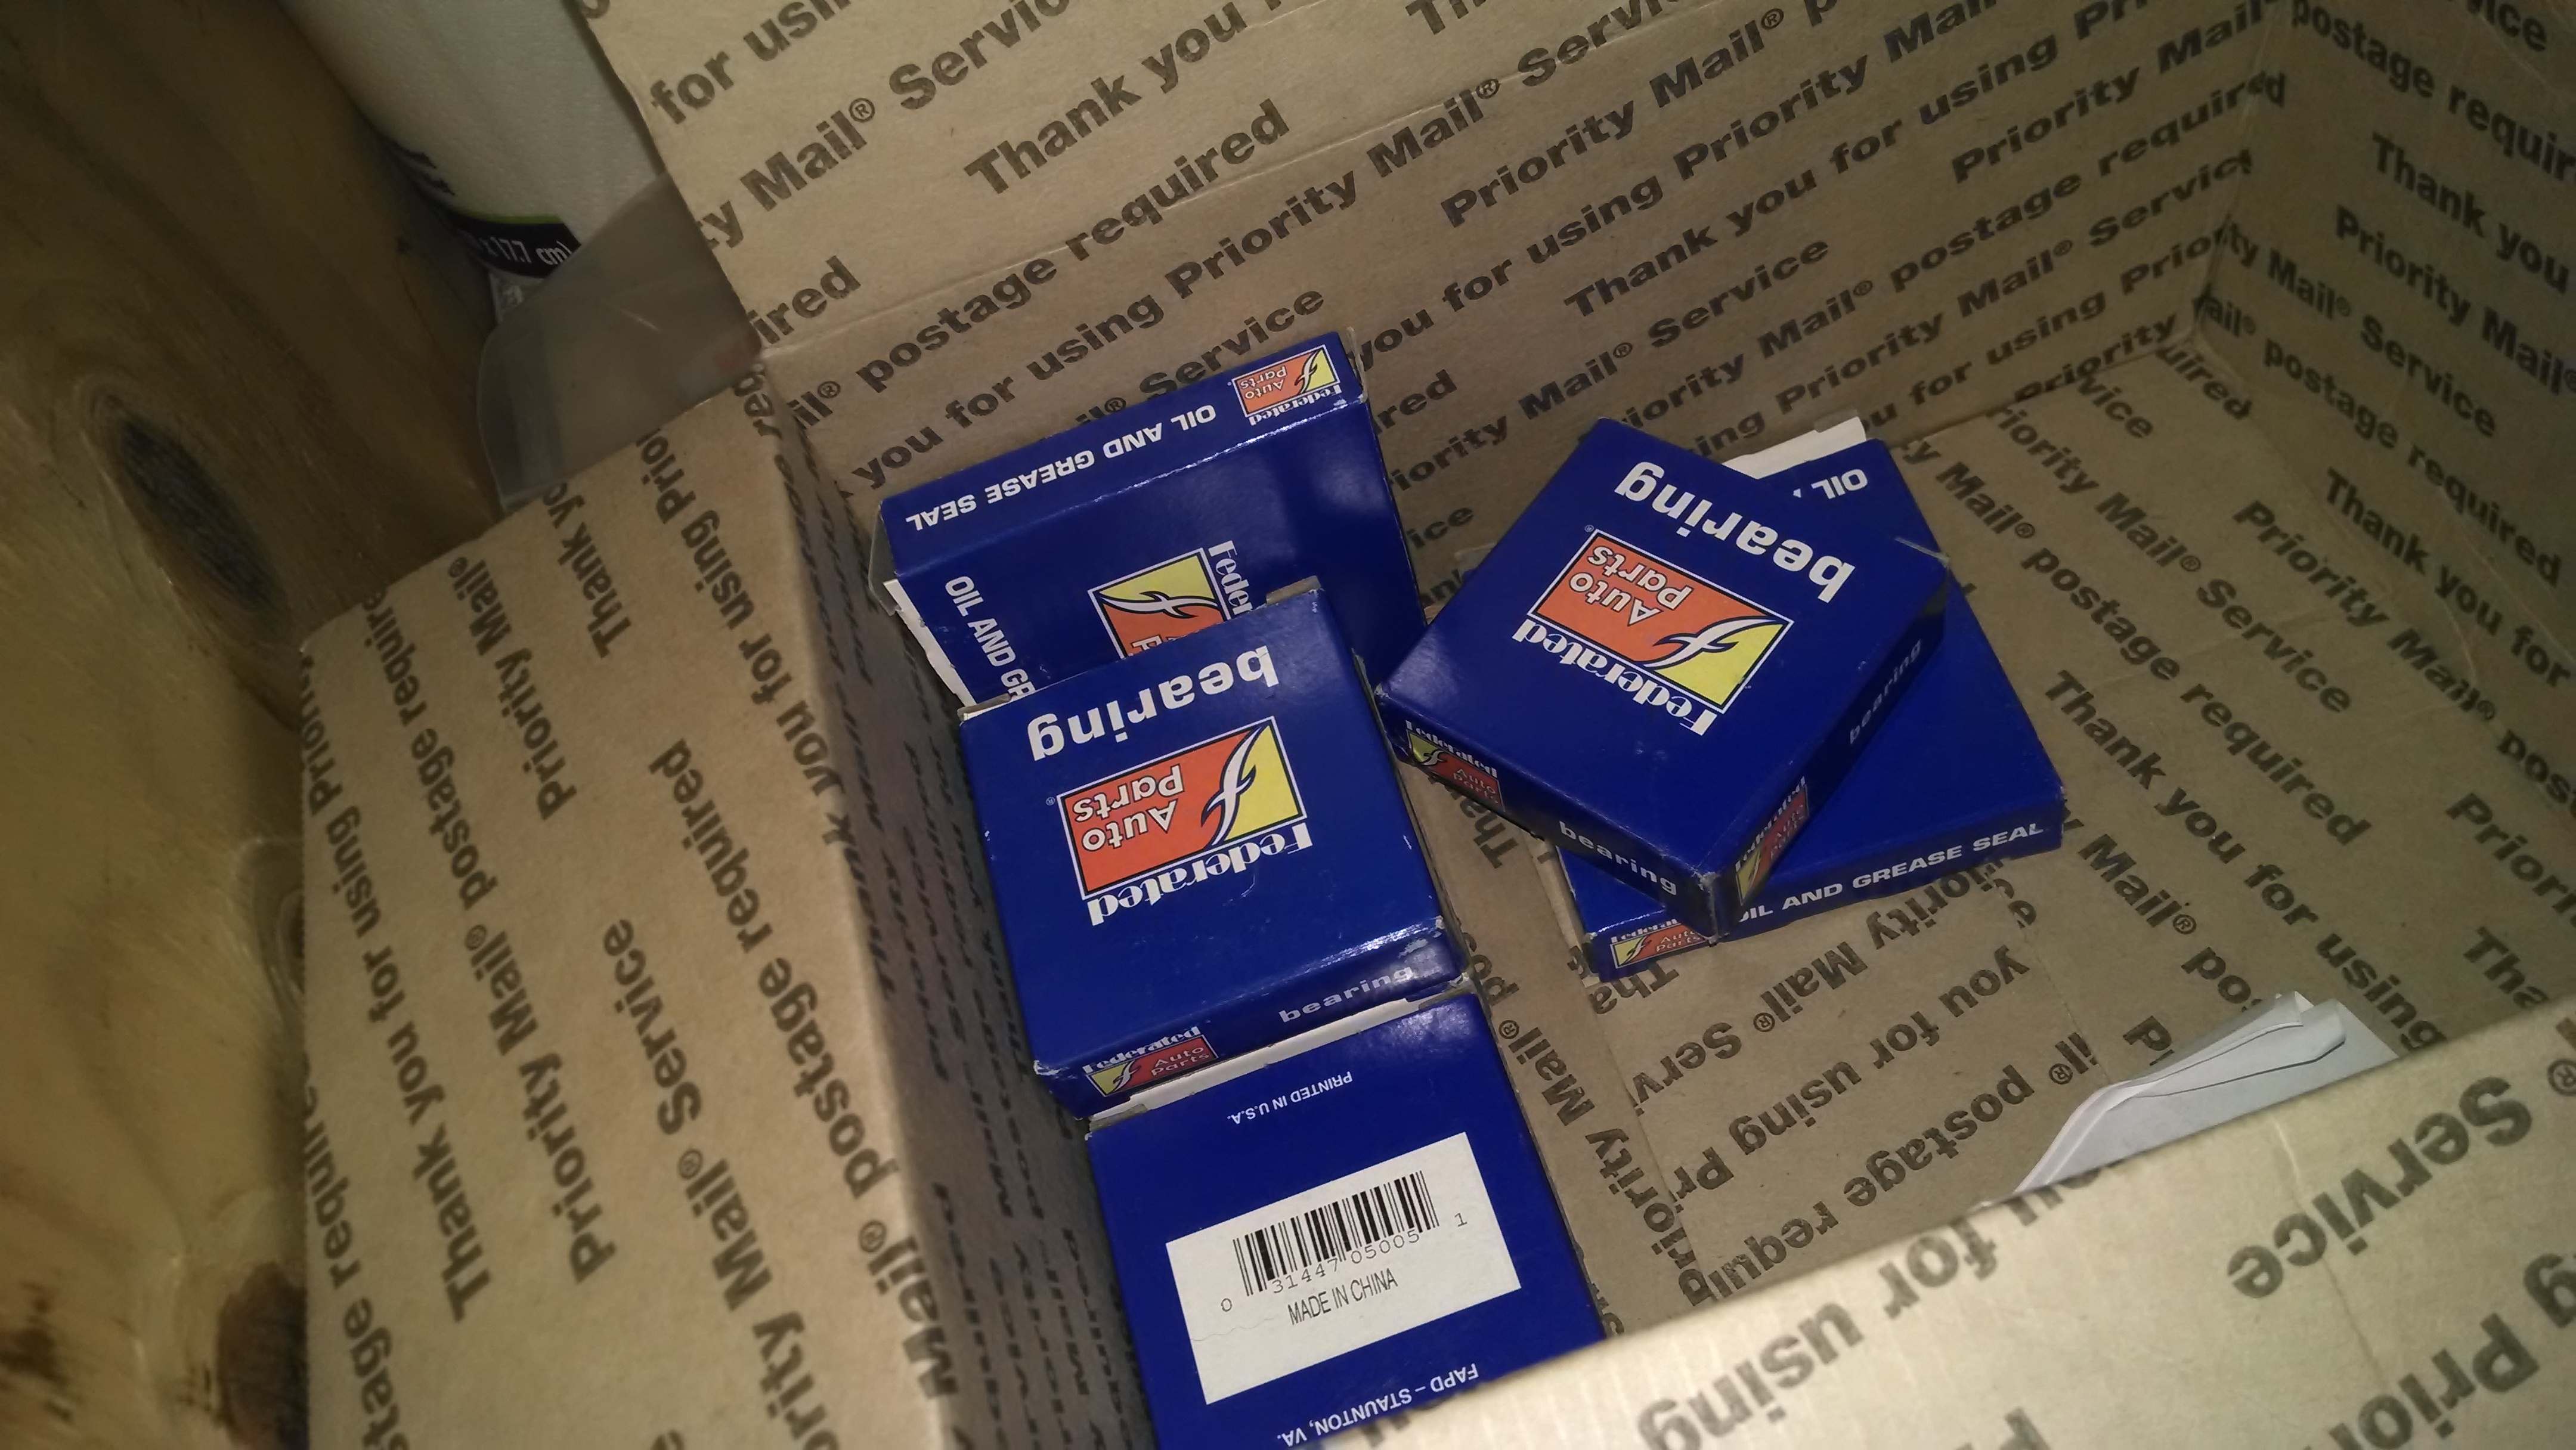
A Box ‘o Bearings. I’ve never installed bearing races before, so this should be interesting.
Bad news was that the brakes were still spongy and low. I tested them out in an empty parking lot and in a simulated emergency stop, the car slowed in a stately manner, then eventually came to a rest. No exactly what I was looking for. Back in the garage, I was able to push the pedal slowly to the floor with or without the engine running. No leaks in the system, though some fluid is escaping out the top of the cap. It feels as if the seals in the master cylinder have completely failed.
So . . . since brakes are important, I’m replacing yet more components. The local parts store sold me a new (not rebuilt) master and some rear brake shoes. I added these to some new front shoes I already had, then ordered new drums and new self-adjusters for all four wheels, which arrived (in a very heavy box) a few days ago.
Right now, I’ve got an impressive stack of parts waiting for me in the garage. For good measure, I also located the front wheel bearings and races I bought some months back and through them into the mix.
I find it important to remind myself now and again that this is a dashboard replacement project.
I dreaded cutting a hole in this piece, but once I got going, it was a straightforward process.
Inside the car, I have all but two trim pieces installed. One evening last week I pulled out my second best dash fascia panel and cut an opening in it for an aftermarket stereo. I used a grinder with a cutting wheel for the rough opening, then used a file and a Dremel tool to sneak up to the correct size.
Whoever designed the bracket for modern stereos didn’t count on it being mounted to sheet metal. The hold down tabs don’t hold the bracket snug with such thin material, so I shimmed it with some of the waste aluminum and epoxied the whole thing together so it won’t rattle around.
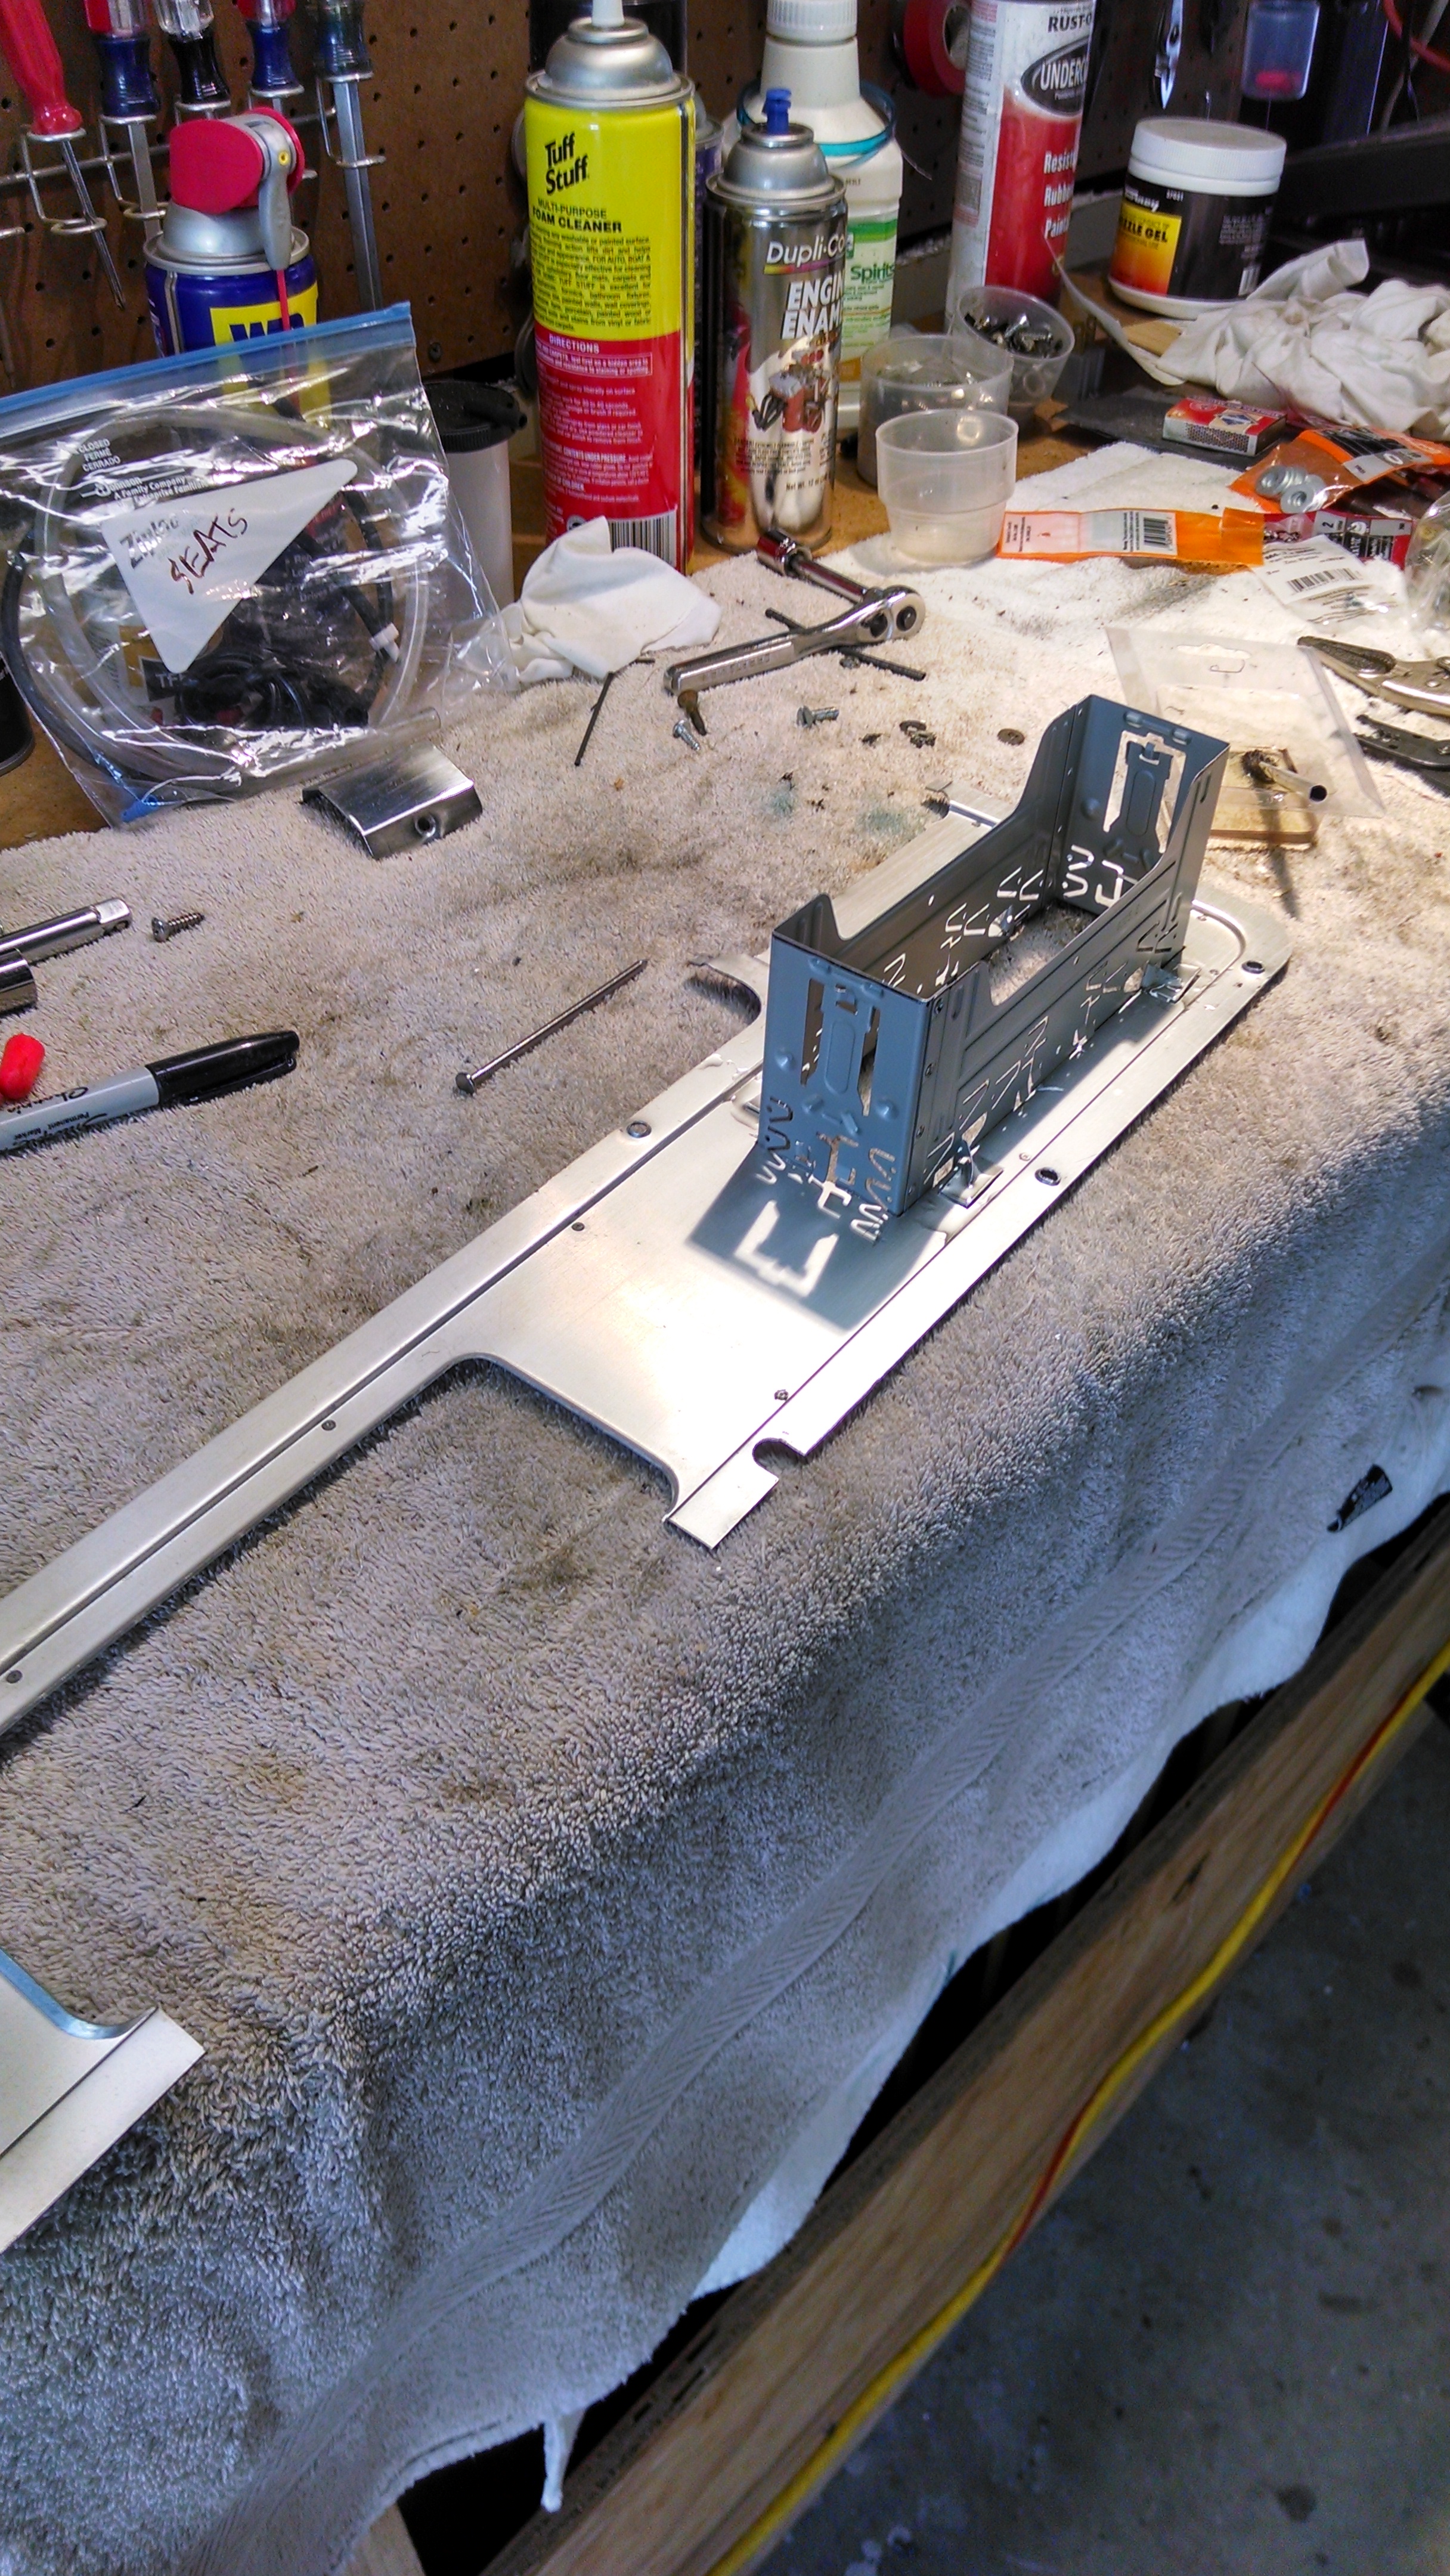
I took last Wednesday off and devoted it to a final push. My goal, get the car back on the road. I started the morning with a helper, bleeding the brakes (yet again—more on that later) then started wrapping up loose ends: the last valve cover, engine compartment braces, hooking up the heater control cables, etc. I also welded spacers and bolts to the driver’s seat brackets to make the installation easier and a little safer.
Permanently adding a spacer and bolts to the driver’s side seat brackets.
Since I was about to hide all the wiring behind the left radio access cover (necessary to support the ignition switch), I spent some time wiring up an aftermarket stereo. It requires one always-on power lead and another from a switched source. I took the hot lead from the cigar lighter and looked for the feed wire powering the existing radio. The wiring diagram says it is blue/yellow, which I found, but I couldn’t confirm that it had power. Instead, I tapped into the power feed for the heater blower motor.
To test the power leads, I had to hook up the battery. I was the first time in months the car had seen power, and it was nice to see at least part of the car come alive. The turn signal was ticking and the blower motor came on, as did the courtesy lights–all good things. (Though I spent a few minutes pondering why I couldn’t turn the courtesy lights off until I realized that the light switch must be in the on position.)
The lower valence of the dashboard on the driver’s side is probably the most puzzling part of the whole assembly. It took me a while to line everything up and get it screwed down—it didn’t help that a lot of the screw holes have been stripped over time. In the end, it was not difficult once I figured out how it all tied together.
Passenger side, all buttoned up.
For difficult, the clock pod takes the prize. I did that earlier in the week, and it’s a four-handed job: one to hold the pod in place (and not scratch up the newly-painted dash), two to connect the many wires that feed into it (and don’t have a lot of slack to them, either) and another to get the screws started. Four screws hold the pod on, each threaded into a blind “speed nut.” The nuts in the back holes don’t have much metal to clip to. Three times I tried to get one of the rear screws threaded on, and three times the nut slipped off its mount and fell into the recesses of the dash. Finally, I decided that three screws was plenty and another attempt was only likely to cause damage, especially in the mood I was in.
By the end of the day Wednesday, the carpet was fully trimmed and the driver’s seat was in. I only had time to sit there for a moment, contemplating, before other responsibilities called me away.
Friday afternoon, I was able to install the steering wheel, spray a shot of starting fluid into the carb and turn the key. Happily, the engine fired on the first try. I backed into the driveway where spilled brake fluid burned off the exhaust for a while. None of the new gauges registered at first, except the ammeter. Once I got down the road a block, the oil pressure gauge came to life and the temp needle crept up a bit. The gas gauge never moved, but it may just be stuck from non-use.
The shakedown run was very short and slow—the brakes were mushy and the pedal was right down on the carpet. Clearly, there is either a lot of air left in the system or something else is amiss. I am considering having the brakes professionally inspected and bled.
There are two key components left to complete before I get the car started up again: the brake system and the ignition switch.
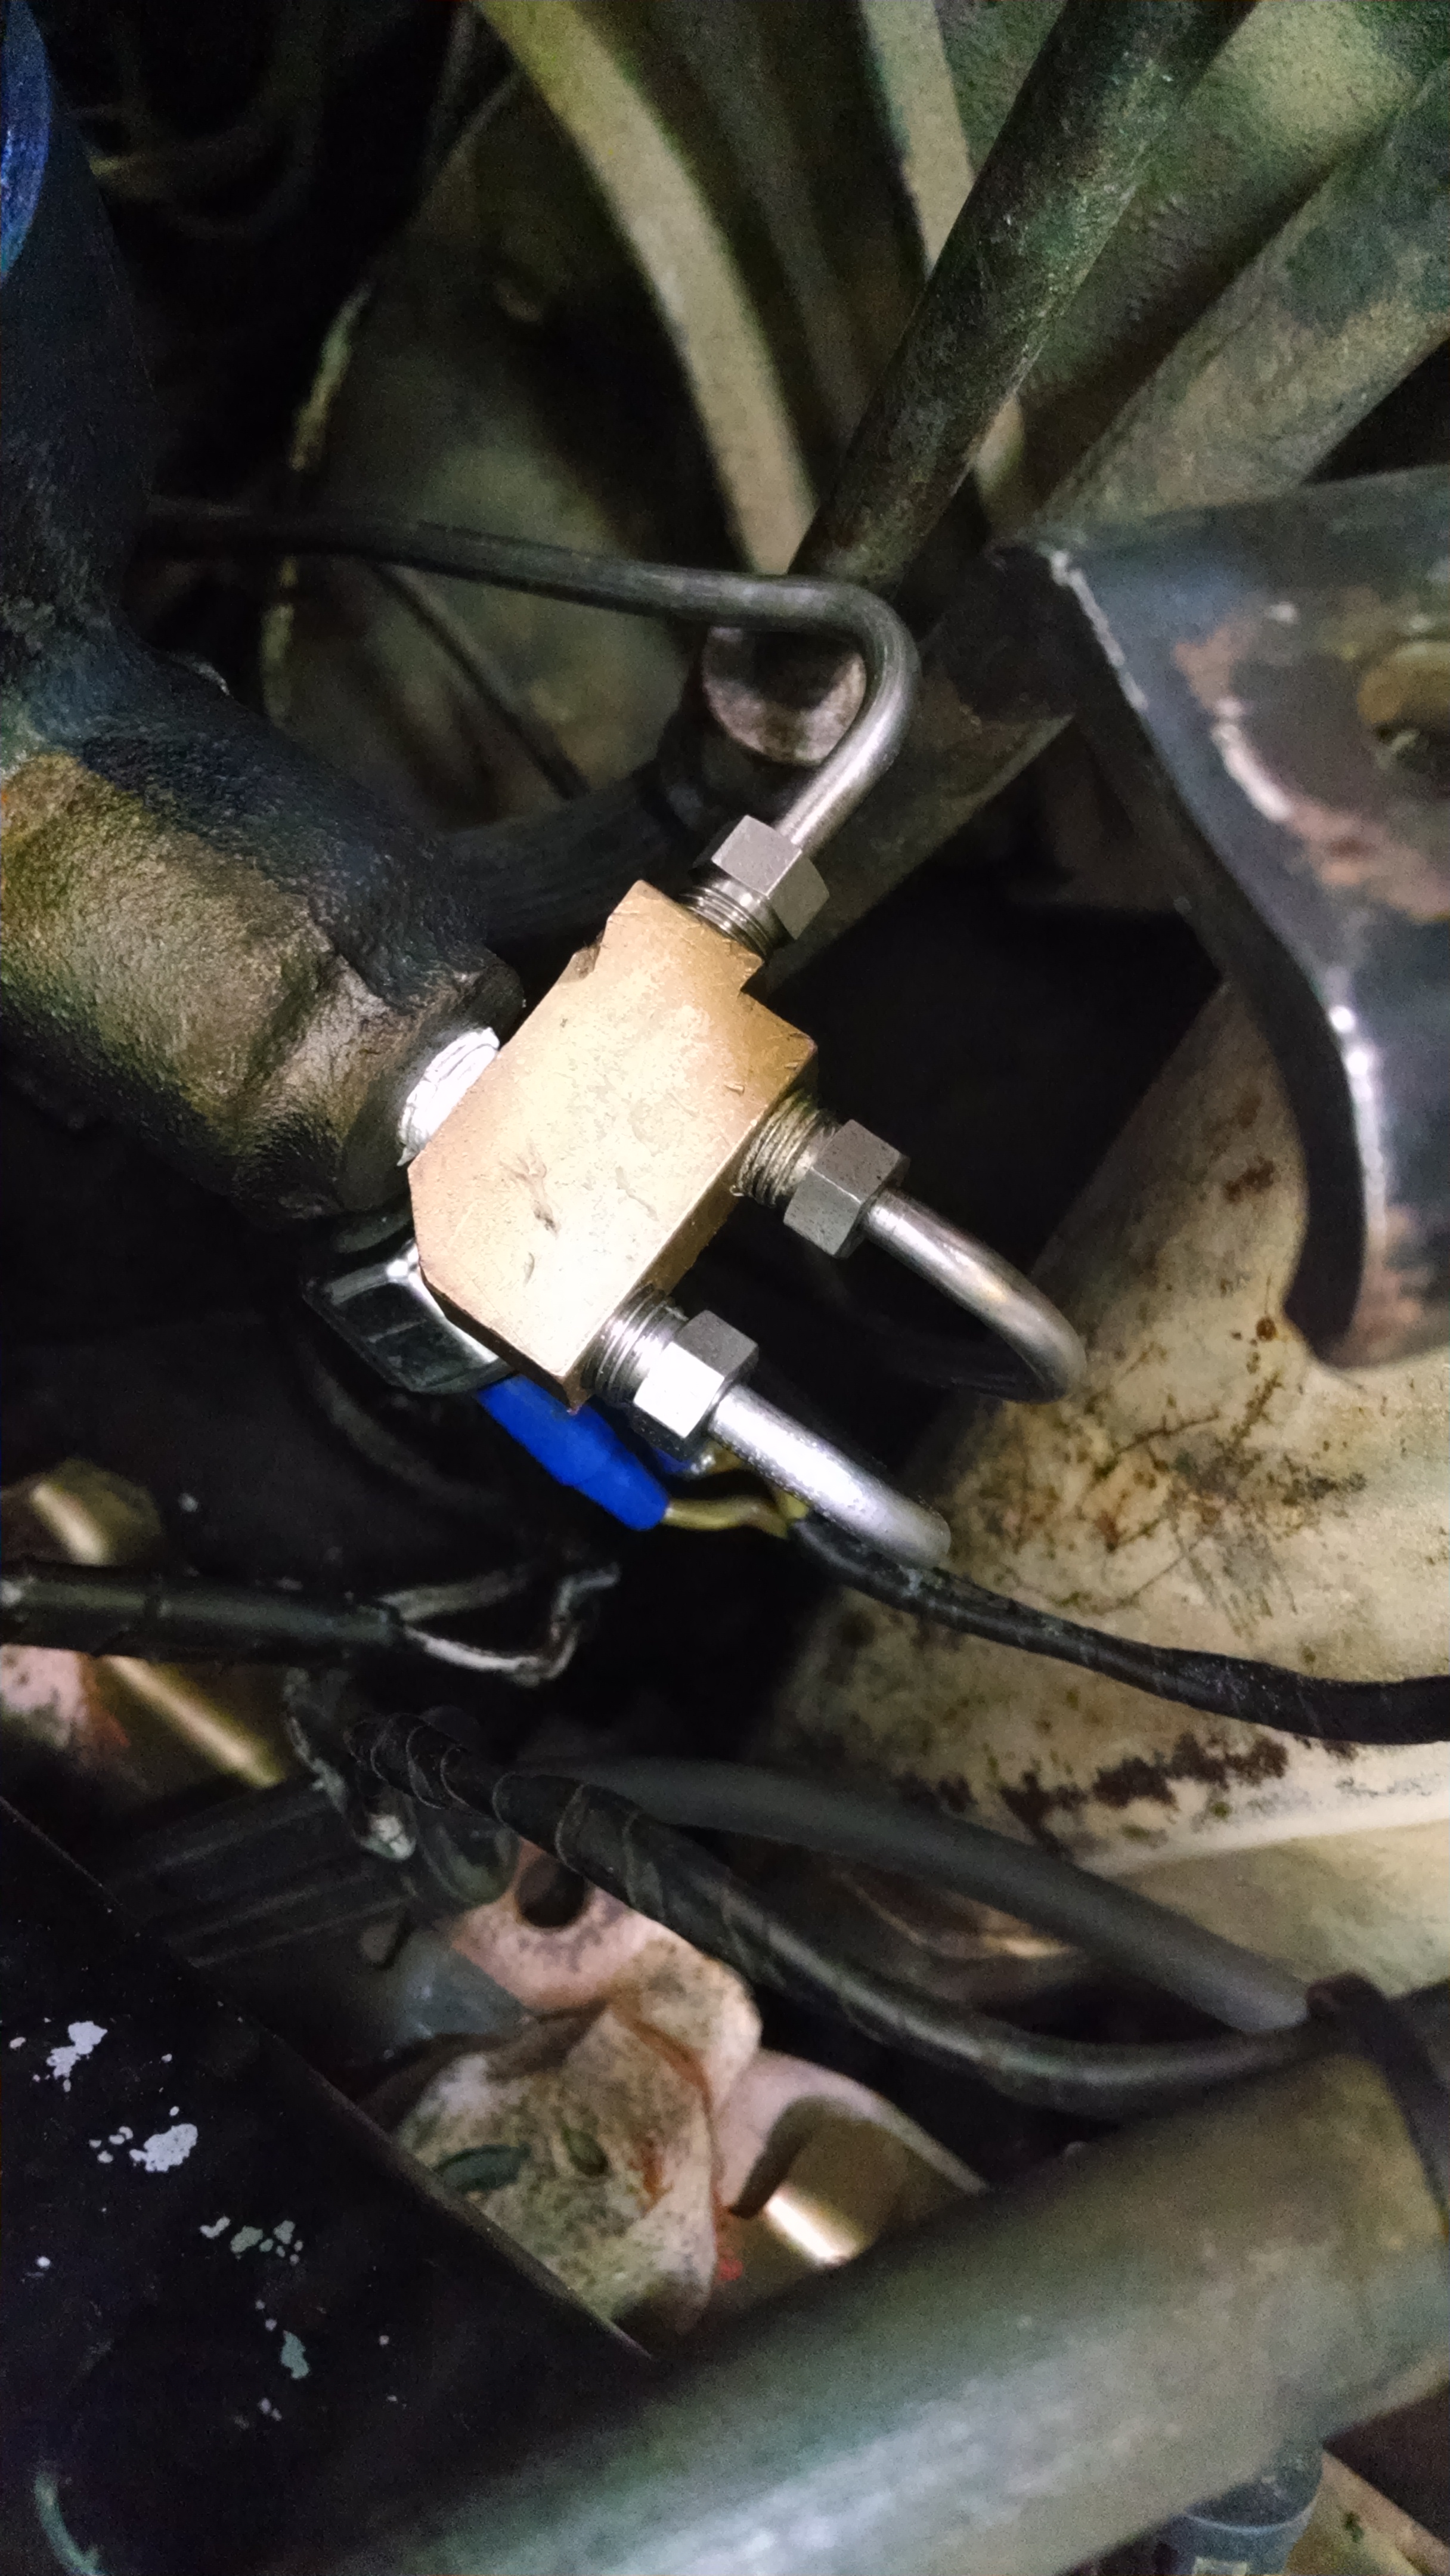
A complete suite of stainless steel lines.
I bench-bled the master cylinder before I installed it in the car, then got the new brake lines hooked up (after a little massaging and reworking to get them lined up). The rear brakes bled out just fine. The fronts are a pain, though–the bleeder screw is difficult to access and I haven’t found a good, clean, leak-free way to manage the fluid coming through during the process. The right front wheel cylinder didn’t take long, but on the left, the bleeder screw was jammed tight and the flats were stripped off.
The only way to replace it is removal of the drum, brake shoes and backing plate. Once off, a new screw was a special order from the parts store and a day wait for it to arrive–though I am glad they carry the item. It would have taken even longer to order it via mail.
It didn’t occur to me that while the bleeder screw was out (being used for comparison at the parts store) that the brake fluid was seeping out of the system, slowly but surely.
Doh!
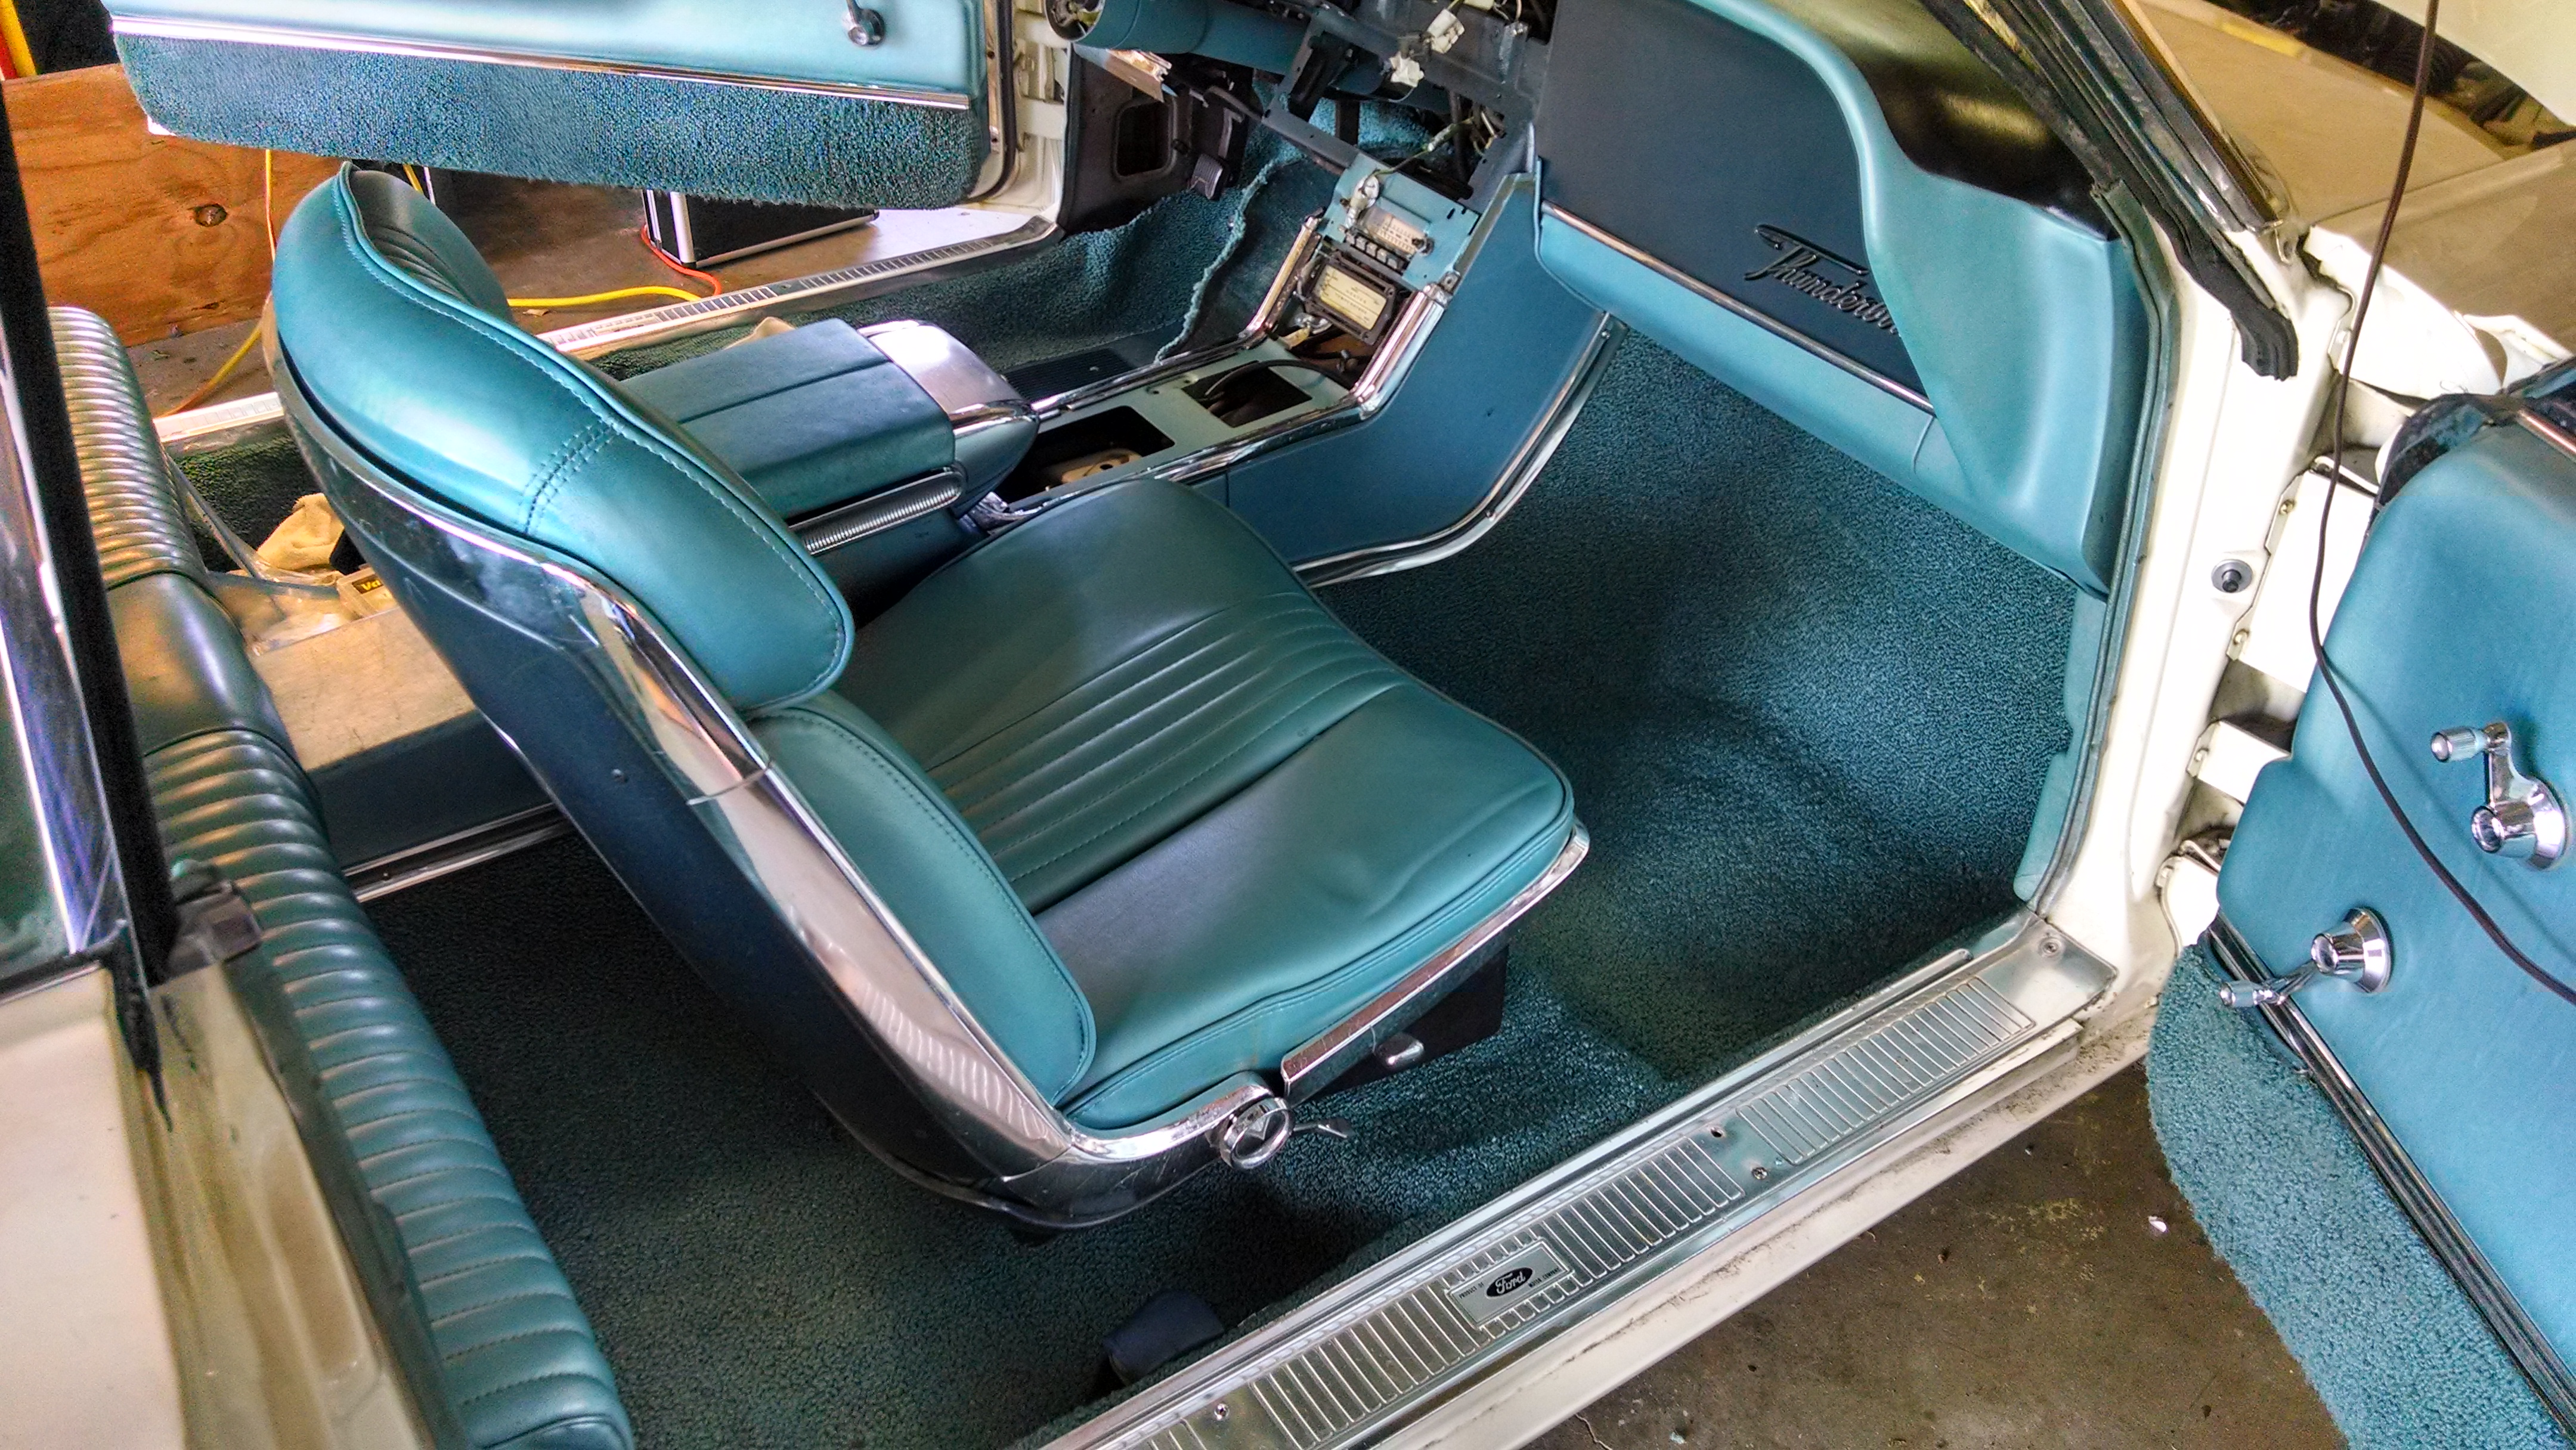
The carpeting, starting to come together. The seat belts were surprisingly difficult to reinstall.
The new bleeder screw went in yesterday, followed by reassembly of the front hub. I’ll have to bench bleed the master again, then bleed the whole system once more. It will, however, be nice and clean.
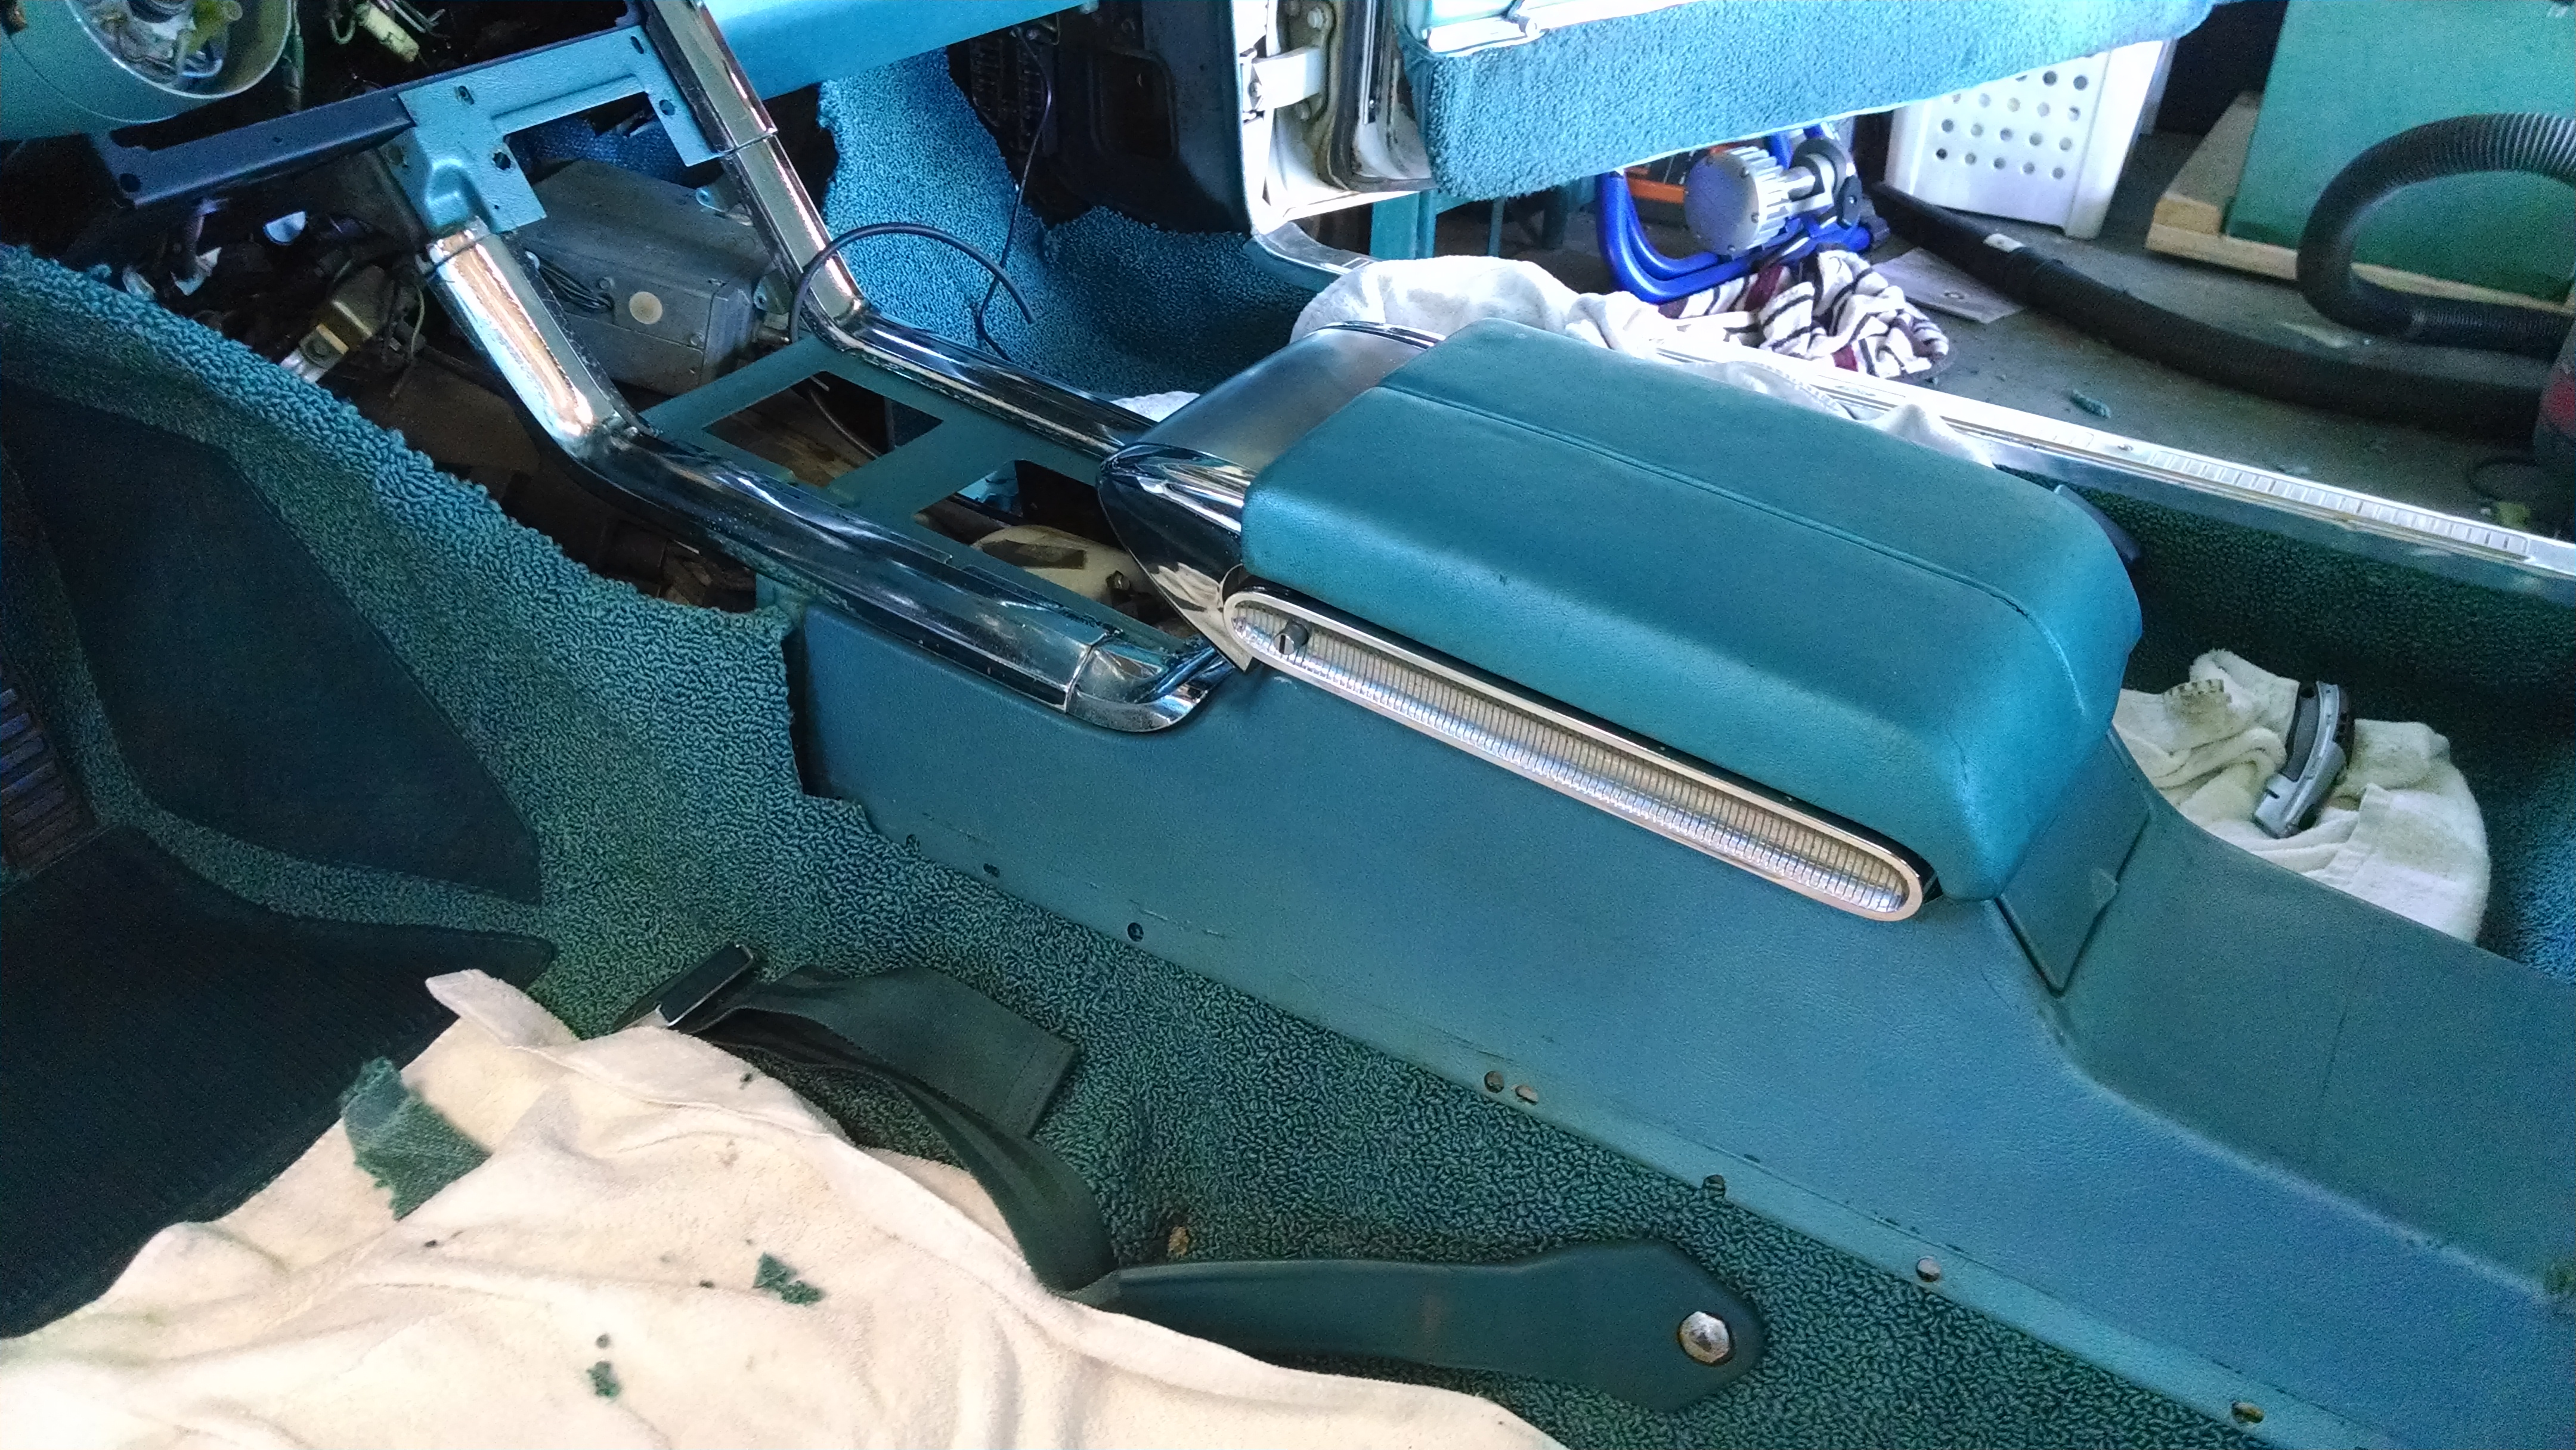
Inside, I got the carpet down and installed the center console–cleaned up a bit, but not painted. The carpeting is a finicky, tedious process. I really didn’t want to undercut it, so I went slow: cutting a little, test fitting, cutting some more, re-fitting, etc . . . until it seemed about right. The old carpet had a buckle on the driver’s side, just forward of the door jamb. I never could get it to lay flat and it would pull away from the side of the footwell over time. The reproduction carpet is a little too true to the original–I have the same buckle and am not entirely sure what to do about it.
No tricks needed to get the console installed, just some care wielding it in tight spaces.
With the console in, the rear seat is back in place. With a few trim pieces on the passenger side, I can get that seat back in, too. Also, the console ties into the dash (of course), and the supports are now back in place to install the ignition switch.