
This week was not really about repairs and restoration, but driving. I’ve had the T-Bird out for longer and longer drives—this week in very hot weather. Except for the gas mileage, it’s been a blast.
Earlier this week, I loaded a bunch of scrap metal in the trunk and headed down to the recycler. There’s normally a lot of waiting around: scales on both ends, paperwork to fill out. The car sits at idle, or there’s lots of stopping and starting in the heat. Historically, that’s been a recipe for overheating or heat soak, so I was a little nervous. All my previous work on those issues is paying off, though, as I had no trouble at all.
The scrapyard is mostly frequented by trucks, of course, so the car was a real head-turner. One guy was so taken, he offered me $10k on the spot, which I politely declined.
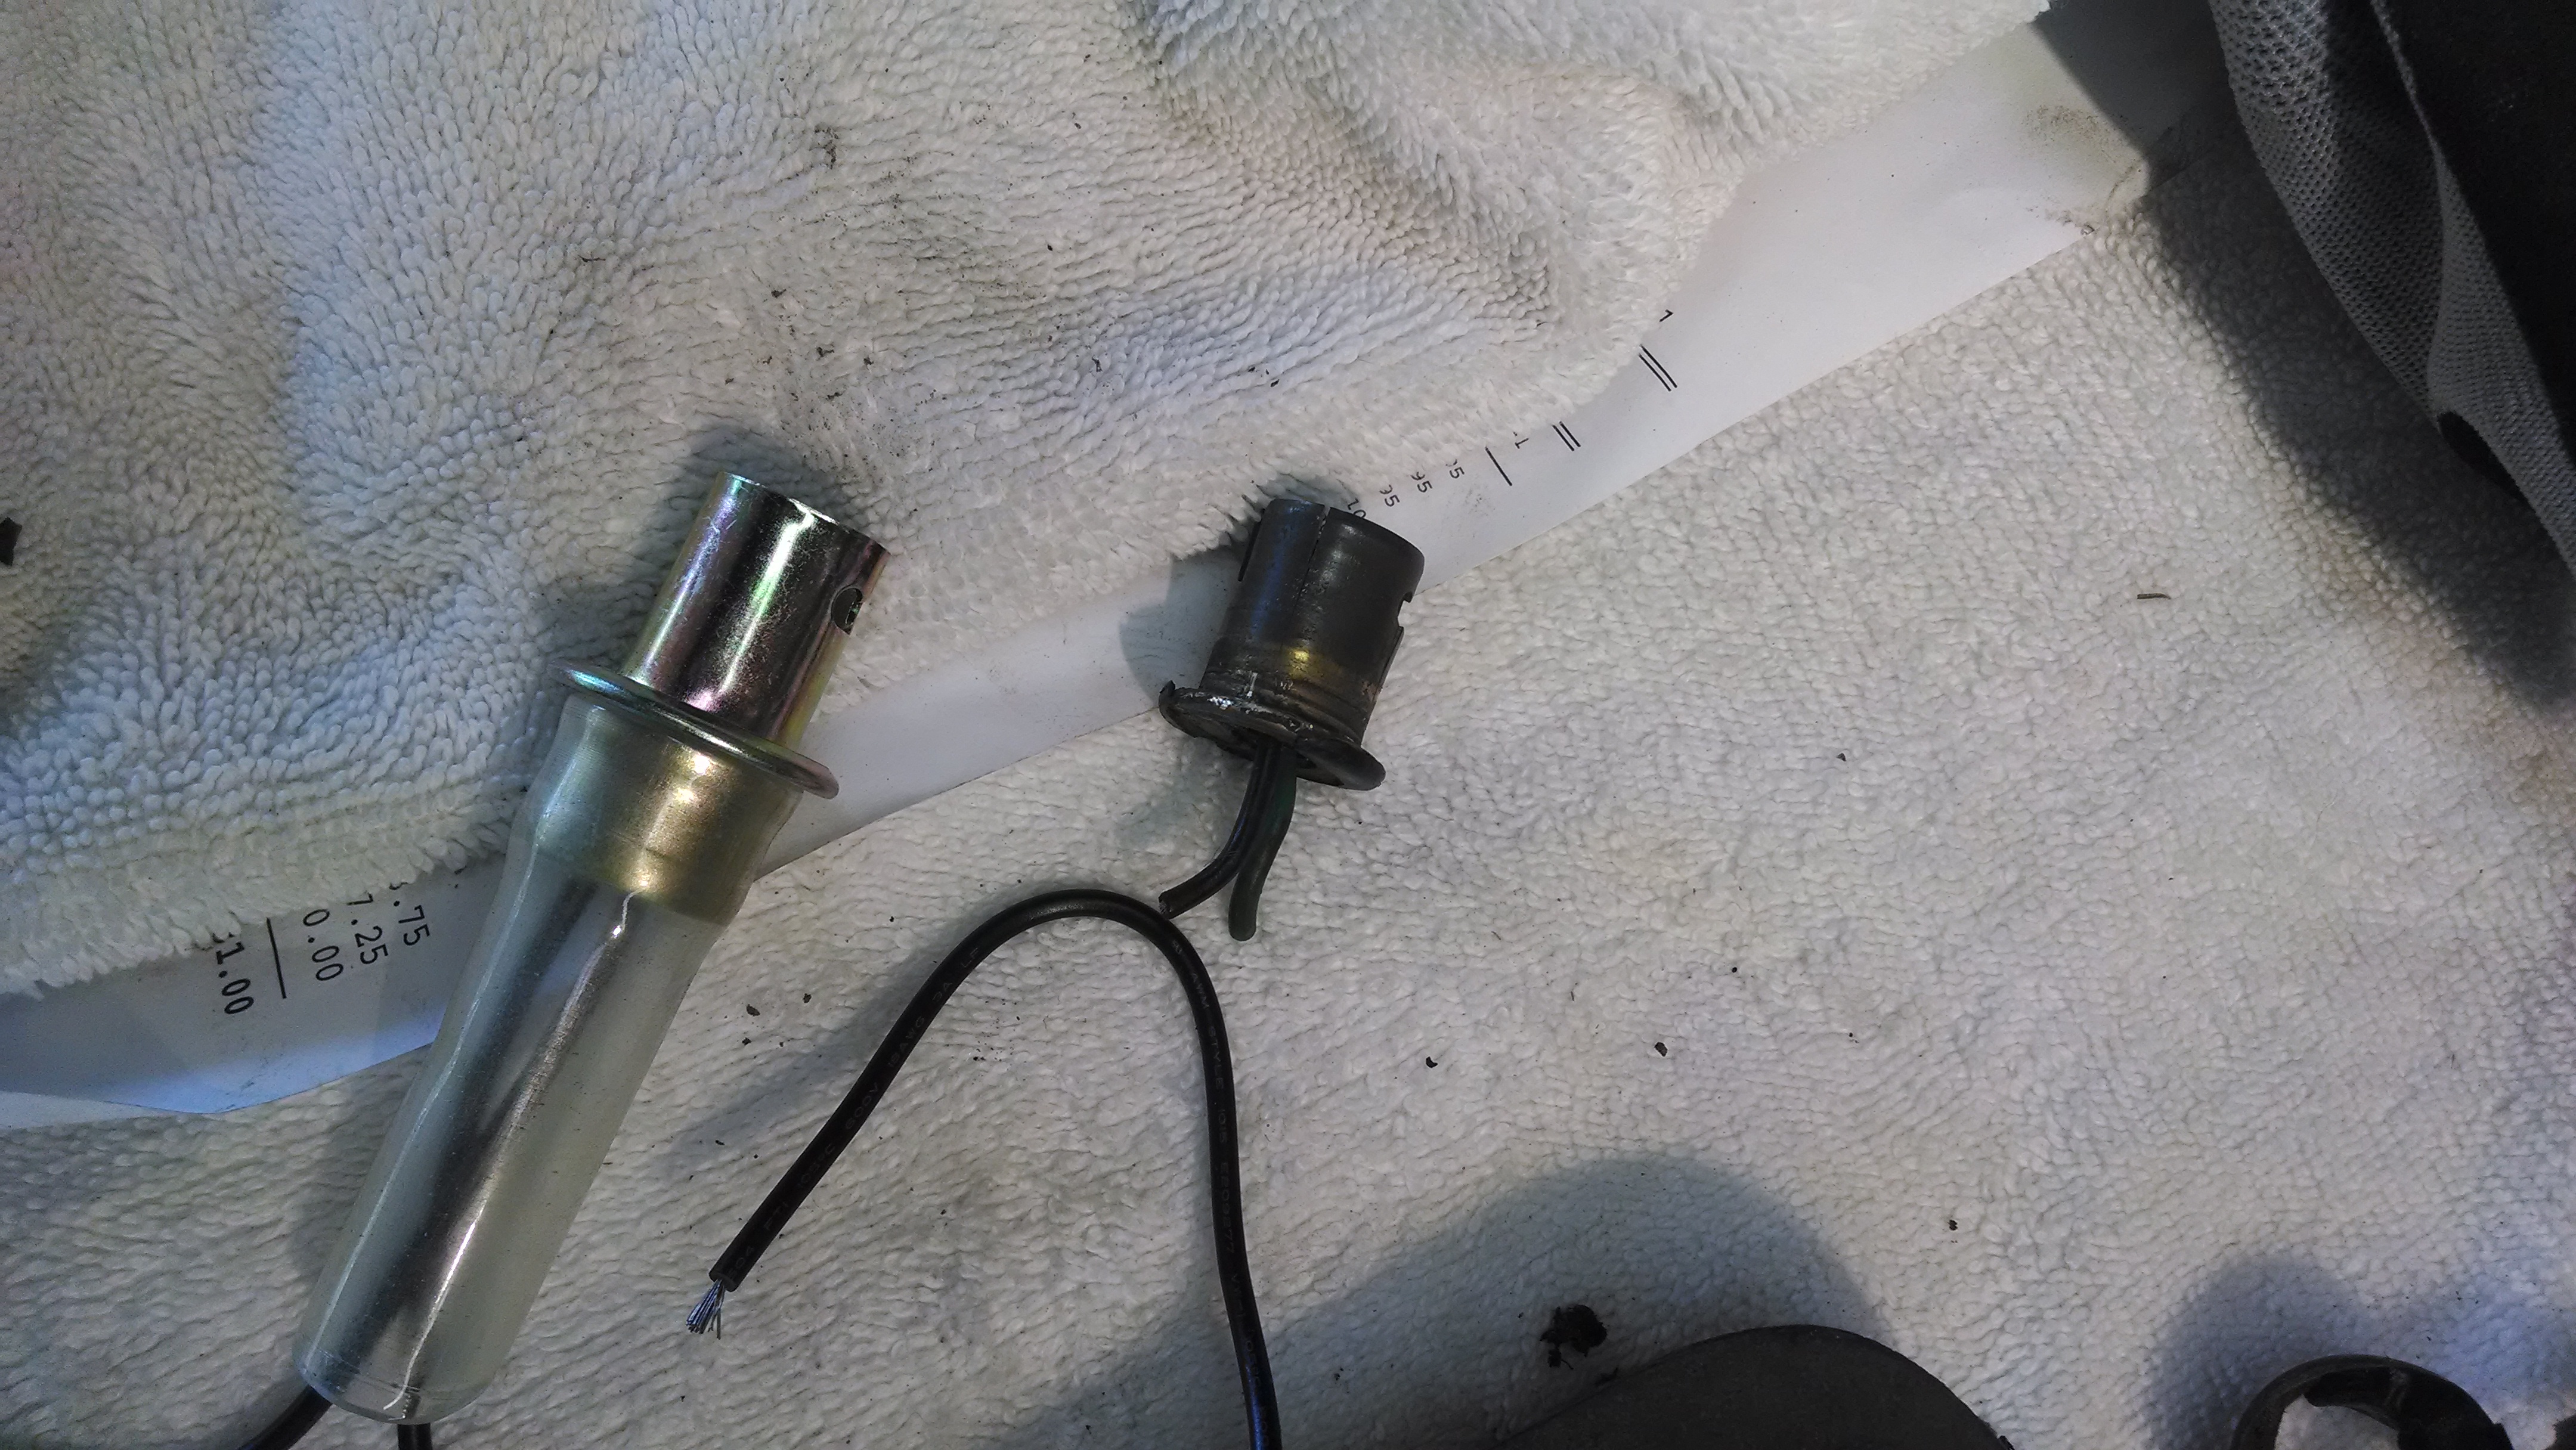
I did do some minor work on the car Saturday, replacing the sockets in the left tail light assembly. I’ve had intermittent problems with one bulb on that side not lighting up. When I pulled the lens, I found that the bulb was good, but the socket was cracked. On further inspection, I discovered that all the sockets were in similar condition and none of the bulbs were seated properly.
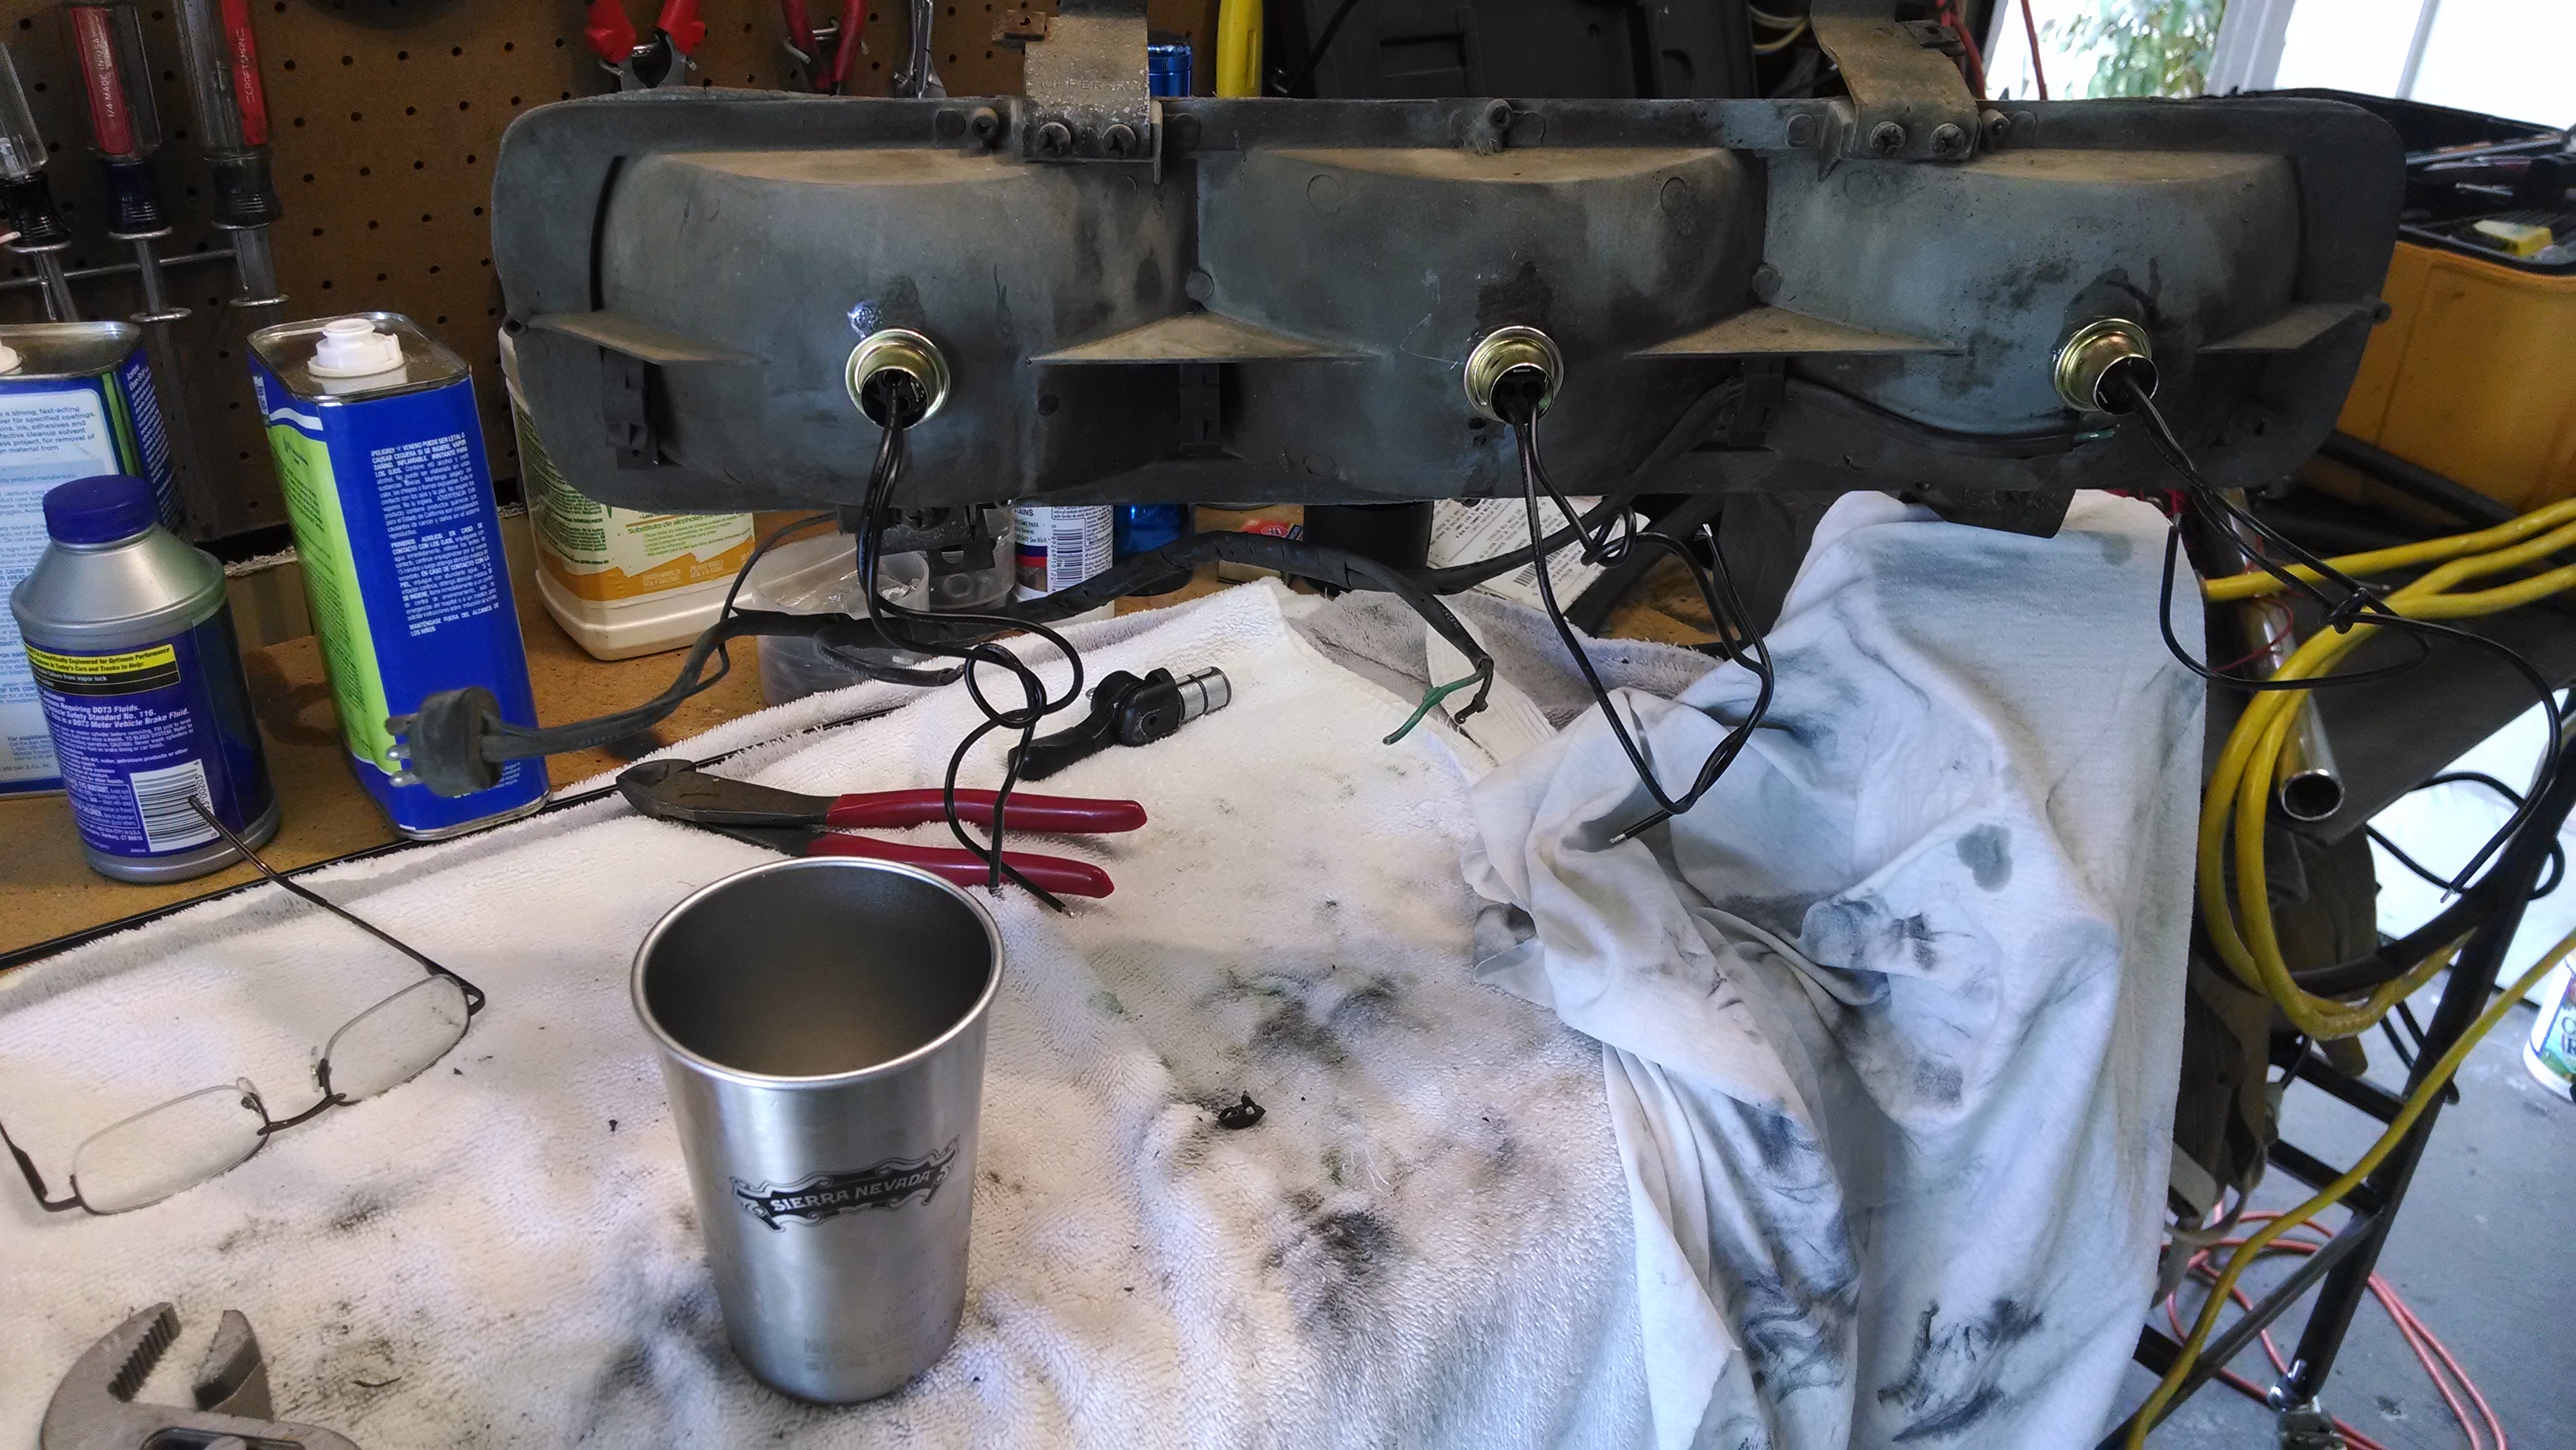
I found replacements on Amazon, of all places and ordered three. Getting the tail light assembly off is a matter of 12 screws and four bolts—just gotta keep pulling stuff off until the taillight is free, then unplug the small harness.
The old sockets are pressed in, then held on by some kind of shrink tubing. (I’m assuming it hasn’t been touched since leaving the factory.) The new sockets did not fit tightly into the openings, which was disappointing. Installing new bulbs would easily push them right back out of the fitting. I used a rubber mallet to tap them into place as far as they would go, then ran a bead of epoxy around the joint to ensure they would stay in place.
The original wires going into the socket are green and black, one for running lights, the other for brake. The new wires were not color coded, so I had to match up the contacts with the old unit before soldering the connections. I also tested the setup when I had one done, just to make sure I didn’t get them all backwards (and have to redo it.)
Even with the slow-curing epoxy, this was a one-day job. I had the assembly back together that evening. I hated the idea of driving around with dead light sockets—it can be the difference between an old car and a cool old car.
There are two additional electrical issues to tackle in the coming weeks–the fender indicators for the turn signals and the back-up lights. Neither are working and I don’t know why. Yet.
Hi, have you replaced your turn signal SW ? l have 64 t-bird and it will not start in park or neutral..there is power to the Ing and no power to the neutral SW. it will jump start, l have new turn signals,Shift Lever,Shift Detent,,no radio ,,,it works and then don`t ..l think is is in the Key m??can you help ??
I’ve replaced my switch twice now, once with a reproduction and more recently with a used, original part.Both have issues, but I like the original piece better. I would assume that since it won’t start in neutral or park it won’t start in drive or any other gear? That does sound like a bad switch, but I would post the question on the VTCI forum and see what others might have to say: http://www.vintagethunderbirdclub.net/phpBB2/viewforum.php?f=7