
I got a couple of new motor mounts from The Bird Nest. They arrived just before Christmas, but circumstances have kept me away from the car until today. I jacked up the front end of the car as high as I could get it and removed the left front wheel for access.
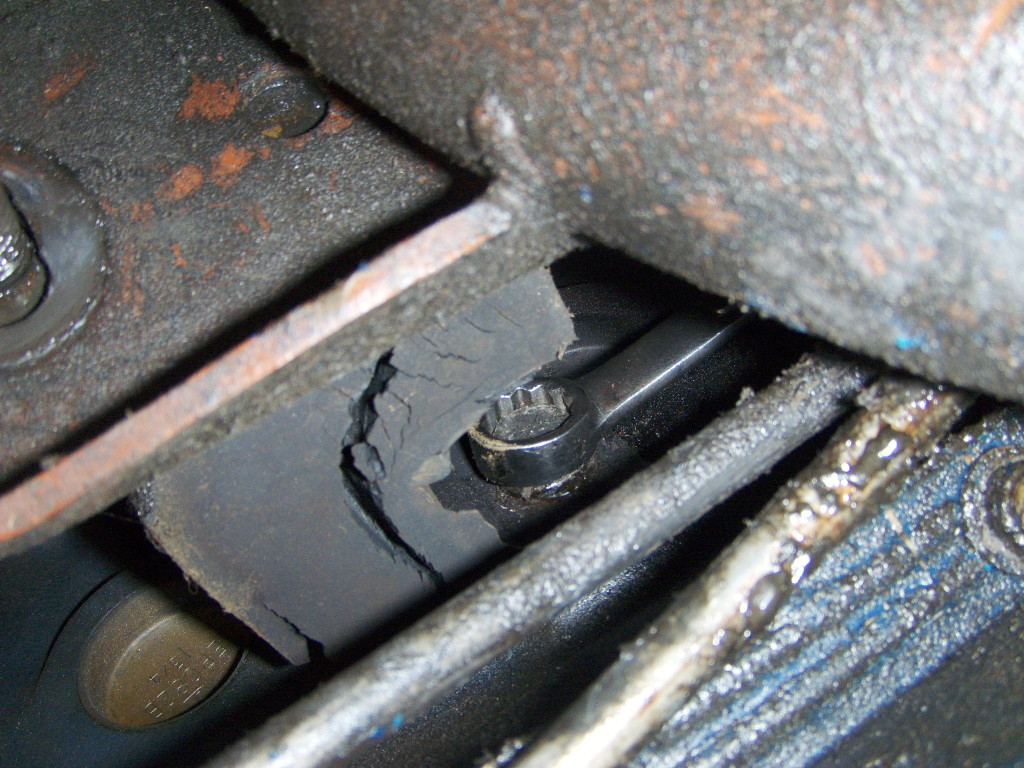
The mounts are in two parts: insulators attached to the motor are bolted to an angle bracket, which is then bolted to a frame member. Getting to the lower nuts (those holding the angle bracket to the car frame) is easy. I couldn’t see a way to separate the bracket from the insulator in the car, but was able, with some effort, to get the insulators removed from the engine block. (Those on the driver’s side are especially inaccessible due to the steering components.)
With the mounts disconnected, I jacked up the motor–had to remove the fan shroud to get it up high enough. The passenger side mount came out easily. I couldn’t get the driver’s side mount and bracket assembly out of the car until I removed the oil filter adapter, which was a little unexpected. The fuel pump was already out (and the coil removed) just by chance. I don’t know if these would need to be removed as well for clearance.
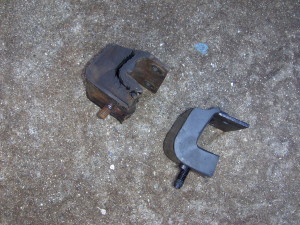
All the nuts and bolts associated with the mounts were snug, but not tight, which I found a little odd. The engine was out of the car for a rebuild some years back and it’s a simple matter to assemble the mounts before reinstallation. In my case, it will be a little more difficult to cinch everything up.
I will post a photo journal of the whole process once I have the new mounts installed. Should I ever buy another ‘Bird, this will be an item I’ll plan on replacing right off the bat.