
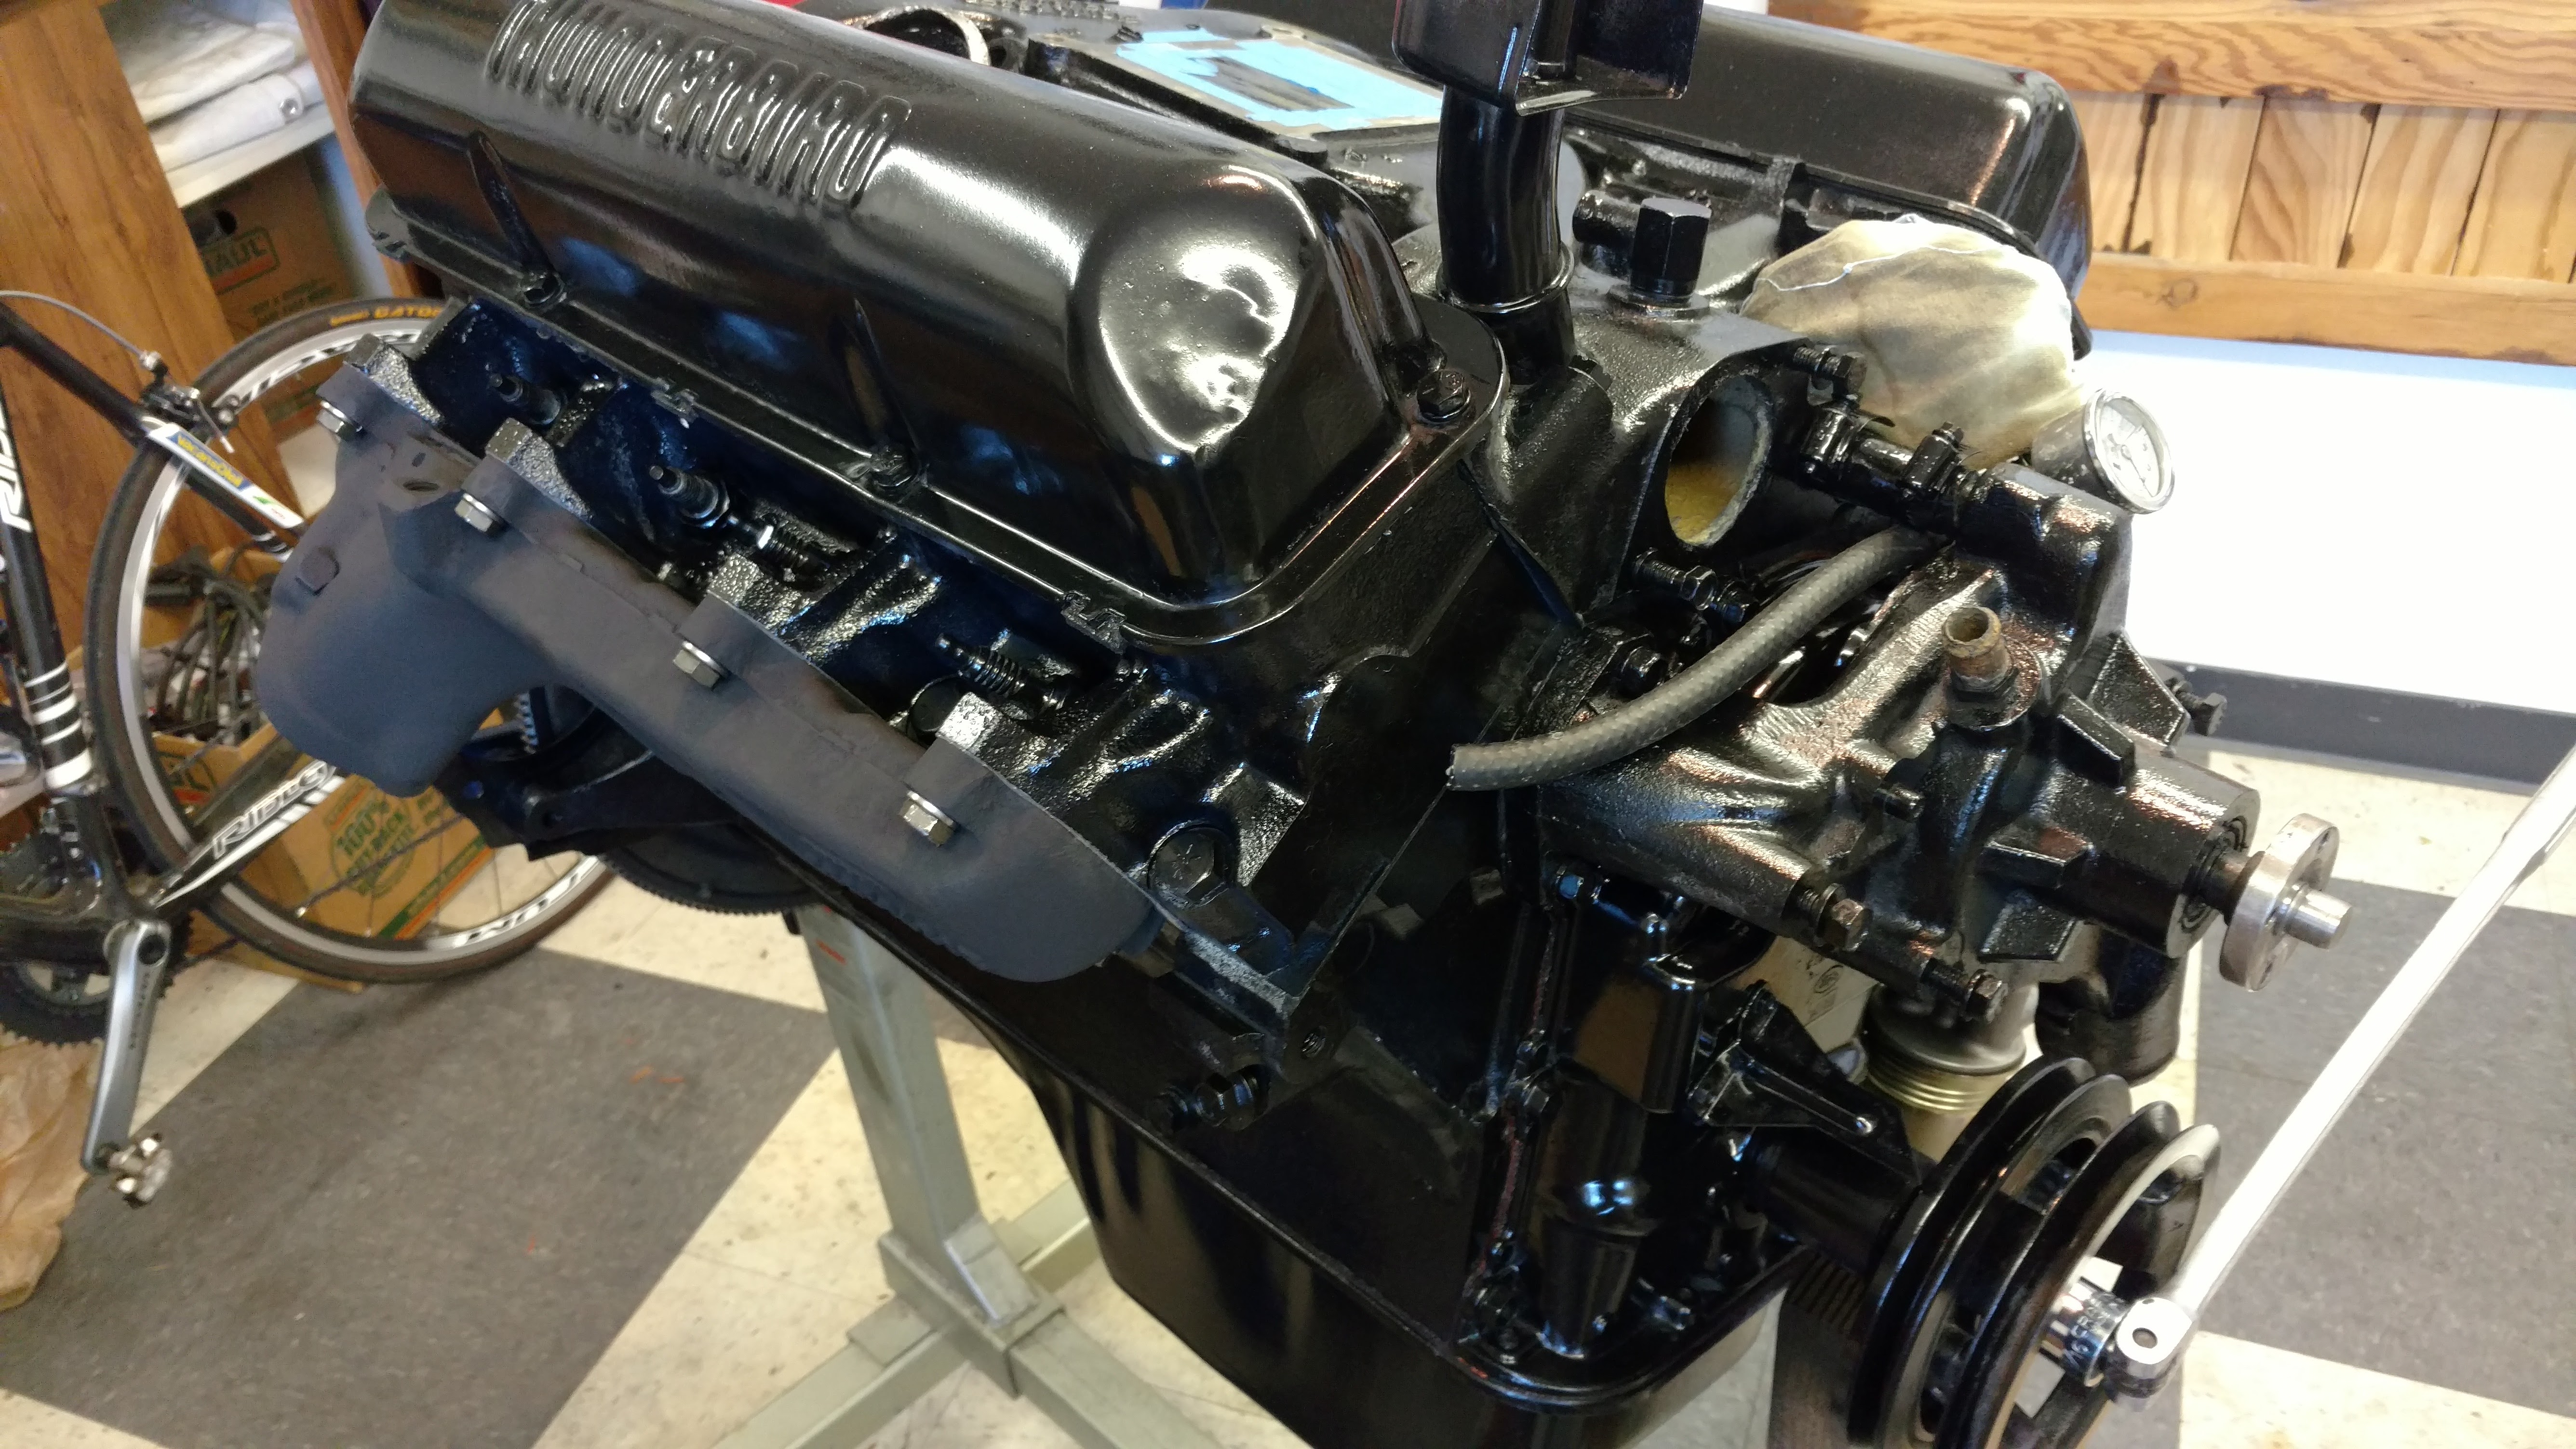
I broke out the compressor and spray gun last week and shot the motor with a coat of black engine enamel, then followed up with high-heat paint on the exhaust manifolds. With those installed, it was time to get the motor back where it belonged.
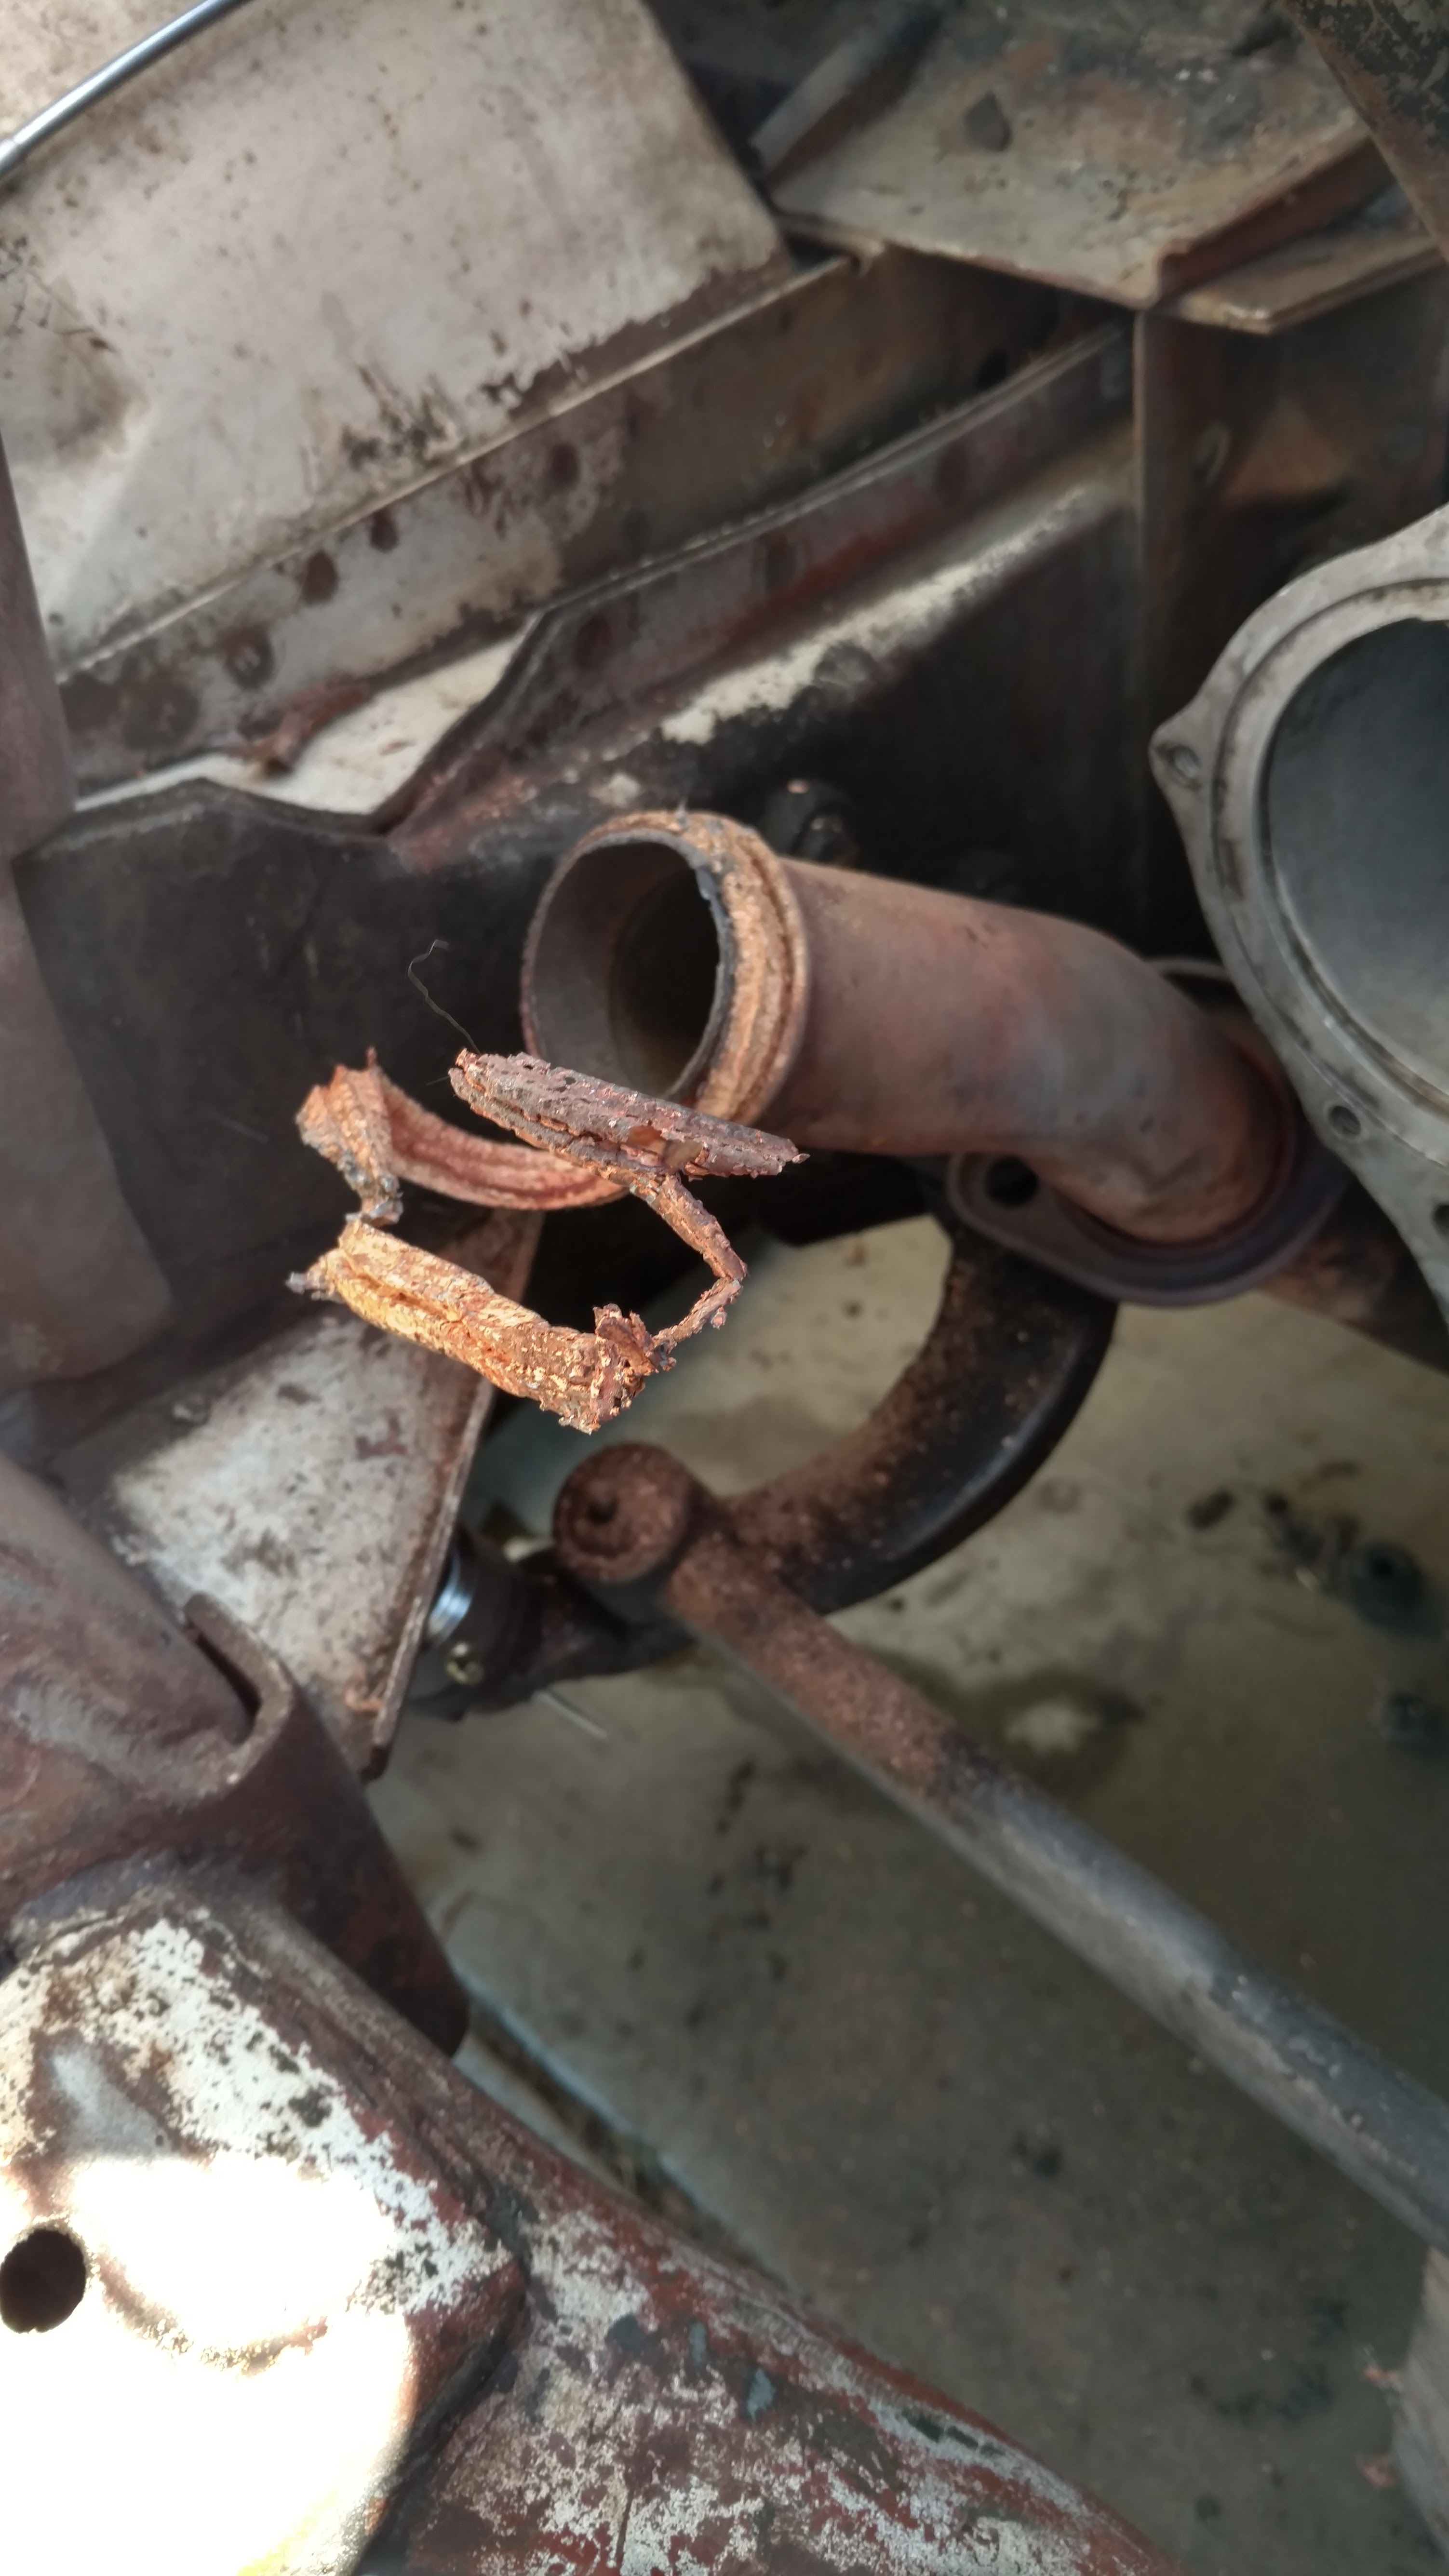
On the day of installation, I crawled into the engine bay one last time to remove the old seals around the exhaust collectors. The replacements are round, soft-metal donuts, but the old ones are some kind of metal tape. I used a chisel and a hammer to break them free, then just unwrapped the rusty mess.
While there, I also checked on the torque converter. Chatting with my transmission guy, I learned that it needs to be fully seated—three clicks while pushing it in—or there’s a risk to internal transmission damage when the motor is drawn up to the bellhousing.
The most difficult part of the installation was lining up the studs on the torque converter with the holes in the flywheel. I worked underneath the car while my son operated the hoist and manhandled the motor into place. (My hoist, when pushed all the way up against the front bumper, held the engine just about an inch short of the bellhousing, so there was a lot of pushing involved at the end.)

The first time everything mated up, I could see that the converter was not in all the way—either I failed to seat it or it got pulled partially out while trying to get everything in place. We had the lift the motor away, enough to get a hand in there and push it back into place (and then start over!)
I left the motor mounts off the block during the install. It was one less thing to line up and think about. Once we had a couple of bolts holding the motor to the bellhousing, reinstalling the mounts was simple. From there, we could drop the motor all the way down and insert the bolts at the top of the housing.
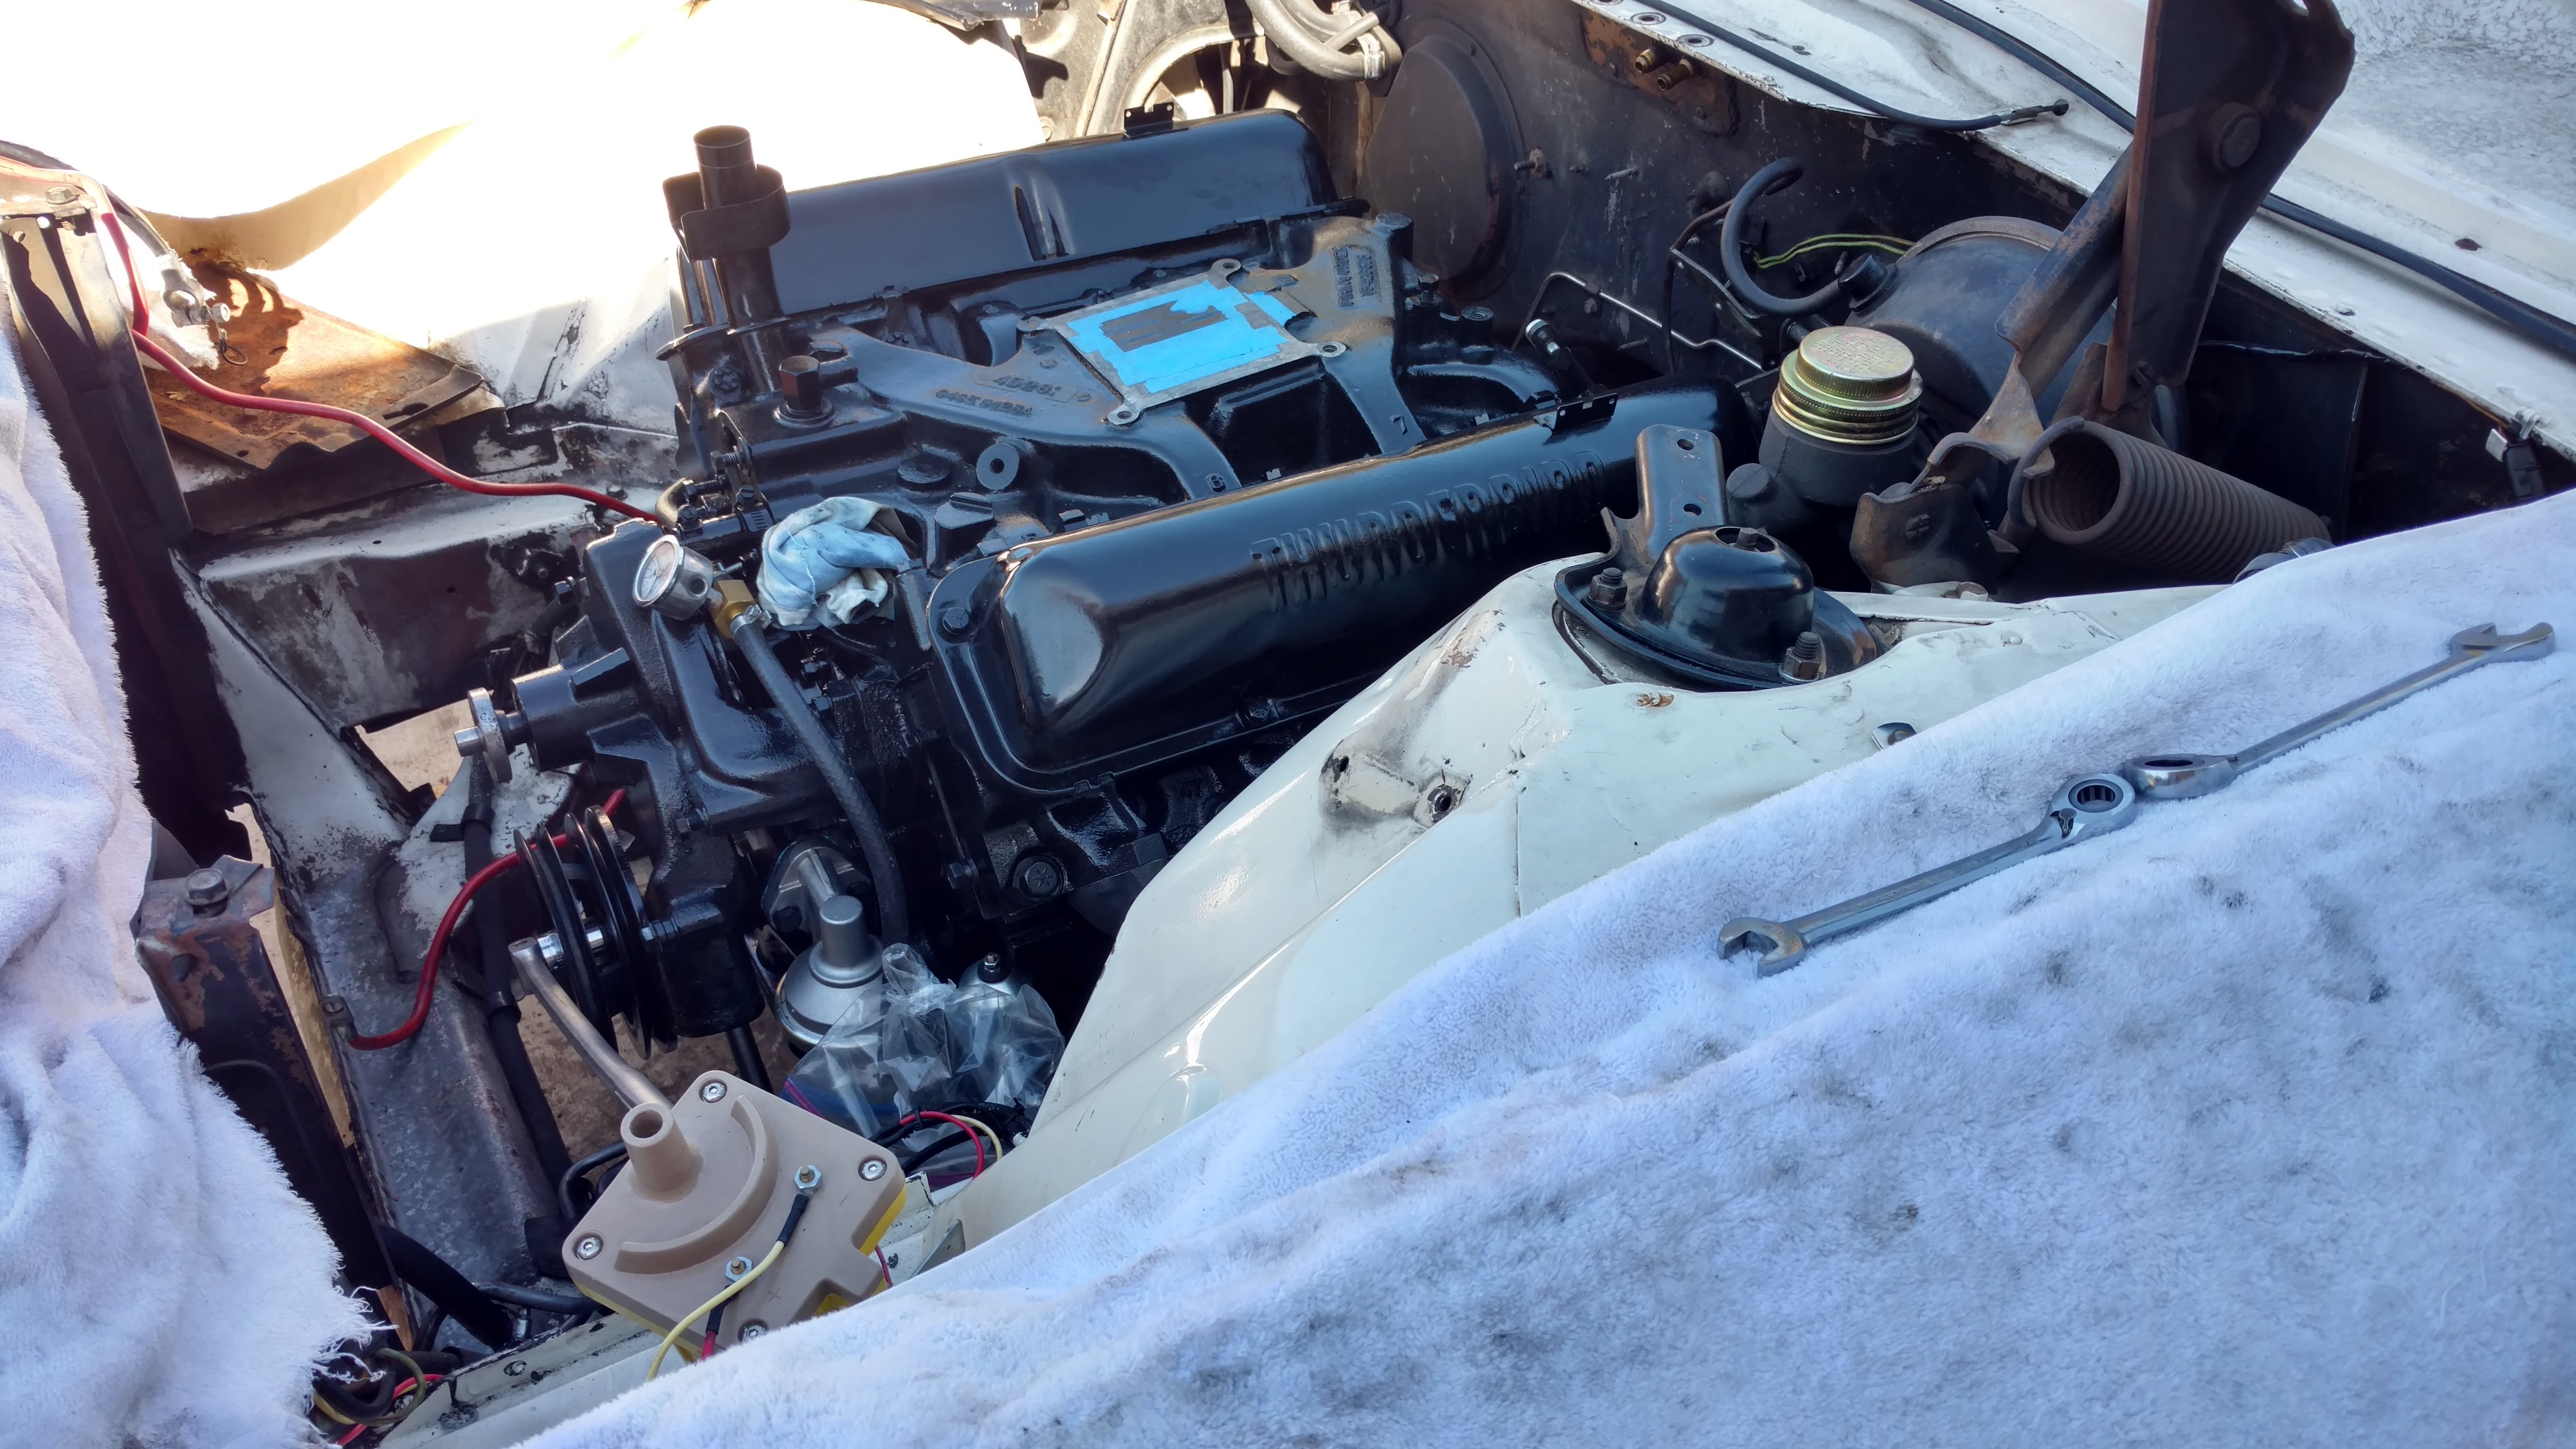
The hood is heavier than it looks and is definitely a two-man job. My son lives a fair distance away, so even though we were tired, we took a stab at putting it back on. Unfortunately, we lost control of it briefly and put a scratch in the cowl as a result. Except for that minor mishap, all went well. We needed three hours, all told, to get the motor in place.
There is still quite a lot of work to do before the engine is running, and even though much of that is under the car, we took it off the stands—just for fun—to see how the new stance looks with the shorter front springs.
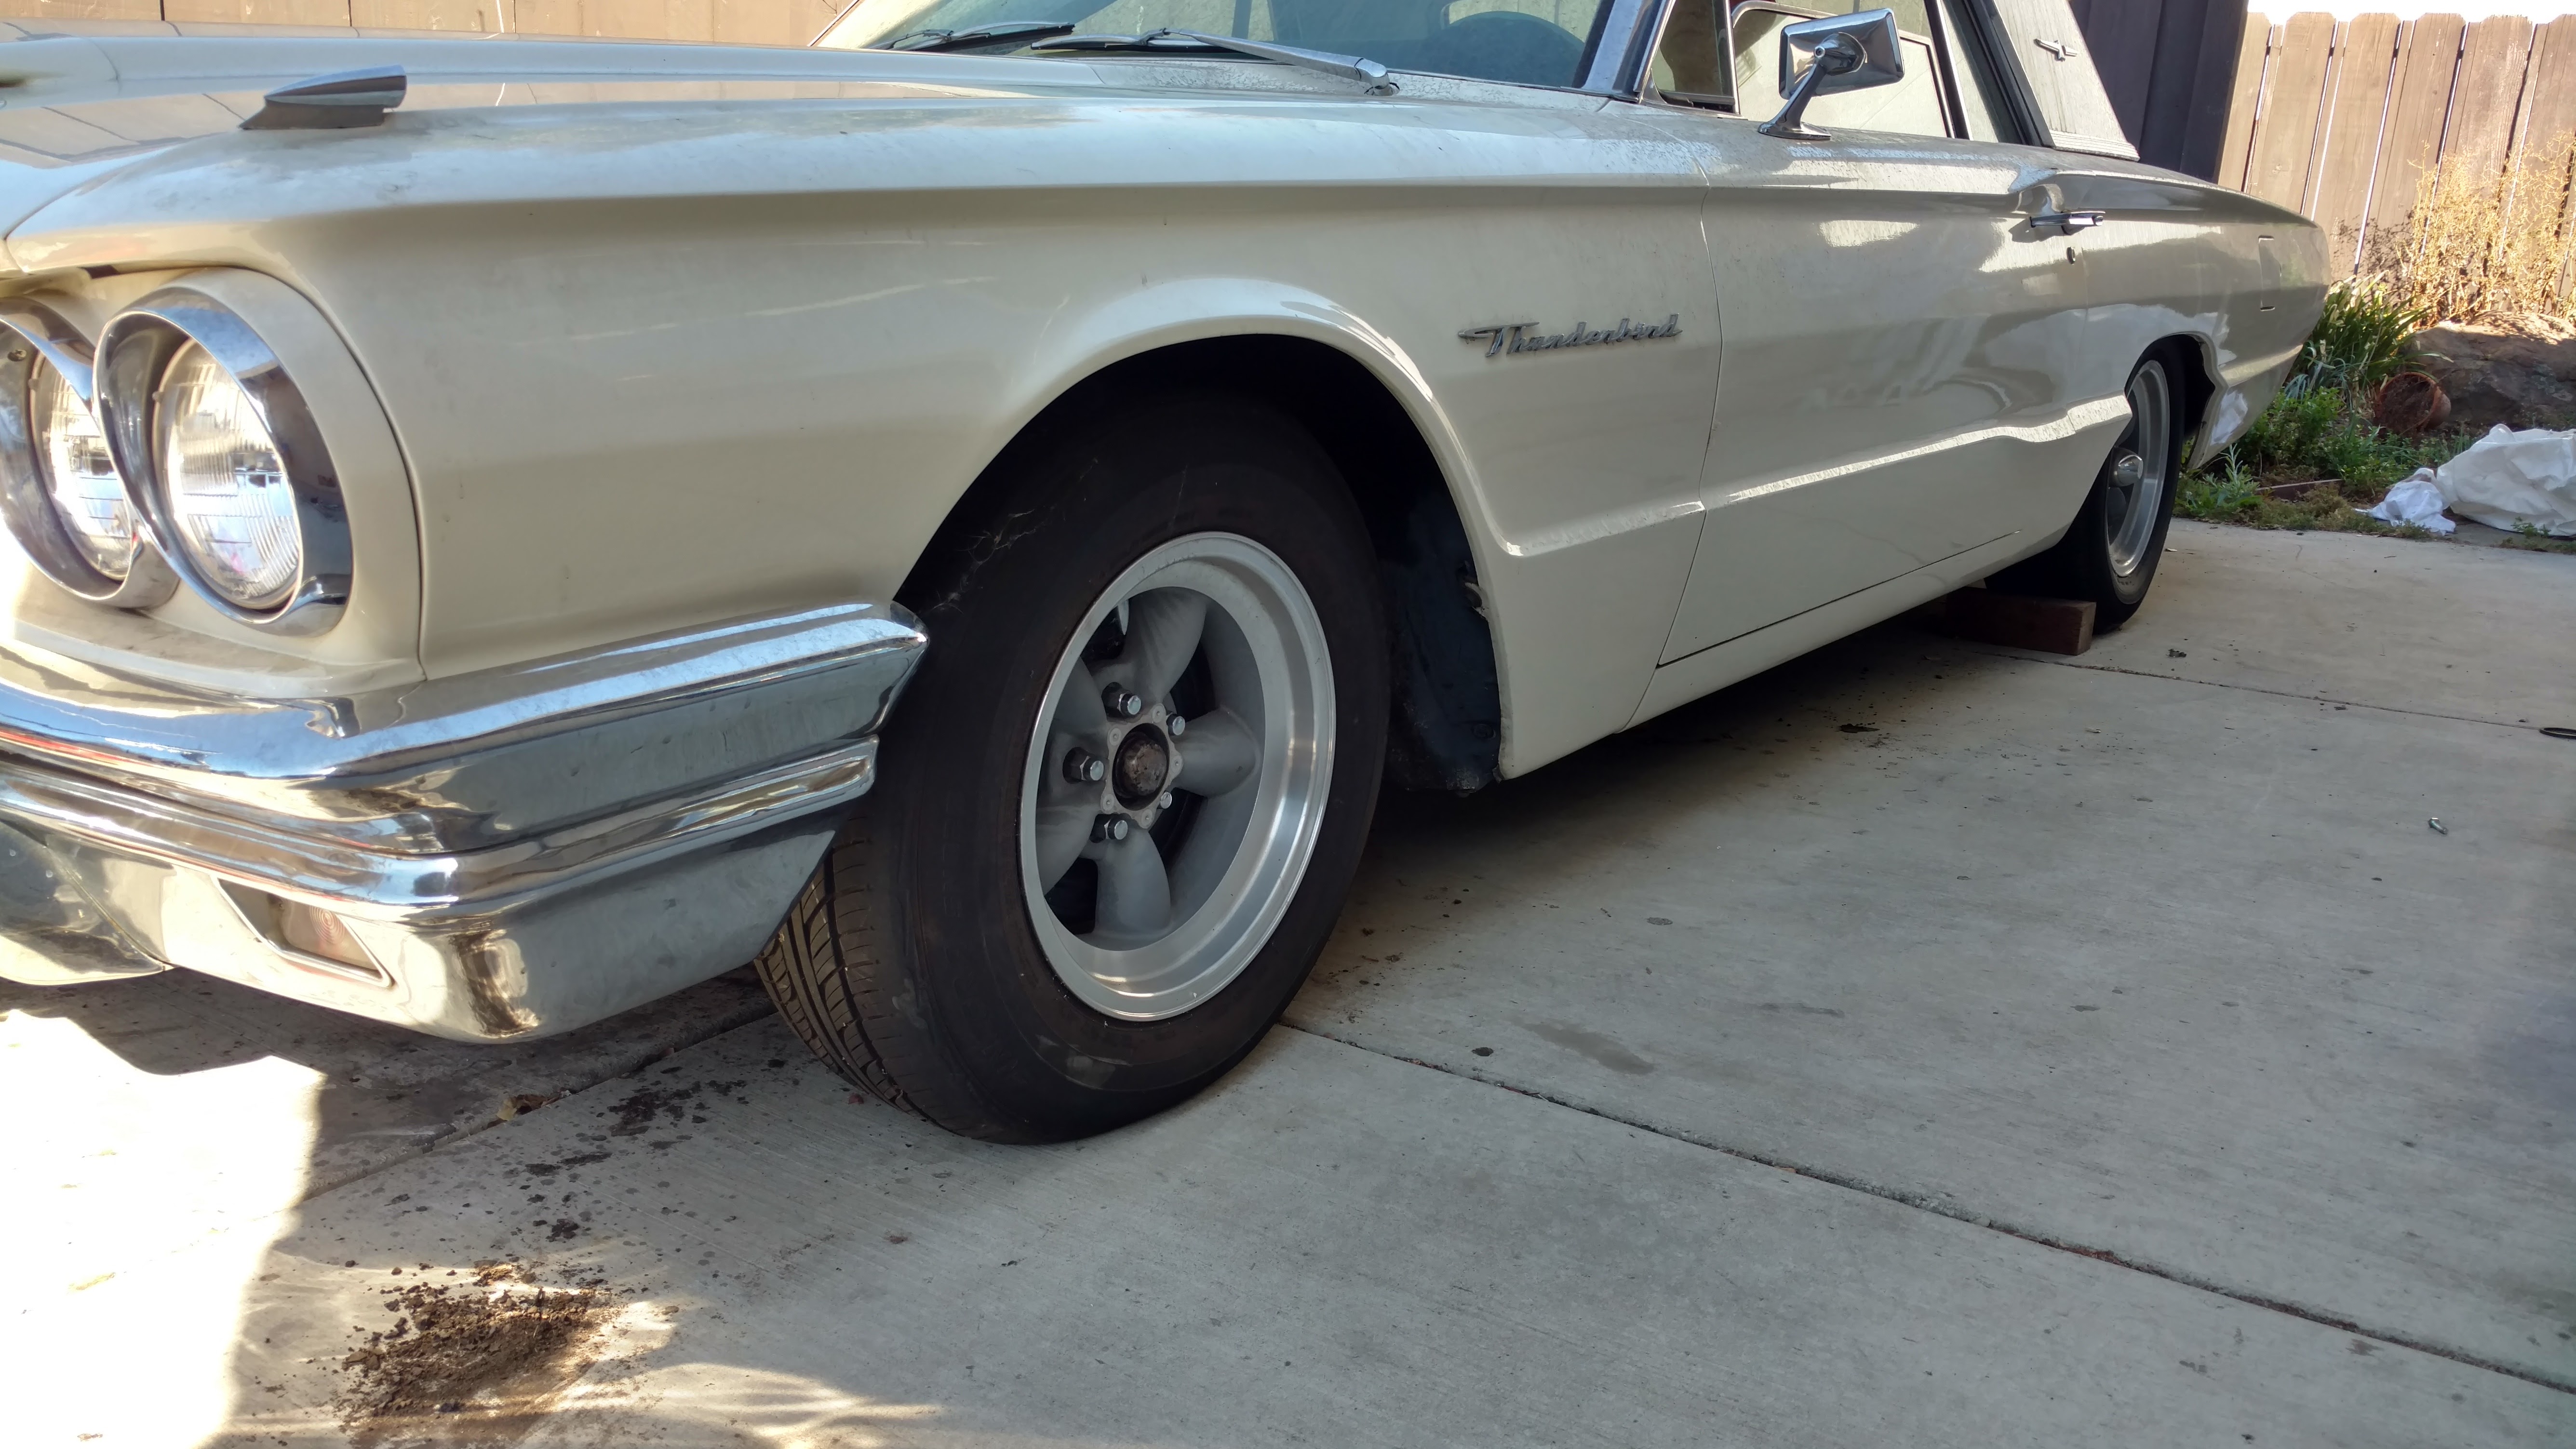
I don’t see a dramatic change, but it certainly looks good back on the ground. The poor bird is filthy after a few months in the elements—I hope to get it cleaned up a bit this evening.