
I cut the driver’s side floor pan–what was left of it–out of the car earlier this week. This is the first time I’ve tackled bodywork of this magnitude so I began with some trepidation, even though there was really nothing to lose.
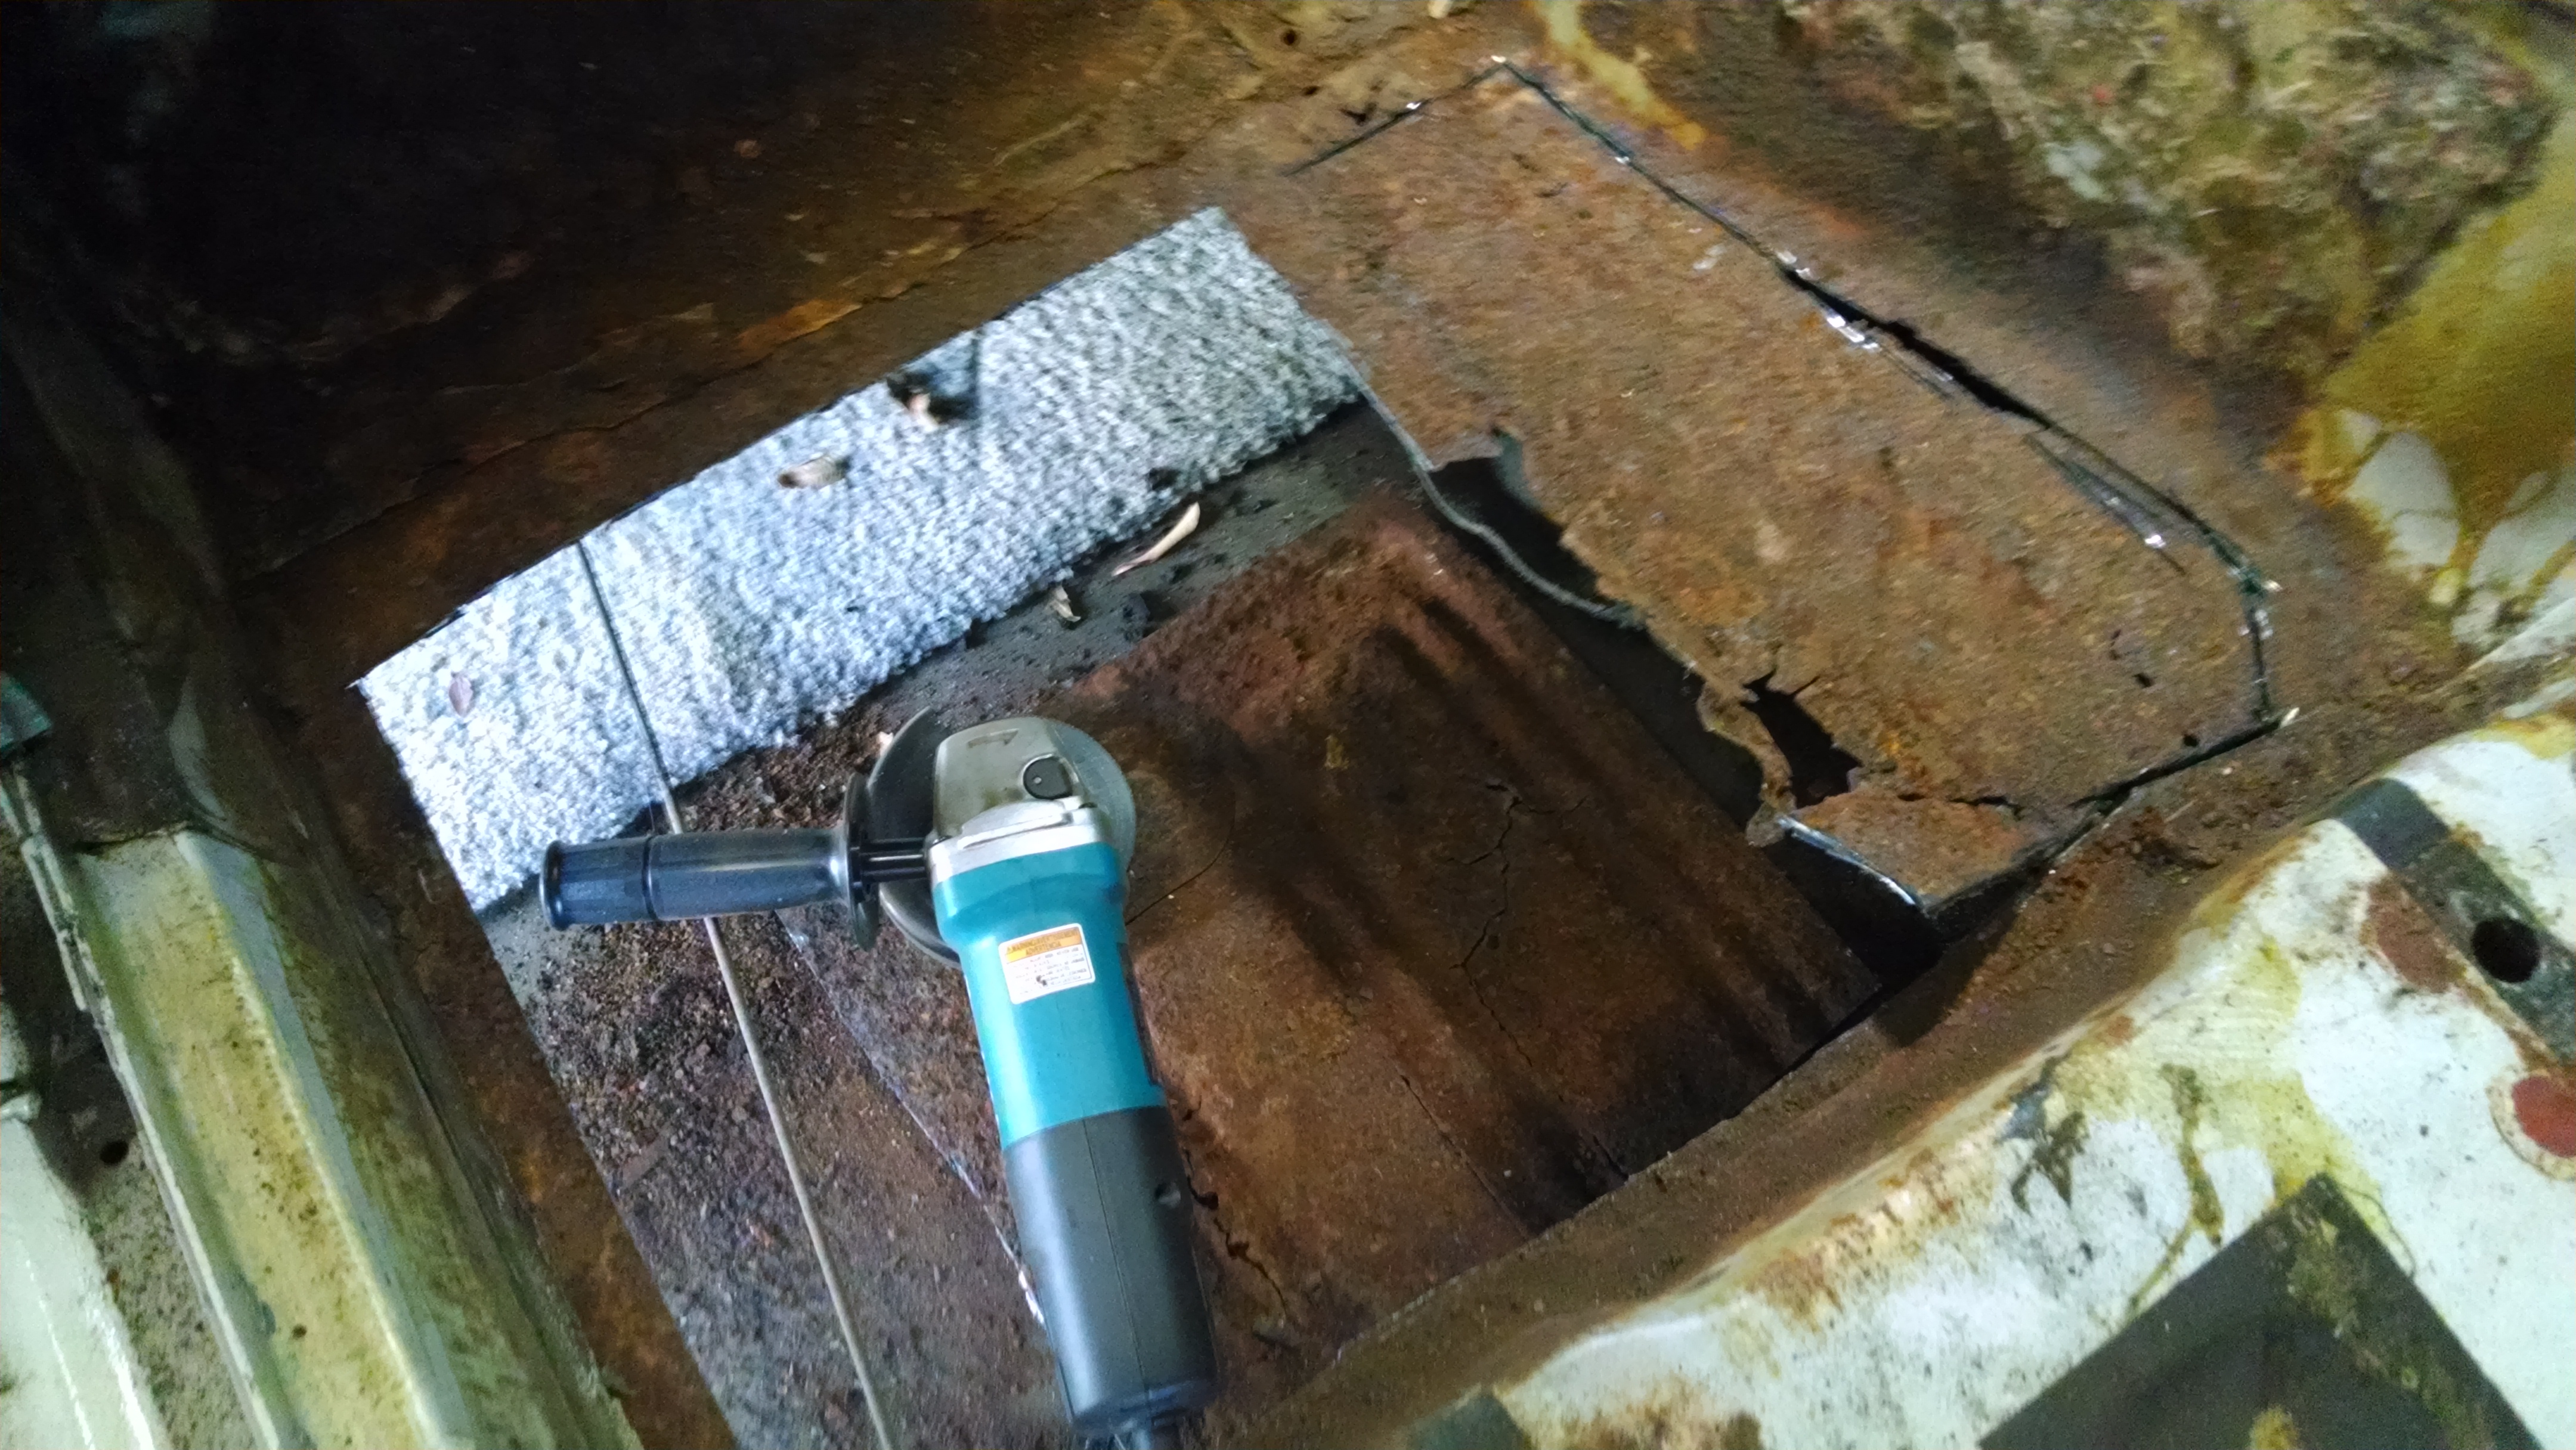
Before I began, I removed the fuel line. (It runs right up the driver’s side of the car, close to the area I was working in, and I didn’t want a fire.) I didn’t wear my welding apron, but did have on a long sleeve shirt, welding gloves and a full face shield. It was a hot winters day, oddly, and with all that gear I was sweating pretty good. The cut off wheel I used in the grinder throws up a lot of debris, both from the rusty metal and the wheel itself as it disintegrates. At the end, I was wishing I had used a dust shield over my mouth as well, sweaty or not. I ended up breathing in a lot of the airborne particles.

The rusty metal was soft and easy to cut, but some areas can be hard to reach; in those cases, it can be difficult to control the cutting wheel. I was conservative in what I cut out, then used a grinder (easier to control) to work back to good metal, trying to keep straight edges all the way around.
The pan is spot welded to a brace that runs diagonally underneath it. I didn’t have a good tool to break these welds, so I used a screwdriver to separate the metal, then pried the welds apart with a pair of pliers. This is not the best approach, as the brace gets a little distorted in the process. (I’ll try something else on the passenger side.) With the welds broken off, I ground them down pretty easily.
I cleaned off the surface rust on the remaining metal with a wire wheel, then a rust removal pad chucked in a drill. I also used navel jelly around the edge of the opening to get as clean a surface as possible for welding.
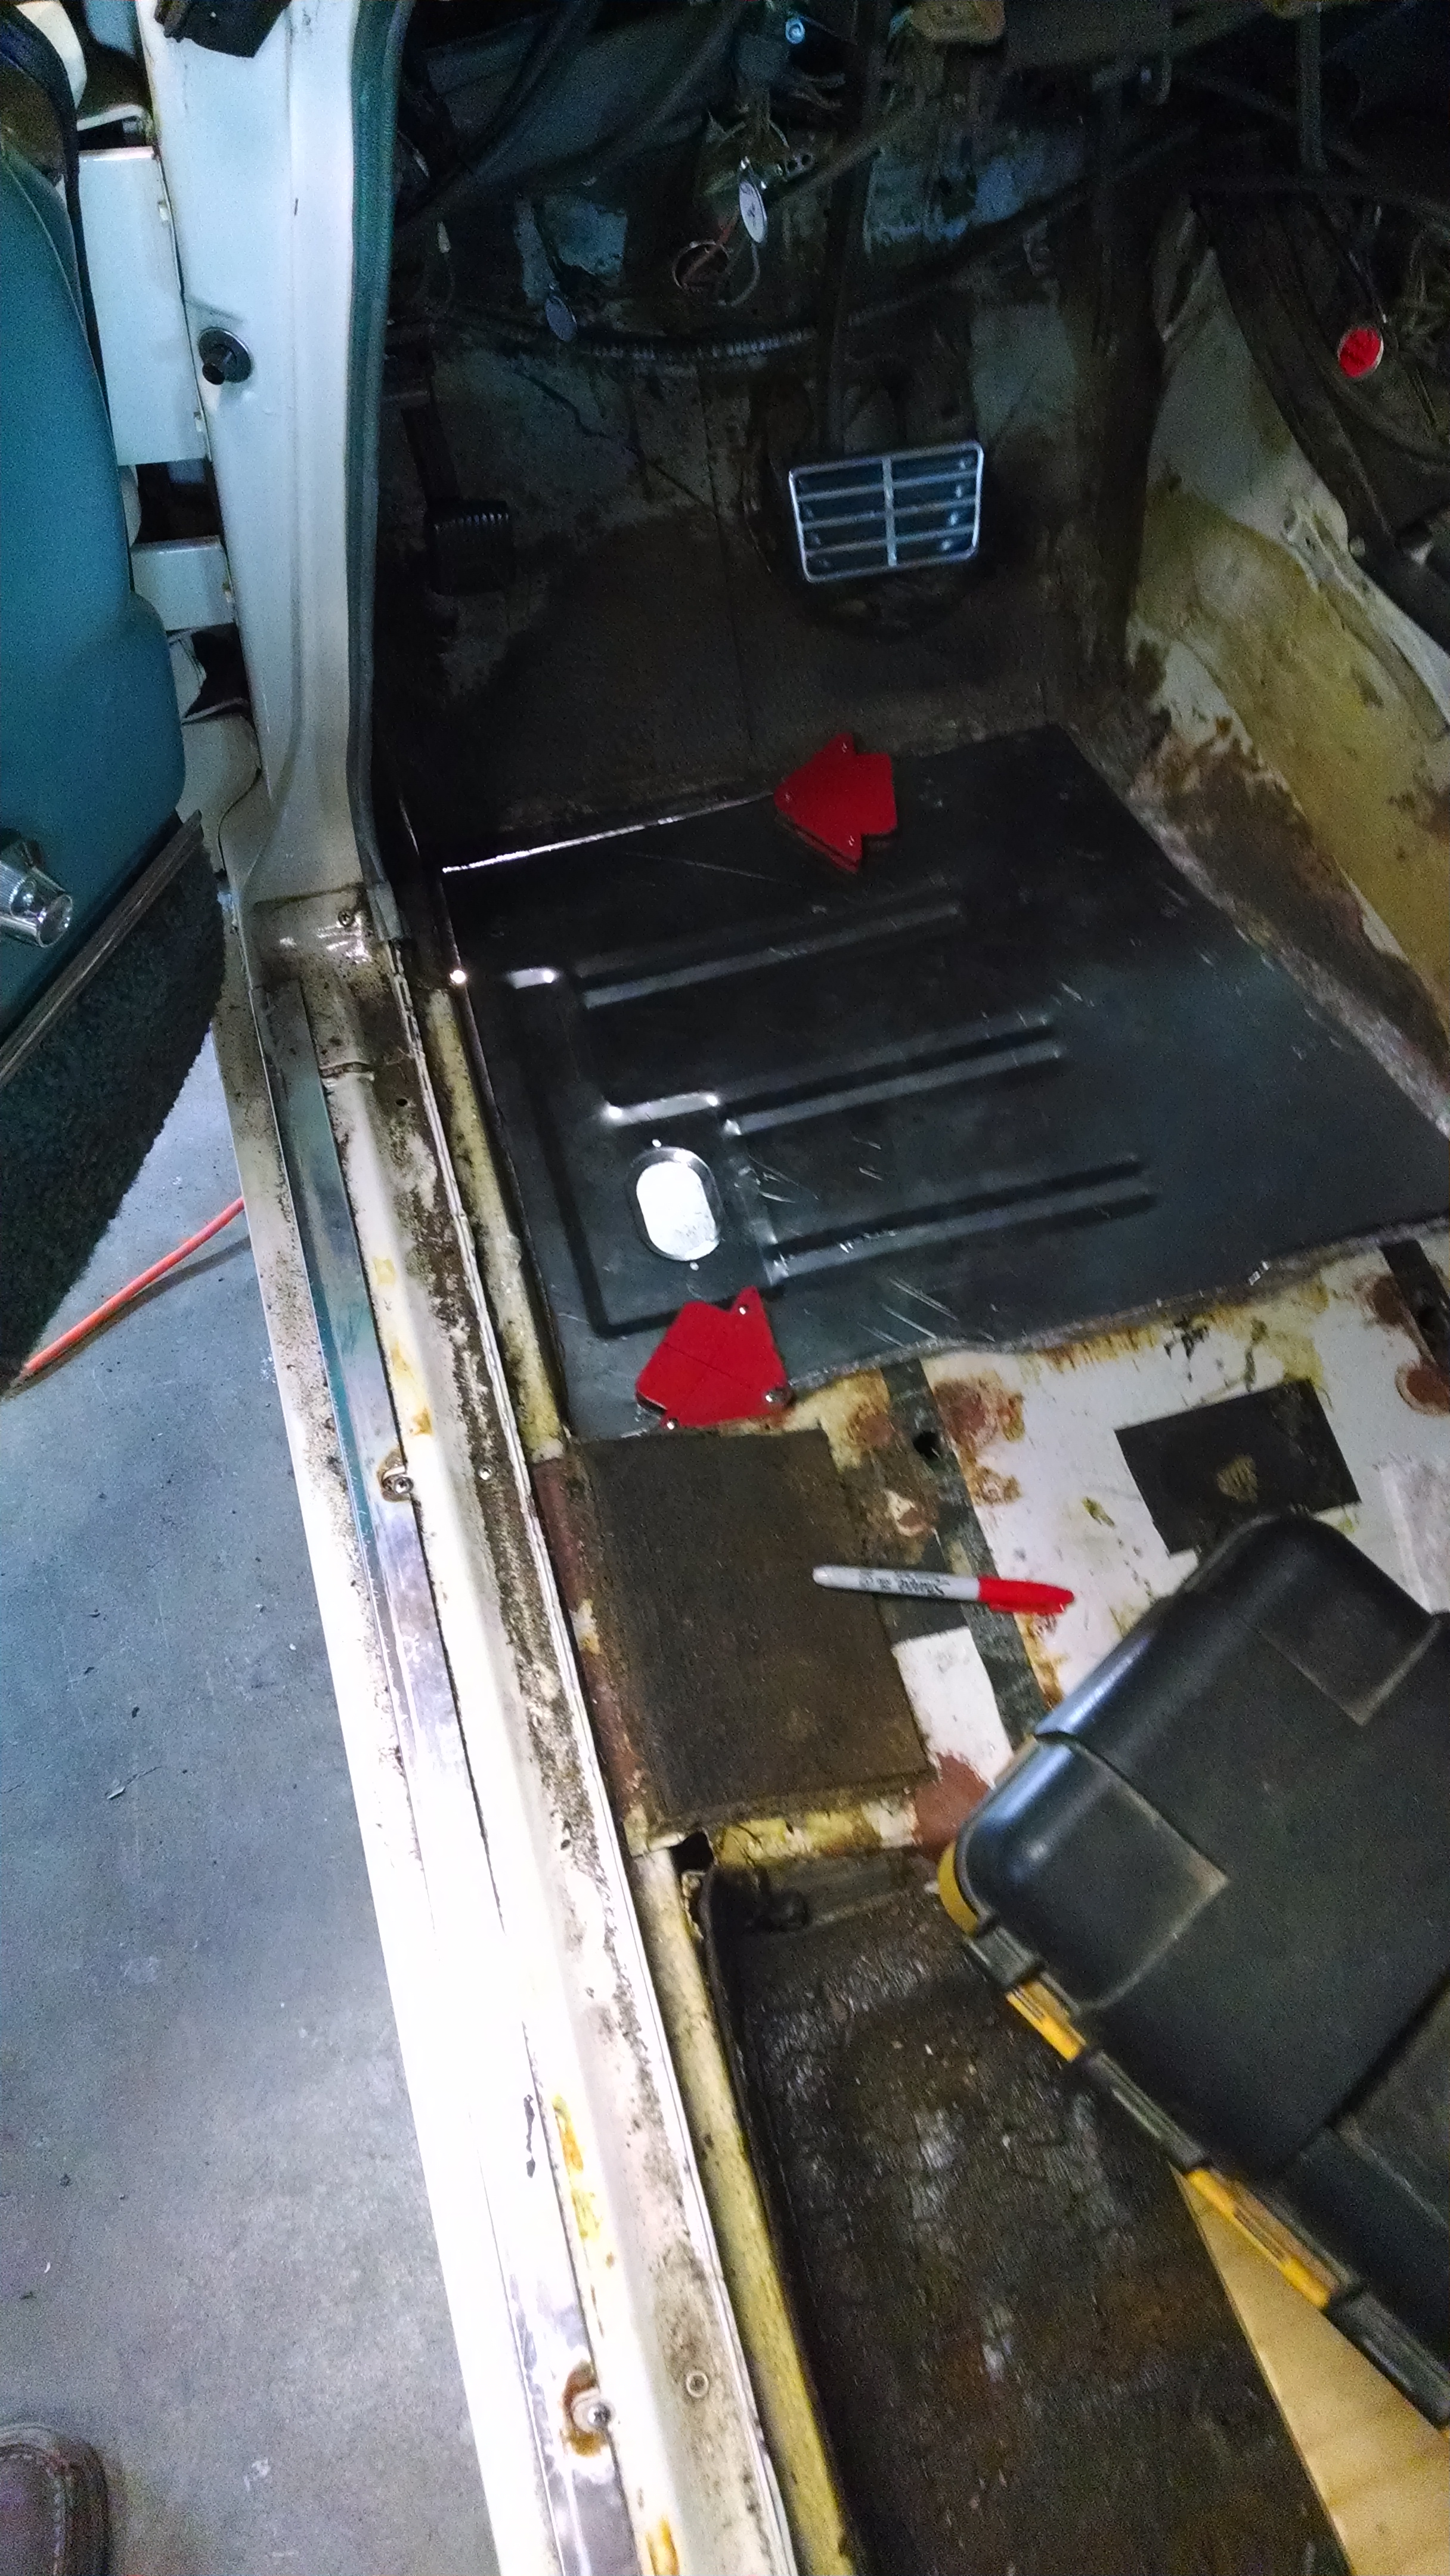
A day or two after cutting out the old, I set to work trimming the replacement panel. I set it in place, holding it down with a heavy tool box, then outlined the areas to cut away from underneath. Like with the old pan, I cut way outside the line, then slowly worked back towards it with a grinder, checking the fit as I went.
It was a tedious process. Since I plan to seam weld, the new piece needs to fit just inside the opening–no overlaps and with no large gaps. It is difficult to hold it in place (It wants to fall through, of course), check for fit and mark the spots that still need work. As the sheet metal is cut, it distorts slightly, too, so it can be difficult to judge just how well it all aligns, unless you have about six hands to hold it in place.
It took me about two hours of cutting and grinding to get a piece that fits well. It may be a tad oversized, but that’s better than too small. I plan to tack one side into place, then make any small adjustments necessary before welding it permanently into place–today!