
There hasn’t been a lot of time to tend to the motor, but with the damp weather we’ve been having, I was spending a lot of mental energy worried about rust in my newly conditioned block. It seemed best to get the bottom end installed, even if my schedule didn’t really permit it.
I got the camshaft installed a week or two ago. The block came with the cam bearings installed, so it was just a matter of lubing up the cam and getting it seated in place. When it comes to cams like this, everyone says to take it slow and ensure that none of the lobs bump up against a bearing on the way in. I’m pretty sure that’s not humanly possible. I’ve installed a few of these now, and what with lining up the bearing races, dealing with a heavy hunk of iron and limited hand grips inside the block, it’s pretty impossible not to bump up against a bearing at least once during installation. No damage was done. I was moving slowly after all.
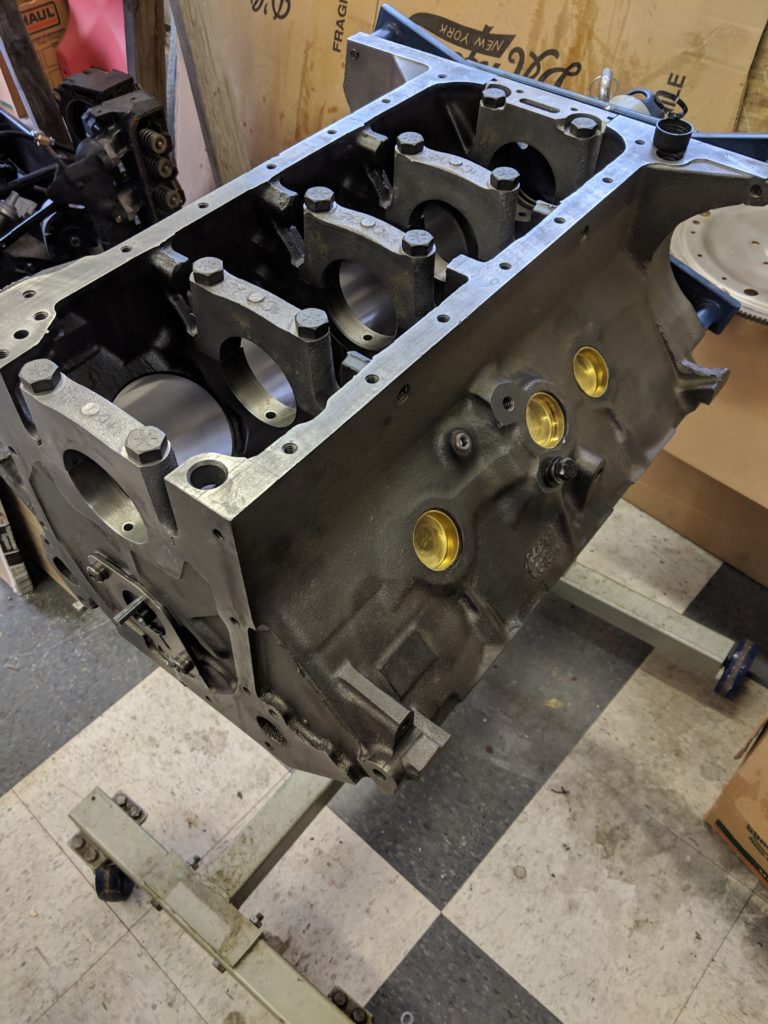
I tackled the crank last week, which seems like a straightforward job: insert the bearings, drop in the crank and torque down the caps. In my case, most of the caps fit very snugly into the block. Getting the cap square to the crank and still aligned with the bolt holes (while holding the bearing in place) sometimes took a little persuasion from a rubber mallet—and I always feel a little odd taking a hammer (of any sort) to an engine.
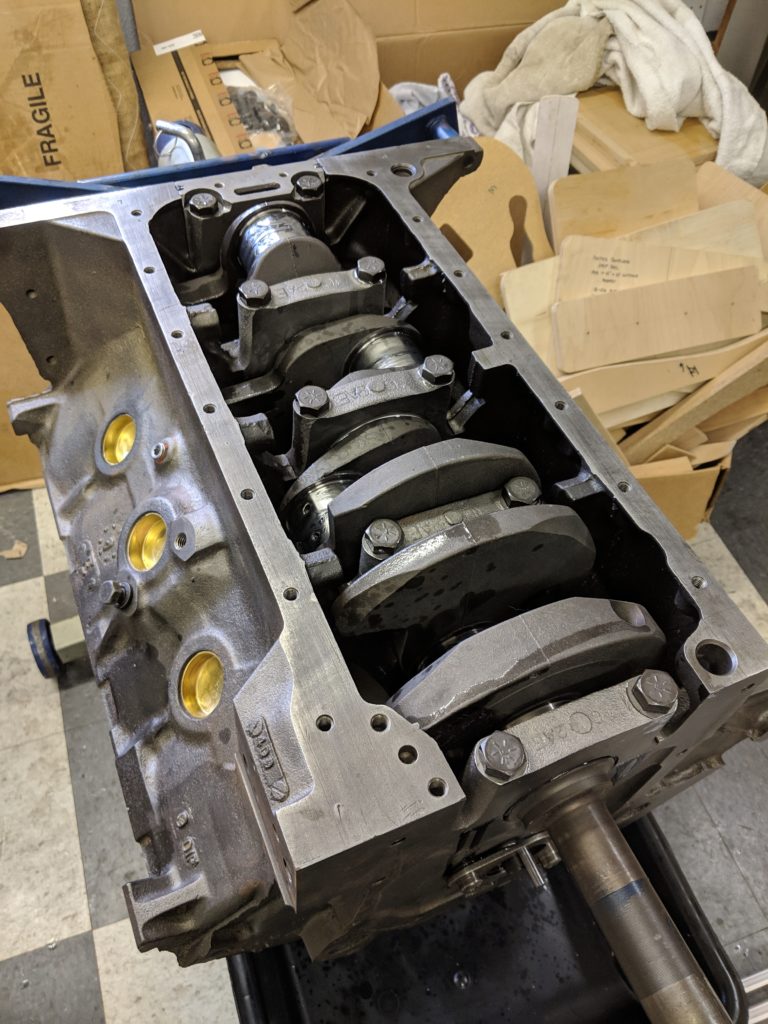
The rear cap fit a little more loosely, thankfully, because it houses the rear main seal. This seal has six pieces, two half-rounds to seal the rotating crank, two silicon strips to seal the cap against the block, and two nails driven into the cap to hold the silicon elements tight. Once it’s all installed, it’s mostly hidden. There’s no way to know if it all went together properly
When putting the seal in place, I tried following the instruction in my rebuilding book (How to Rebuild Your Big Block Ford) and those that came with the seal. I find it hard to believe that the person who wrote either of those instructions every tried the process. After a protracted battle, the seals were in place and appear snug. The proof will come after a few miles on the motor. Of course, by then it will be too late to do much of anything about it if they fail.
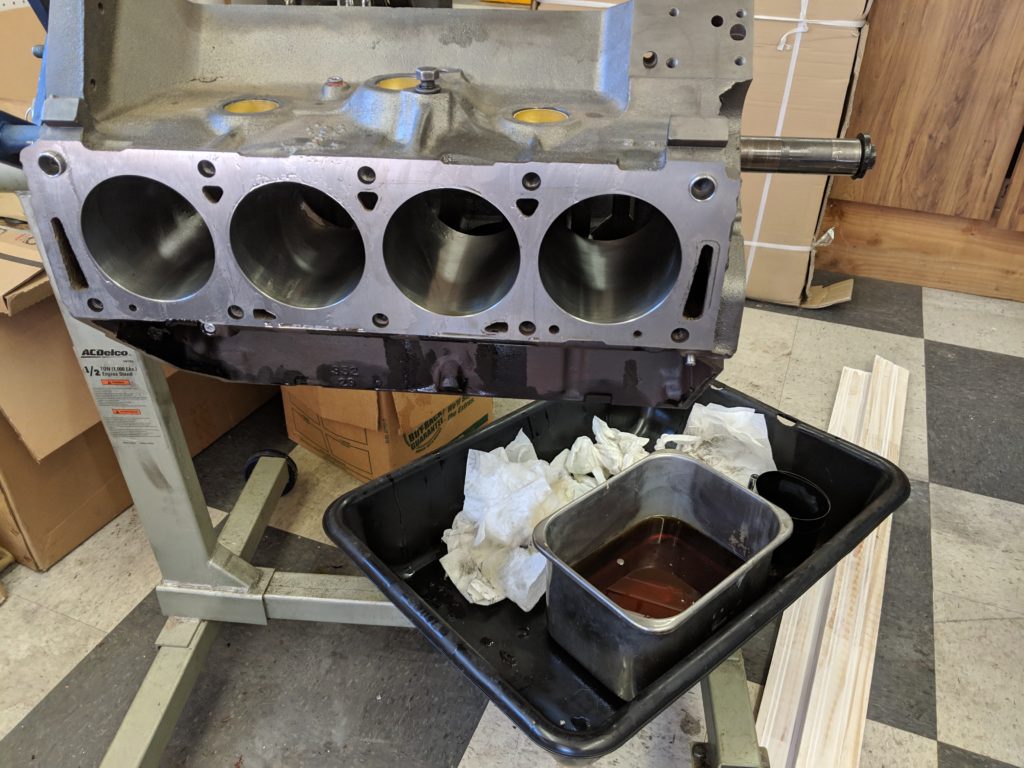
Today, I was finally able to take on the piston installation, which seems like a straightforward process. The book—now some 40 years old and showing it—says to install the bearings in the rods, install the rings (right side up, gaps spaced just so), dunk the piston in a can of oil(!), compress the rings and drive the piston into the cylinder with the butt end of a hammer.

What’s not said is all the variables that go into that process. The rings fit very loosely on the piston. After drenching the whole thing in oil and wrapping the mess with a very slippery ring compressor, who knows if the ring gaps are still properly spaced?
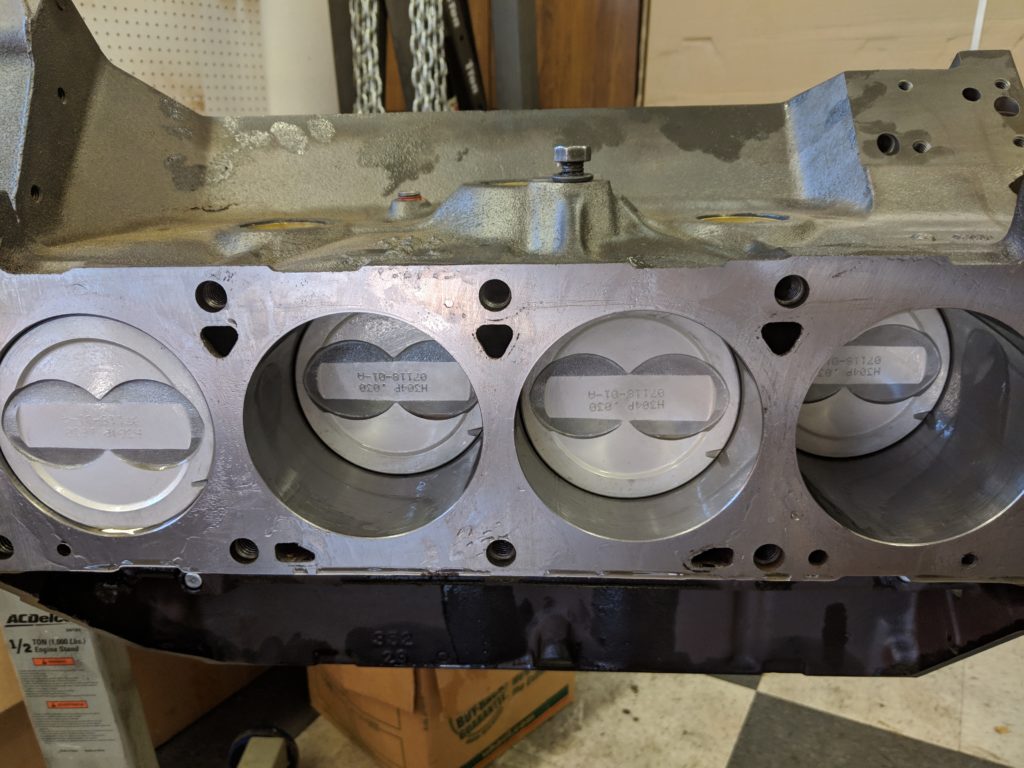
Driving the pistons into the bores, I felt pretty lucky that none of them got hung up on a loose ring, but was not at all prepared for the bearings to be shaken loose due to the pounding. I frequently found myself delicately trying to coax a bearing back into place just before the rod end seated on the crank.

The most difficult part of this process was installing the second bank of pistons. Tolerances between the rods are pretty tight; the second rod on the journal requires some finesse to seat. The caps for those rods required some gentle persuasion before settling into position. (I, uh, had to tap some of them with a hammer.) In the end, the crank rotates smoothly, but certainly with a tightness it didn’t have in the old, worn block.
Tomorrow, I’ll double check my work with fresh eyes and take a look at next steps. It would be great to have the heads in place and the oil pan on, if even loosely, to get the internals sealed off from the elements.