I dragged out a step stool, degreaser, buckets and catch basins today out to the car today to finally tackle the grimy engine bay. Cleaning up years of sludge and dirt isn’t terribly difficult, but it’s dirty, back-breaking work.
I’ll confess, I was putting it off.
I started towards the front, cleaning the areas at the radiator support. I didn’t get a true “before” shot—anxious to get started, you know—but you can see that this area wasn’t too terrible.
On the ground below, you can see a mixing tub that I used to catch most of the debris. I also used a couple of old towels to make sure none of the degreasing solution flowed into my garden, which was right downhill.
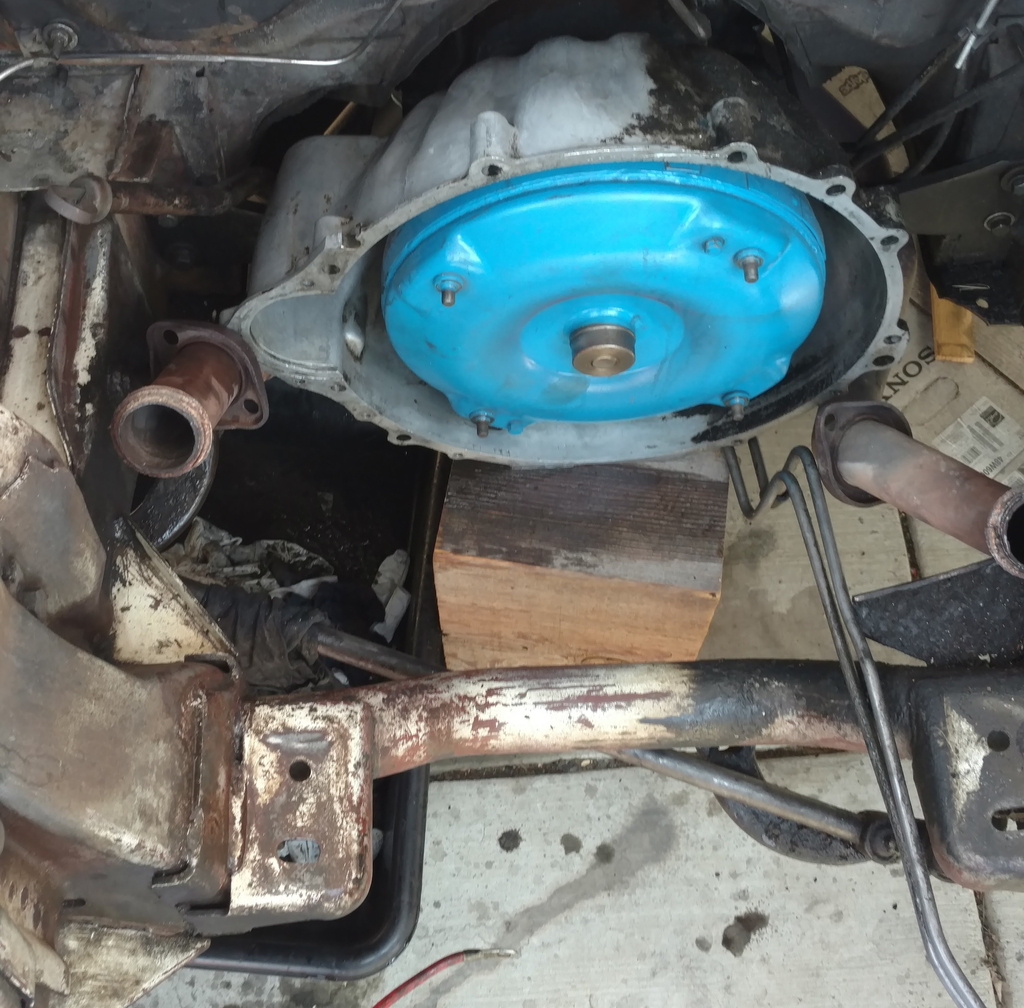
Before I could move much further back into the compartment, I had to remove the exhaust manifolds, which completely defeated me a few weeks back. With the front support clean, I could use it as a step to get into the engine bay. I was expecting to cut these off, but decided to try a wrench on the frozen exhaust collector nuts one more time.
I was a little shocked when they turned easily. I had put some penetrating oil on when I walked away from these mid-summer, so either that was amazingly effective, or I was somehow a complete idiot the last time I tried this. In any case, with four bolts off, I carried the manifolds to the garage in trumph.
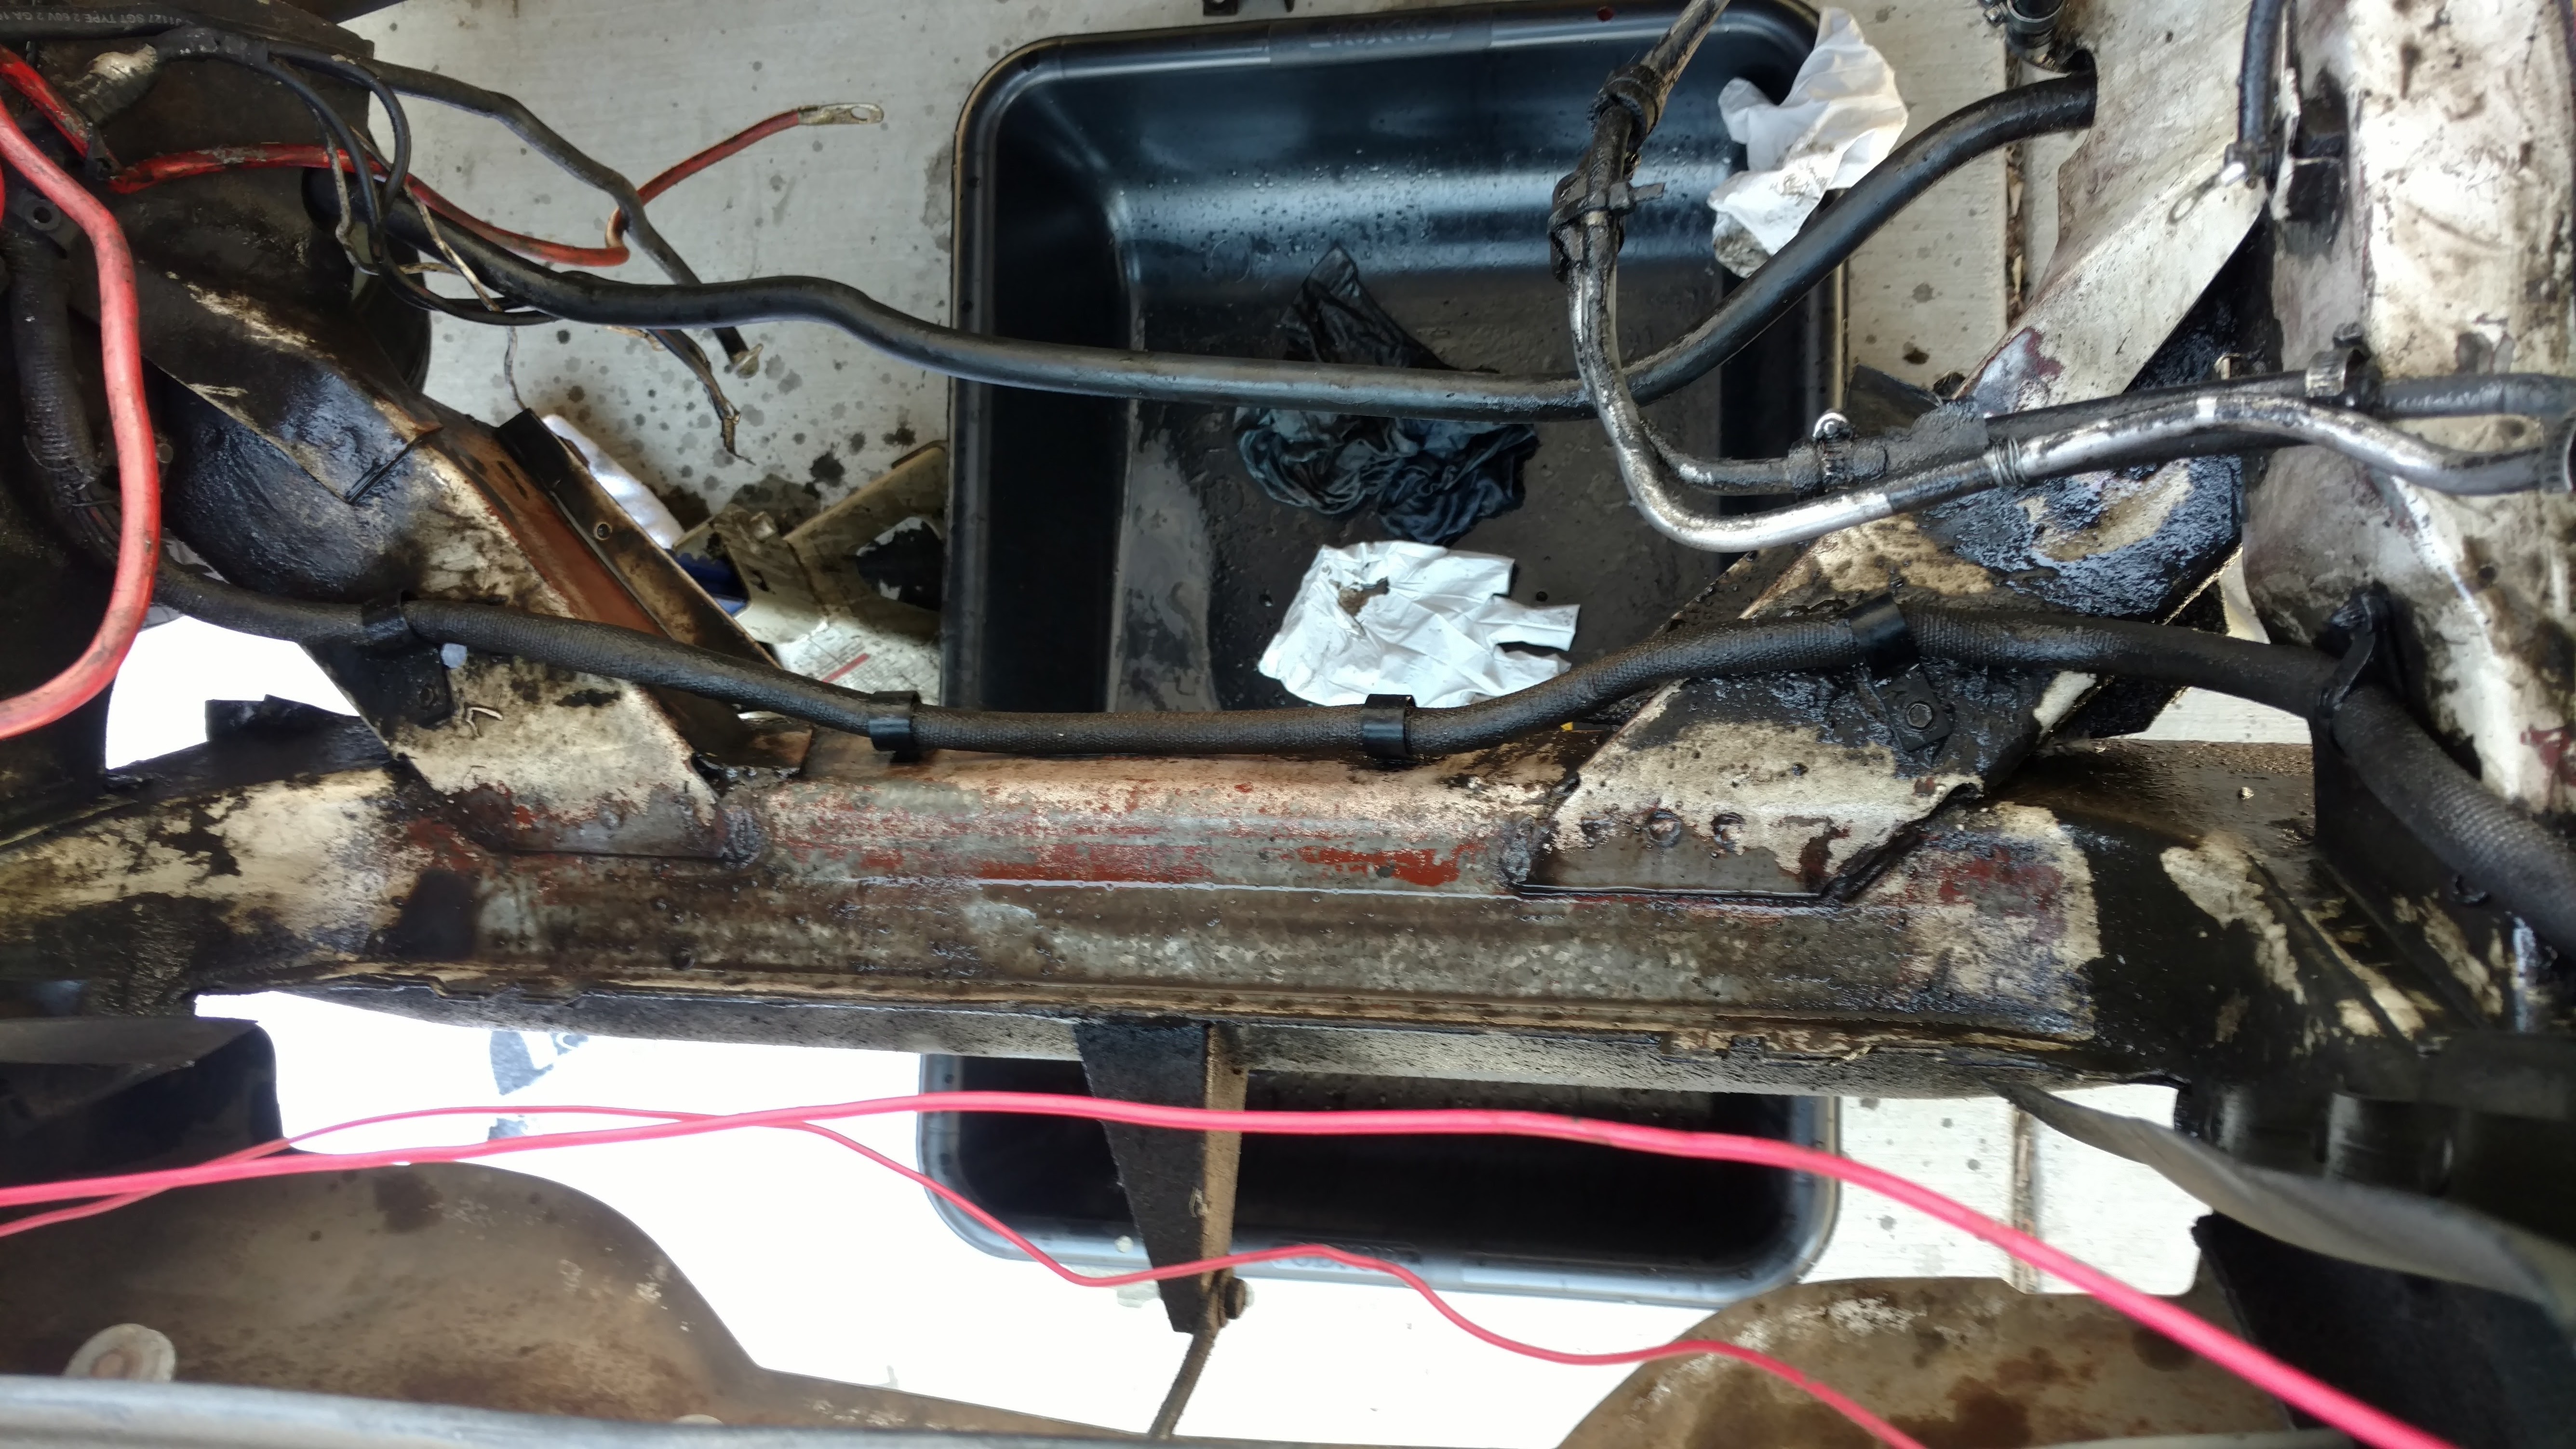
The grease was quite a bit heavier in the back, especially on the driver’s side where the steering box had leaked so heavily for so long.

I used a scraper in places. The paint underneath was so thin and soft, that it occasionally came right up with the dirt, so I tried to get all I could with rags soaked in degreaser.
Even with the engine out, there are lots of nooks, crannies, wires, hoses and whatnot to work around. Once I got most as much as I could off, I washed down the entire compartment with regular soap and water.
I thought considered additional disassembly or getting out my pressure washer, but ultimately, I was happy with how clean it looked. Provided nothing leaks terribly in the future, work on the motor will be much more enjoyable in a clean bay.
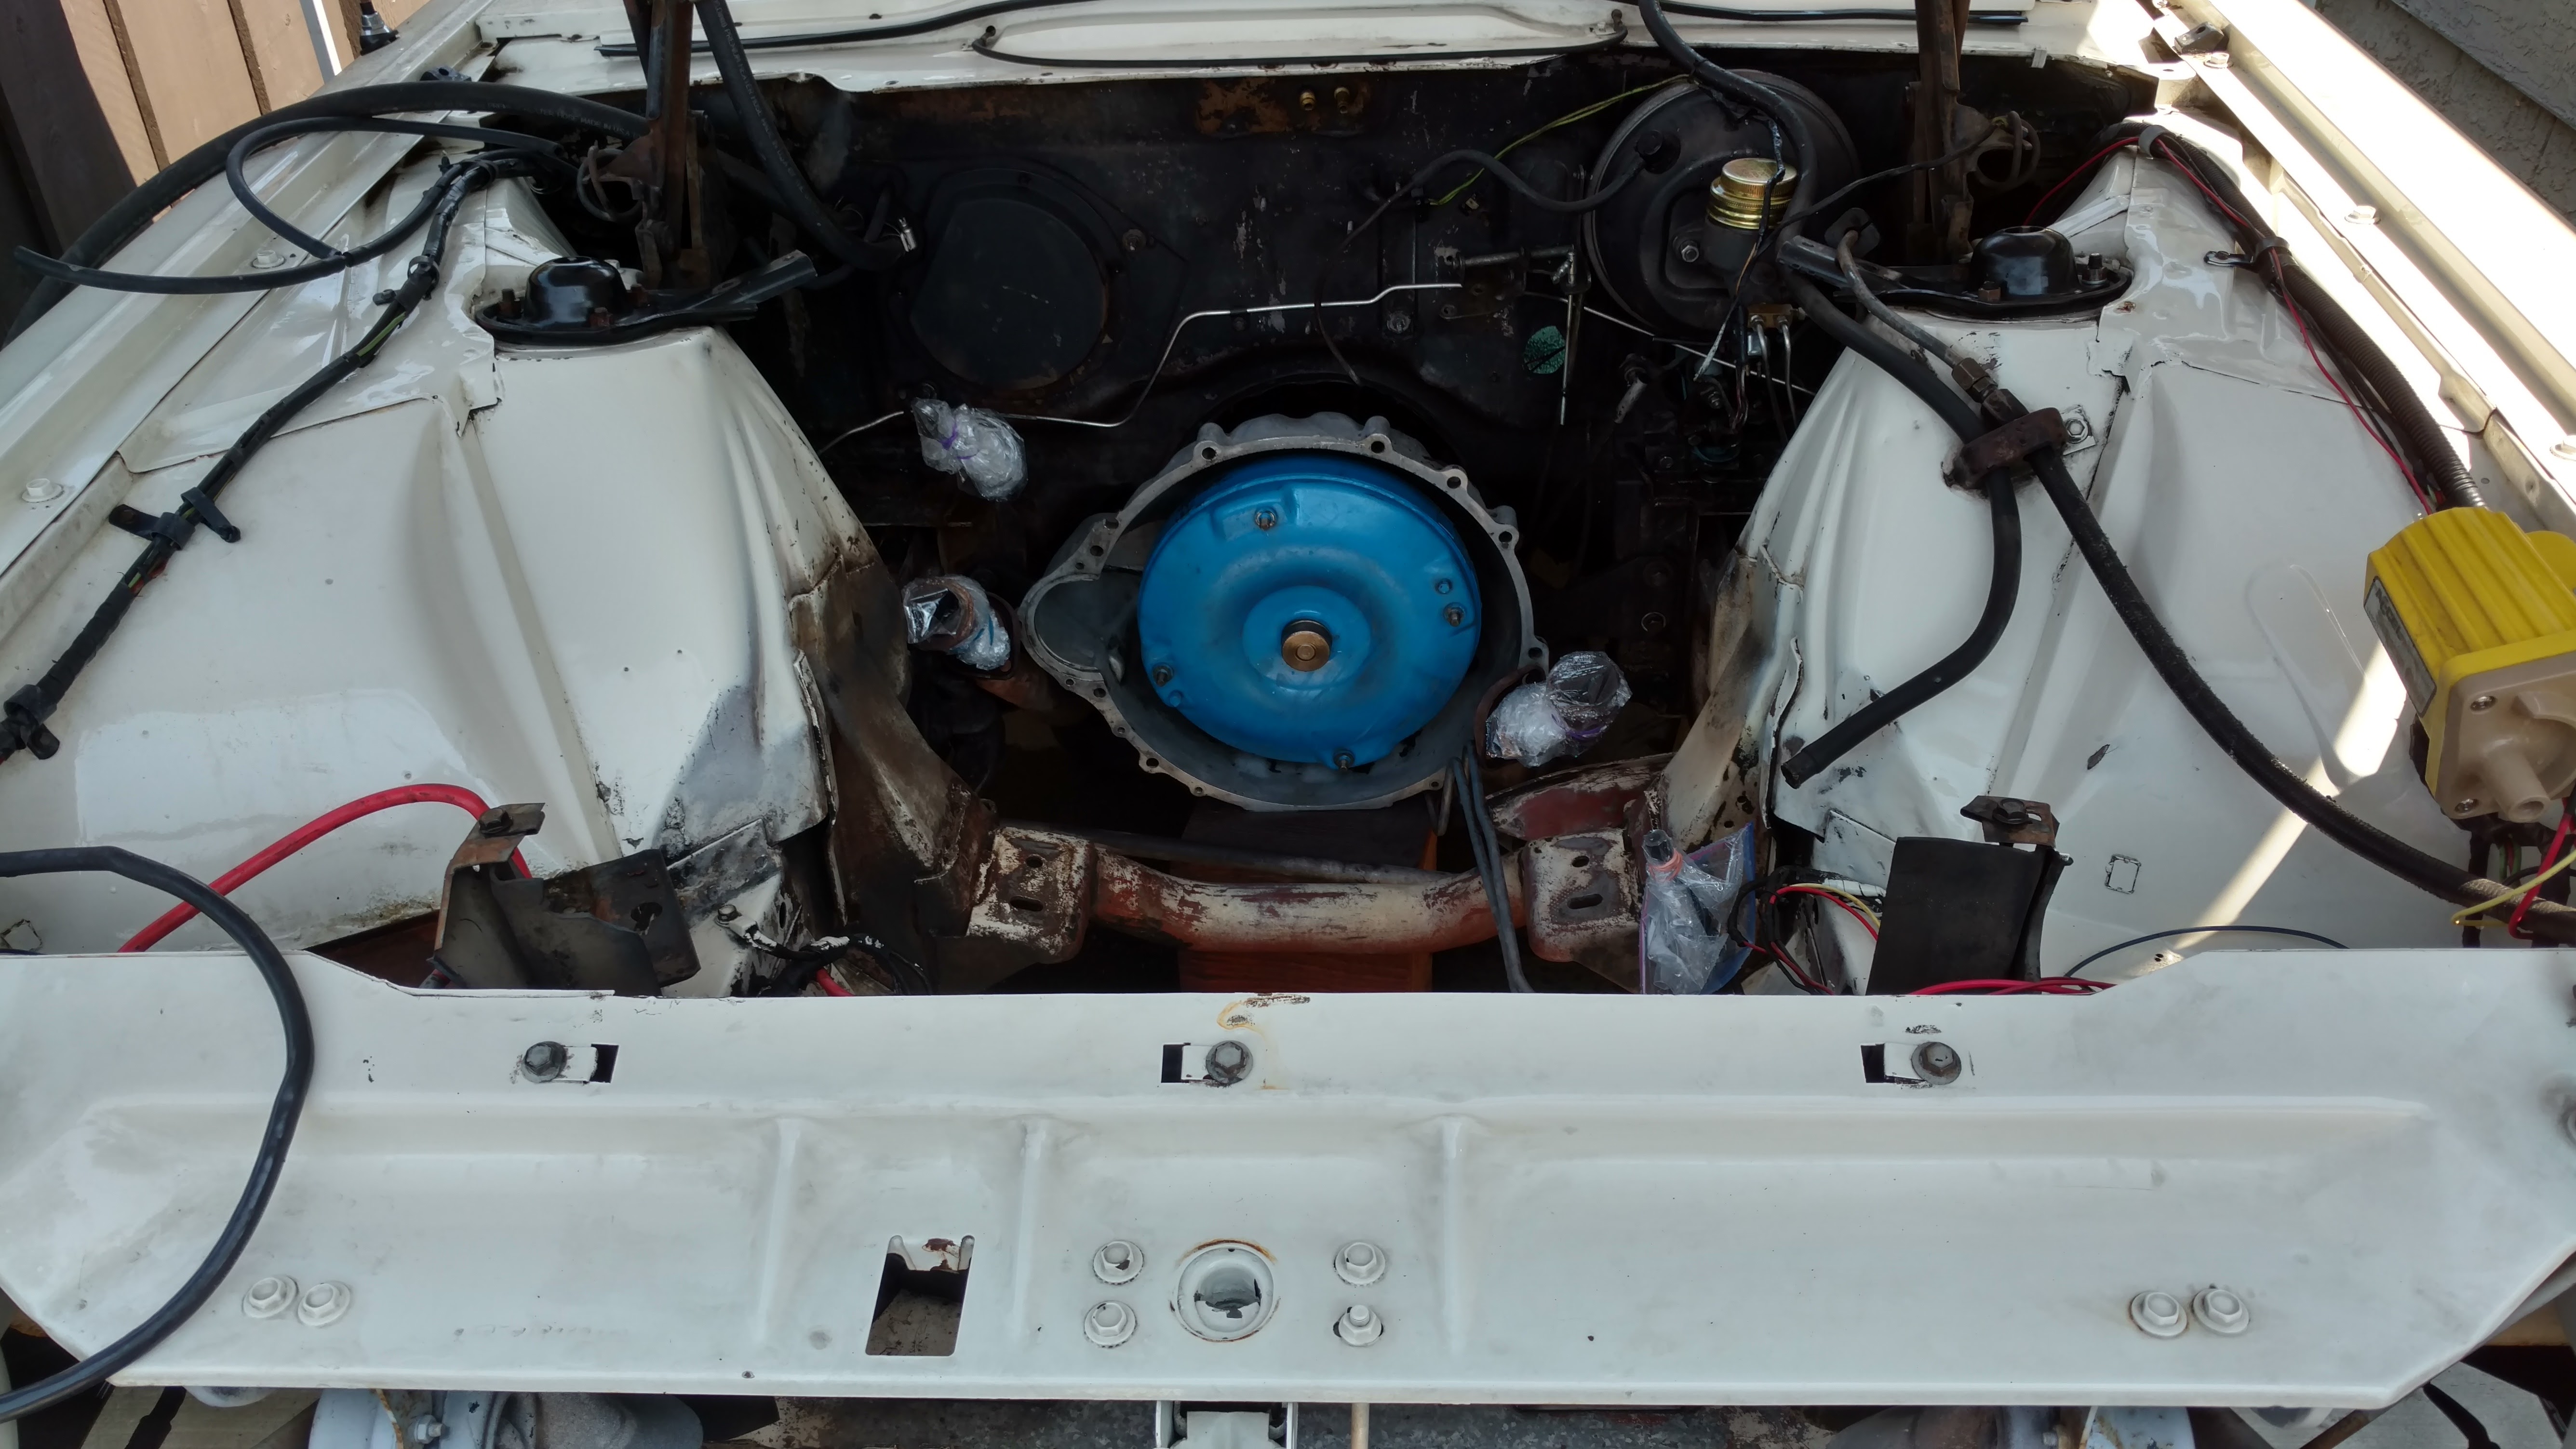
There’s still some work to do here: some bare metal is exposed, which deserves a coat of primer at least, some wires need to be re-routed (and/or replaced with new), a few loose bolts and a bent engine support triangle that needs to be repaired.
I have the engine nearly ready to go. There are a few small elements to install, then it will need paint.

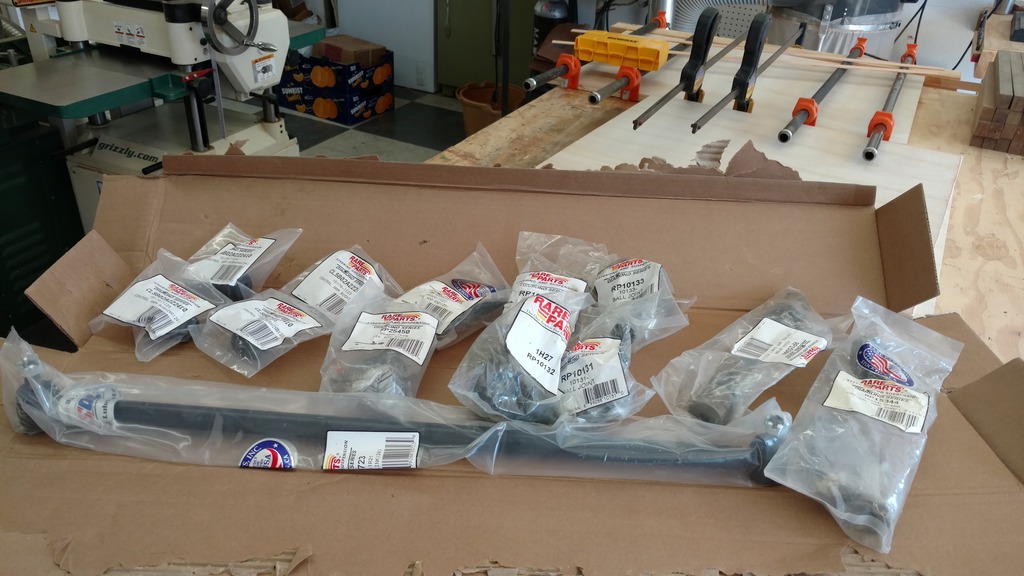
Before I do any of that, though, I will be tackling the front suspension: