A Lot of Things Went Right

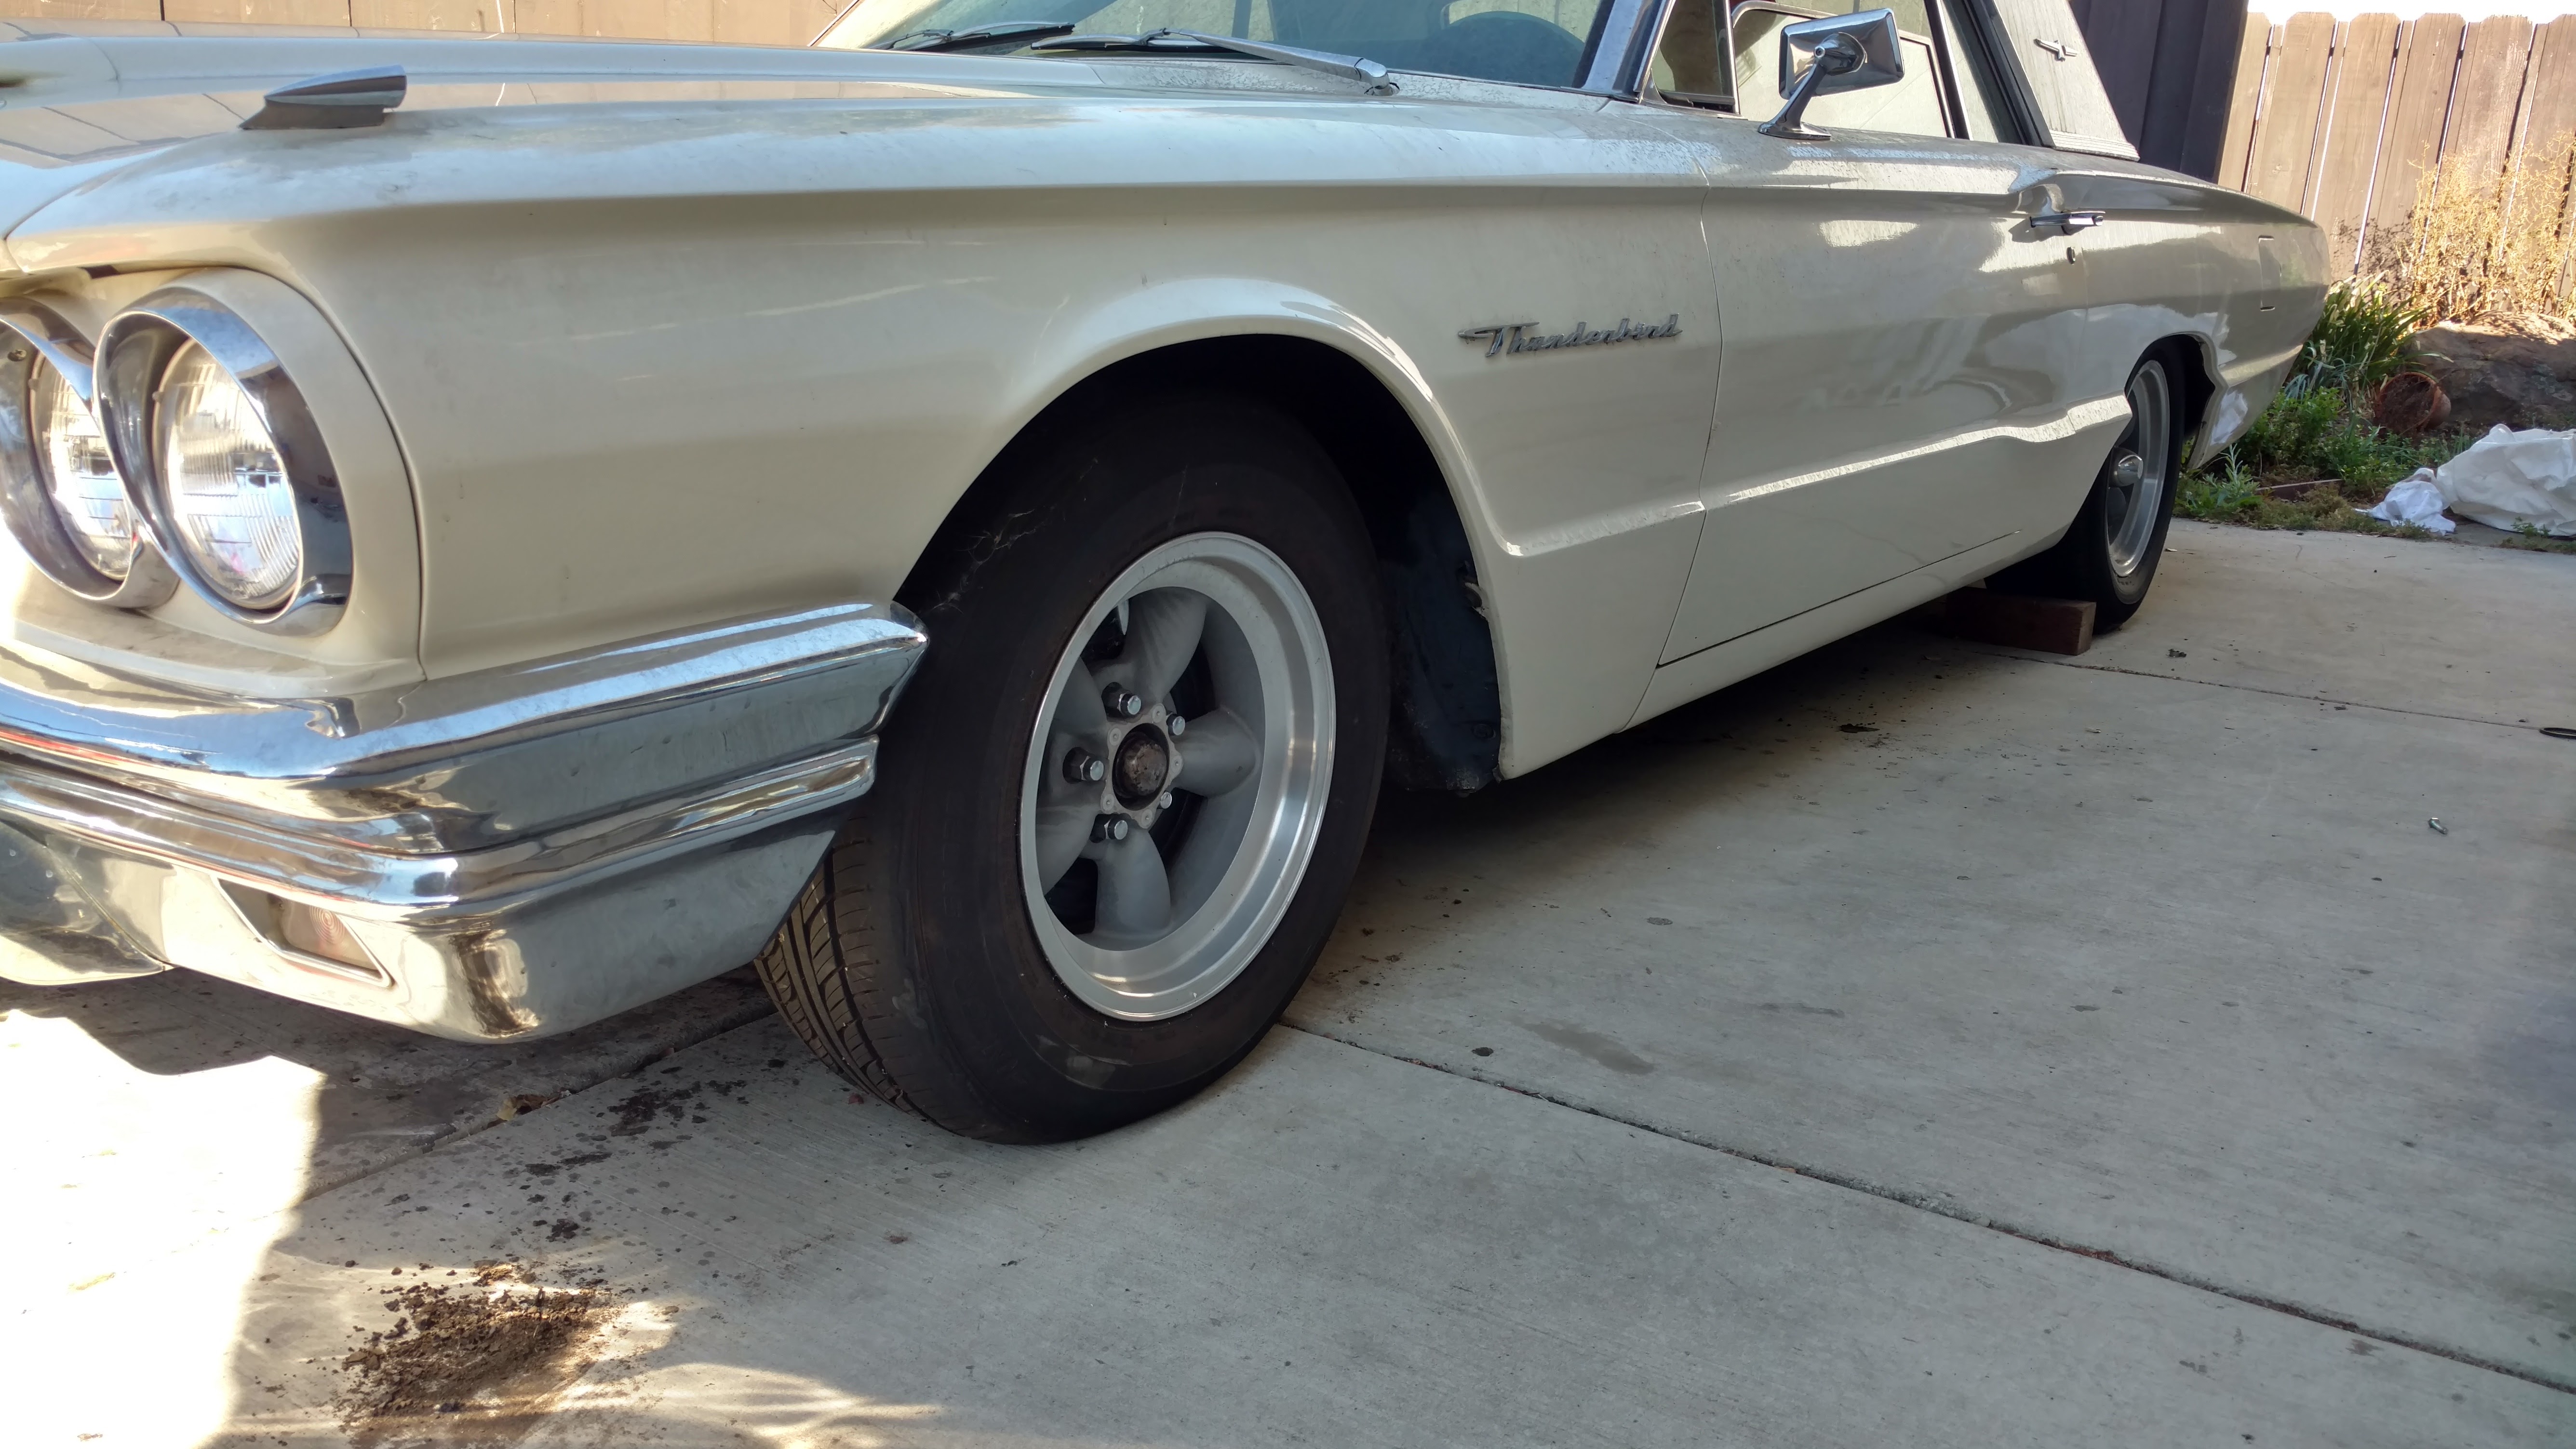
I actually took the car out for a spin yesterday—not far, and not fast, but still a good feeling to feel it moving again.

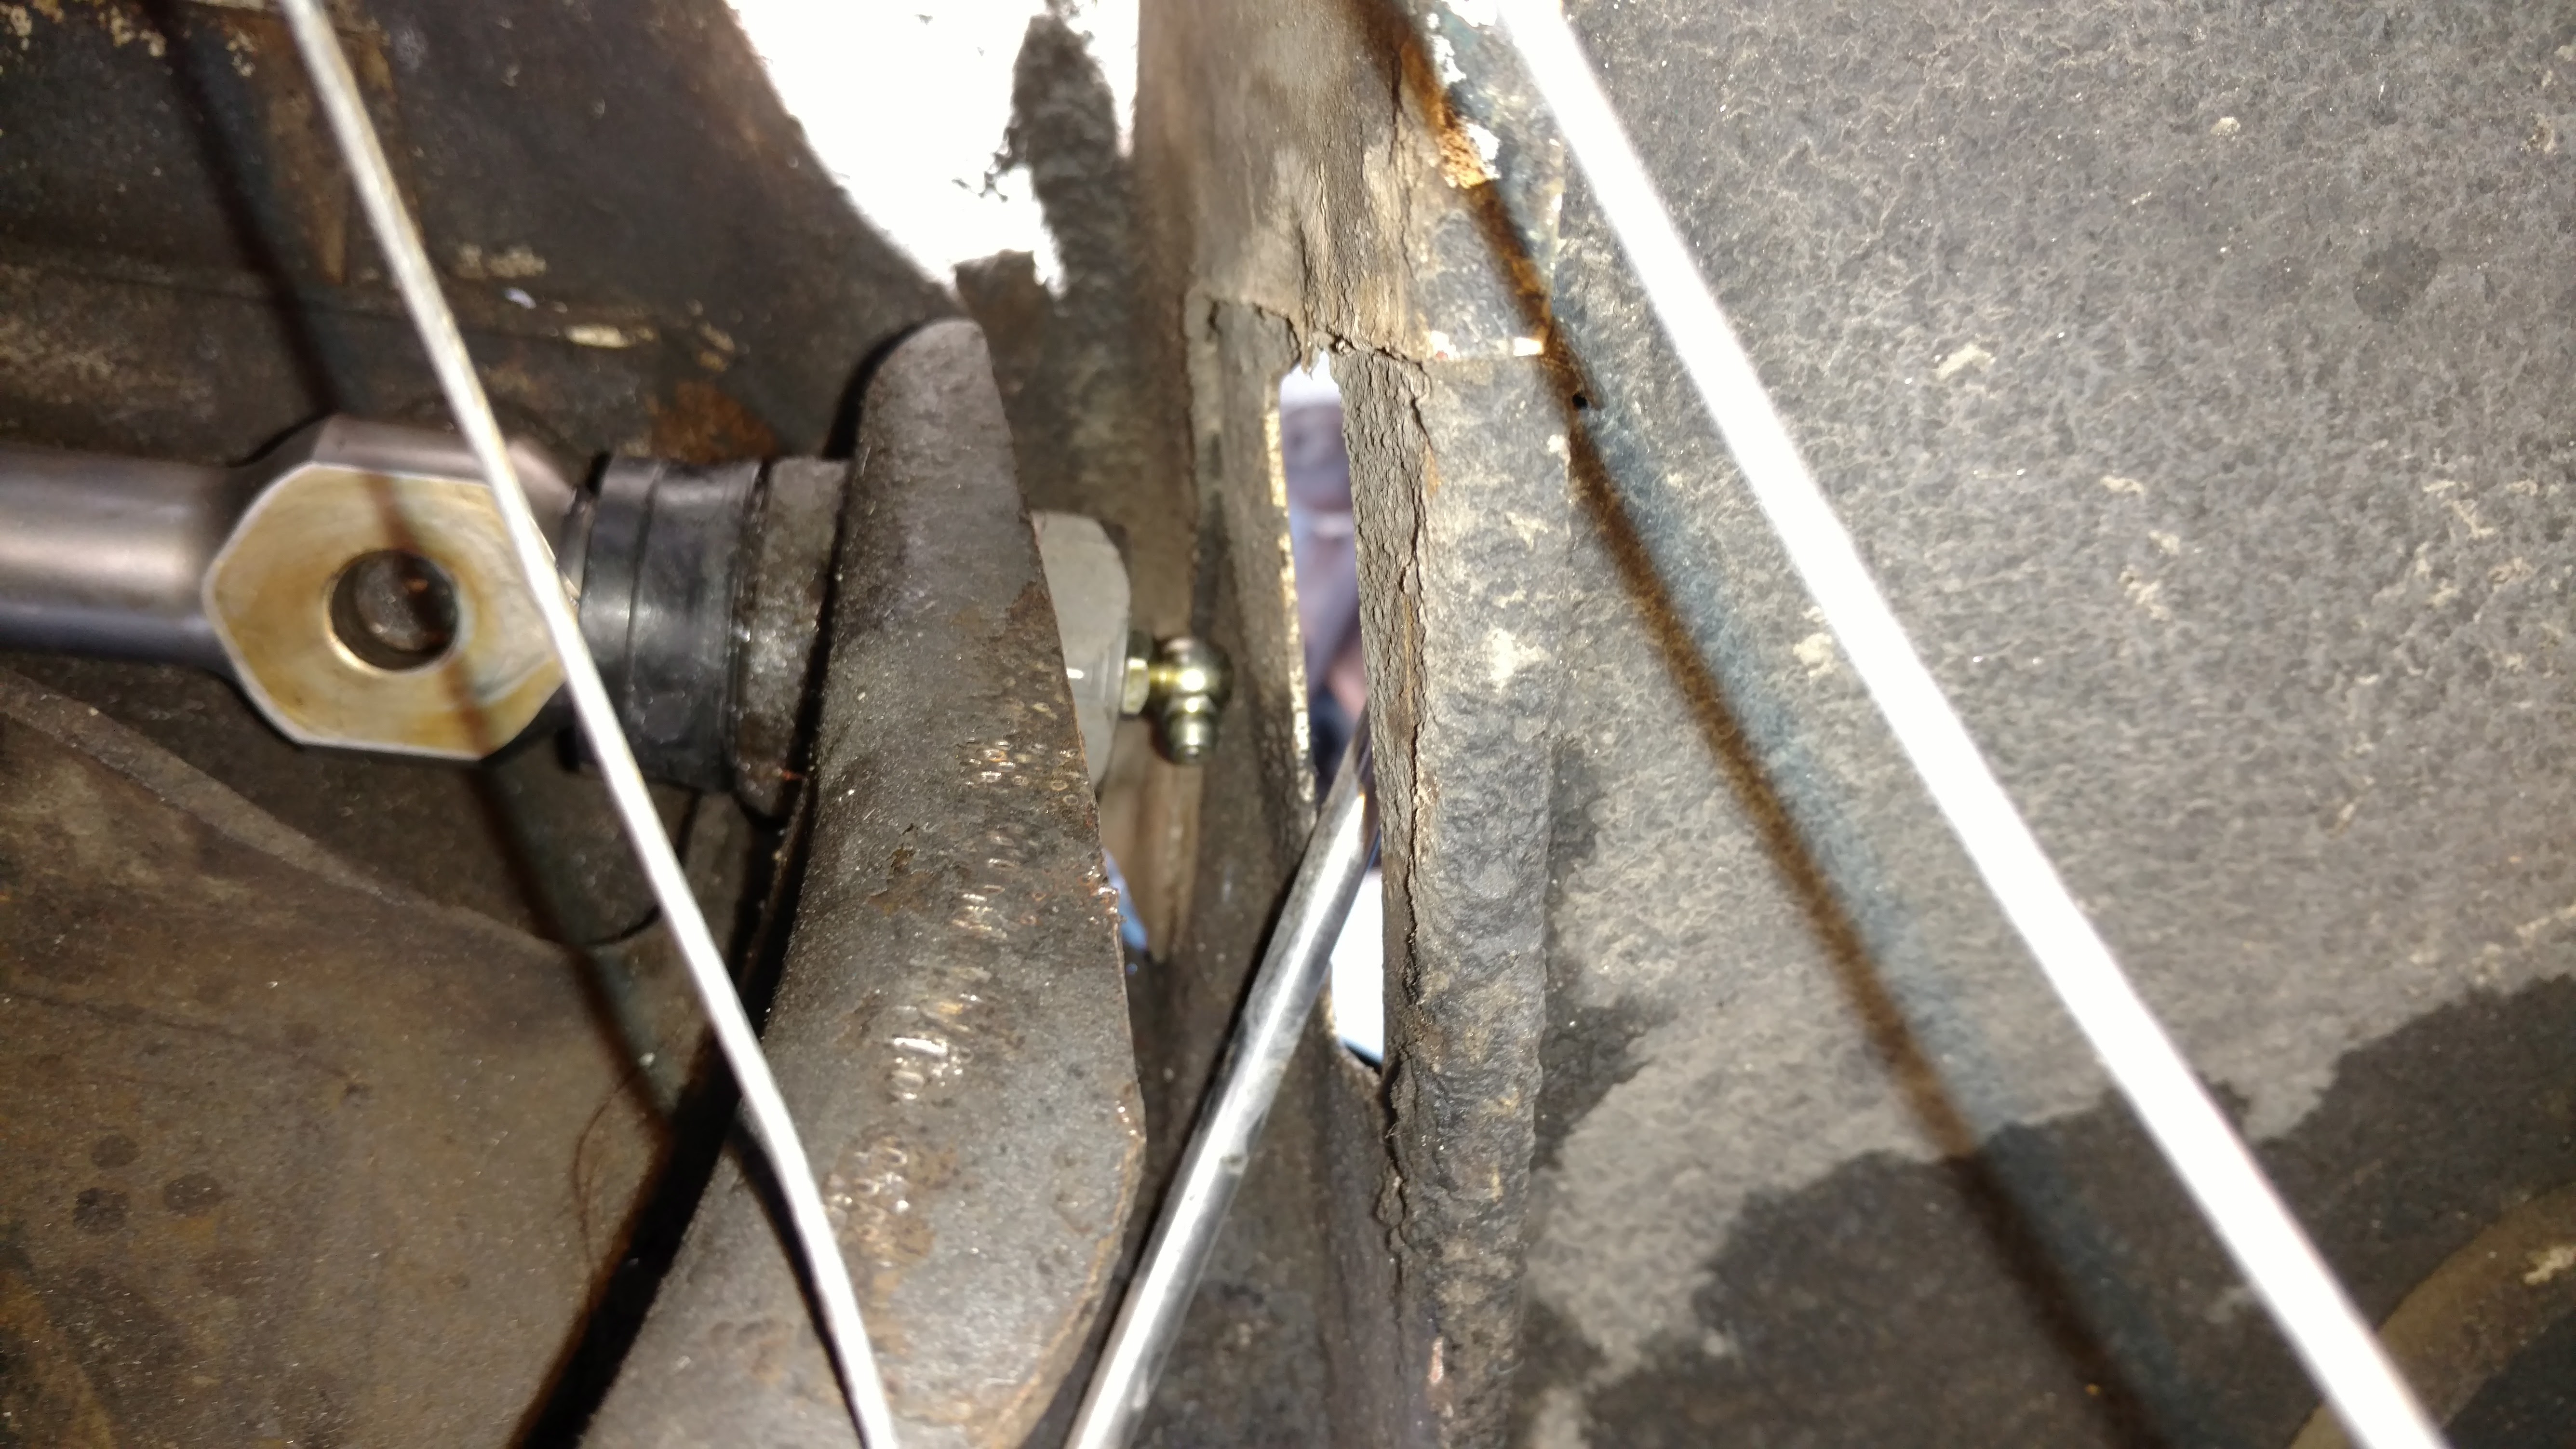
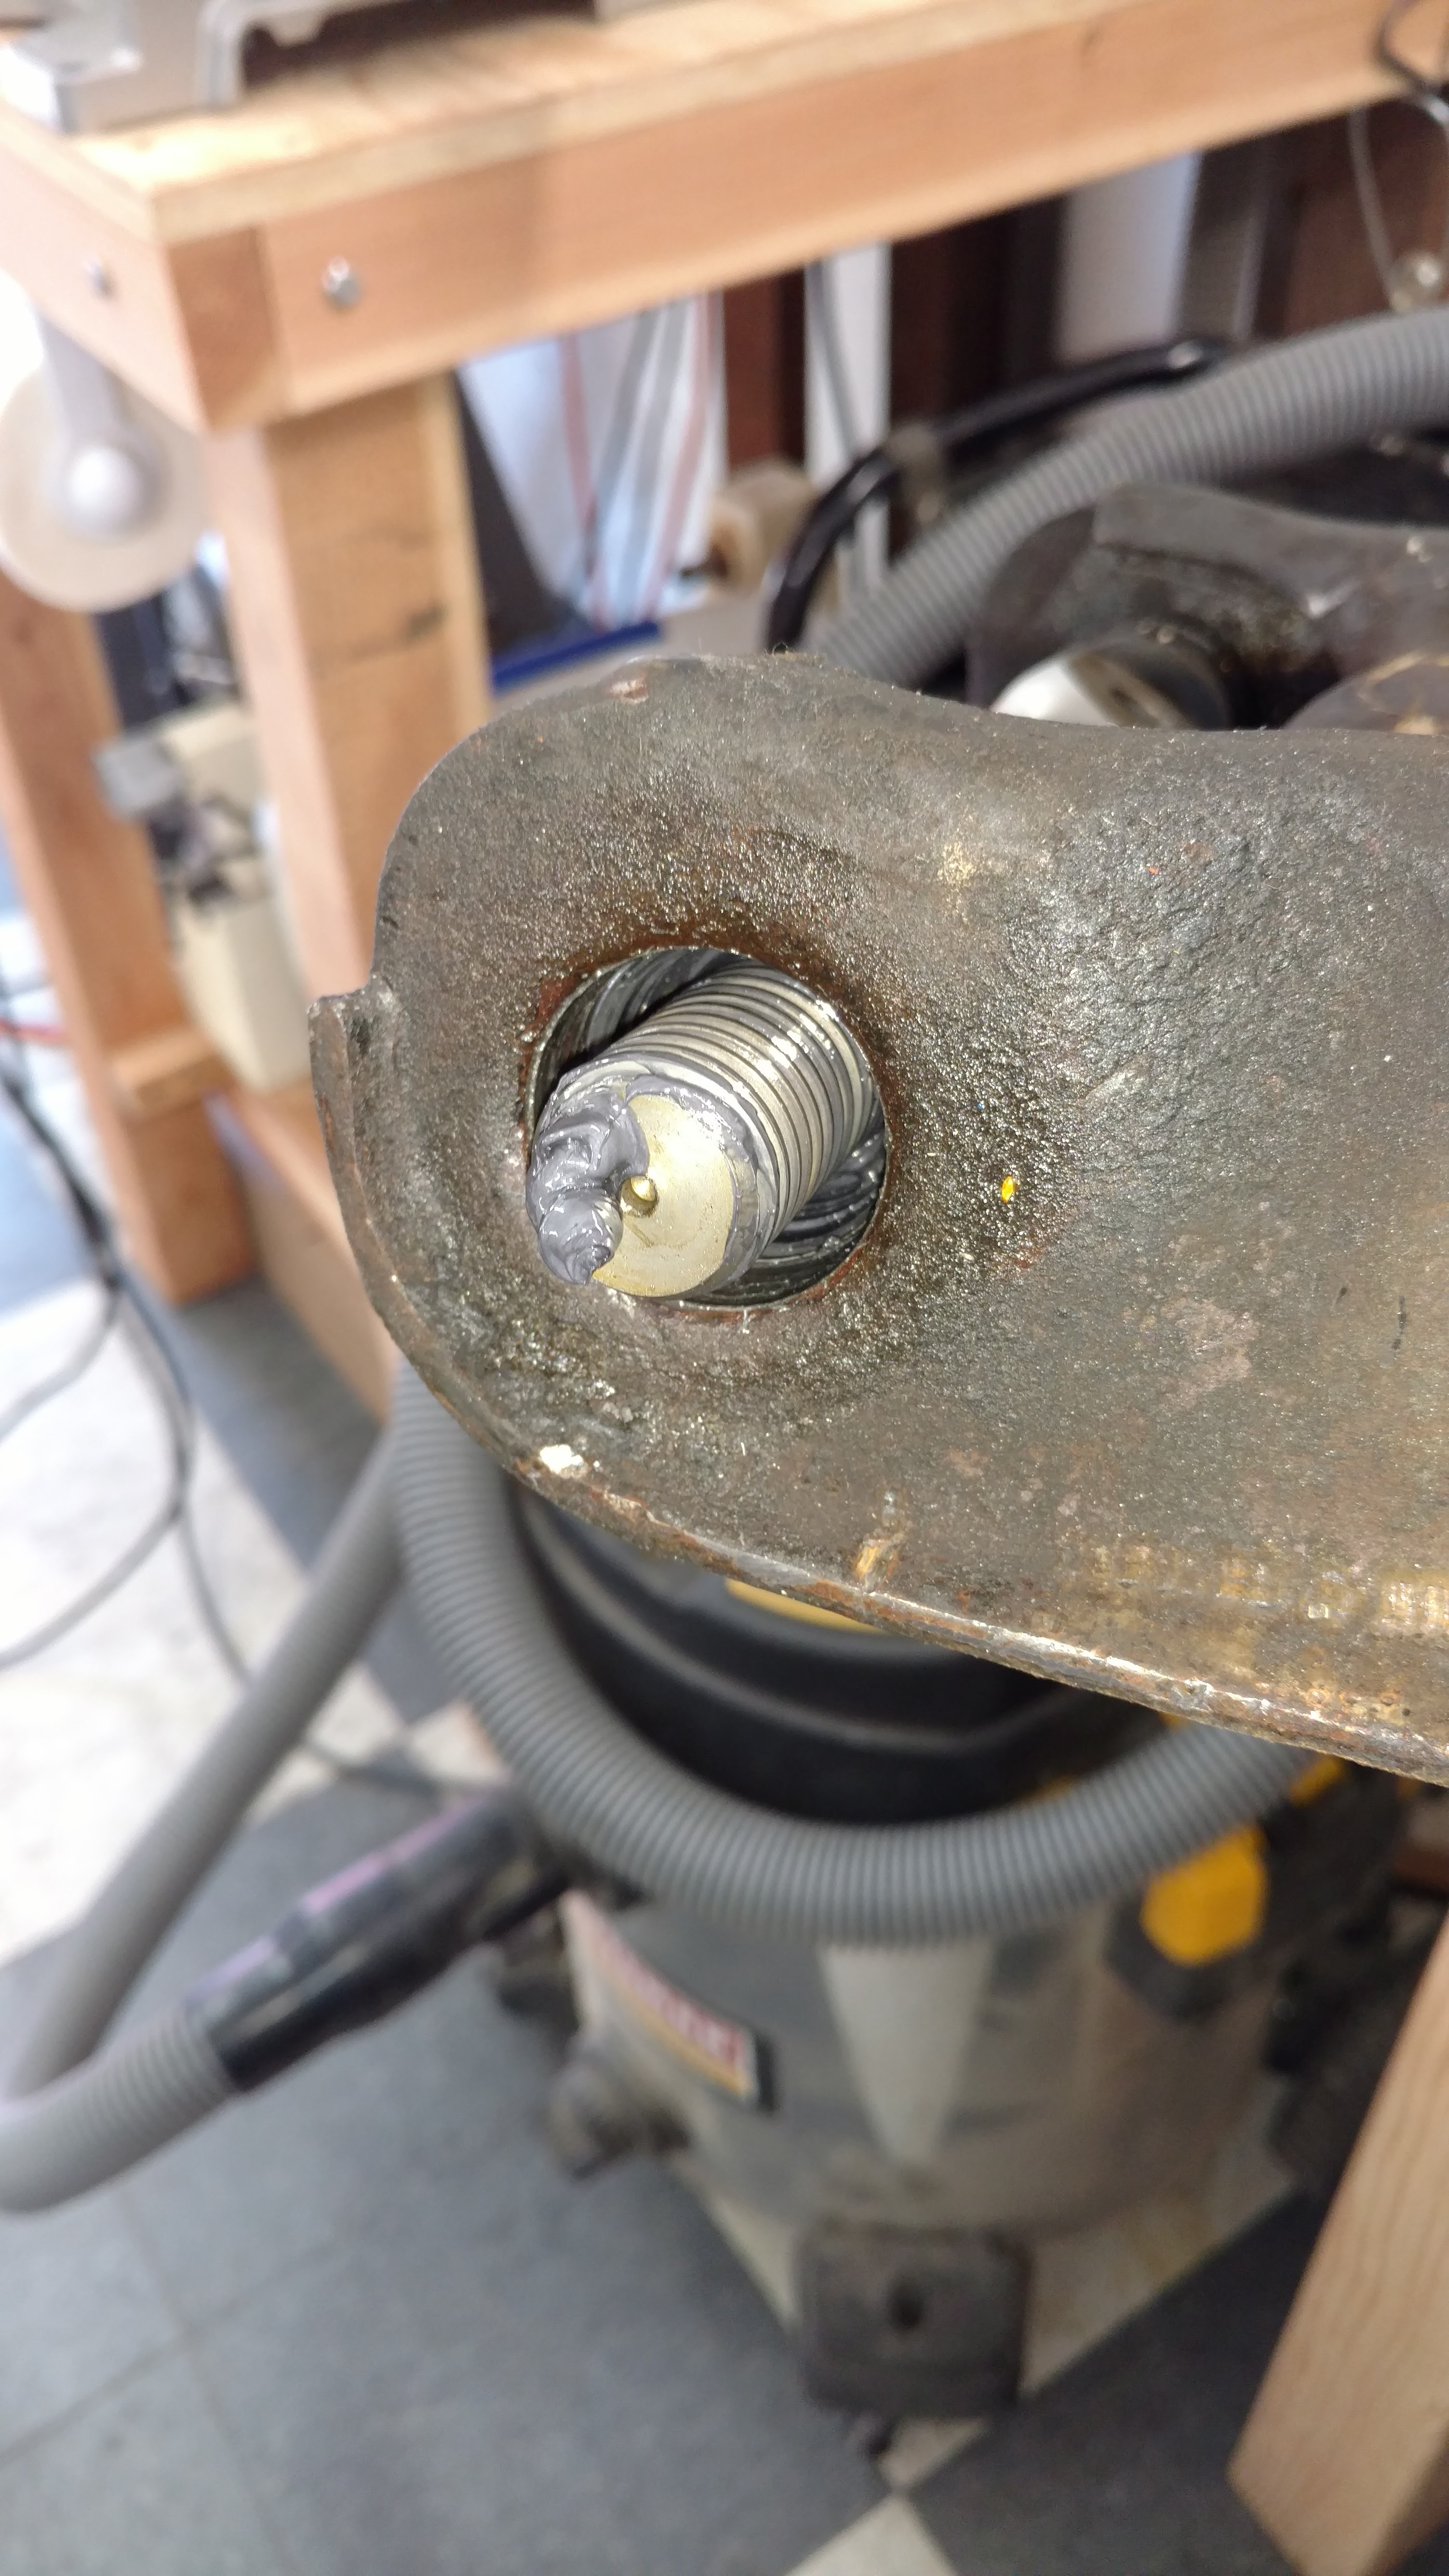
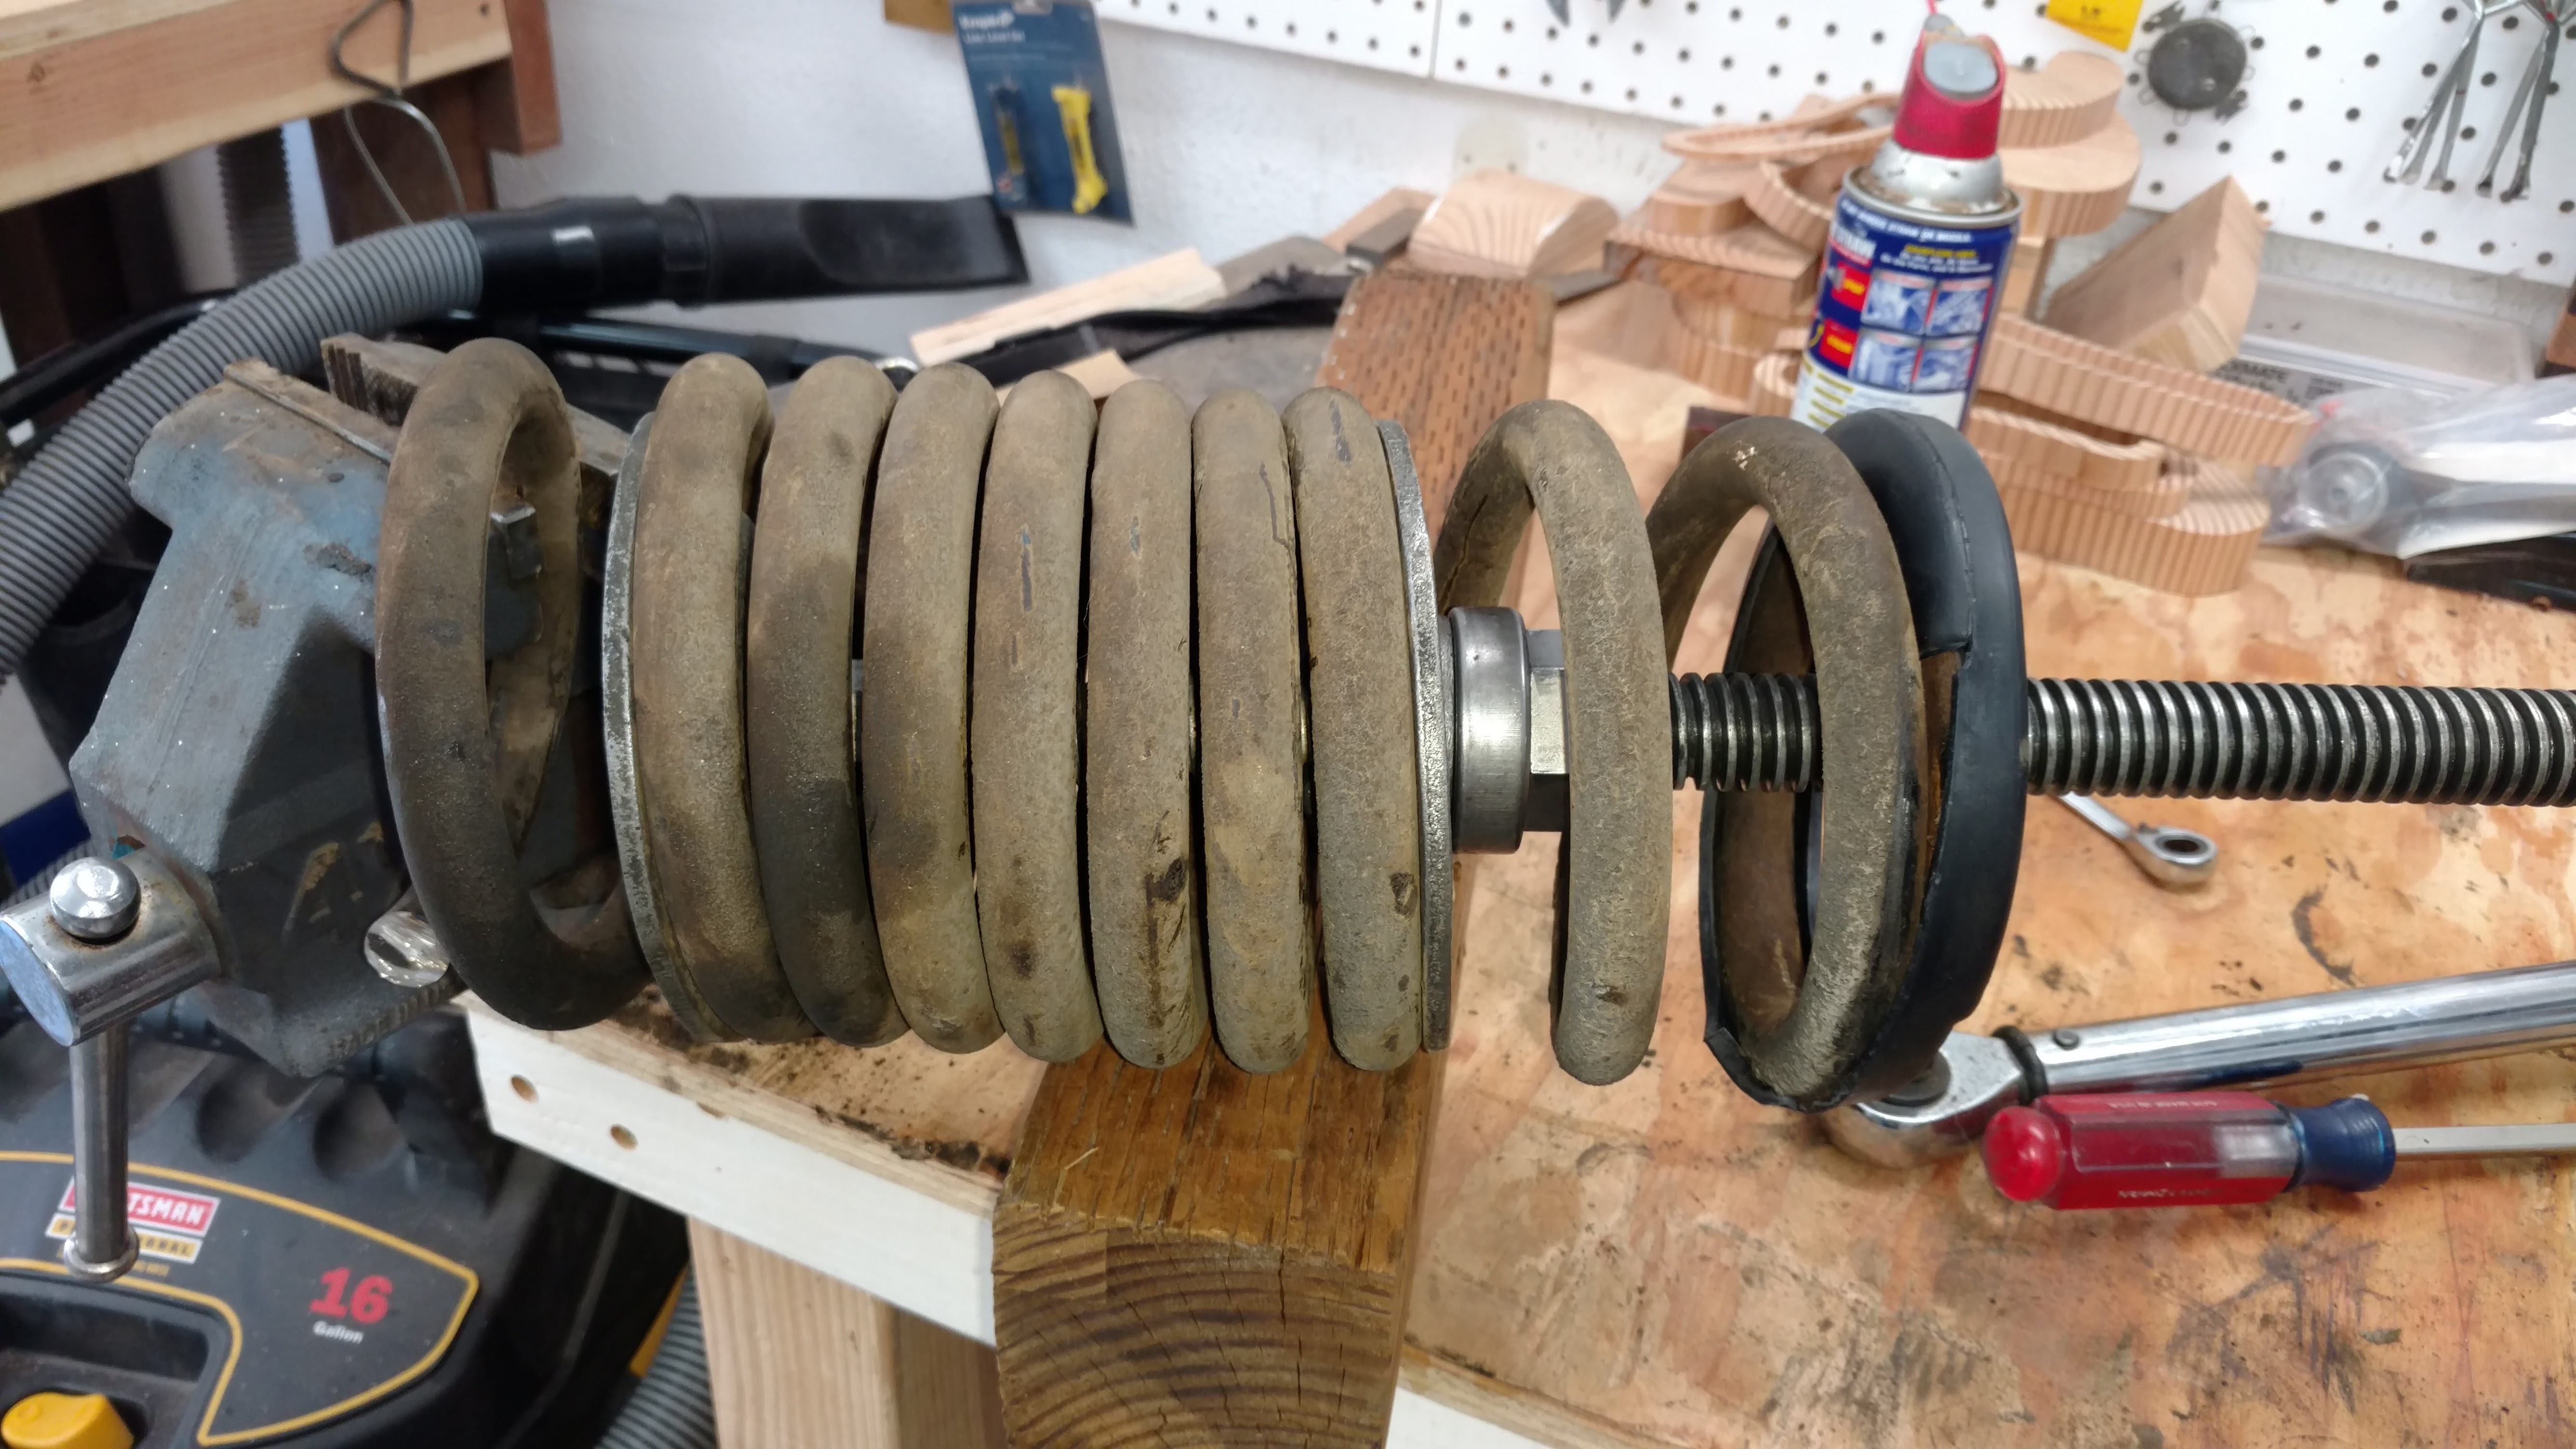
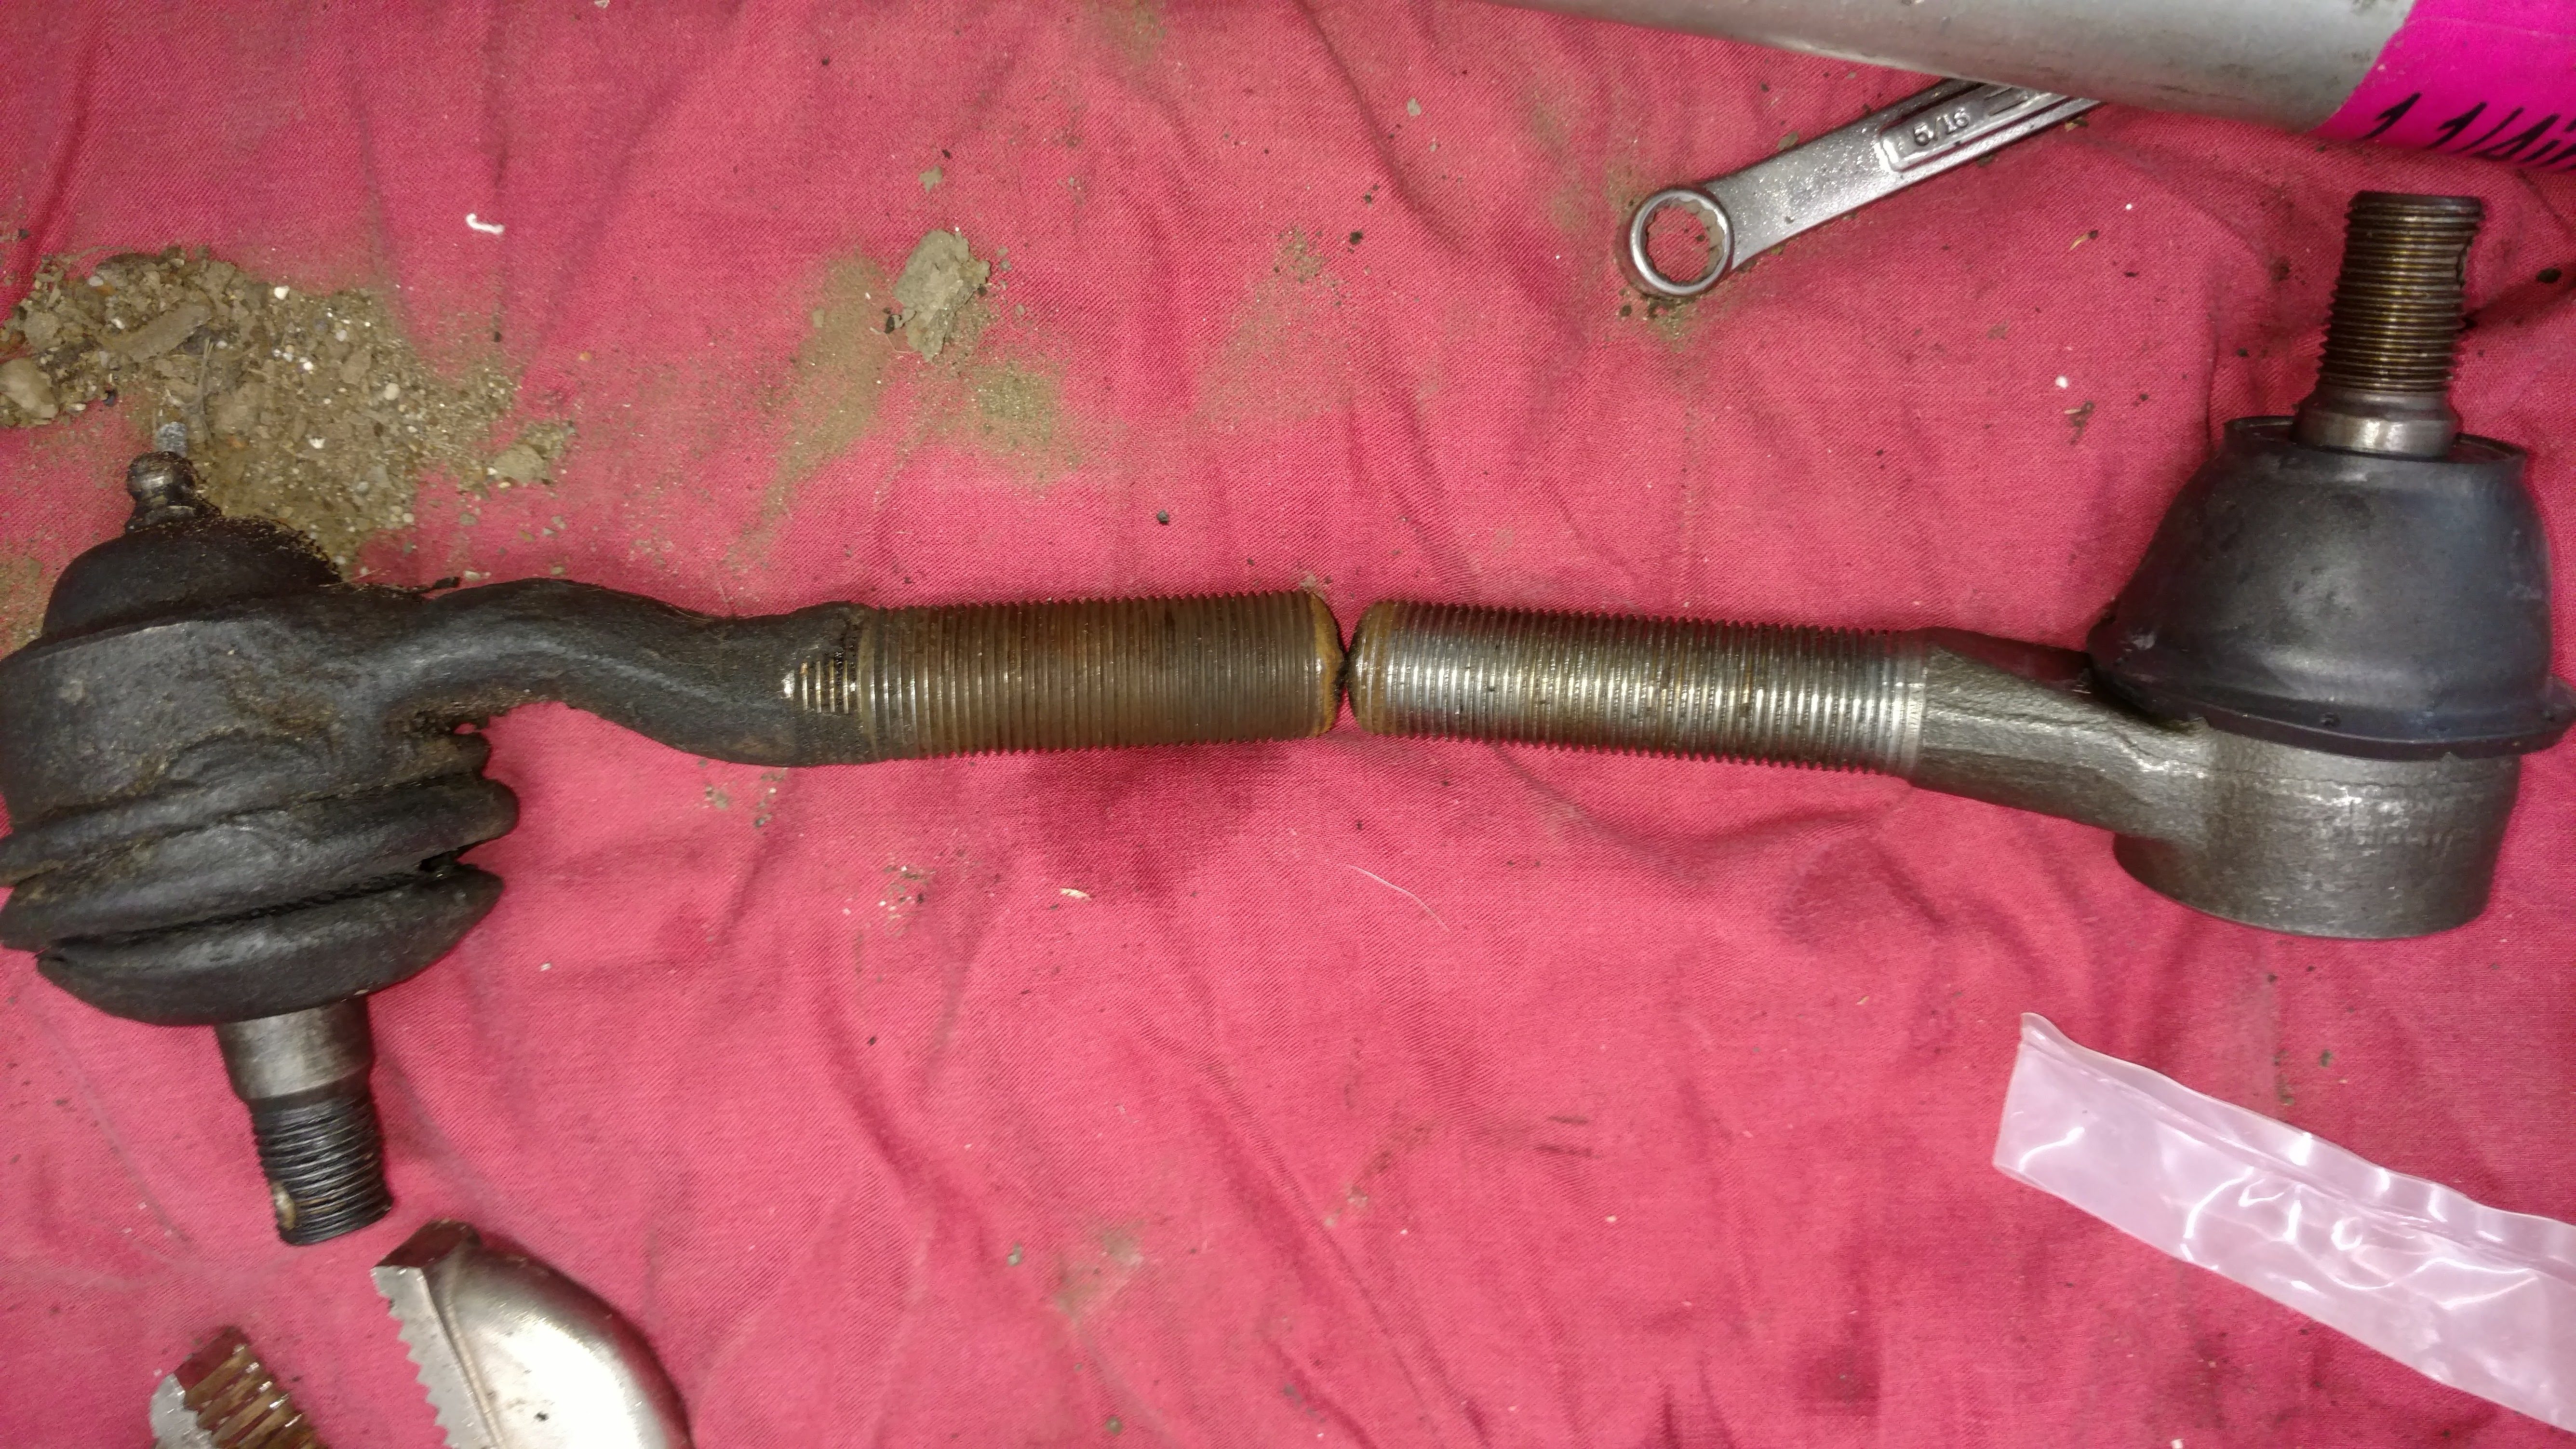
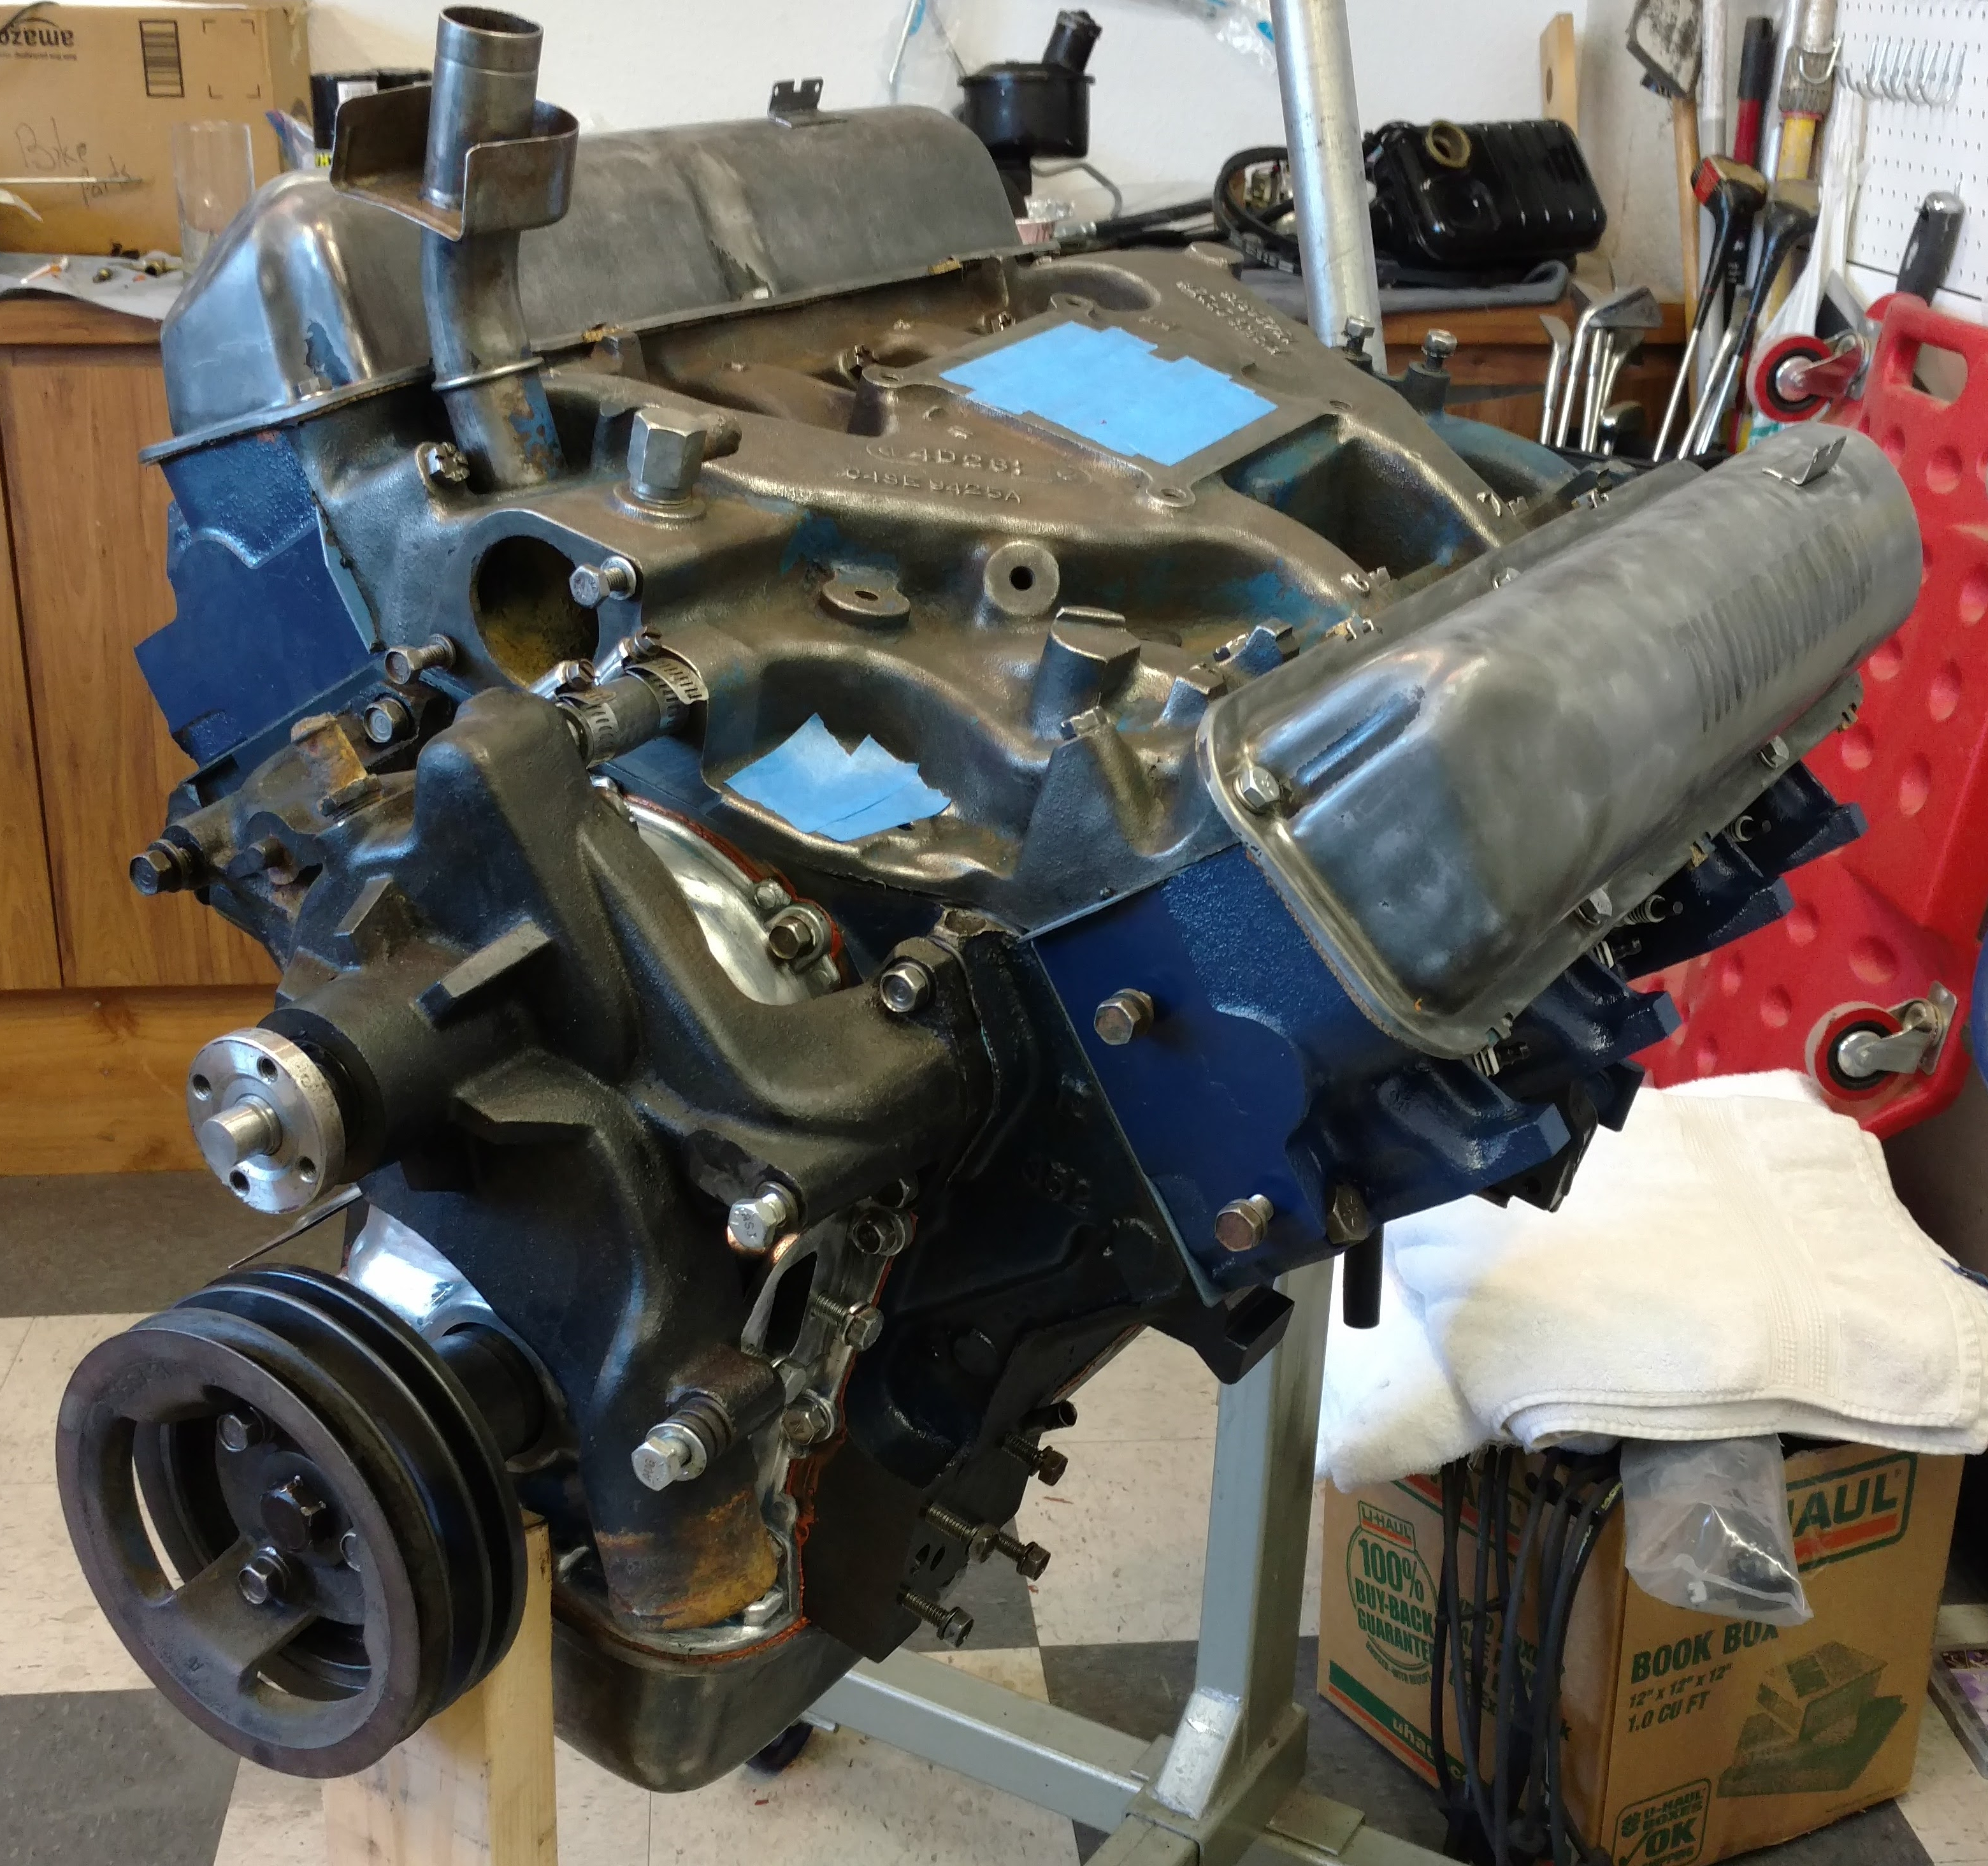
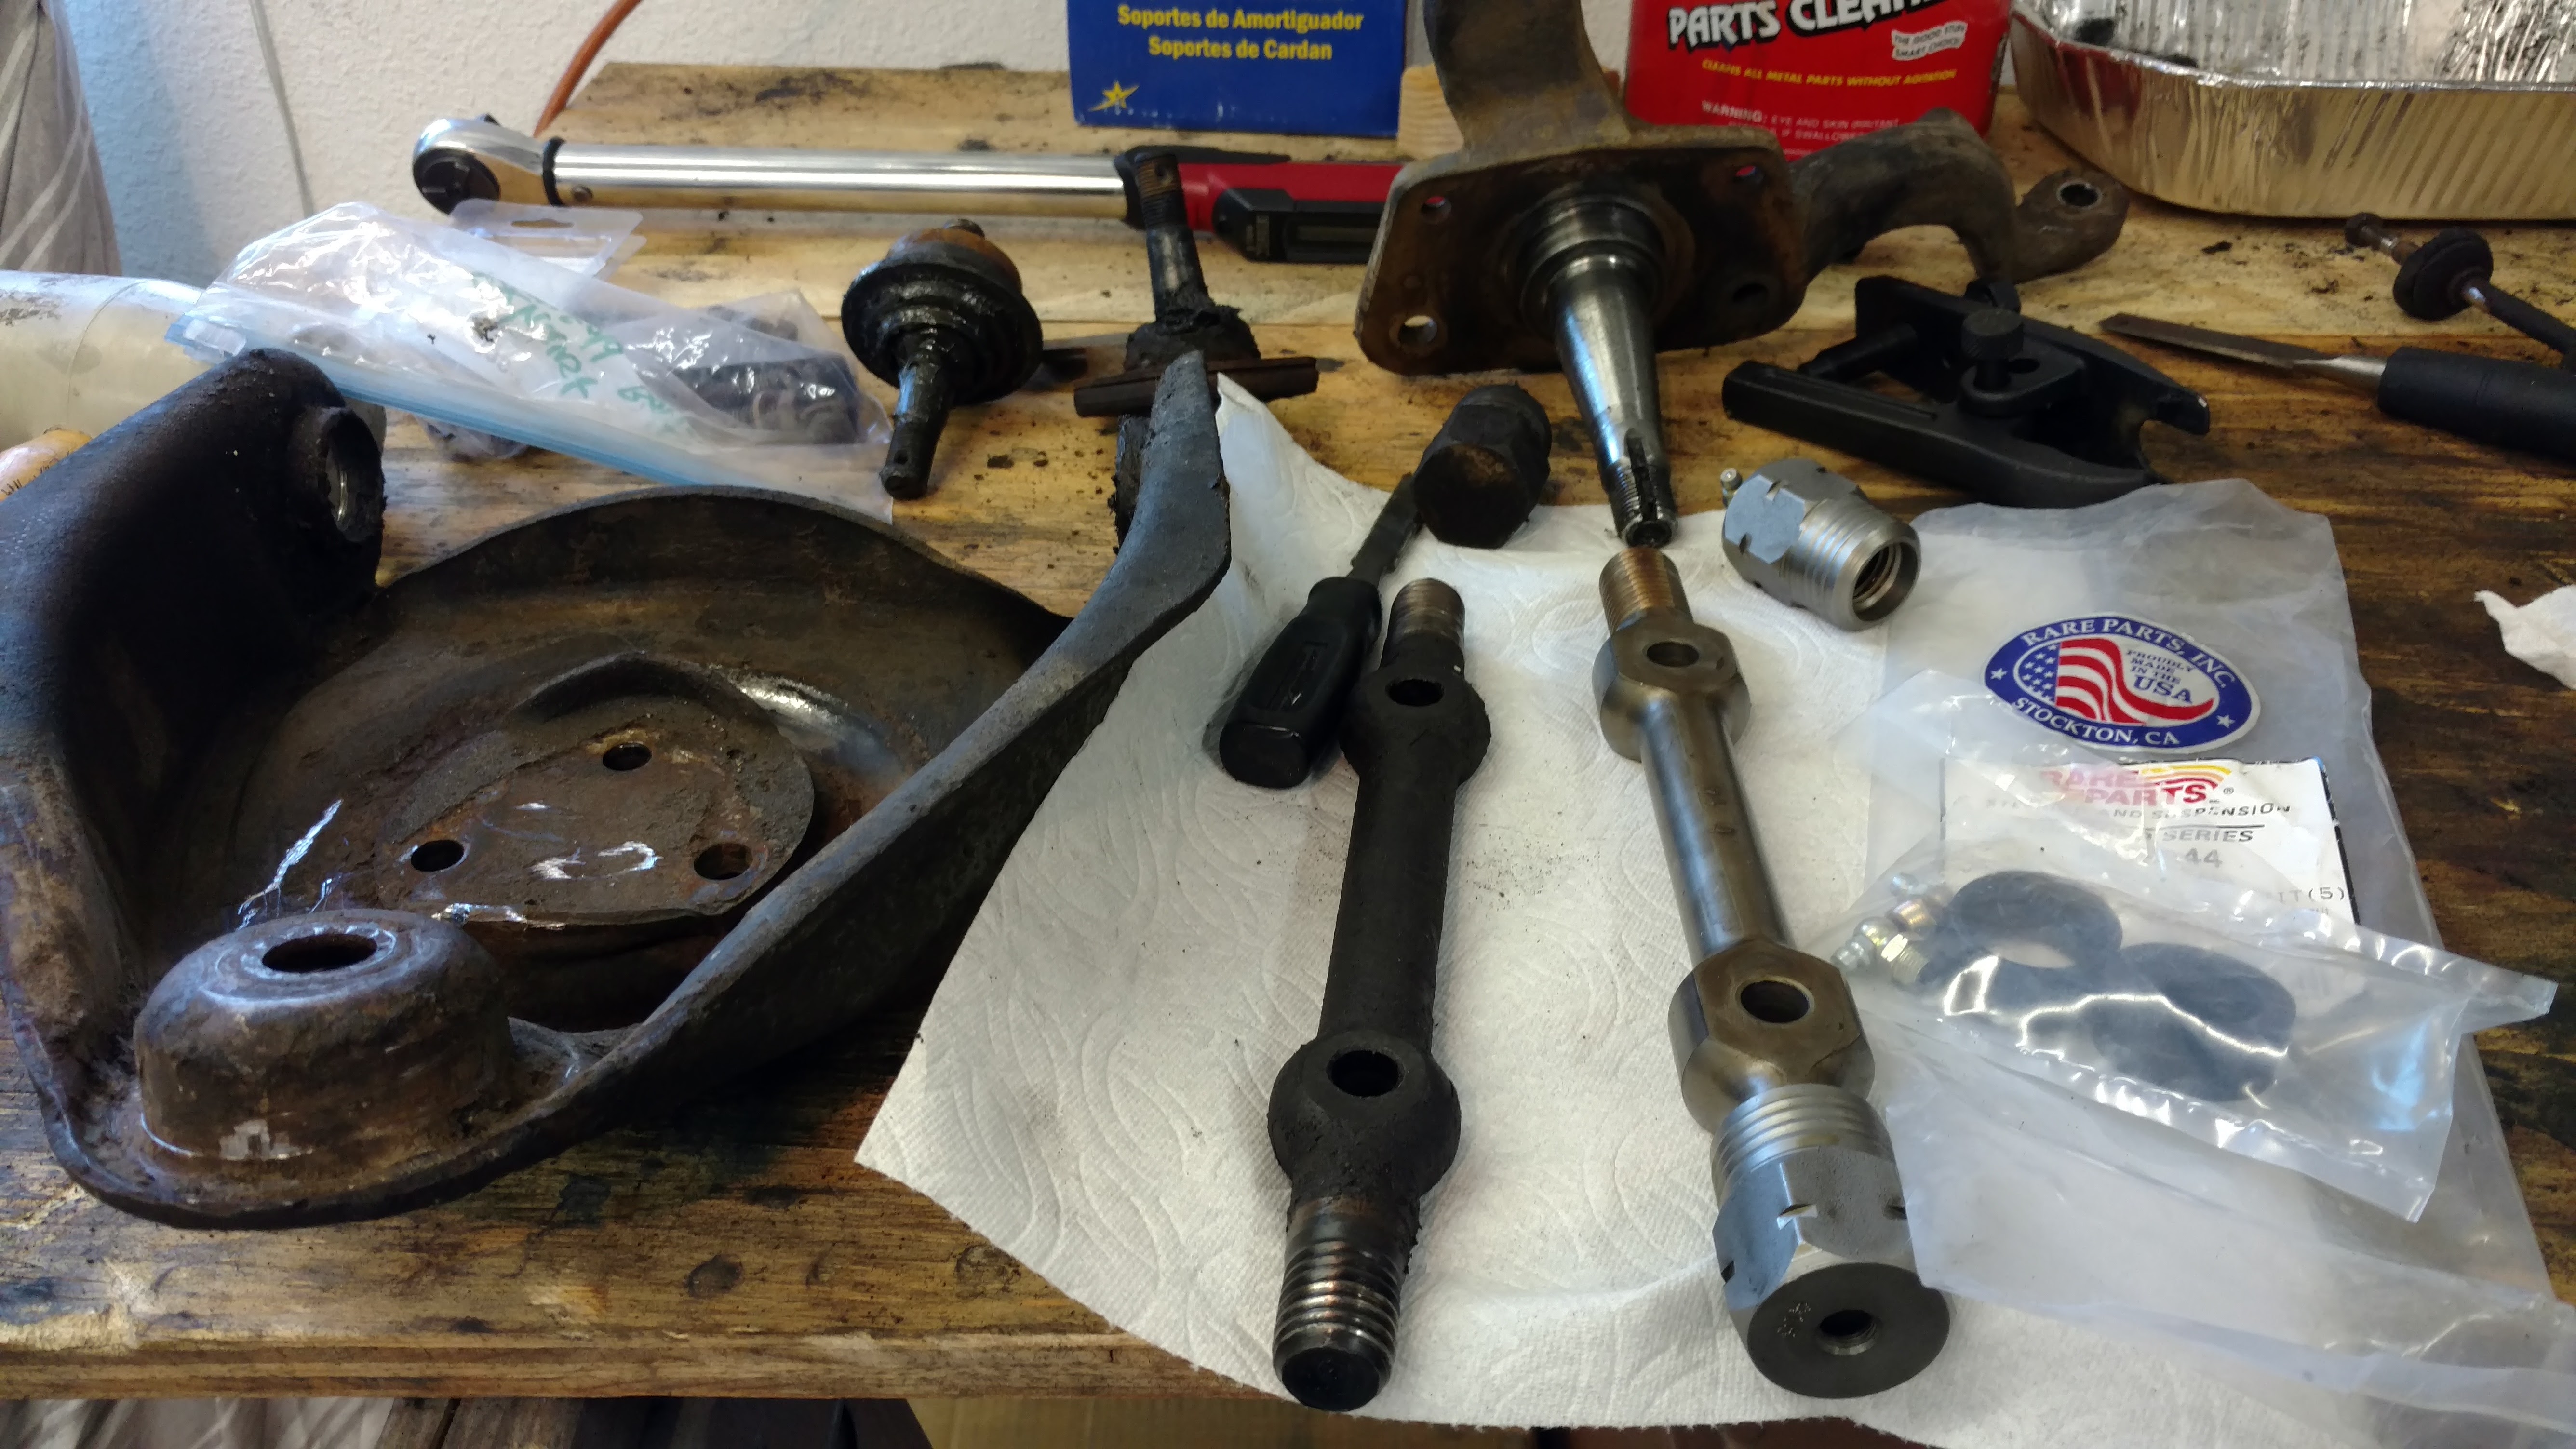
It took the better part of the afternoon to get the last bits and pieces in place. Earlier in the week, I installed a new solenoid, fixed some broken wires at the alternator and lubed the new suspension pieces. Yesterday, with my son helping, we located TDC and installed the distributor with a few degrees(more or less) of advance. Those were the bigger hurdles.

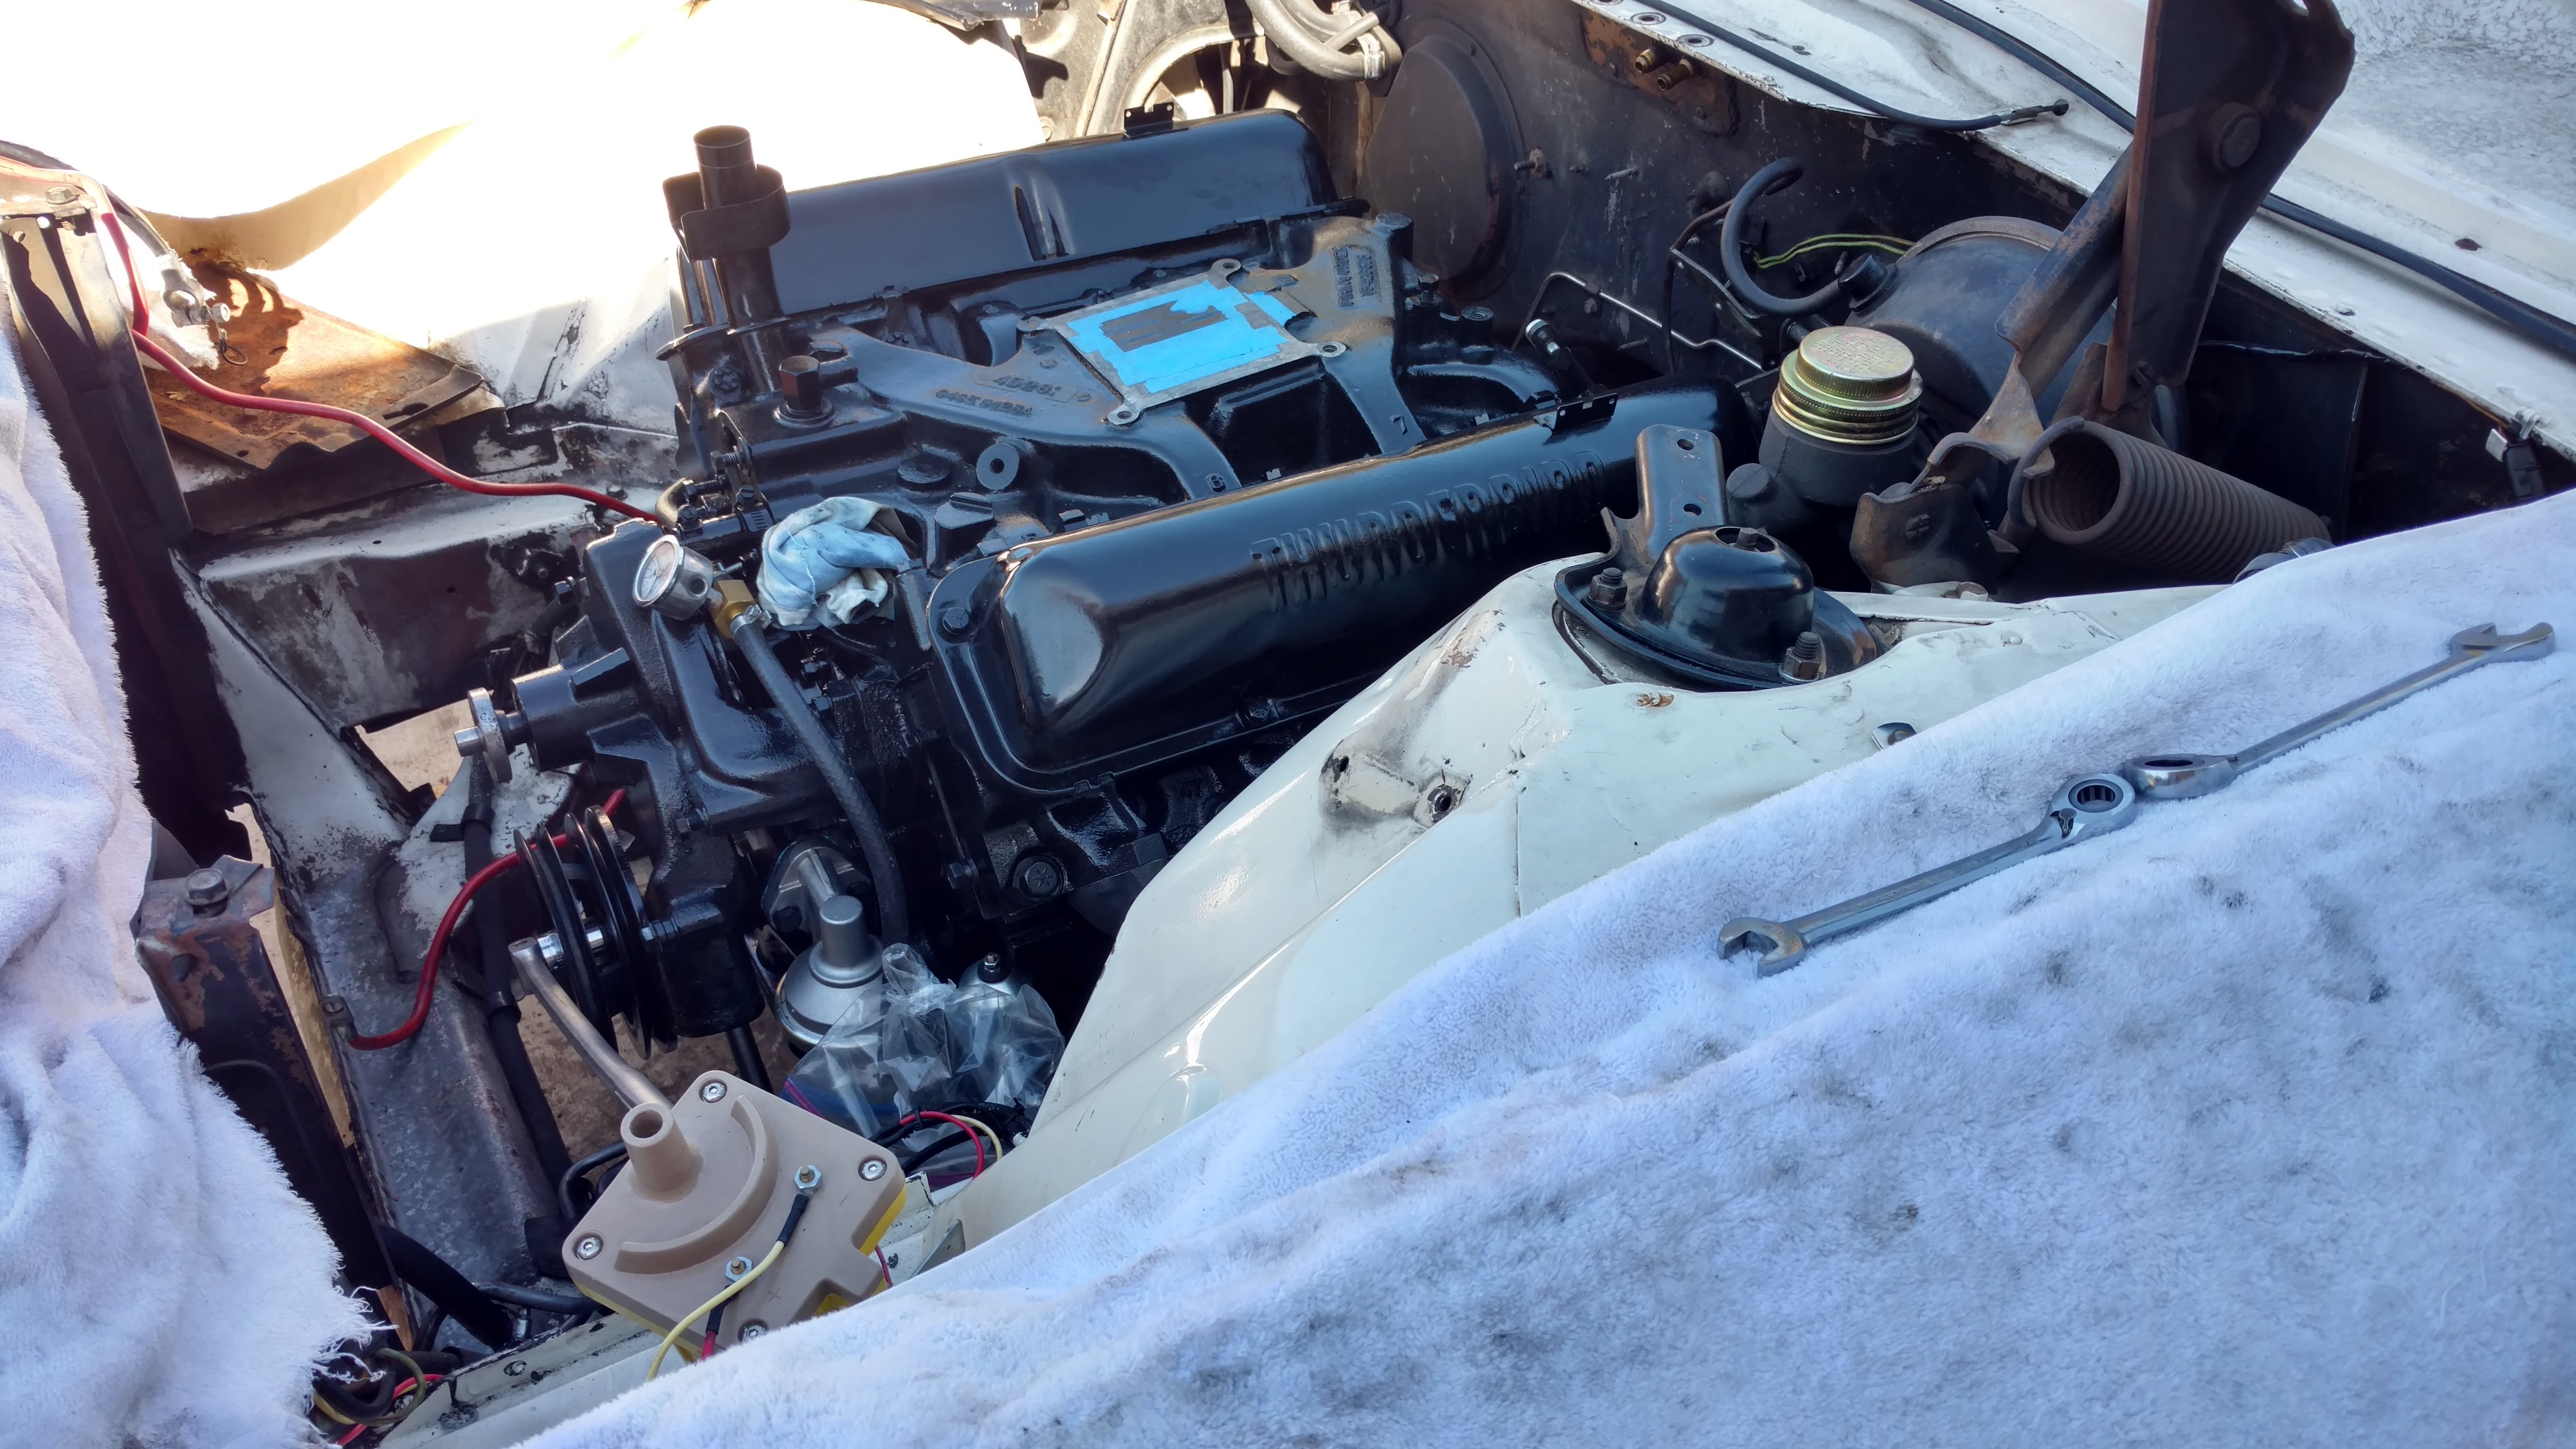
Looking around, there was still plenty to do: throttle linkage, vacuum hoses, coolant, etc. For most of these, the hardest part was actually finding the bits and pieces in the shop. It was about 3:00 when we stood up and realized there was nothing else left to do but crank it over.

Fuel pressure—right on the mark.

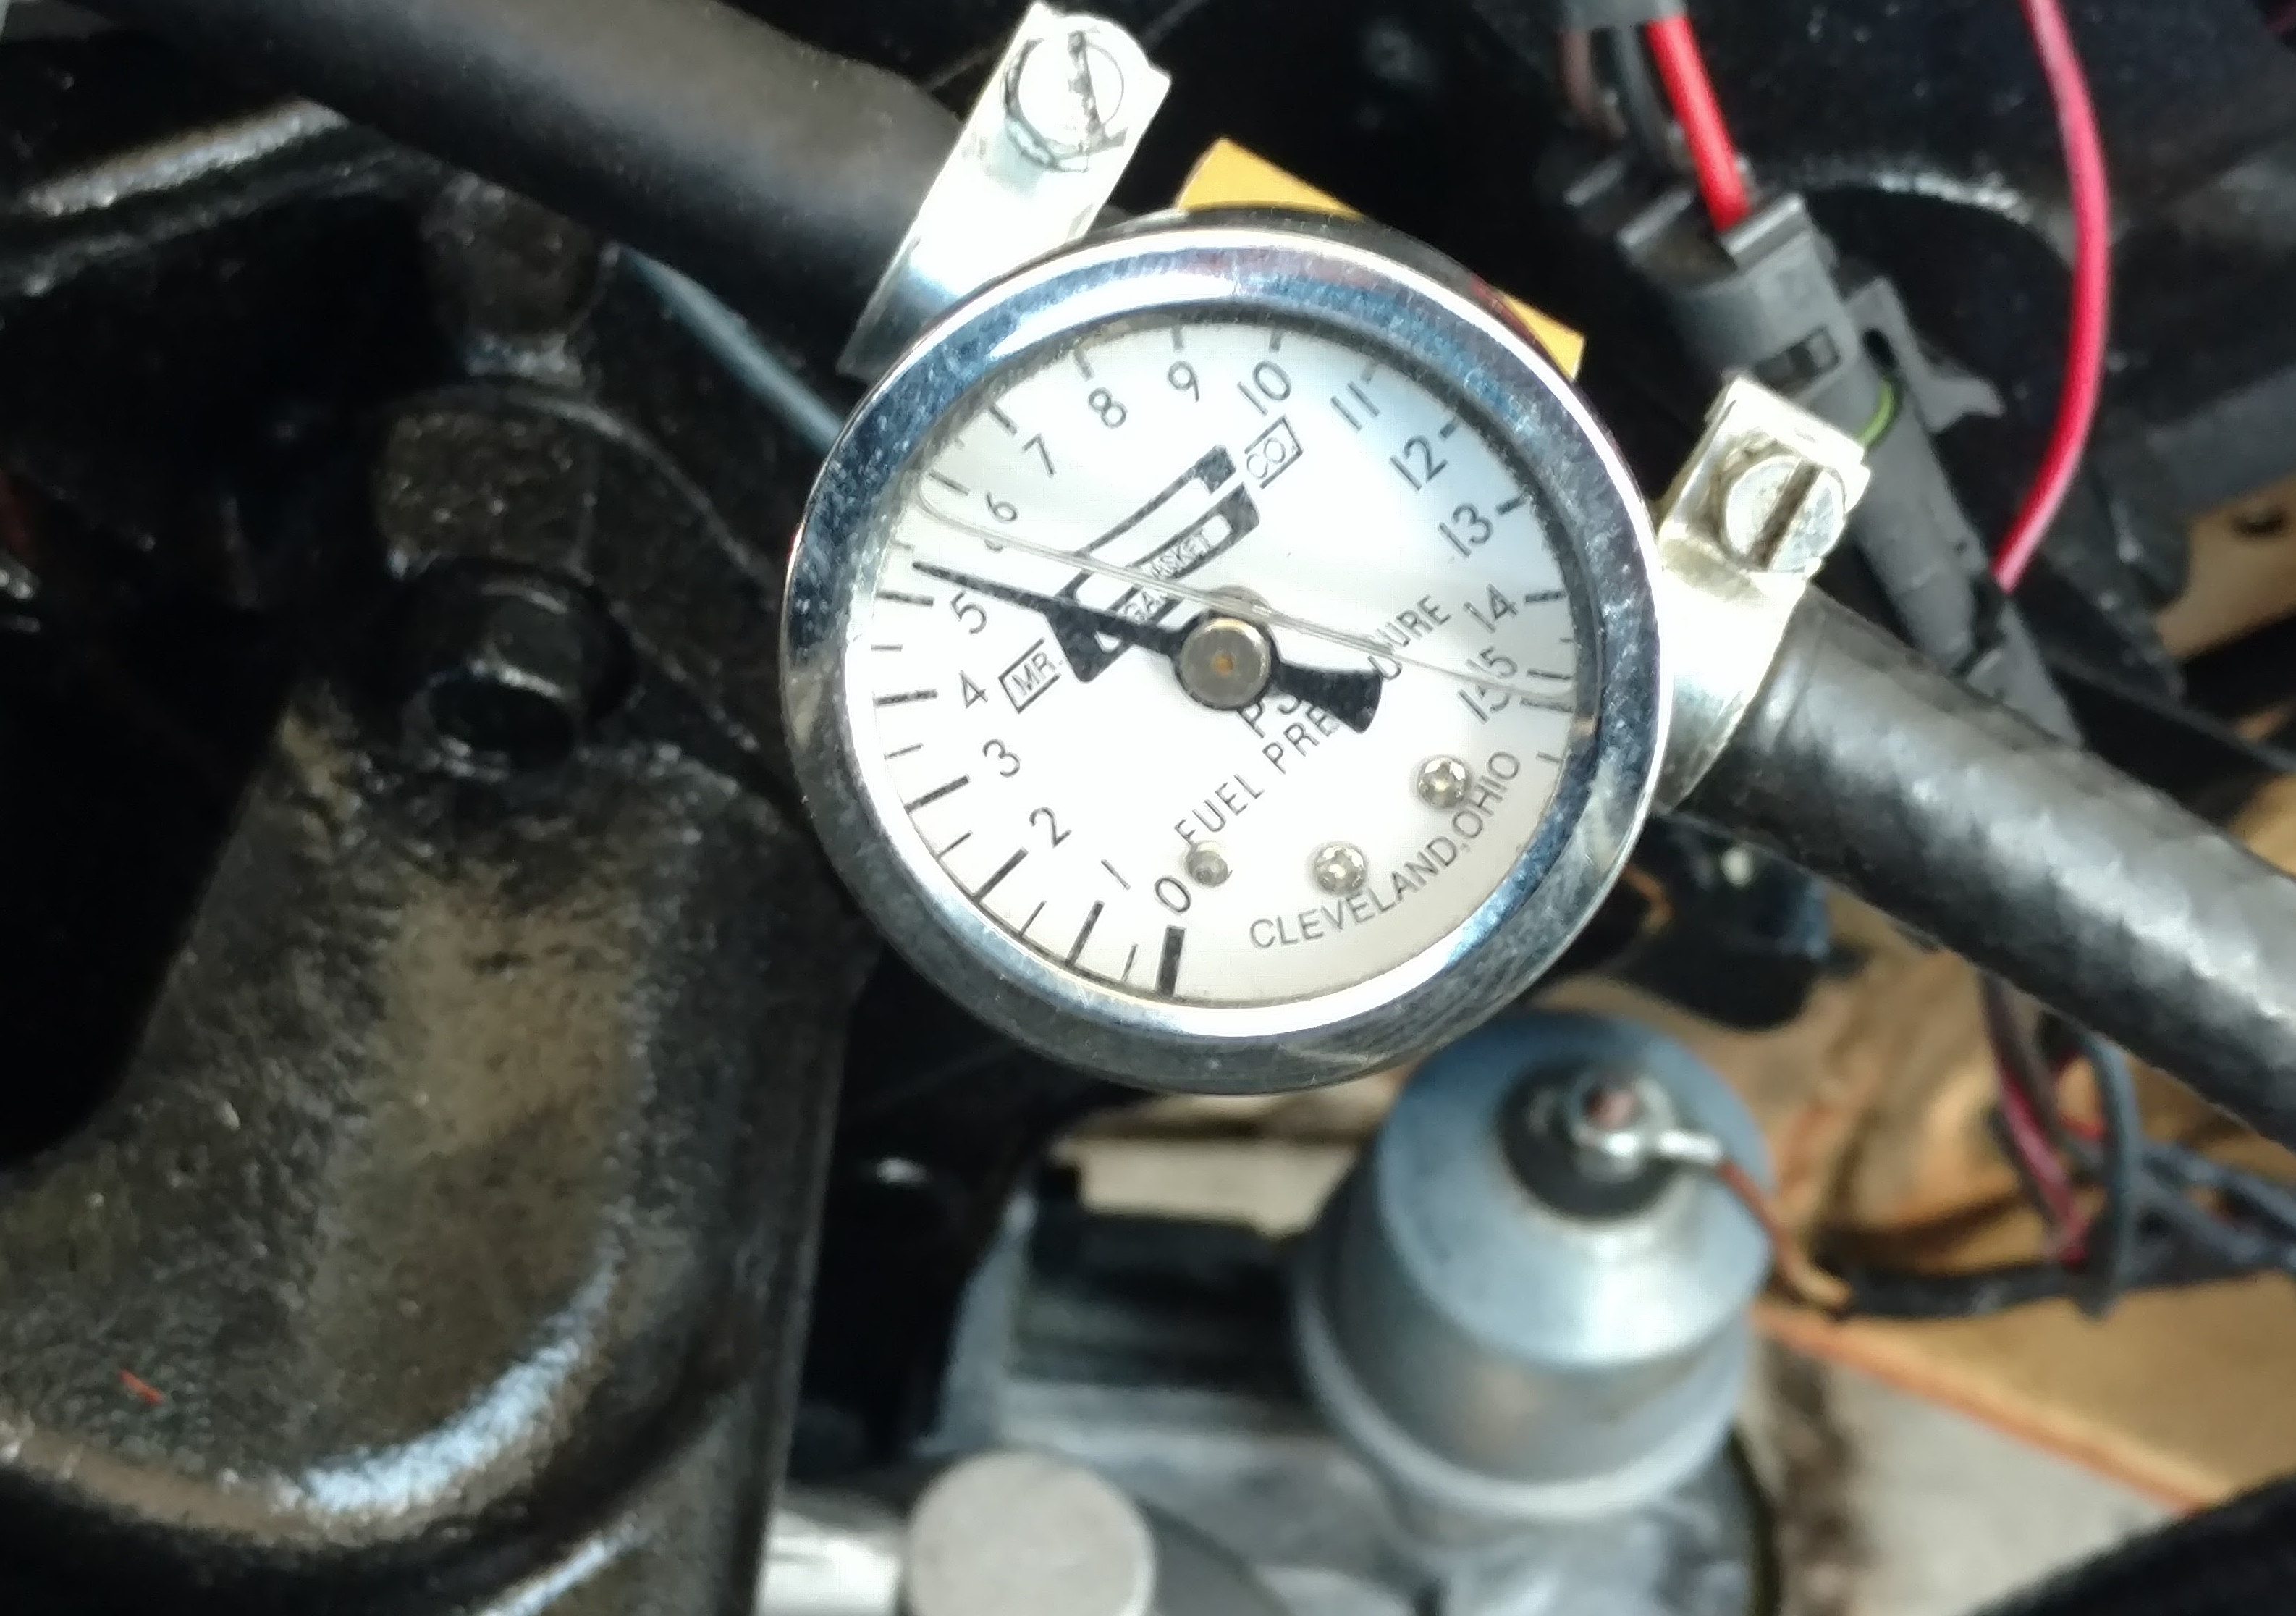
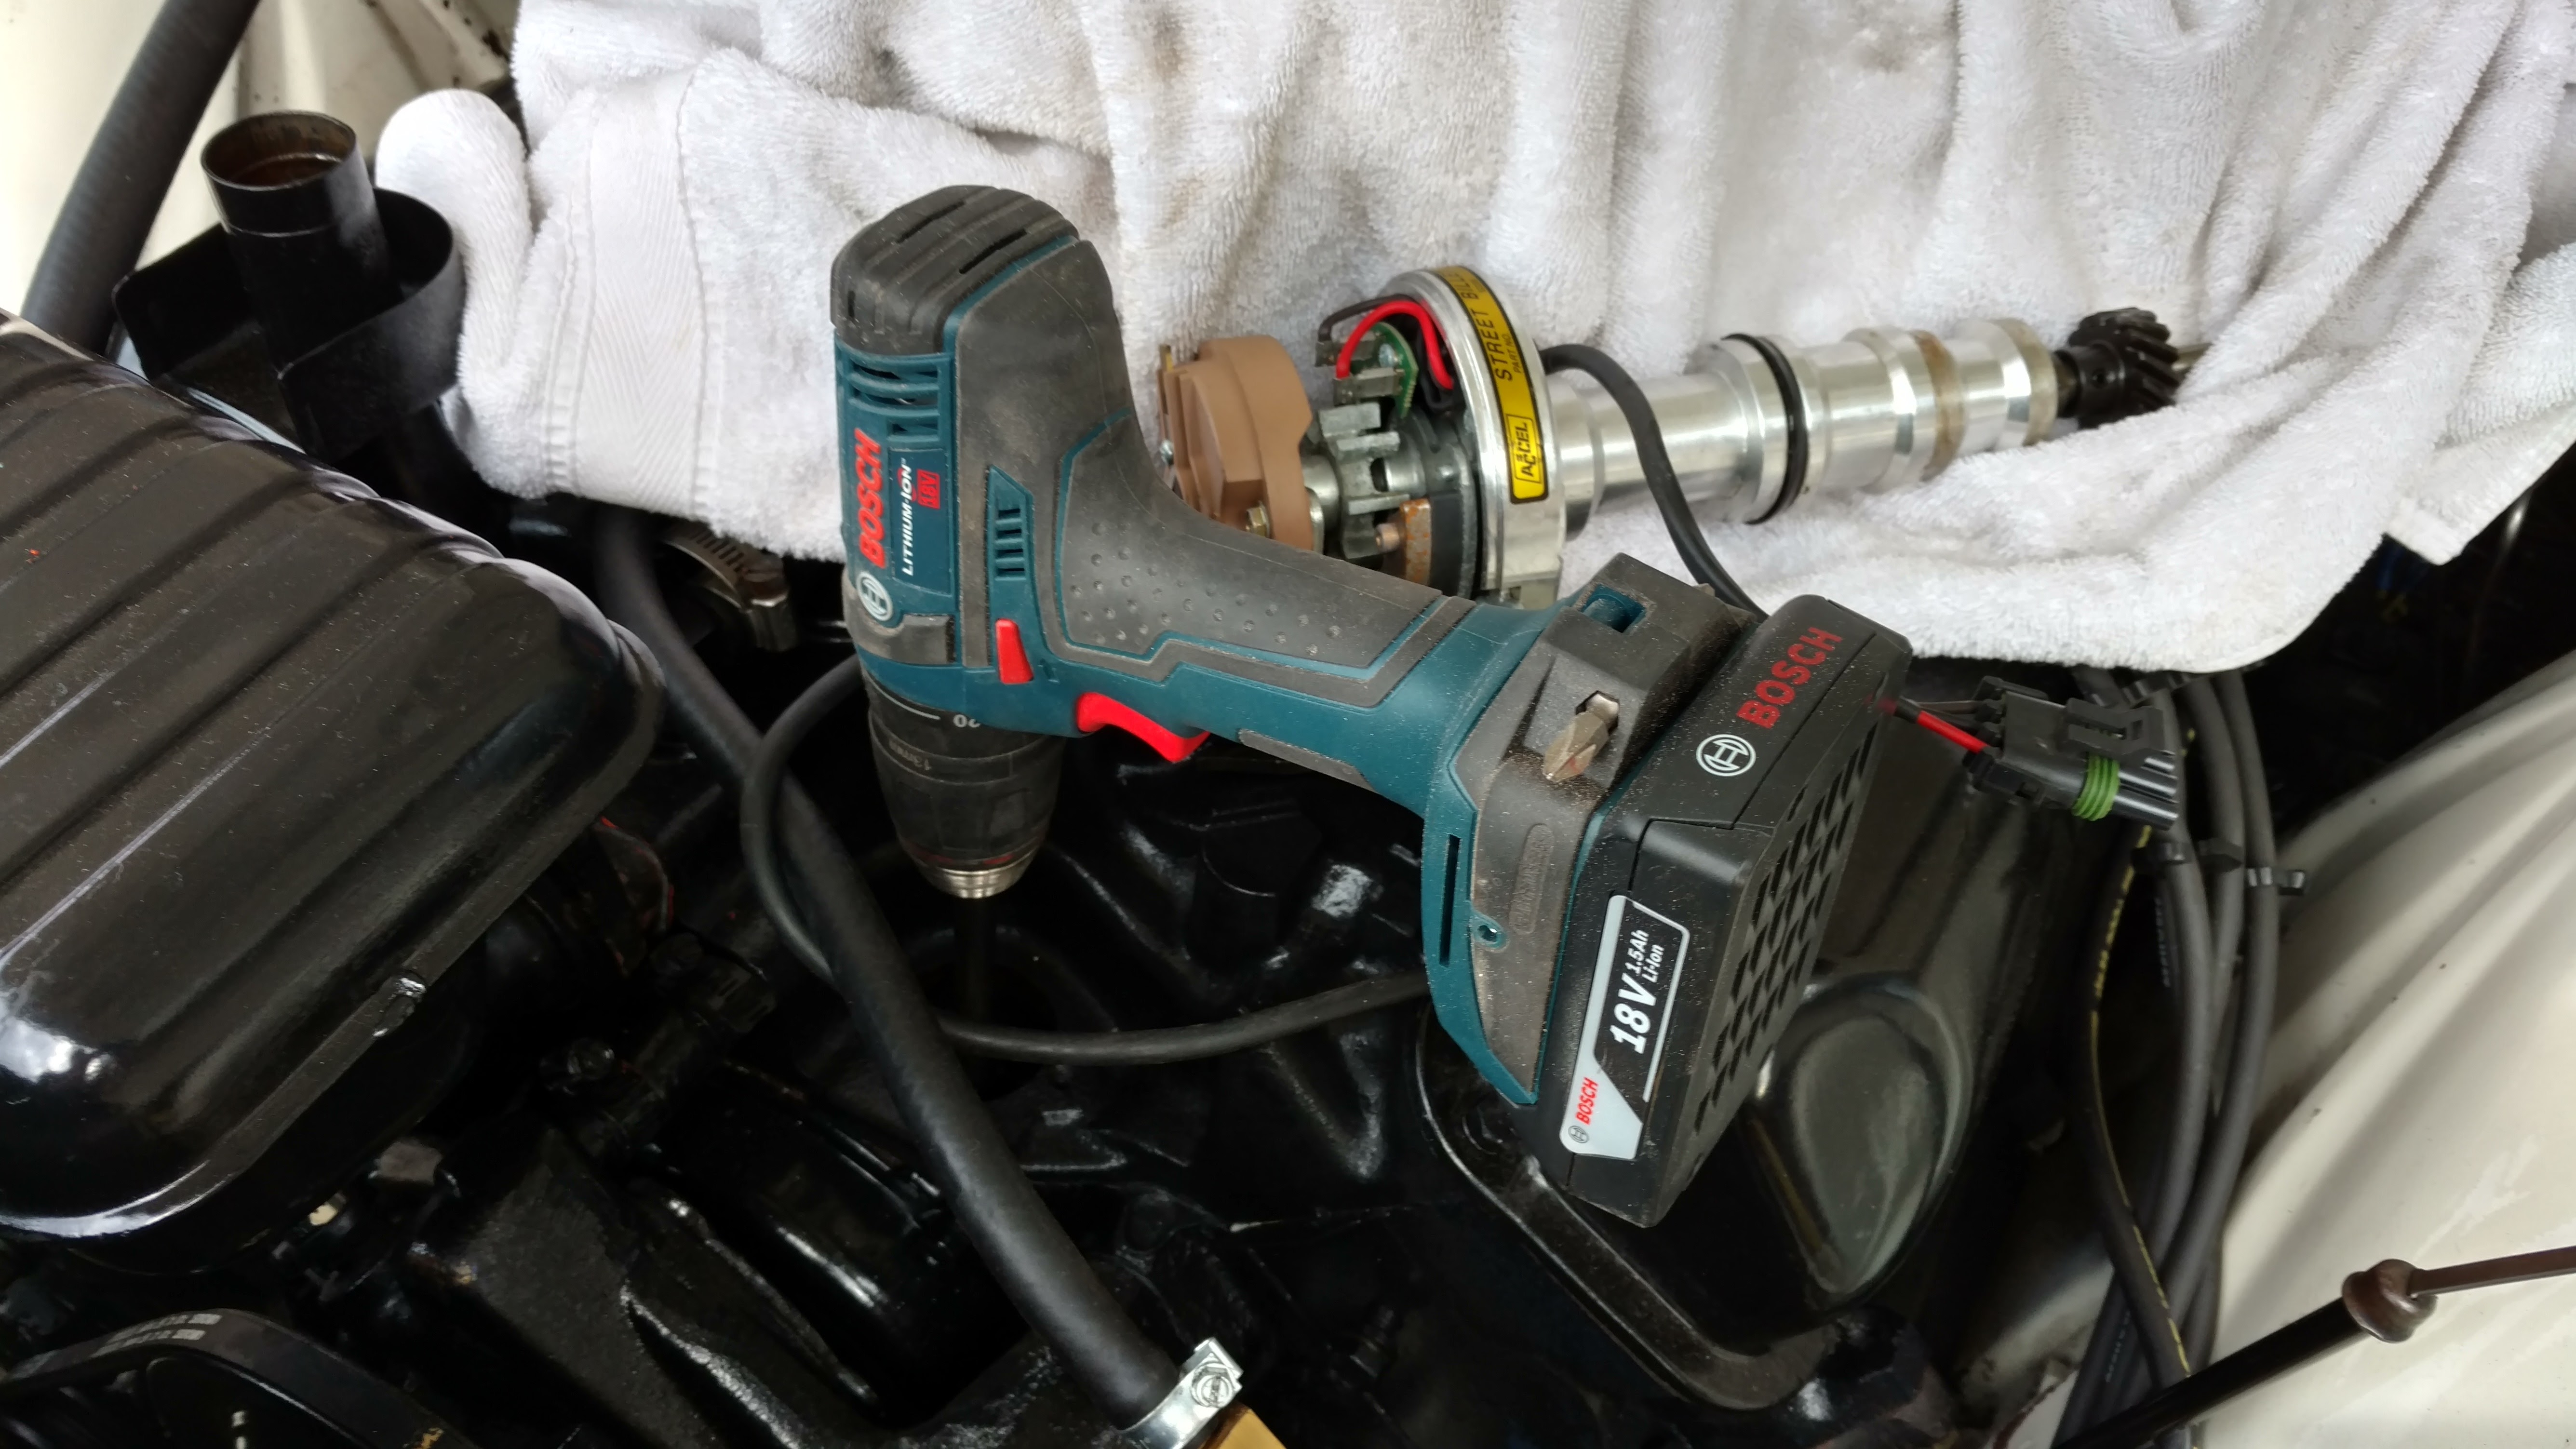
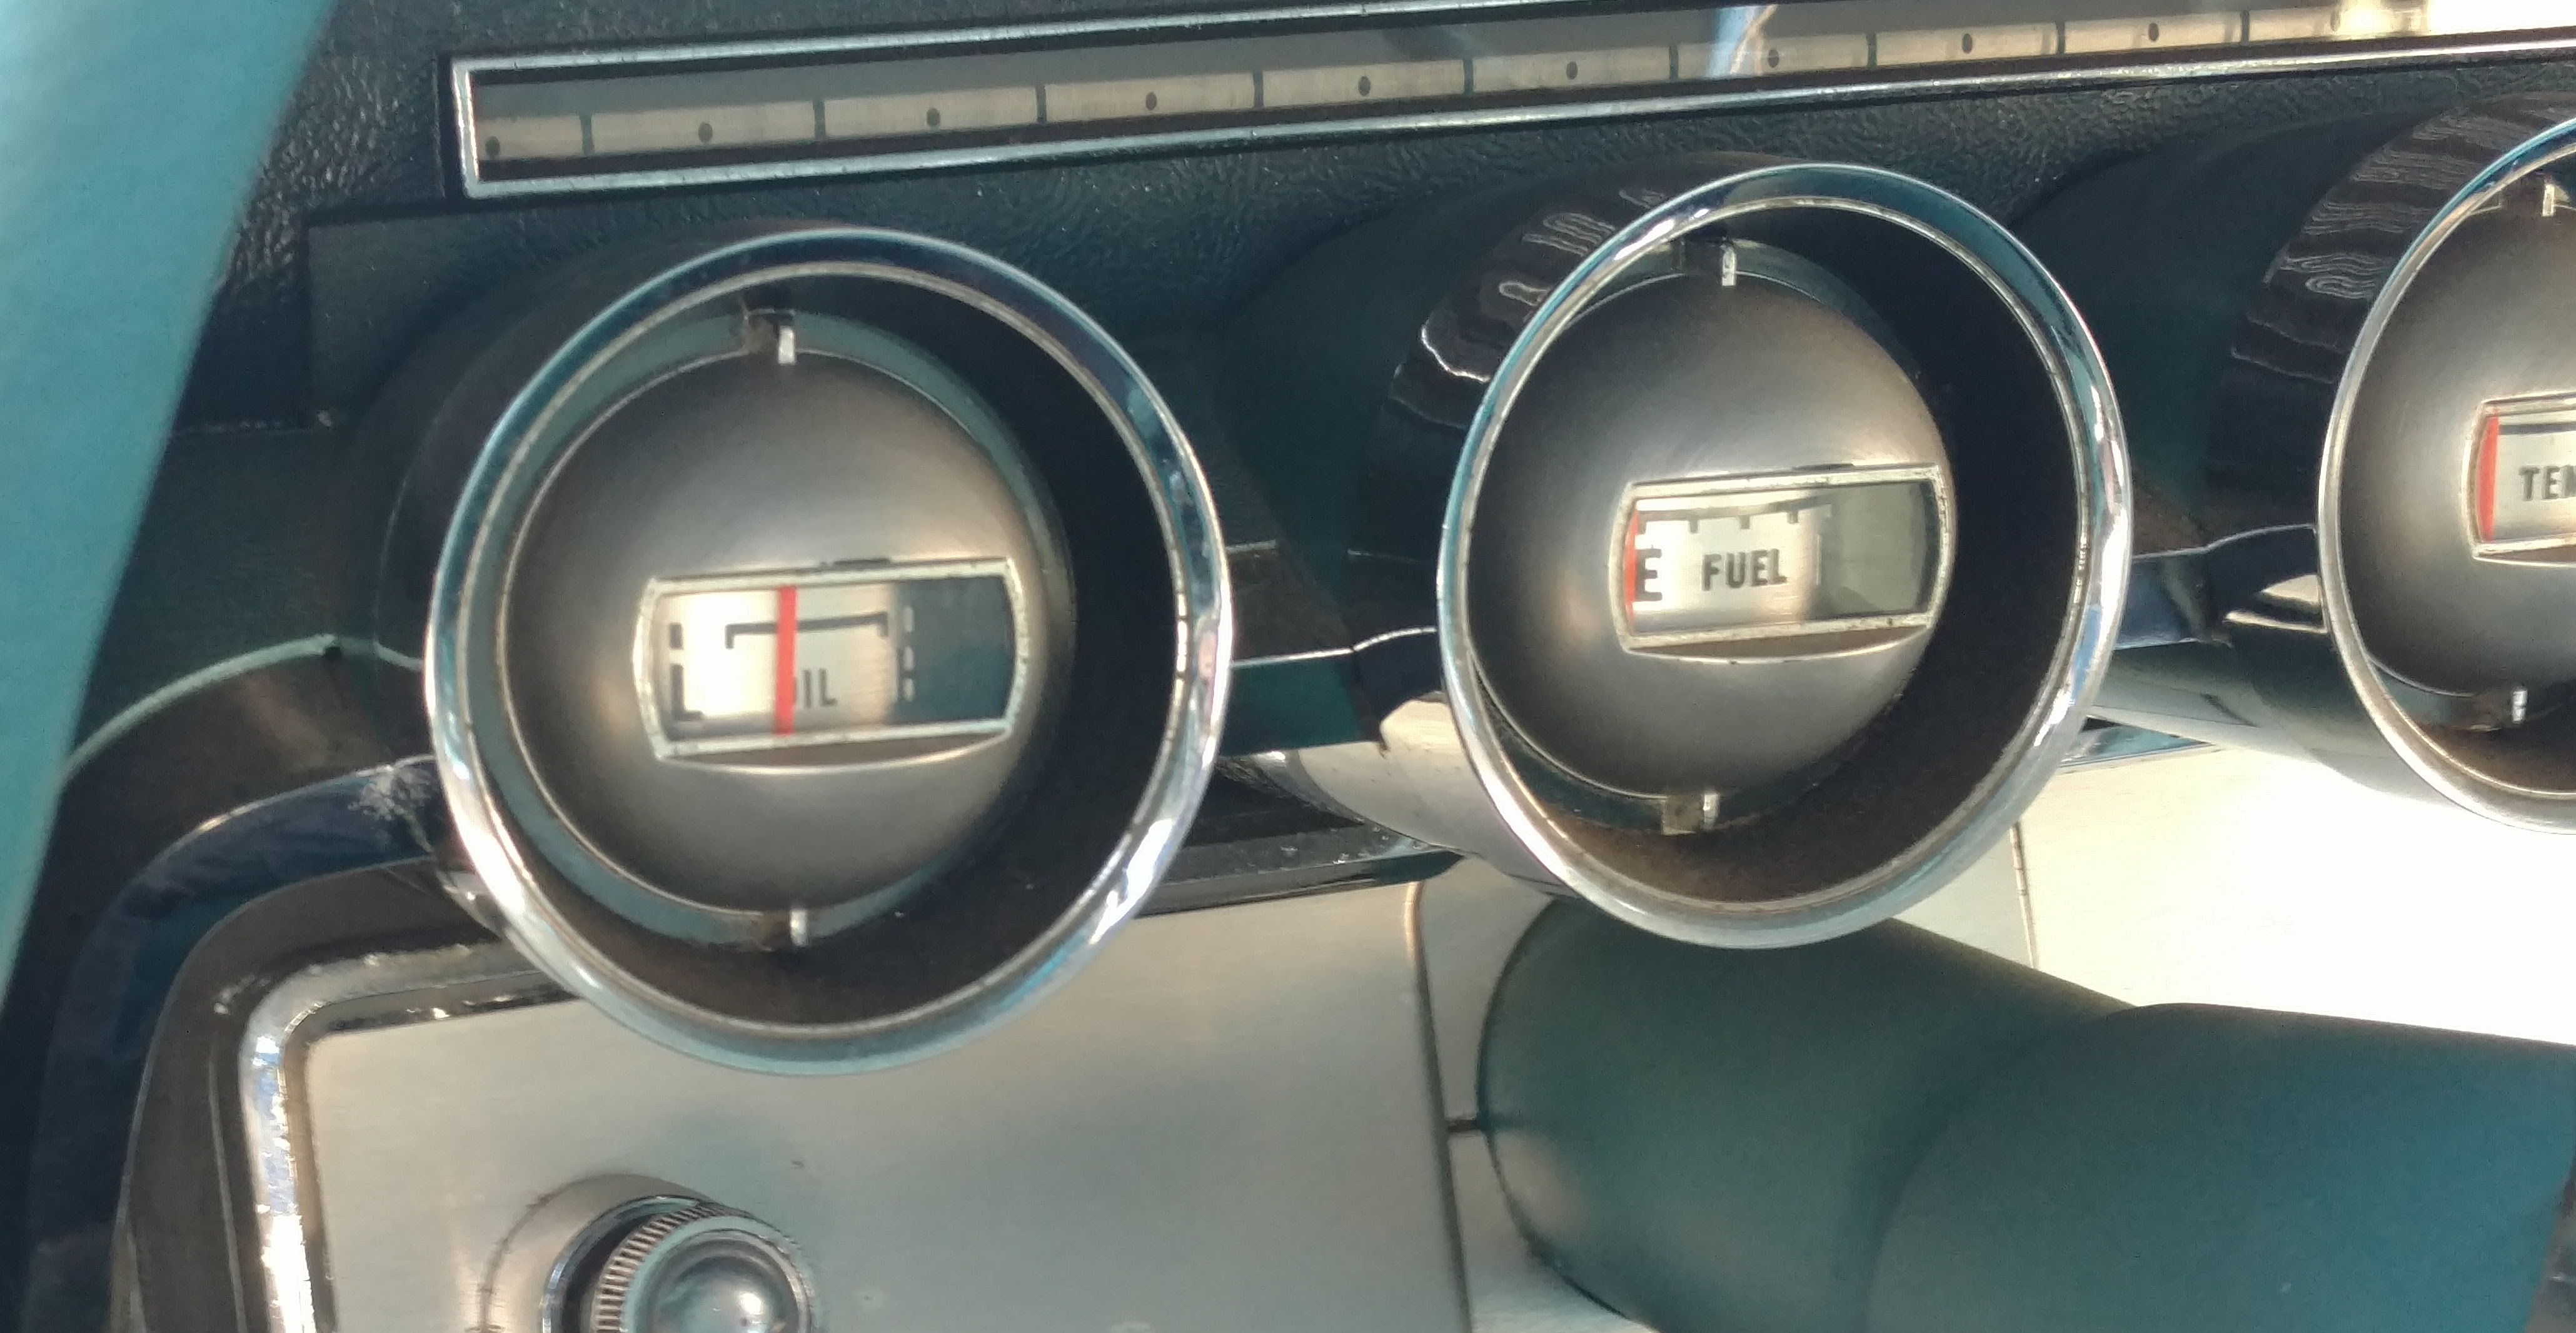
A few shots of starting fluid in the carb, turn the key and—it caught on the first revolution. It took a few starts to get fuel flowing, but within a minute or two, the motor was purring at idle. Oil and fuel pressure were both good, so I set the timing around 18° and let it warm up.

Once up to temp, I revved it up to moderate rpm’s, where it stumbled, shook and backfired—similar, but not identical to the symptoms I had before starting this project.

The oil pressure gauge isn’t accurate by any stretch, but a needle in the range indicates that all is well.

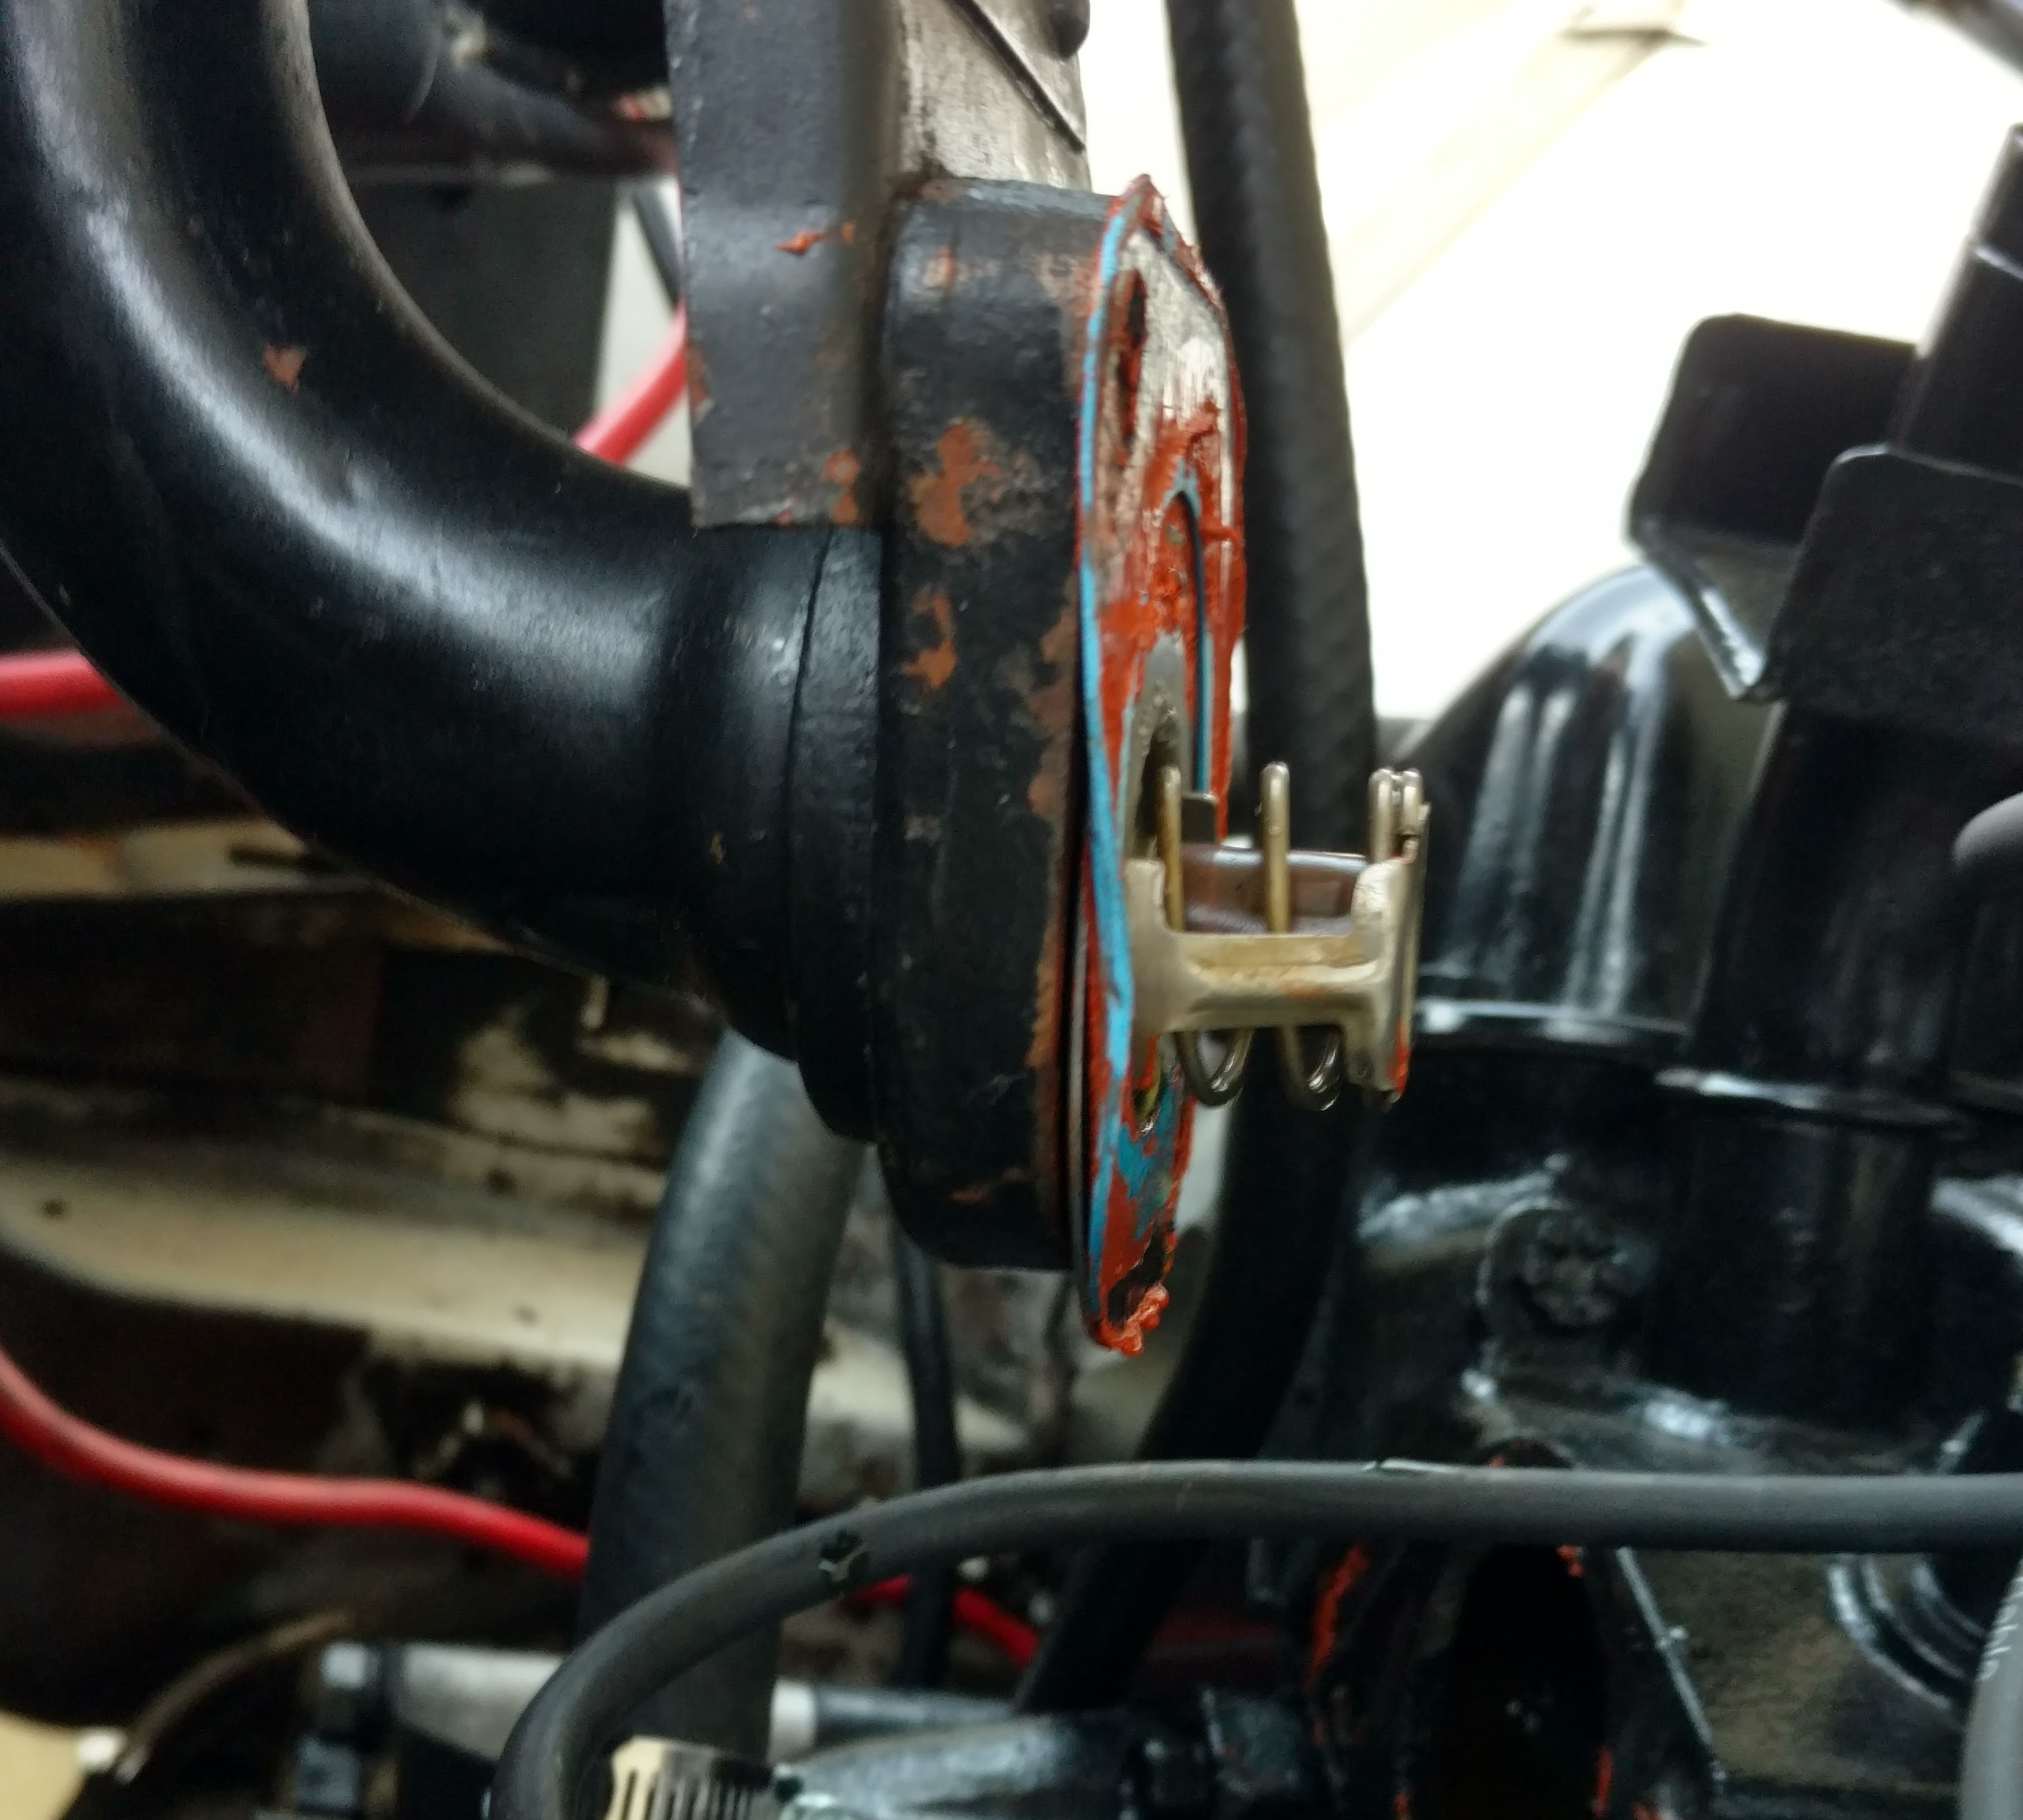
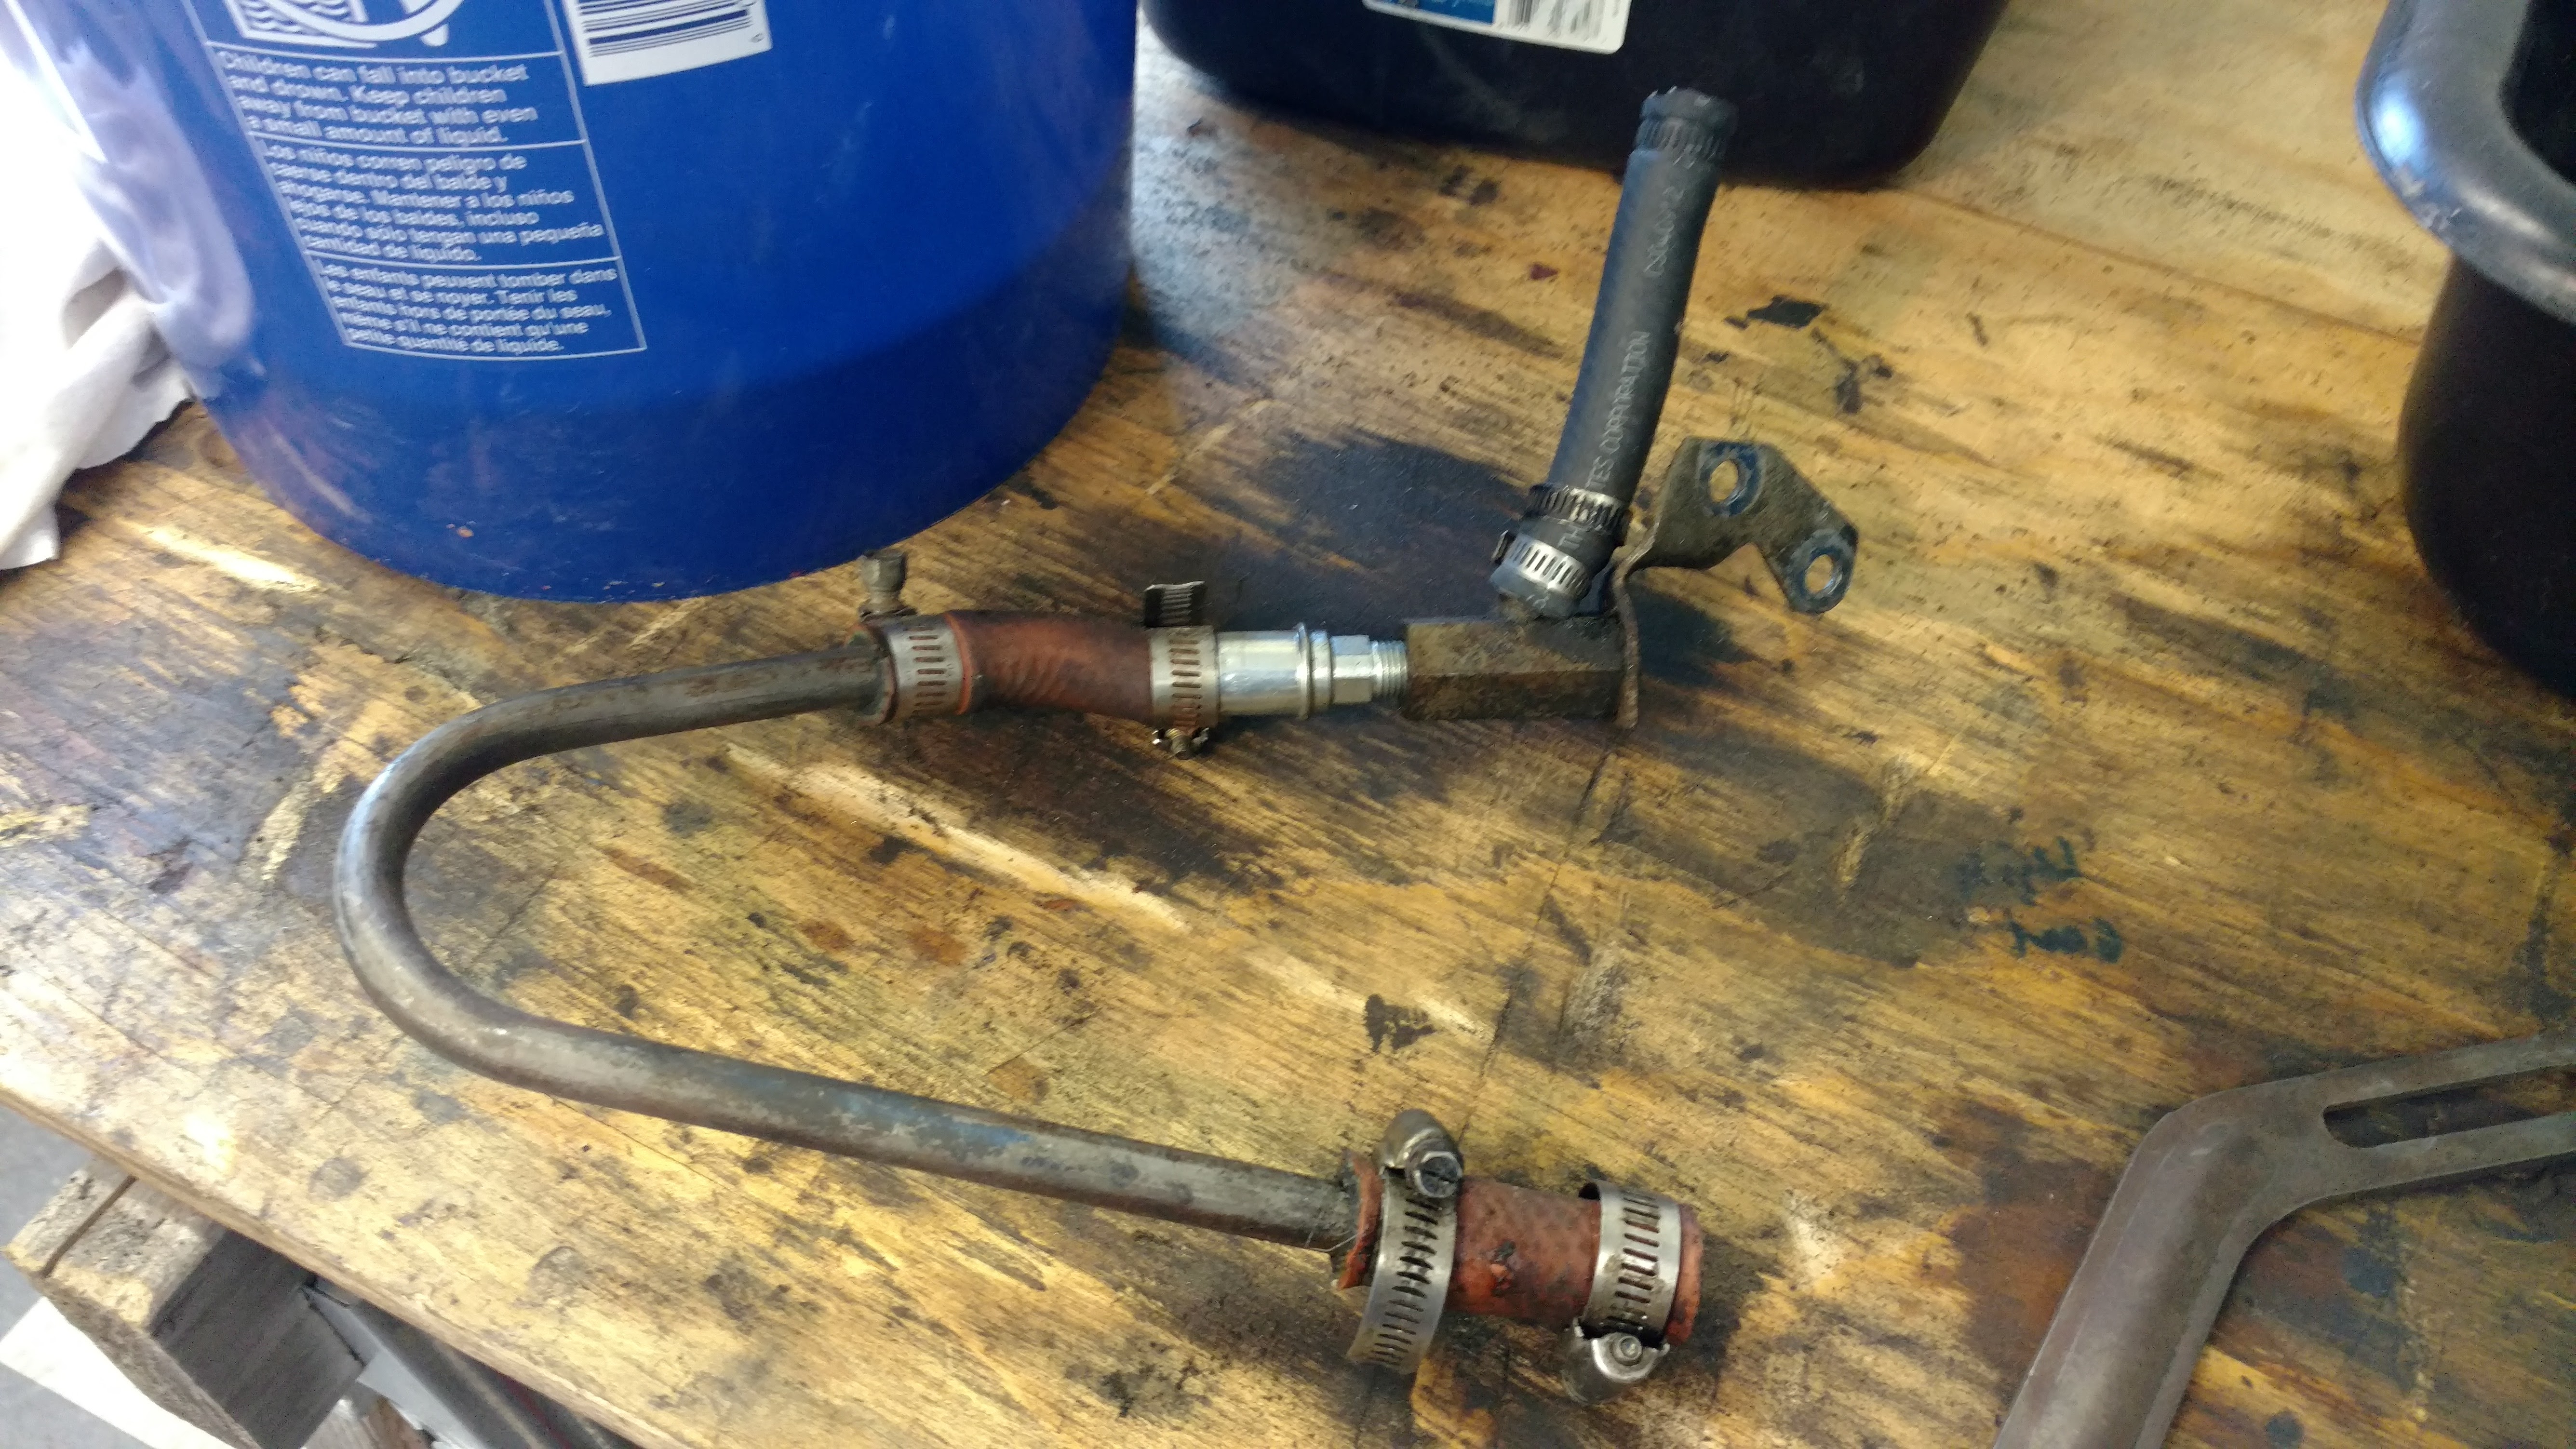
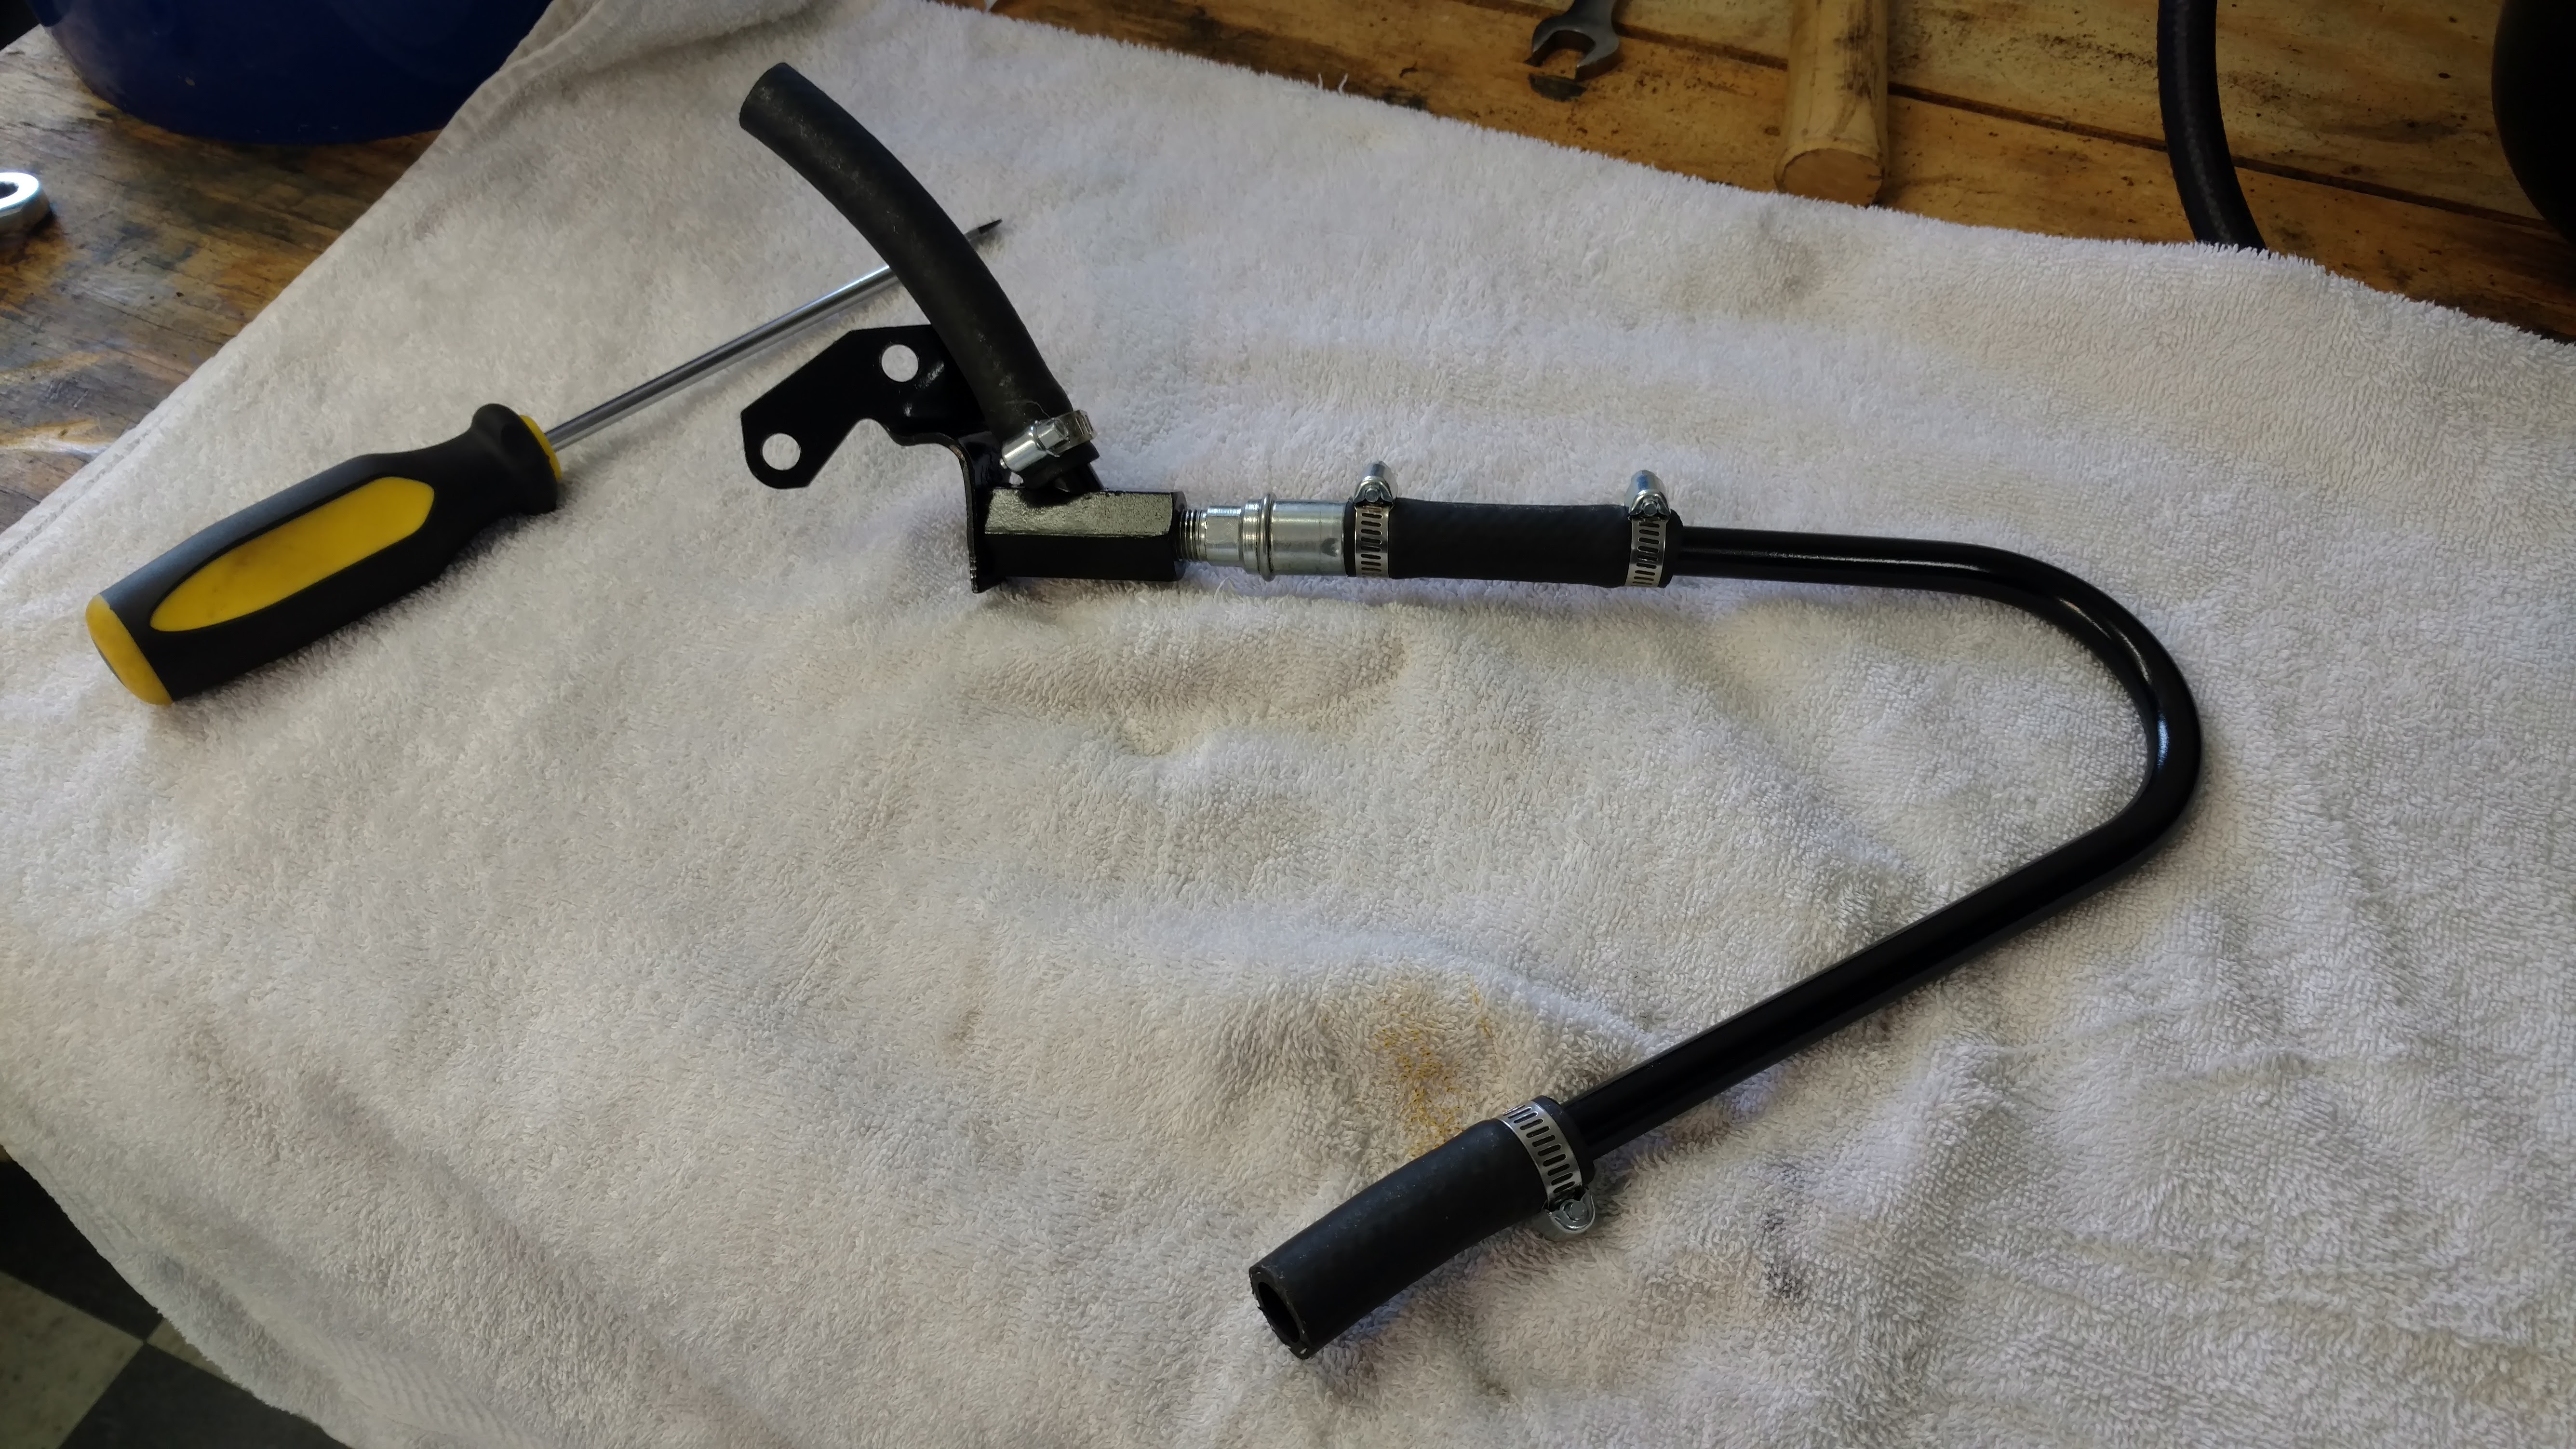
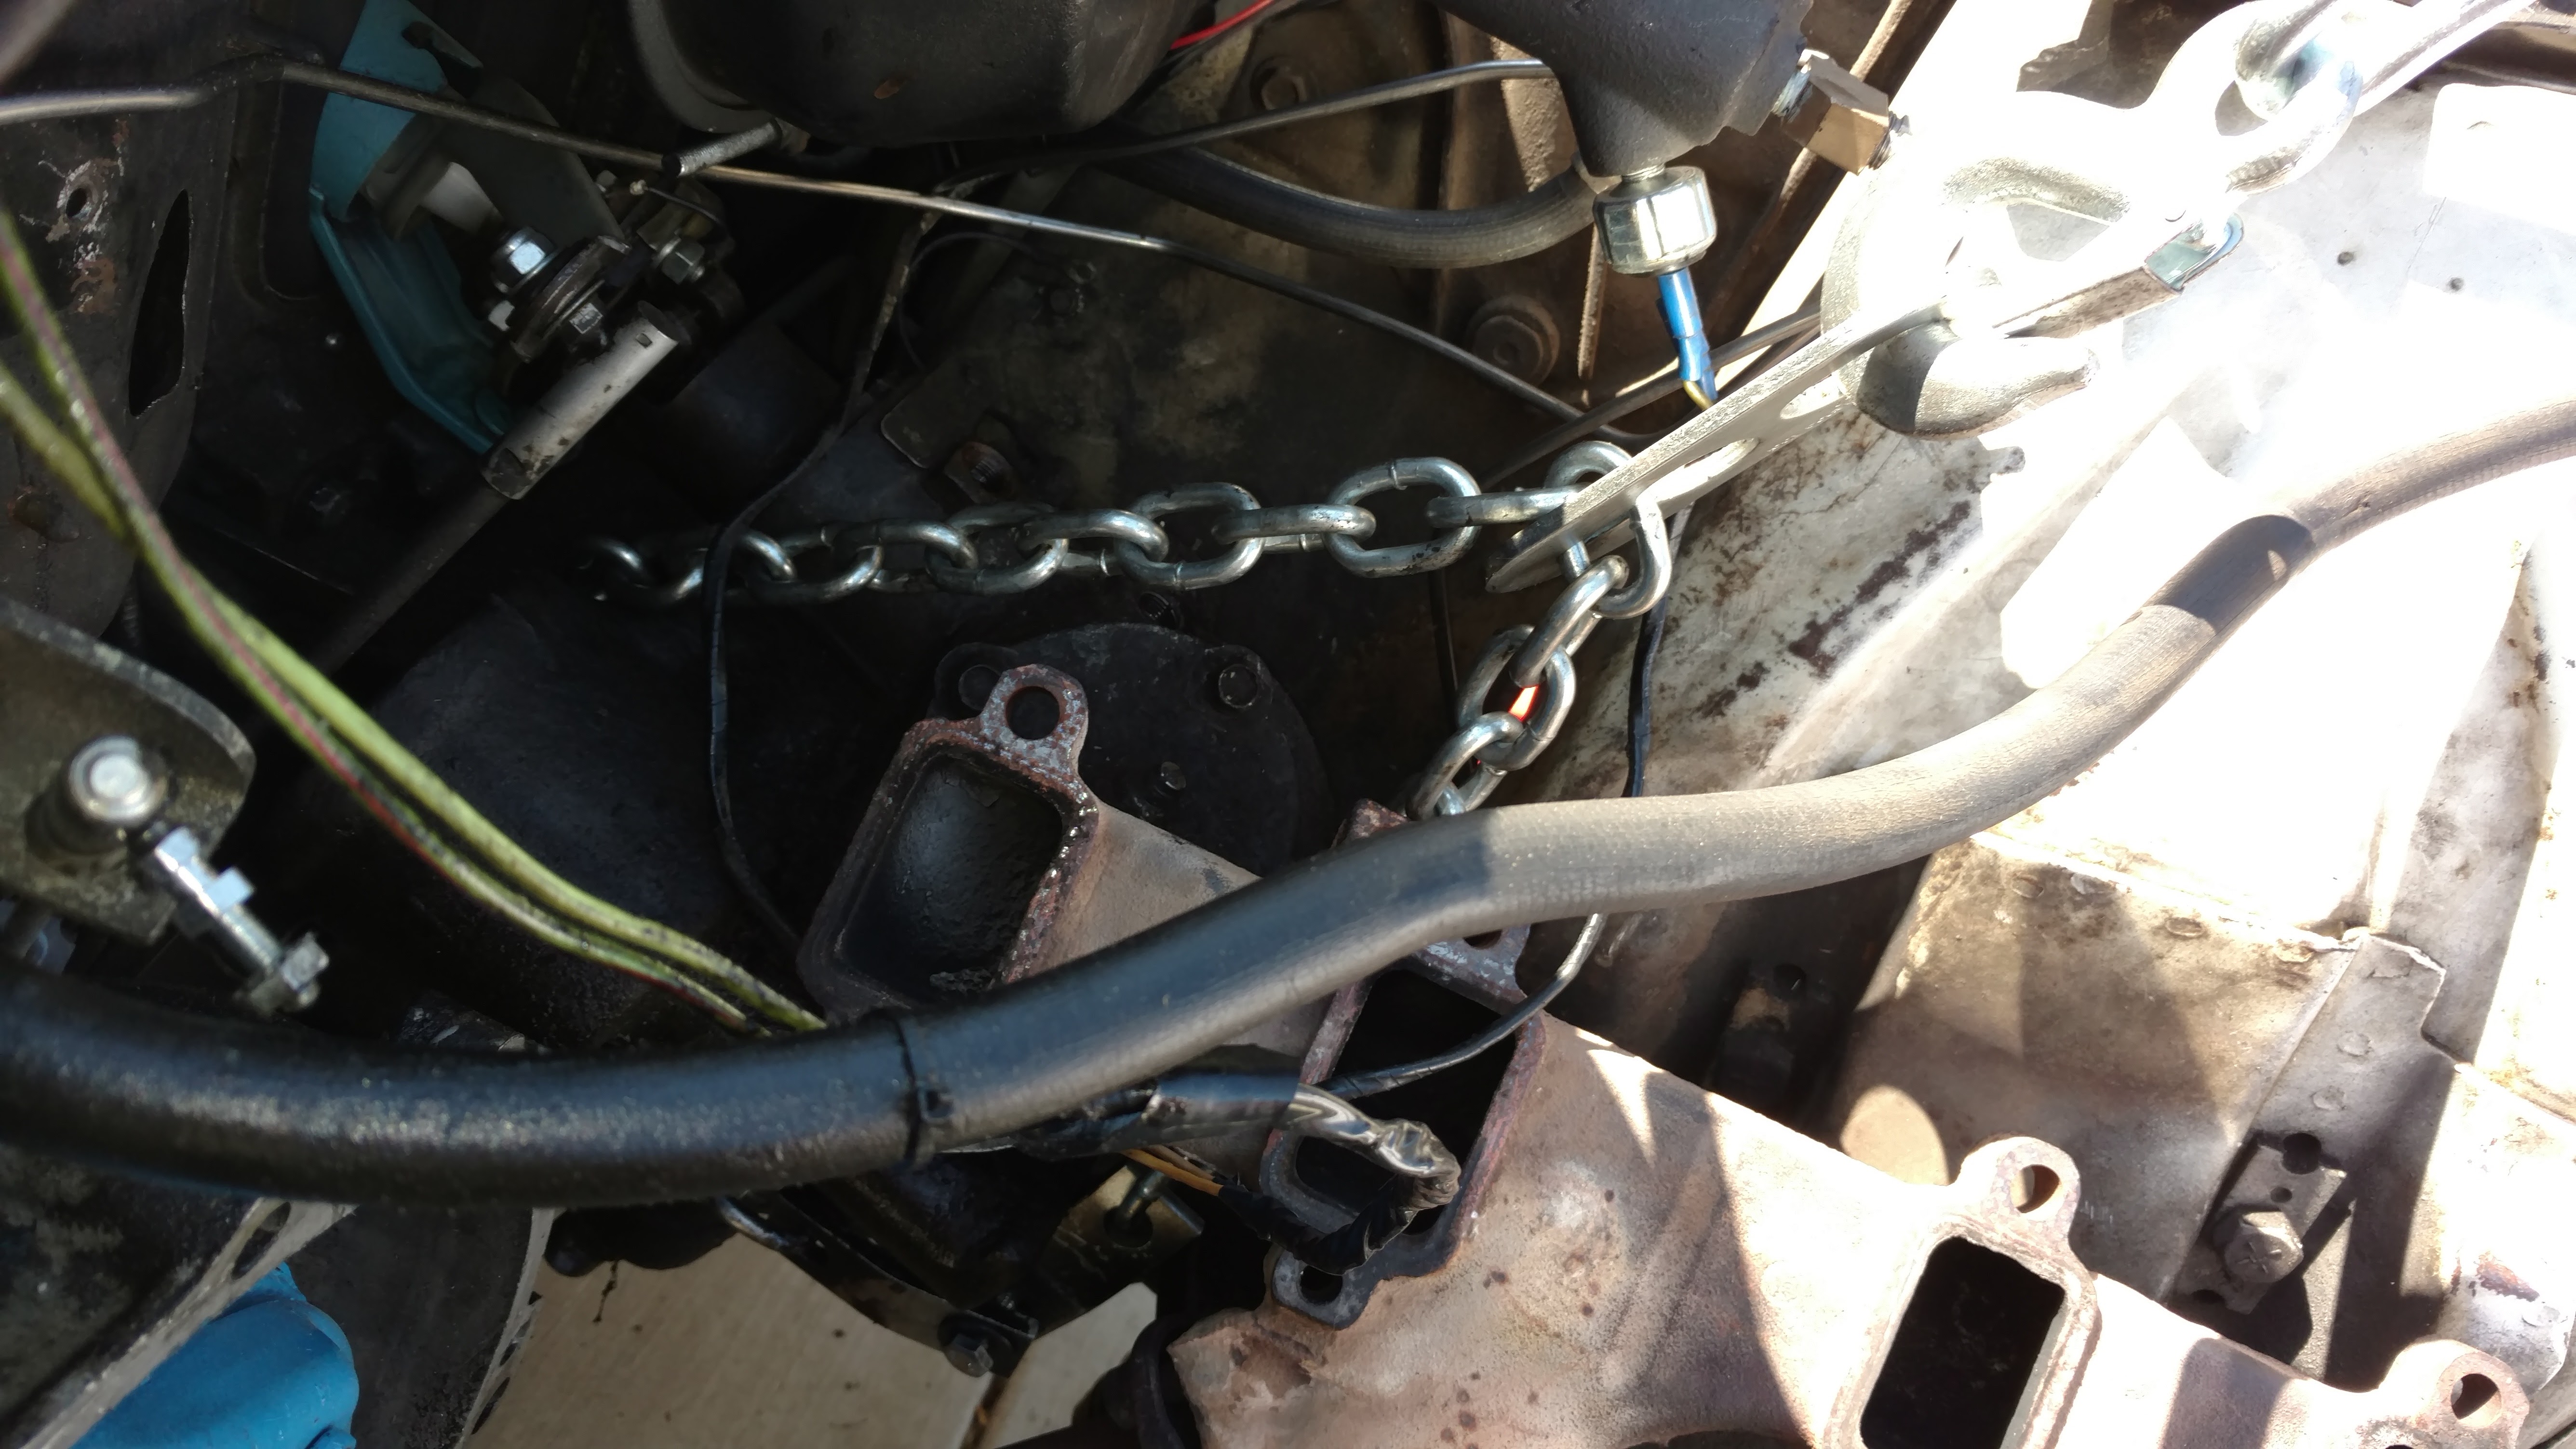
A little dismayed, we shut it down and installed the power steering pump and the new hydraulic lines I bought months ago. The car was still on jacks in front, so it was a simple matter to start the motor up and bleed the system. (It took about two quarts of fluid before the wipers and power assist were working normally.)

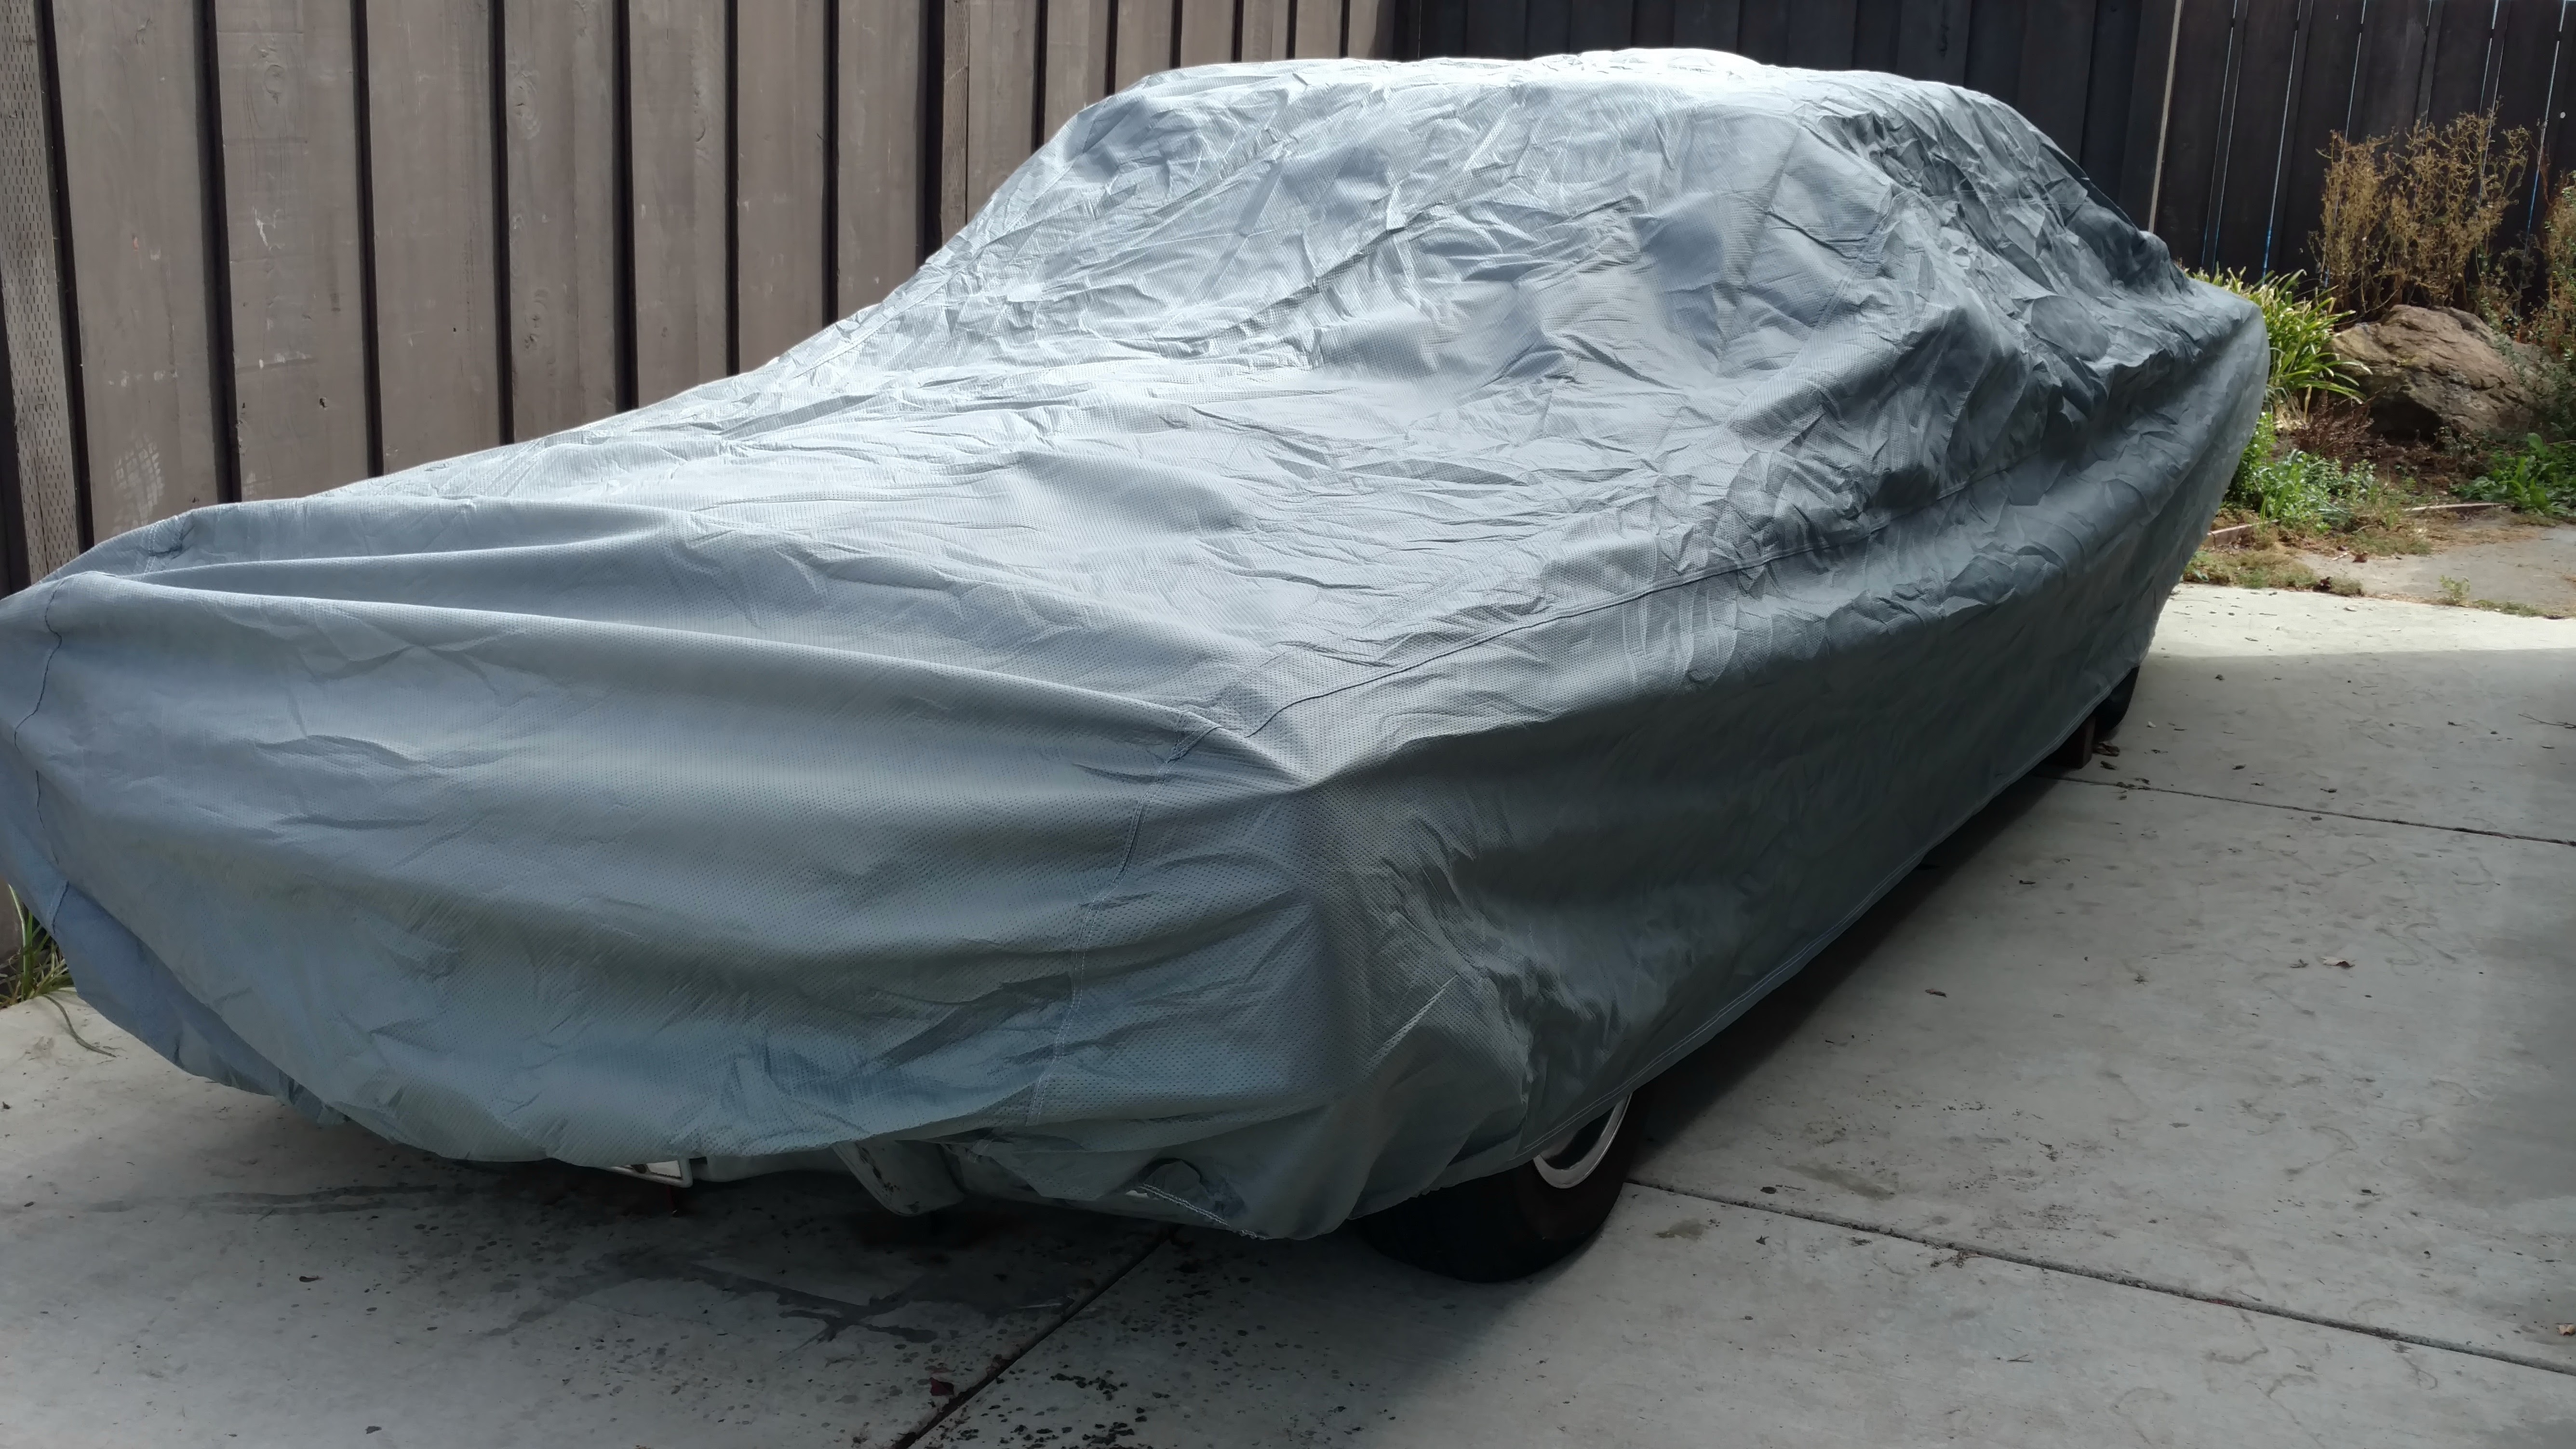
Motor back off, jacked the front end down, kicked the chocks away from the rear wheels and down the driveway we went. The brakes were a little grabby at first—not a surprise—but otherwise the ride was smooth (and it even tracked straight). I took it a couple of blocks up and down the street at parade speed before tucking it into the garage.

Out of the weather, finally.

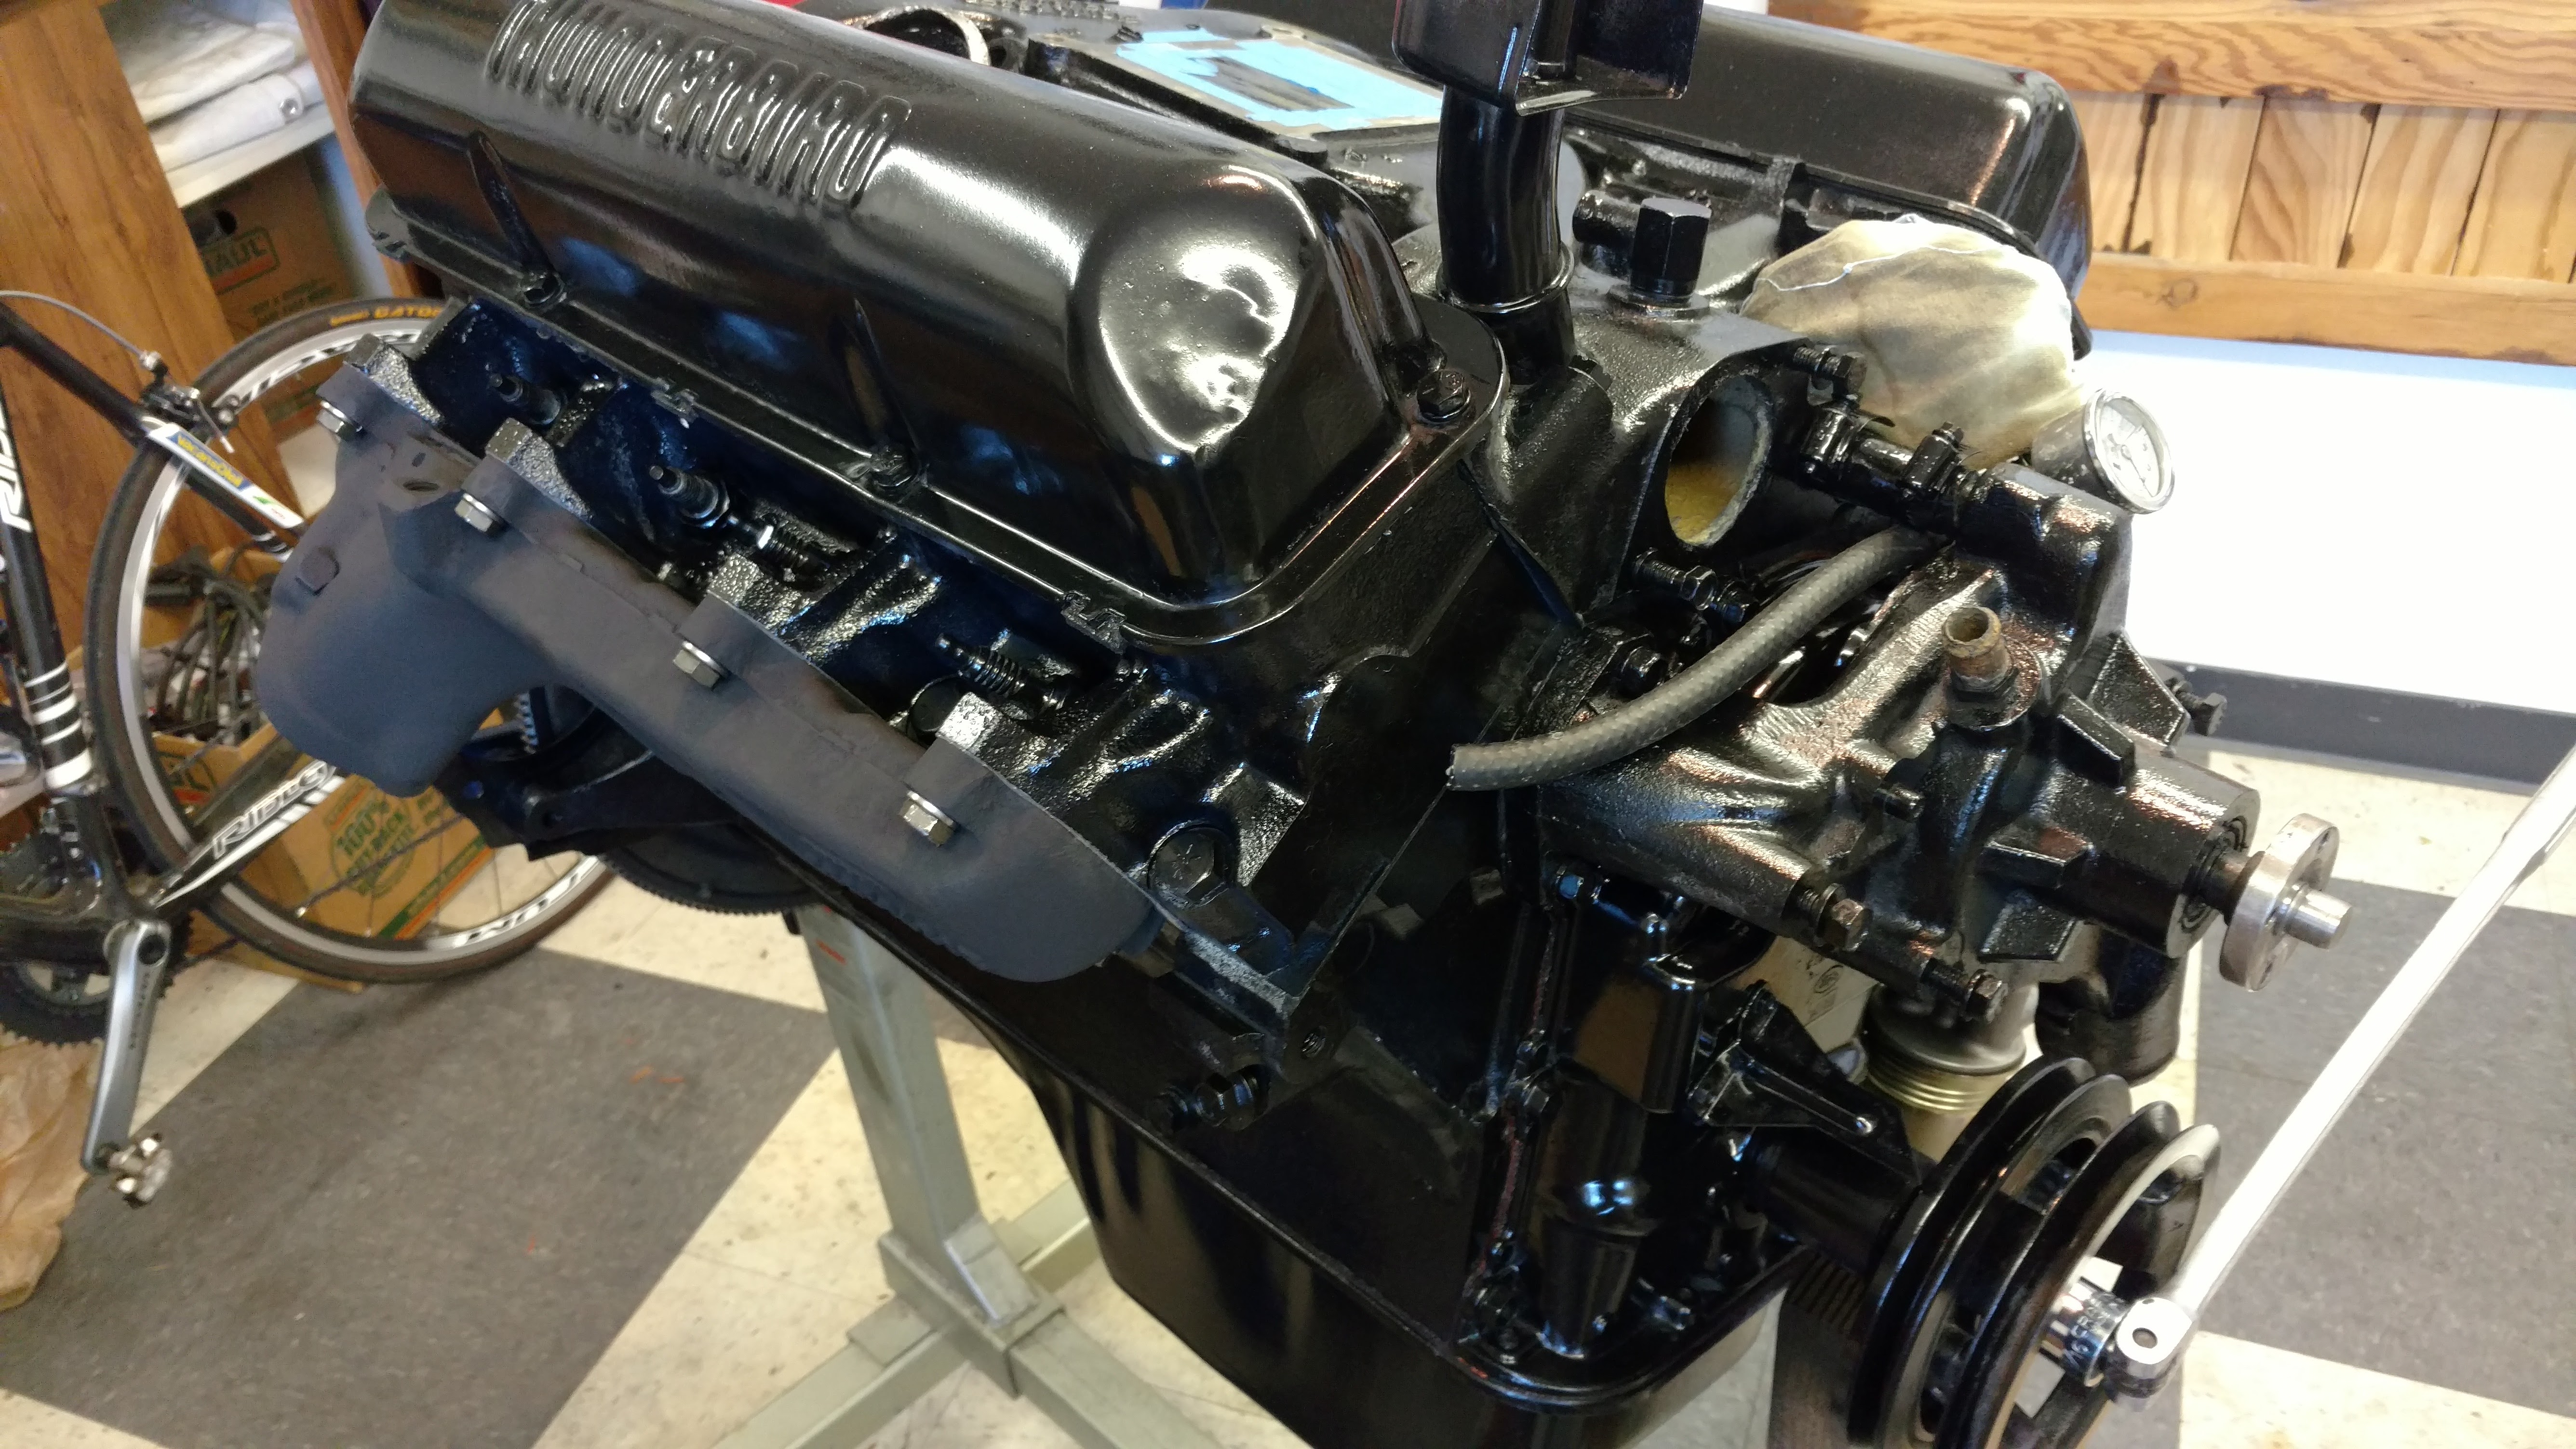
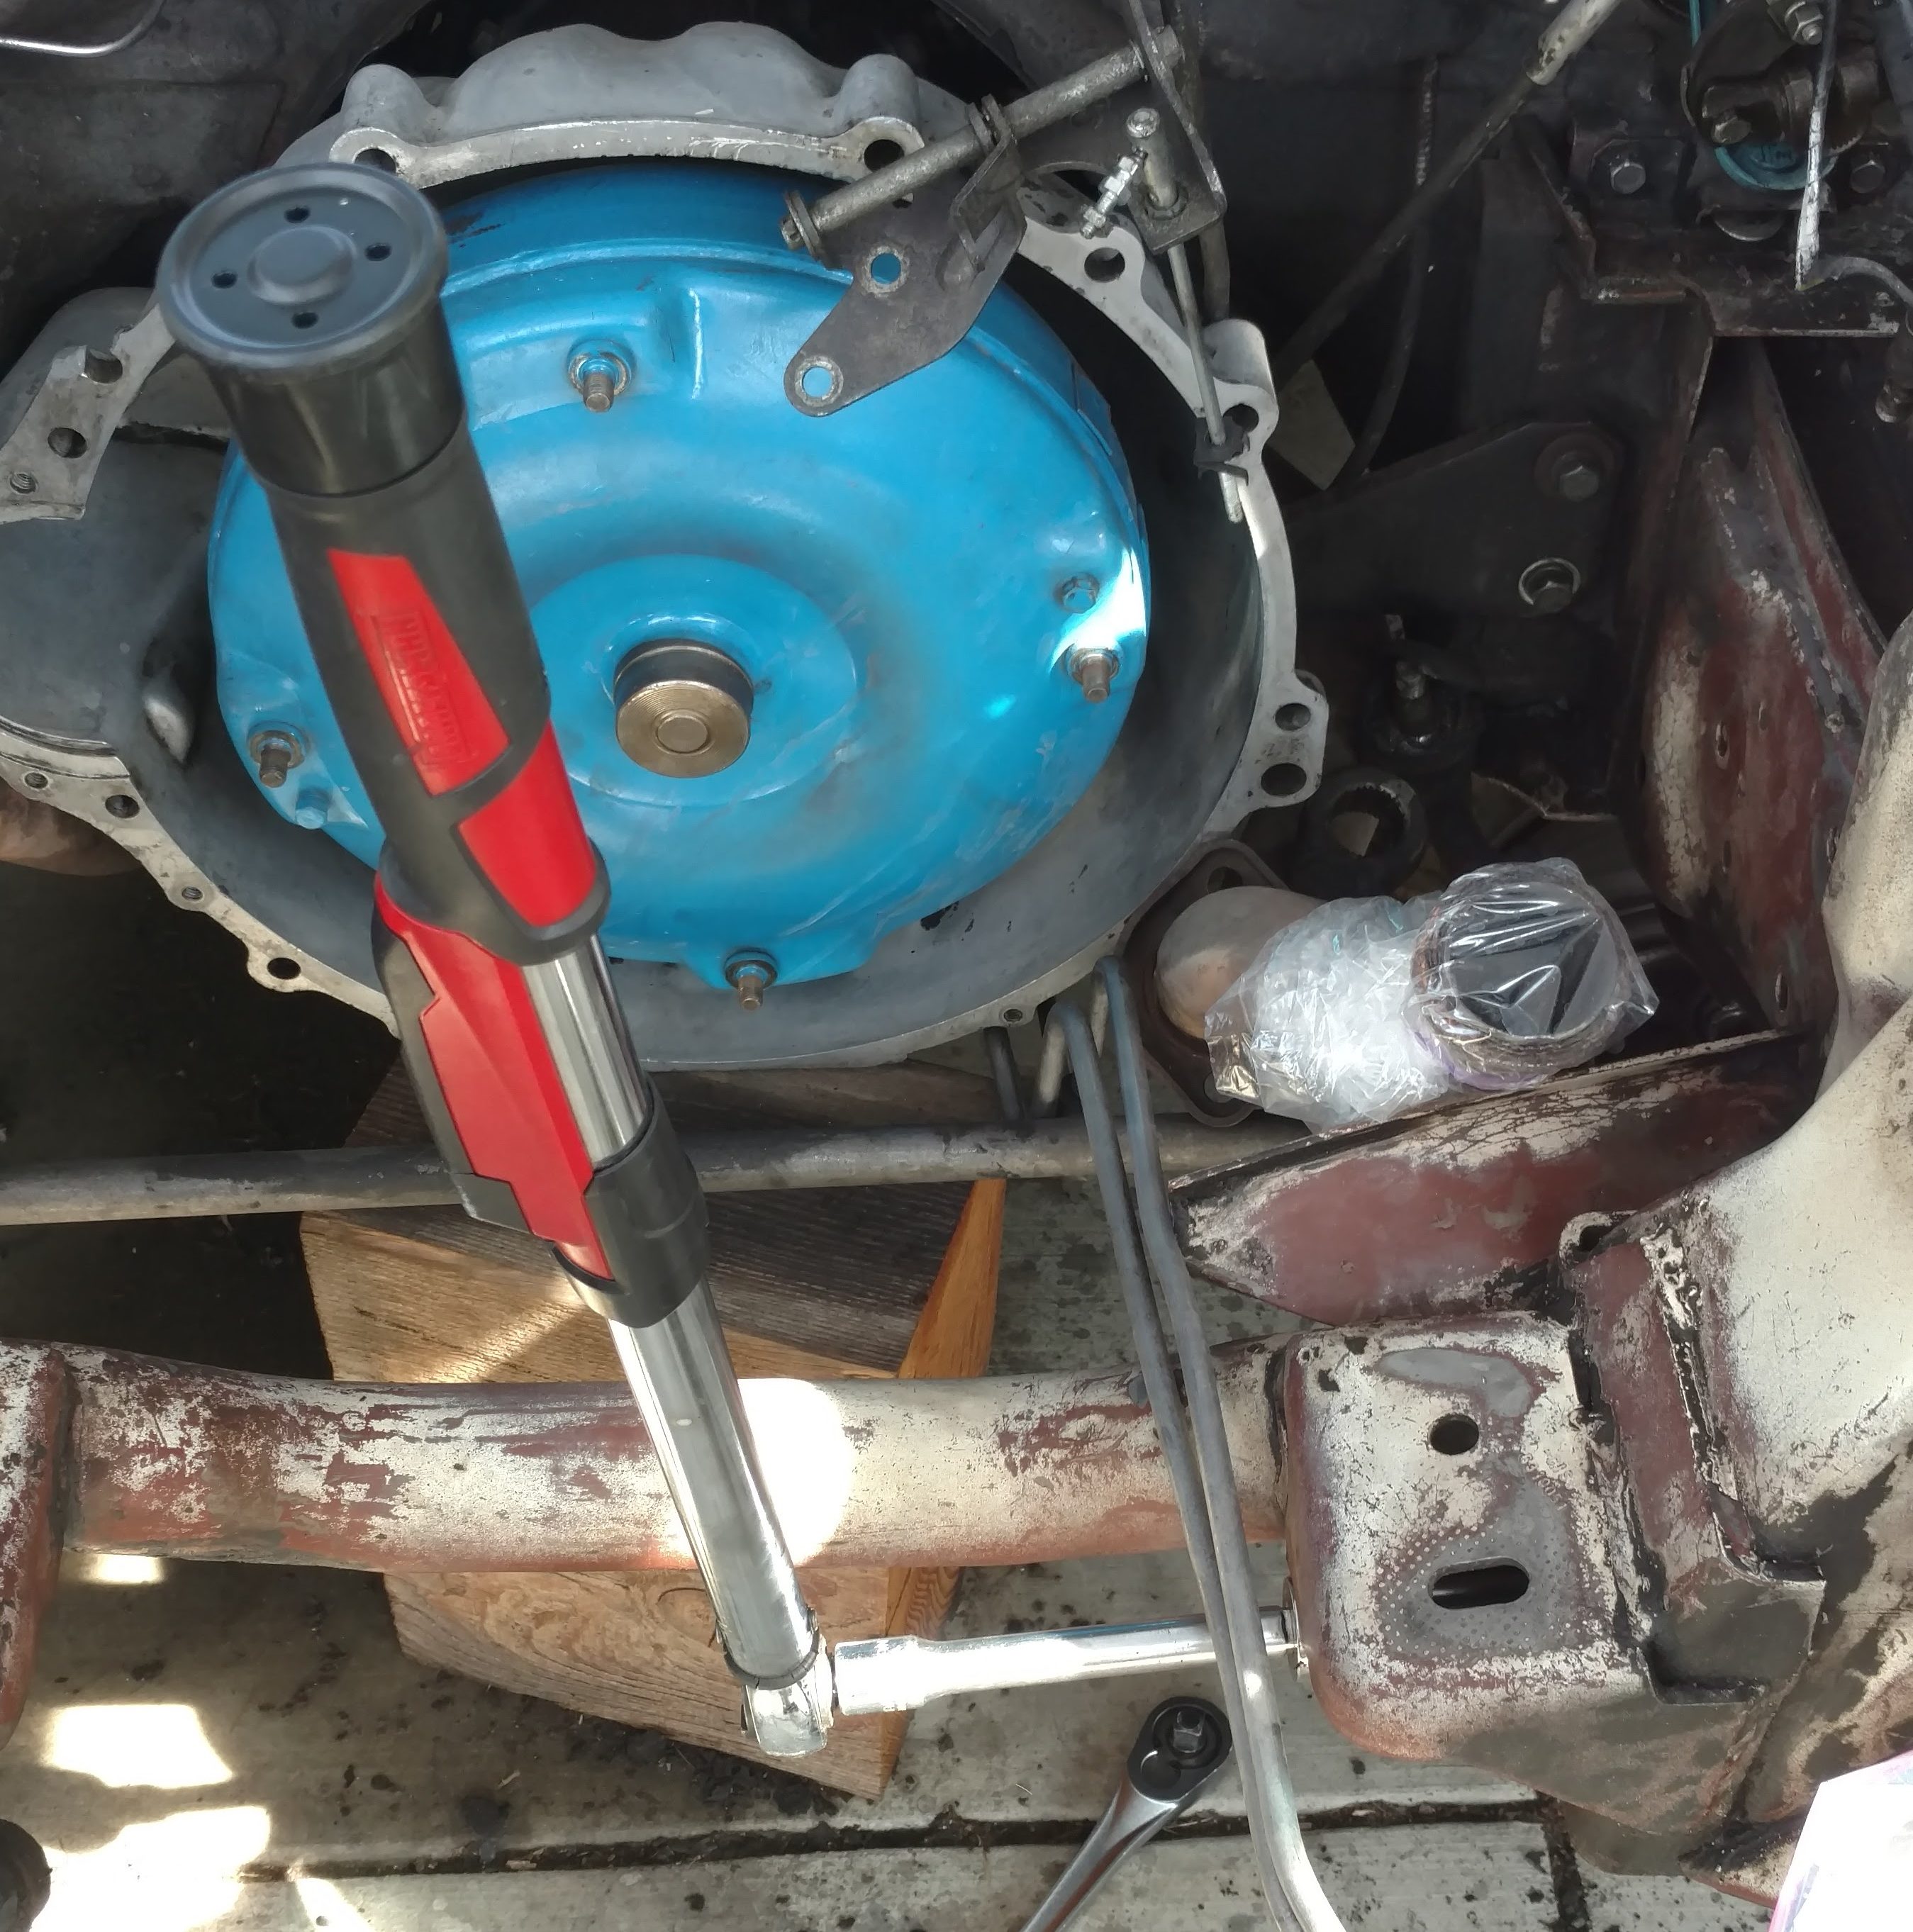
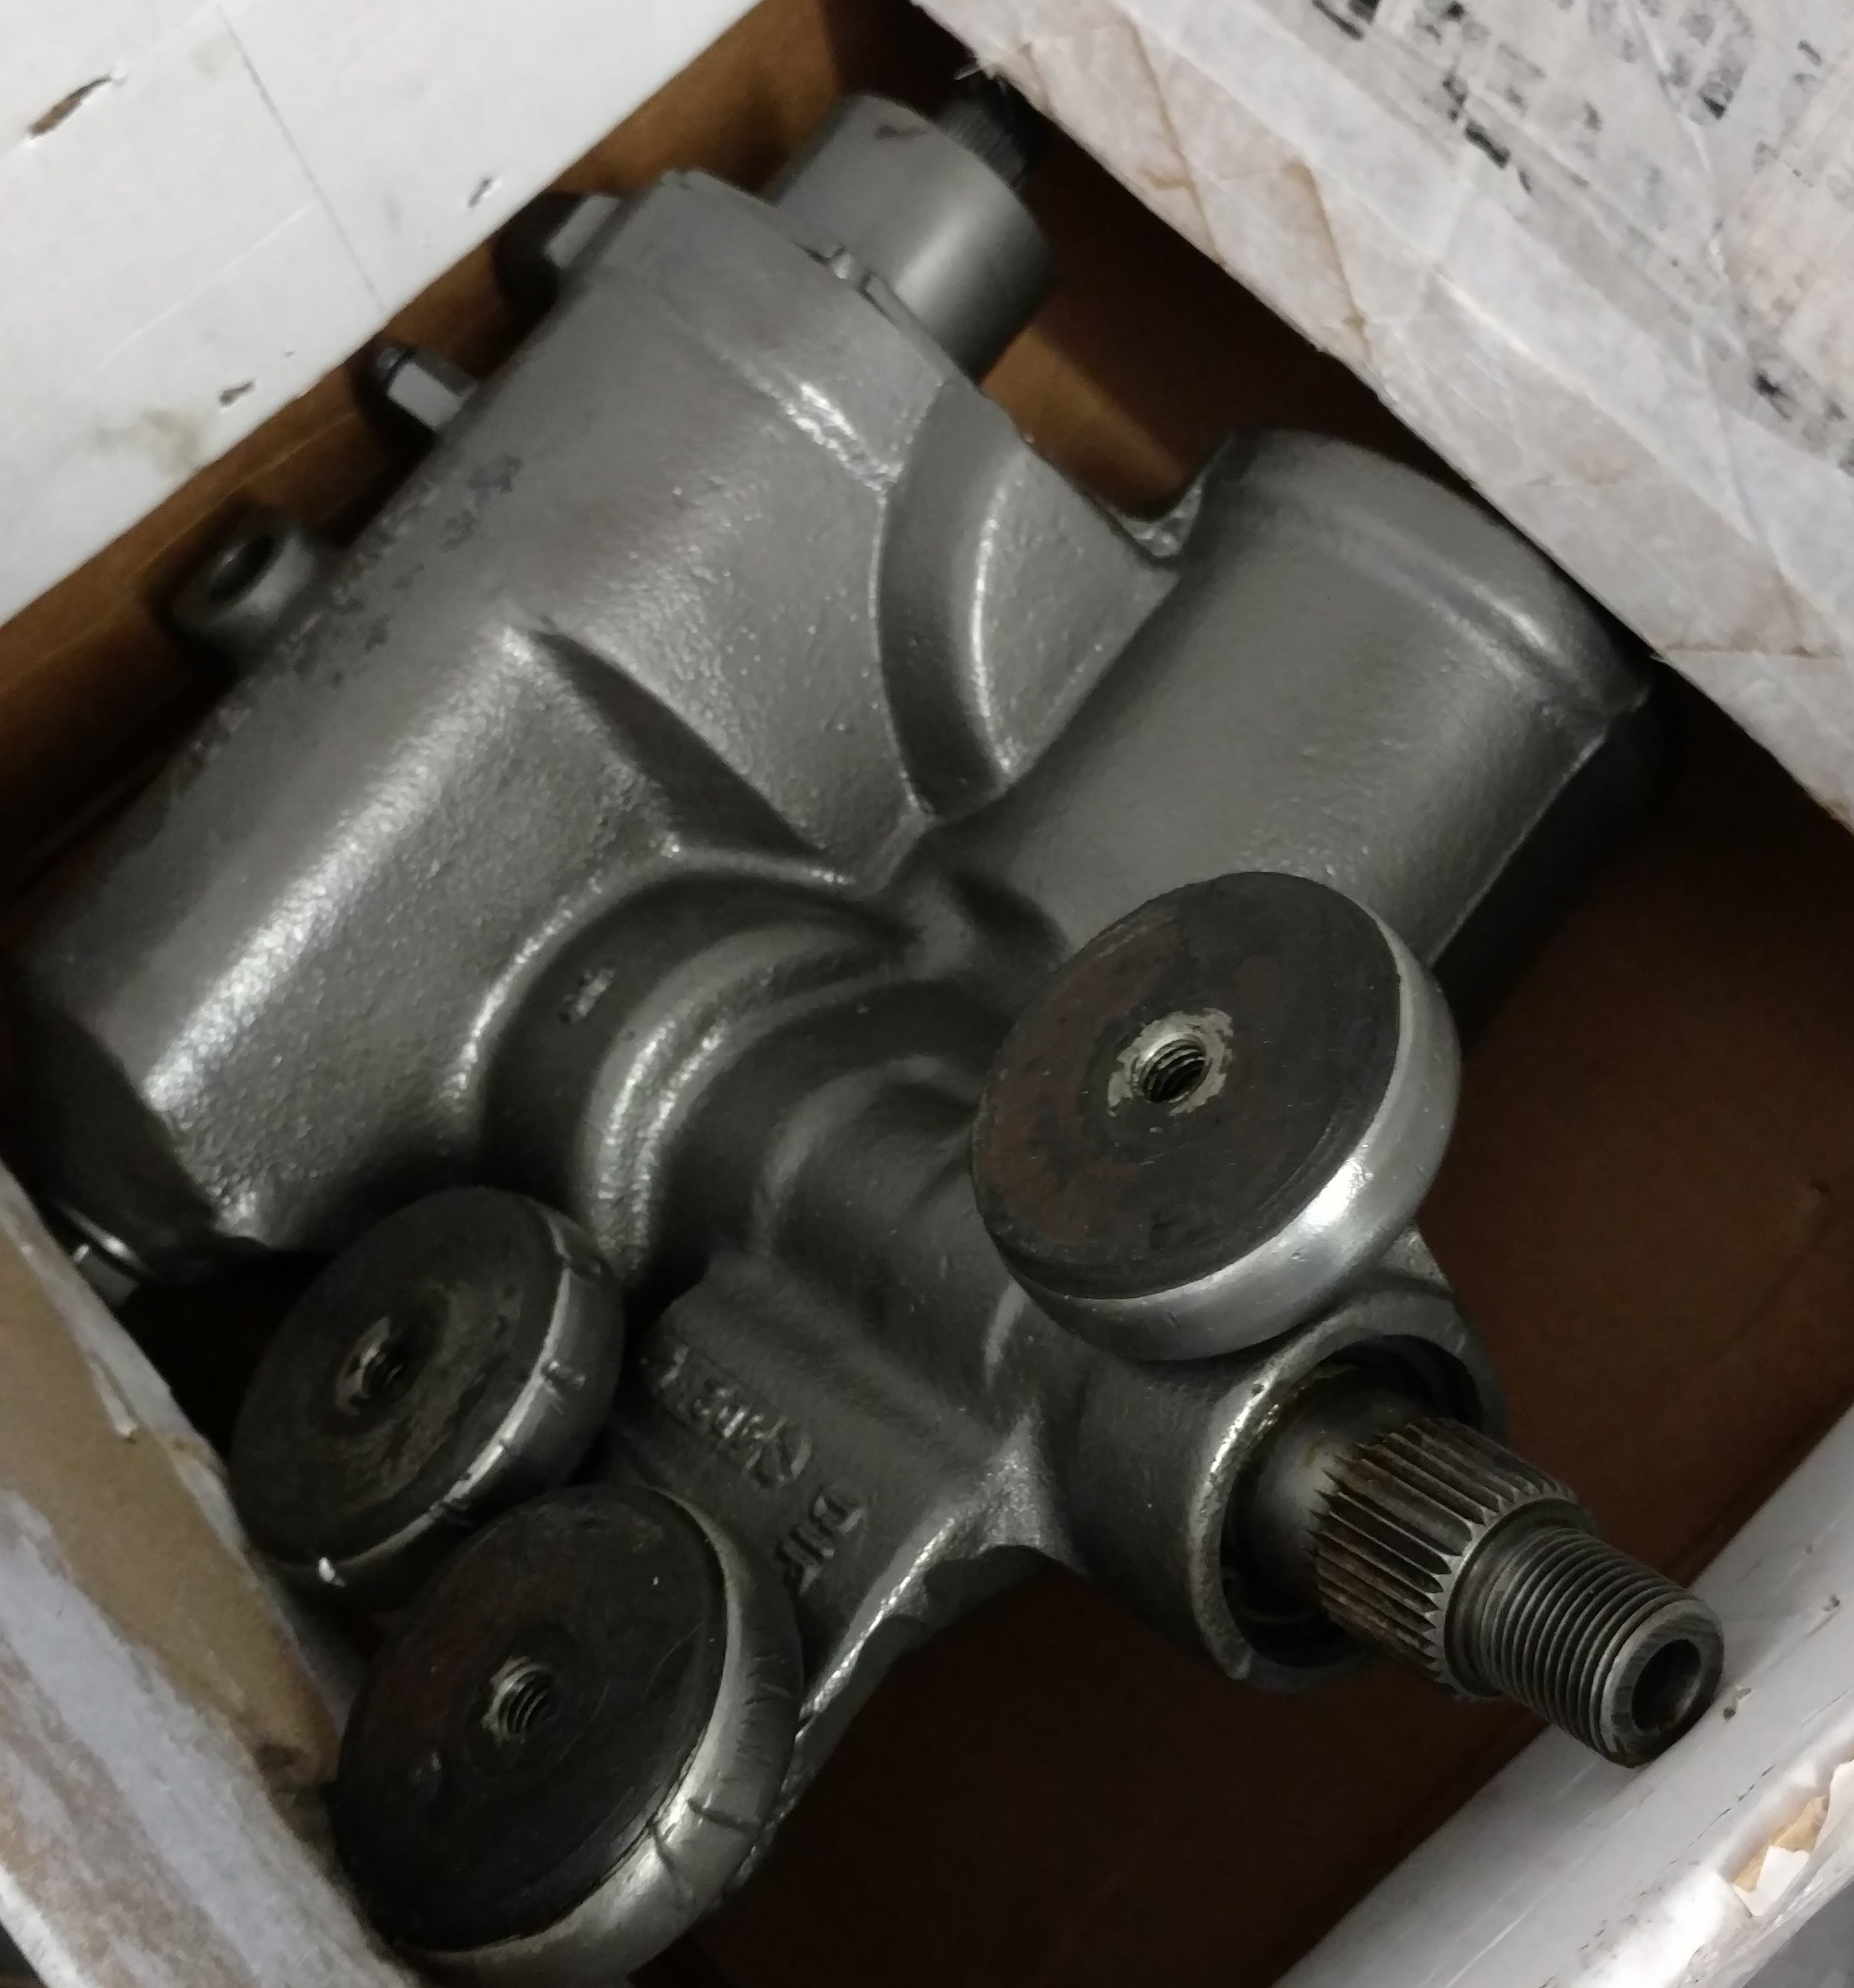
It’s pretty remarkable how much went right. From the camshaft to the radiator to the steering box and suspension—a lot of parts were replaced or refurbished. Except for the high-speed stumble (which is a big except), I’m pretty pleased.

I now know that, mechanically, the motor is sound, so the stumble has to be an issue of fuel, or (more likely) ignition. In any case, the goal is to have it sorted out by the time spring rolls around.

poster
High speed stumble.
00:00
--
/
--

Spin Class

The arrival of the (surprisingly very wet) rainy season and a busy Christmas (work-wise) has kept me away from the Thunderbird for a few months. I realized the other day, though, that the least I could do while waiting for a break in my schedule (and the weather), was spin up the oil pump and lubricate the motor.

Looks official enough.

I got on Amazon and picked up a priming tool. The description didn’t say anything about application (beyond “Ford), but the comments on the product indicated that this model, with a 5/16” drive, was correct for FE motors.

Can’t say for sure yet, but a quick Google search suggested that the pump spins counter-clockwise.

I gave it a try yesterday and discovered after a little trial and error that my FE, at least, has a ¼” oil pump drive shaft. Amazon refunded my purchase, and the correct primer is now in the mail.

All was not lost, though—even though it’s the wrong size, the primer tool is the only thing in my garage slim enough to fit into the recess where the shaft lives. While trying to turn it, the tool jostled the shaft enough to engage it with the oil pump. I was able to drop the distributor right into place as  I was buttoning things up, which was a relief.

Looks about right to me.

The weather forecast today is for eight straight days of rain (and widespread flooding)! Hopefully there’ll be a 15 minute pause in there somewhere to give this project another go.

Turnover Fail

It’s a busy season for me, work-wise, so the Thunderbird has been sitting quietly for a while. It’s been damp, so I’ve had some concerns about moisture condensing in the motor, leading potentially to rust.

My plan today was to crank the motor over with the plugs out (i.e. as fast as it would spin) to see if I can get oil flowing. I’m still not convinced that the distributor fully seated on the oil pump drive shaft, so as a test, I figured I’d crank it a while, then pull the oil filter to check that the system is working.

I began by tightening up the coolant lines and adding coolant to the system, just for good measure. I got about 2 gallons in before water started to leak. Swearing, I flowed the flow of water up to the thermostat housing. The stat didn’t seat properly, so coolant was pouring out freely where the surge tank bolts to the block. (This is exactly what happened to me the last time I had this thing off. Ug.)

I'm blaming my multiple failures with this thing on a poor design.
I’m blaming my multiple failures with this thing on a poor design.

Daylight was fading, and I figured I could still give the motor a spin even without coolant. I hooked up the battery (fresh from the trickle charger) and turned the key.

The motor spun freely, but I wanted to be able to see what I was doing. Under the hood, I jumped the contacts on the solenoid, a trick I remembered from my youth.

Memory is strange, though. I must have gotten something wrong. Instead of cranking the motor, I fried the solenoid—killed it, in fact.

At the end of the day, some barfed up coolant and not much closer to running.

So, a bad day with the car. I’ve got a short shopping list: gaskets, solenoid, thermostat (in case the old one is bent), more coolant, and some fuel line. Tomorrow will hopefully be better.

Under Cover

Shortly after I got the engine installed, an unusually heavy early-season rainstorm appeared in the forecast, and I had a choice between rushing through the final steps of the engine and suspension project or preparing for the coming weather. (The car’s interior is reasonably weather-resistant, but I still have a considerable leak into the trunk.) I hated the idea of rushing things at the end, so when I found a reasonably priced car cover (only $40!), the deal was sealed.

I spent the week cleaning oil-caked parts, painting those that had never been off the car and occasionally repainting items that I’d done before, but have seen some wear and tear over the years—like the braces that run from the shock towers to the firewall.

PCV system, before . . .

Working steadily over the week, I closed up the motor some more by installing the carb, new spark plugs and the distributor. The most difficult task was the small shaft under the distributor that drives the oil pump. Originally, I think, there was a snap ring installed on these to hold it in place. Mine doesn’t have that, and it simply fell out when I turned the motor over while on the stand. I thought it would be easy to drop it in again. Instead, it landed slightly askew in the recess, too far down to be removed and in a spot too narrow to reach with most tools. I could  touch it with a skinny flat-bladed screwdriver, but didn’t have the leverage to straighten it up or pry it back out. Finally, I used the distributor itself to ease everything into place. Everything seemed to seat properly, but it’s one of those things you can’t verify visually. I’ll have to wait until the motor is ready to turn over before I know for sure that all is well.

. . .PCV system, after.

I also struggled with the dipstick tube. The one on the engine was in two pieces connected with a short piece of rubber fuel line. I bought a replacement and tried to install it after the motor was back in. The tube is a press fit and a pretty tight one at that. It’s curved, so tapping one end with a mallet doesn’t drive it in; it can’t be twisted in either—too many things interfere. I finally resorted to a grinder and file to shave the tube down a bit, then installed it with some sealant. I now understand why someone would cut the thing and install it the way it was. I’m not sure my way will be better, leak-wise.

While the garage would be better, this will do in the short term.

By the time the rain started, I had the alternator, radiator, fan, pcv system and other items installed. I still need to crawl under the car to get the exhaust hooked up and starter installed. On top, the power steering pump is cleaned and ready to go, including all new hoses.

Re-Engined

I broke out the compressor and spray gun last week and shot the motor with a coat of black engine enamel, then followed up with high-heat paint on the exhaust manifolds. With those installed, it was time to get the motor back where it belonged.

Ready to go with a coat of fresh paint.

On the day of installation, I crawled into the engine bay one last time to remove the old seals around the exhaust collectors. The replacements are round, soft-metal donuts, but the old ones are some kind of metal tape. I used a chisel and a hammer to break them free, then just unwrapped the rusty mess.

Gloved hands are best for working with this.

While there, I also checked on the torque converter. Chatting with my transmission guy, I learned that it needs to be fully seated—three clicks while pushing it in—or there’s a risk to internal transmission damage when the motor is drawn up to the bellhousing.

The most difficult part of the installation was lining up the studs on the torque converter with the holes in the flywheel. I worked underneath the car while my son operated the hoist and manhandled the motor into place. (My hoist, when pushed all the way up against the front bumper, held the engine just about an inch short of the bellhousing, so there was a lot of pushing involved at the end.)


The load leveller is a huge time-saver

The first time everything mated up, I could see that the converter was not in all the way—either I failed to seat it or it got pulled partially out while trying to get everything in place. We had the lift the motor away, enough to get a hand in there and push it back into place (and then start over!)

I left the motor mounts off the block during the install. It was one less thing to line up and think about. Once we had a couple of bolts holding the motor to the bellhousing, reinstalling the mounts was simple. From there, we could drop the motor all the way down and insert the bolts at the top of the housing.

The motor back in place

The hood is heavier than it looks and is definitely a two-man job. My son lives a fair distance away, so even though we were tired, we took a stab at putting it back on. Unfortunately, we lost control of it briefly and put a scratch in the cowl as a result. Except for that minor mishap, all went well. We needed three hours, all told, to get the motor in place.

There is still quite a lot of work to do before the engine is running, and even though much of that is under the car, we took it off the stands—just for fun—to see how the new stance looks with the shorter front springs.

New stance

I don’t see a dramatic change, but it certainly looks good back on the ground. The poor bird is filthy after a few months in the elements—I hope to get it cleaned up a bit this evening.

Re-Suspending, Part 2

I was a little anxious about the upper control arm shafts, as the manual is uncharacteristically detailed about their assembly: making sure that they are exactly centered, then using a spacer to hold the ends of the arm apart while bringing everything to the final torque specifications.

As is often the case when using aftermarket parts, the instructions in the manual didn’t really apply. As I understand it, the two nuts at the ends have complementary threads that are the same pitch for both the control arm and the shaft. As you thread the nuts into the arm, you are also turning the nut on the shaft at the same rate.

Over the years, at least on my car, the stamped steel arm has developed rust and pitting, so the threads are rough and degraded. Even after cleaning the arm, lubricating the threads and buying a 1 3/8″ socket (for a firm grip on the nuts), I still needed extra leverage—beyond the 100 ft/lb torque spec—to get the control arms shafts installed.

Getting the shafts centered wasn’t an issue; if you start with them in the center, even if they shift, they can be threaded back into place. Before installation, I just made sure that they were centered properly in the arms.

Perhaps this is why Ford didn't include zerks here. They just don't fit.
Perhaps this is why Ford didn’t include zerks here. They just don’t fit.

I did make a spacer from ¾” pipe, but only used it once. The aftermarket shafts have longer threads than stock, so installing the nuts on the ends does not compress or distort the arm—or so it appeared to me.

Before I compressed the springs, I did a quick test fit in the car to make sure the upper arm went in ok. Unlike the original, the new shafts include 90° grease zerks, screwed on to the ends of the nuts. I thought these were a good idea, until I realized that on one end, the zerk interferes with the shock tower.

This is how much grease I was able to force into this joint with a grease gun. (Photo taken after disassembly. I added more grease and put it all back together.)
This is how much grease I was able to force into this joint with a grease gun. Pitiful, isn’t it? (Photo taken after disassembly. I added more grease and put it all back together.)

I hadn’t put grease on the threads of the shaft during assembly, thinking that I would lube the entire suspension after installation. I swapped out the 90° fitting for a straight one (which is shorter, and does clear the tower). Knowing that I could never get a grease gun on this fitting once the arm was installed in the car, I tried to inject some grease into the shaft.

It turns out, I wasn’t able to get much grease in there. I’m guessing that the threads seal tightly, so the grease won’t flow into the fitting. It’s lucky, I guess, that I found this before the springs were in and the assembly all together. At least this way, I could disassemble the shafts from the arms, grease them thoroughly, reassemble, the proceed with fitting it all together in the car—without having to remove the springs a second time!

But it was a lot of extra work. And someday, someone (possibly me), will wonder why there’s a grease fitting in there that no one can reach.

I cut a single coil from each spring to lower the car about an inch.

Once the upper arms were assembled, I loosely attached the upper ball joint to the knuckle, set the upper arm more-or-less in place, then compressed the spring. (Earlier, I had cut a coil from each spring; not to make installation easier—though it did!—but to change the stance of the car a bit.)

This time around, I used a vintage Moog compressor, which I spent a fortune to buy off of eBay.

It was worth every penny.

The compression went smoothly, and though I never feel truly safe around a compressed spring, I was able to install it in the car, lift the upper arm into place, and  bolt it in securely while never feeling that the compressor was going let loose on me.

Full compression for installation. Terrifying to look at, but about as safe as it gets.

I clamped a pair of lock pliers on the spring to keep it from spinning during decompression, which worked about as well as you’d guess—just when you need them the most, they slip off and everything falls out of kilter. With patience, though, I was able to get the springs decompressed and in place. I used a jack under the lower arms to put some test weight on the suspension, and everything appeared to work normally.

By the end of the day, everything was torqued to spec, the backing plate, hub and drum were on, and all I had left to do under the car was the steering components.

I just might get this all done before the rains after all.

Re-Suspending, Part 1

I disassembled the right side suspension a few days ago. With some experience under my belt (and a better spring compressor), the entire process only took 2-3 hours, most of that spent on the spring. (It took some time to figure out the compressor operation. It’s a vintage tool, and the original instructions were long gone.)

Original factory grease on the control arm shafts on the passenger side.

When I took apart the right side upper control arm, I was a little surprised to find it in pretty decent shape. Both ends still had a considerable amount of the factory grease and there was little wear.

Standing over the car to do a job is always better than crawling underneath.

With the lower arms refurbished (new ball joints and bushings) I bolted them back into the car today. Having the engine out was a bit of a help, especially when it came to torquing some of the nuts down. (More details about reassembly are on the repair journal for this job.)

Old vs. new tie-rod ends. Just slightly different.

I’ll be replacing the tie-rod ends before everything is said and done, but need to order a few more parts. The new ends are slightly smaller and were loose in the existing adjusting sleeve, which I thought I could re-use. I’ll have to order a couple of these before the steering goes back together.

If I can get the new control arm shafts installed tomorrow, there’s some chance the rest of the suspension reassembly will get done over the holiday weekend, on schedule.

Un-Suspended

I’ve got most of the motor back together and ready to go. I’ve had the valve covers off a couple of times when the motor was in the car, and it was always a bit of a mess trying to get the gasket to stay in place and keep sealant from spreading everywhere. The job is, of course, far easier with the motor out, and I think I’ve got a nice, tight, leak-free seal on both banks.

Just about ready for paint.

I did the job twice, it turns out. After I got them installed, I couldn’t recollect if I had cleaned the covers on the inside before they went on. Rather than risk running dirt, wire wheel splinters and the like through my refreshed motor, I pulled them off to check. Sure enough, they were dirty inside, so time and money well spent.

The water pump is also on, so now I just need to do a final degreasing, masking and painting.

While this has been going on, I’ve disassembled the driver’s side front suspension, a process I detailed in a photo journal yesterday.

At this point in the project, I've got a lot of loose parts, new and used, floating around.
At this point in the project, I’ve got a lot of loose parts, new and used, floating around.

Except for the bushing on the lower control arm, which I farmed out, I’ll be reassembling this side of the suspension myself the next couple of days with plans to have both sides done by the end of this weekend.

Engine Accretion

I’ve been making slow, steady process on the motor over the last few weeks, cleaning up parts and taking my time with the assembly. (I would really like to end up with a motor that doesn’t leak!) I had been putting off  the daunting task of cleaning the rusty, greasy intake manifold. When I did dive into the project (with wire wheels, acetone, steel wool and lots of gloves) it took about 6 hours to finish. There are still a few nooks and crannies that could be better. If I had to do it over again, I’d pay a shop to clean it up for me. As it is, I think paint will stick ok.

I'll be using my hoist to reinstall this now that it's cleaned up.
I’ll be using my hoist to reinstall this now that it’s cleaned up.

Once I have it reinstalled , I can proceed to the rocker arm shafts and valve covers. At that point, I’ll be just about ready to paint.

With the calendar slipping into August, though, I realized I need to pick up the pace. Since I’m using the garage as an engine assembly shop and paint booth, the car is outside on jack stands. It doesn’t rain during the summer here, but it would not be a shock to have some precipitation in September. It would be great to have the ‘Bird back in the garage before that happens.

I was able to reuse the isolators, which was a nice surprise.
The rebuilt steering box. I was able to reuse the isolators, which was a nice surprise.

So, this morning I ordered up a whole bunch of front suspension and steering components: upper and lower control arm shafts and bushings, tie rod ends, ball joints and a center link. I’m told (and whole-heartedly believe) that replacing these parts will be far easier with the motor out. The steering box came back some weeks ago, cleaned, sealed and rebuilt; when done, the front end should be like new.

Un-Steered

With the engine out, I’m in full mission-creep mode, and I’ll be attempting a lot of work on the front suspension this summer. First on my list is getting the steering box rebuilt. I never found the steering all that loose, but it leaks like crazy and I’m pretty tired of pouring Type F in the top of the system only to clean it off the floor a few days later.

It looks like this steering wheel puller will work to remove the pitman arm, but it won't.
It looks like this steering wheel puller will work to remove the pitman arm, but it won’t.

The steering box in held on with three bolts, though you need to detach hoses, the steering column and the inevitable ground strap to make sure it actually comes out when the bolts are removed.

It is, of course, also attached to the suspension via the pitman arm, which requires a special puller to remove. I tried to use my steering wheel puller for the job, but quickly realized it wouldn’t work. A local auto parts store loans the proper tool for free, but I had to wait a few days for it to become available. Once I had it, the arm came off in just a few minutes.

With the correct tool, the pitman arm came off easily.

I thought at first that I could use a jack to lower the box when it was loose, but there’s no real flat surface on the bottom to rest the jack, and it appeared that the box needs to slide sideways a bit before it drops down. The darn thing is heavy and I didn’t want it falling to the ground, so I wrapped a chain around it and hooked it to my engine hoist, which worked pretty well: with the bolts out, I could lower the box a bit, maneuver it around obstacles, lower again, rinse and repeat.

It's a long reach with the hoist back to the steering box, but this worked well.
It’s a long reach with the hoist back to the steering box, but this worked well.

When it got close to the ground I slipped the chain off and lowered it the rest of the way by hand, where it fell over a barfed up a few more ounces of fluid (of course!) I’ll be off to the rebuilders a little later this week.